





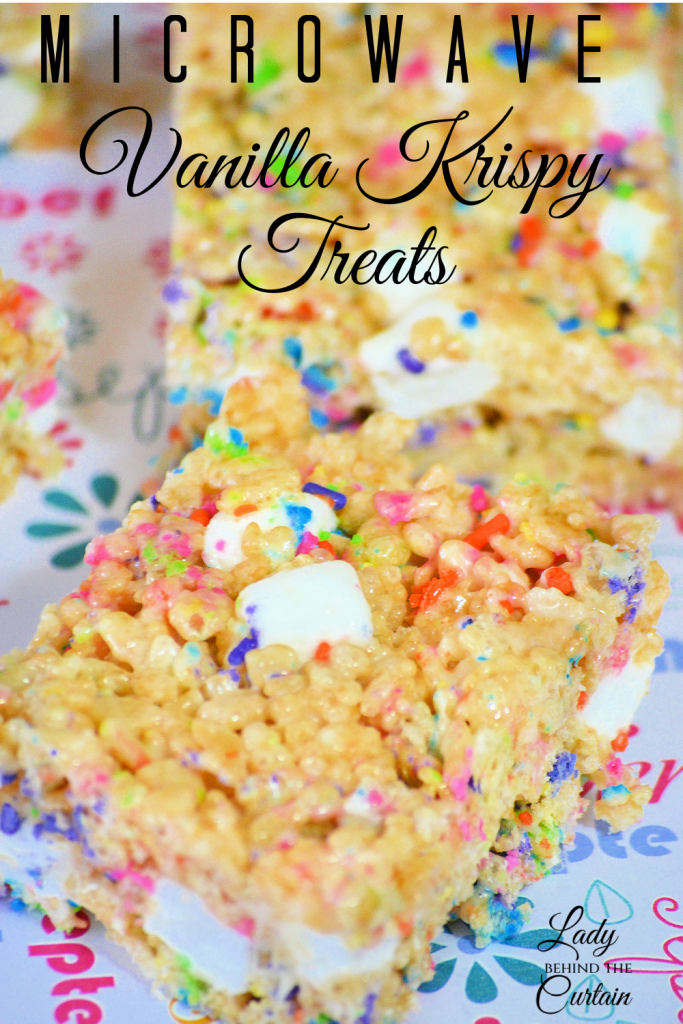
Easy Microwave Vanilla Rice Krispy Treats
Rice Krispie treats have earned their place as one of America’s favorite no-bake desserts. They’re quick to make, inexpensive, easy to customize, and always one of the first desserts to disappear from the table. While the classic stovetop version has been around for decades, the microwave offers a faster, simpler method that produces the same soft, chewy results with fewer dishes and less cleanup.
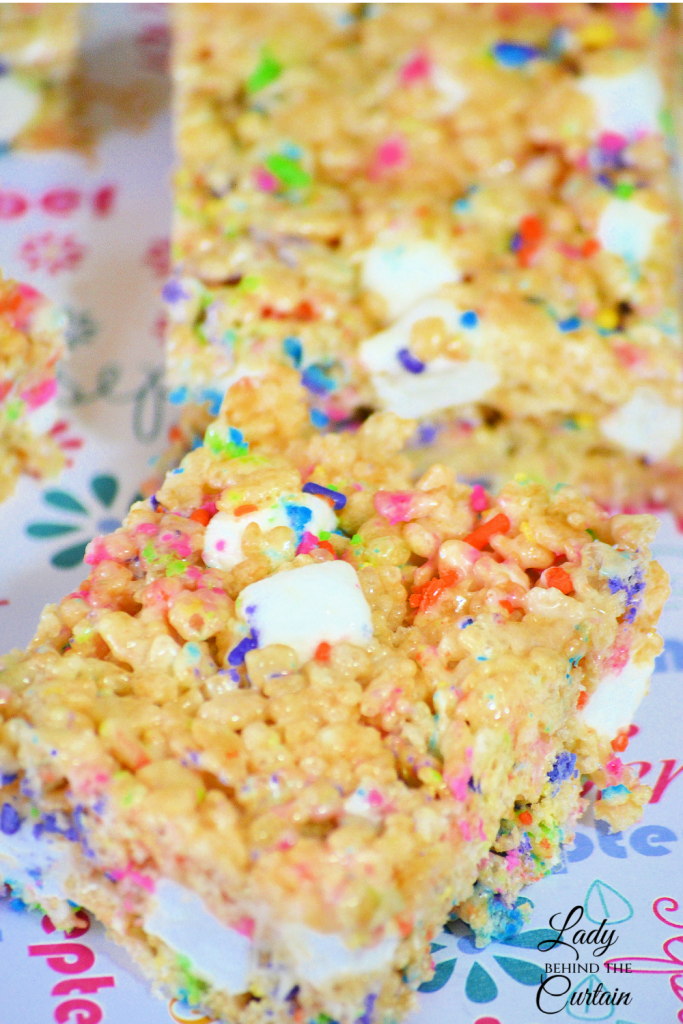
The Secret to Softer, More Flavorful Rice Krispie Treats
One simple technique takes these Microwave Vanilla Rice Krispie Treats from good to unforgettable: folding in an extra cup of mini marshmallows after the cereal has been coated.
Because these marshmallows aren’t exposed to the full cooking time, many of them soften without completely melting. As the treats cool, they create little pockets of marshmallow throughout each square, giving every bite a softer, gooier texture than traditional Rice Krispie treats.
This technique also enhances the overall flavor. Since the fresh marshmallows retain more of their natural vanilla flavor, they add a sweeter, creamier taste that complements the melted marshmallow mixture. Instead of every bite having the same uniform texture, you’ll enjoy occasional bursts of soft marshmallow that make these treats taste even more homemade.
Behind the Curtain Tip: Fold the extra marshmallows in after the cereal is almost completely coated. If they’re added too early, they’ll melt into the hot mixture and you’ll lose those soft marshmallow pockets that make these treats so irresistible.
When to Choose the Microwave Over the Stovetop
There are times when using the microwave simply makes more sense. Busy weeknights, classroom parties, and last-minute invitations don’t always leave time to stand over the stove. The microwave allows the butter and marshmallows to melt in one bowl while you prepare your baking dish and decorations. It also keeps cleanup to a minimum, making this an excellent recipe to prepare with children.
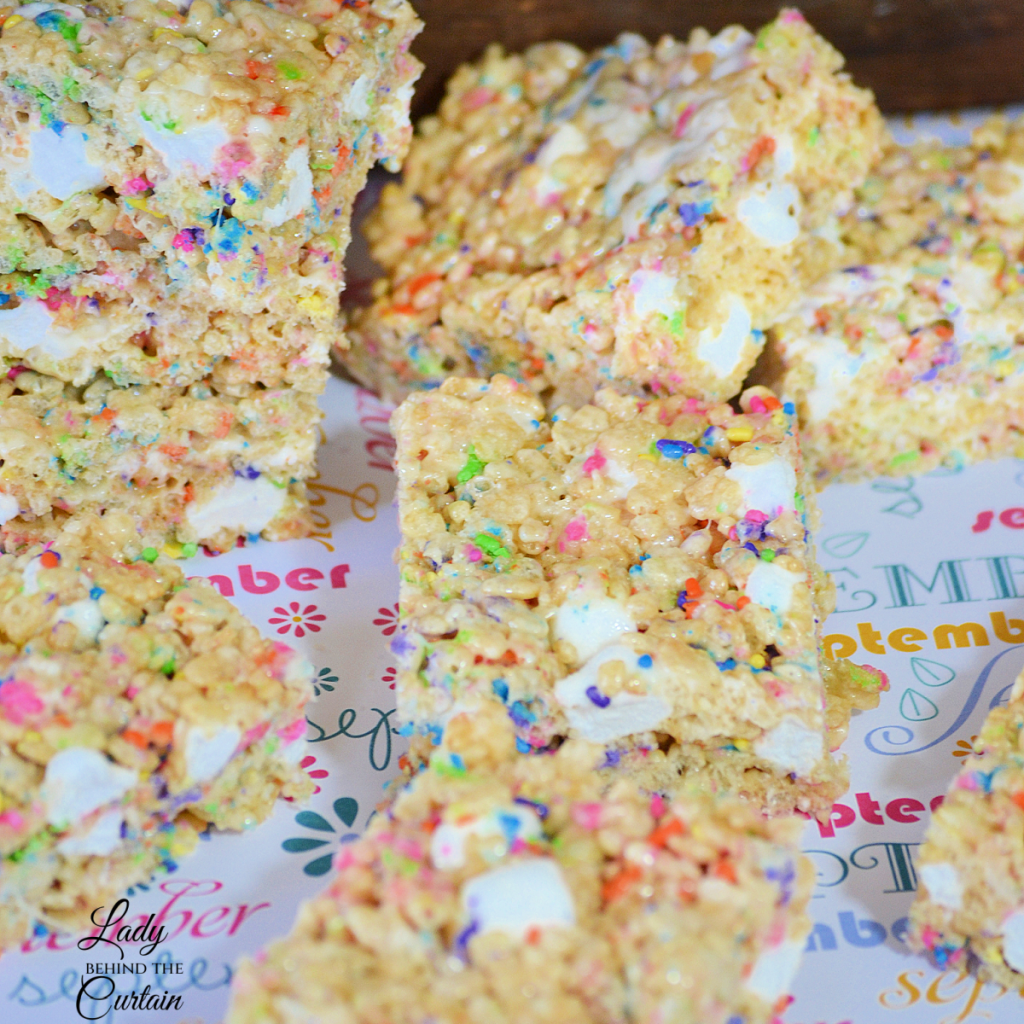
For large batches or multiple flavors, the microwave method is especially convenient. Once one batch is finished, the bowl can be washed quickly and reused without waiting for burners to cool.
Behind the Curtain Tip: If you’re making several batches for a dessert table, prepare each flavor separately instead of doubling the recipe. Smaller batches are easier to mix evenly and produce a more consistent texture.
From Birthday Parties to Holiday Dessert Tables
Few desserts are as versatile as Rice Krispie treats. A simple change in sprinkles, drizzle, or decorations can completely transform their appearance, making them suitable for nearly every celebration.
| Occasion | Easy Decorating Ideas |
|---|---|
| Birthday Parties | Rainbow sprinkles, colored drizzle, candy decorations |
| Baby Showers | Pink, blue, or pastel sprinkles |
| Graduation Parties | School colors and coordinating candies |
| Halloween | Orange and black sprinkles, candy eyes |
| Thanksgiving | Fall-colored sprinkles and caramel drizzle |
| Christmas | Red and green sprinkles, white chocolate drizzle |
| Valentine’s Day | Heart sprinkles and pink drizzle |
Because they’re cut into individual portions, Rice Krispie treats are also one of the easiest desserts to serve at large gatherings. Guests can simply pick up a square without needing plates, forks, or extra serving utensils.
Packaging Rice Krispie Treats for Bake Sales
Rice Krispie treats consistently rank among the best-selling bake sale desserts because they’re affordable to make, easy to package, and hold their shape well.
Individual wrapping not only makes them easier to sell but also helps preserve freshness. Clear cellophane bags tied with ribbon instantly give homemade treats a professional appearance, while seasonal tags or labels help them stand out on a crowded bake sale table.
| Packaging Option | Best For |
| Cellophane treat bags | School and church bake sales |
| Bakery boxes | Gift giving |
| Decorative tins | Holiday cookie exchanges |
| Plastic containers | Transporting to parties |
| Wax paper sleeves | Lunch box treats |
Behind the Curtain Tip: Wait until the treats have completely cooled before wrapping them. Trapping even a small amount of heat creates condensation inside the package, which can make the cereal lose its crisp texture.
Make-Ahead Planning
Rice Krispie treats are one of the few desserts that can easily be prepared ahead of time without requiring refrigeration. This makes them ideal for busy holidays, birthday weekends, and party planning. Preparing dessert a day in advance frees up valuable kitchen time for recipes that must be baked or assembled at the last minute.
| When You Need Them | Best Time to Make Them |
| School party | The evening before |
| Birthday party | 1 day ahead |
| Holiday dessert table | 1 day ahead |
| Bake sale | The night before |
| Lunch box treats | Weekend meal prep |
Unlike frosted cakes or cream-filled desserts, Rice Krispie treats don’t require special handling once they’ve cooled, making them one of the easiest desserts to prepare ahead.
Common Mistakes That Affect the Finished Treats
Even though Rice Krispie treats are considered beginner-friendly, a few simple mistakes can change their texture or appearance.
| Problem | Most Likely Cause | Easy Fix |
| Hard treats | Marshmallows overheated | Heat only until melted |
| Dense texture | Pressed firmly into the pan | Press gently with a buttered spatula |
| Uneven coating | Cereal added too slowly | Have the cereal measured before melting the marshmallows |
| Sticky cutting | Marshmallow buildup on the knife | Lightly grease the knife and wipe between cuts |
| Treats lose freshness | Stored uncovered | Use an airtight container |
Behind the Curtain Tip: For bakery-style squares, line the pan with parchment paper. Once the treats have cooled, lift out the entire slab before cutting. This produces cleaner edges and makes serving much easier.
Storage and Freezing Guide
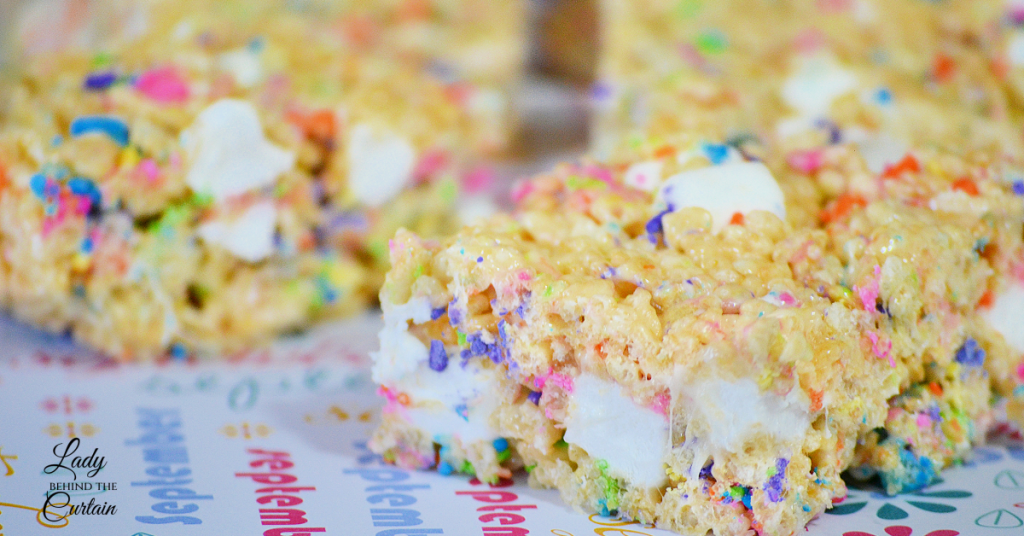
Rice Krispies treats are at their best when stored at room temperature in an airtight container.
| Storage Method | Freshness |
| Airtight container | Up to 3 days |
| Individually wrapped | Up to 5 days |
| Freezer | Up to 6 weeks |
If freezing, wrap each square individually before placing them in a freezer-safe container. Individual wrapping prevents the treats from sticking together and allows you to thaw only what you need.
Avoid storing Rice Krispies treats in the refrigerator. Refrigeration speeds up the firming process and often results in treats that lose their signature soft, chewy bite.
A Recipe You’ll Reach for Again and Again
Some desserts become popular because they’re impressive. Others become family traditions because they’re dependable. Microwave Rice Krispies treats fall into the second category.
They’re quick enough for an afternoon snack, festive enough for a holiday dessert table, and simple enough for first-time bakers to make successfully. Whether you’re creating colorful party favors, stocking the bake sale table, or satisfying a craving for a nostalgic homemade treat, this microwave method proves that great desserts don’t have to be complicated.
MORE KRISPY TREAT RECIPES FROM LADY BEHIND THE CURTAIN
There are recipes I make because they’re impressive, and there are recipes I make because I know they’ll never let me down. These Microwave Vanilla Rice Krispie Treats definitely fall into the second category. They’re quick enough for a busy weekday, festive enough for a holiday dessert table, and always one of the first desserts to disappear.
I hope this recipe reminds you that homemade doesn’t have to be complicated. Sometimes the simplest desserts become the ones your family requests year after year, and I have a feeling these soft, chewy treats will become one of those favorites in your kitchen. Sheryl
LATEST POSTS
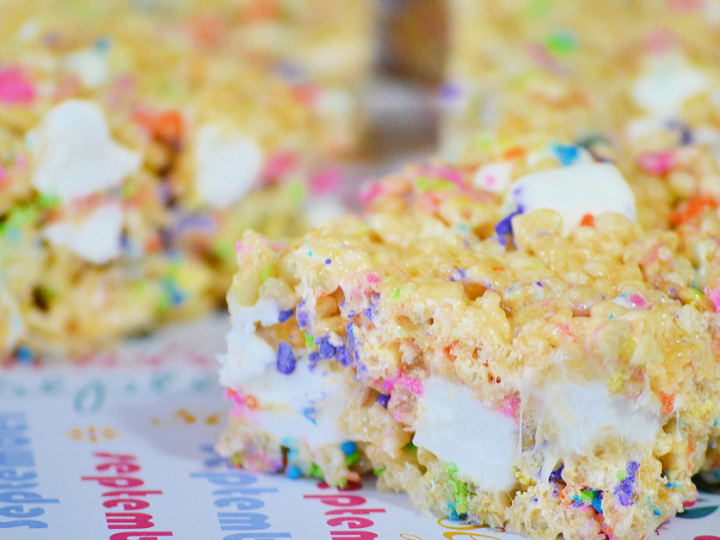
Easy Microwave Vanilla Rice Krispy Treats
Ingredients
- 6 cups rice krispy cereal
- 3 tablespoons unsalted butter
- 1 (10 ounce) bag mini marshmallows
- 1 teaspoon vanilla extract
- 4 tablespoons sprinkles
- 1 cup mini marshmallows
Instructions
- Measure cereal into a bowl and set aside.
- Spray a 9x13-inch baking dish with nonstick cooking spray and set aside.
- In a large microwave-safe bowl, add the butter and marshmallows.
- Microwave for 30 seconds, then stir. Continue microwaving in 30-second intervals until the marshmallows and butter are melted and creamy (about 1 minute and 30 seconds).
- Add vanilla, stir until combined.
- Pour the measured cereal into the marshmallow bowl, stir until almost combined; add the sprinkles and mini marshmallows, then continue stirring until the heated marshmallow mixture has coated all the cereal.
- Pour into the prepared baking dish; press the cereal into the dish.
- Cover with plastic wrap and let cool completely before cutting into squares.

Frequently Asked Questions-EASY MICROWAVE VANILLA RICE KRISPY TREATS
- Can I make Rice Krispies treats in the microwave instead of on the stovetop? Yes! The microwave method produces the same soft, chewy texture as the traditional stovetop version while using fewer dishes and requiring less hands-on time. Heating the marshmallows in short intervals also makes it easier to avoid overheating them.
- Do microwave Rice Krispie treats taste different? Not at all. The flavor remains the same. The microwave simply changes the cooking method, not the finished taste. The addition of vanilla gives these treats a richer, more homemade flavor.
- How far in advance can I make Rice Krispie treats? These treats are perfect for making ahead. Prepare them up to one day before a party, holiday gathering, or bake sale and store them in an airtight container at room temperature.
- Should Rice Krispie treats be refrigerated? No. Refrigeration causes the marshmallow mixture to firm up, which changes the soft, chewy texture. Room temperature storage is always the better choice.
- Can I freeze Rice Krispie treats? Yes. Wrap each square individually in plastic wrap before placing them in a freezer-safe container or zip-top freezer bag. Freeze for up to 6 weeks, then thaw at room temperature before serving.
- Why did my Rice Krispies treats turn out hard? Hard treats usually result from overheating the marshmallows or firmly packing the mixture into the pan. Melt the marshmallows only until smooth and gently press the mixture into the baking dish.
- What’s the best way to cut clean squares? Allow the treats to cool completely before slicing. A lightly buttered or greased knife works well, and wiping the blade between cuts helps create clean, professional-looking edges.
- Can I customize these for different holidays? Absolutely! Simply swap the sprinkles to match the season or celebration. Birthday parties, baby showers, Halloween, Thanksgiving, Christmas, Valentine’s Day, and the Fourth of July are all easy to celebrate with a quick color change.
These look delicious and like so much fun for kiddos.
Alyssa, My granddaughters thought they were pretty awesome! 🙂