





Traveling Pokémon Go Birthday Party
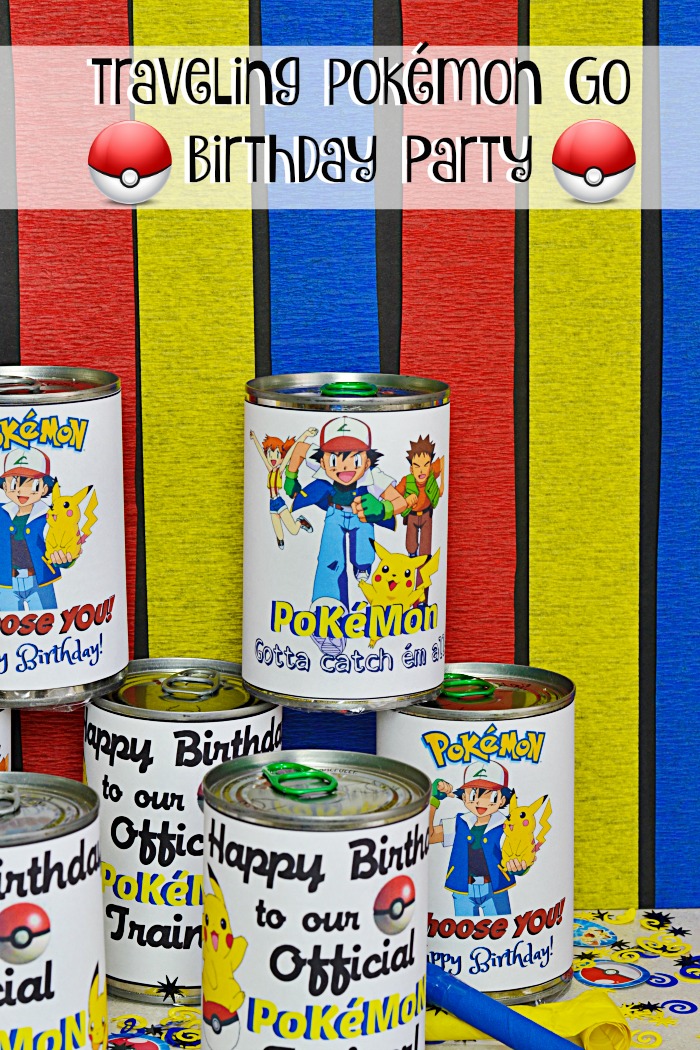
Looking for a birthday party idea that’s completely unexpected, easy to personalize, and guaranteed to make someone smile? This Traveling Pokémon GO Birthday Party in a Can is one of my favorite ways to celebrate a birthday from near or far. Whether you’re mailing a birthday surprise across the country, dropping off a special gift on a friend’s doorstep, or creating unique party favors for guests, this adorable party in a can delivers a complete celebration inside one simple container.
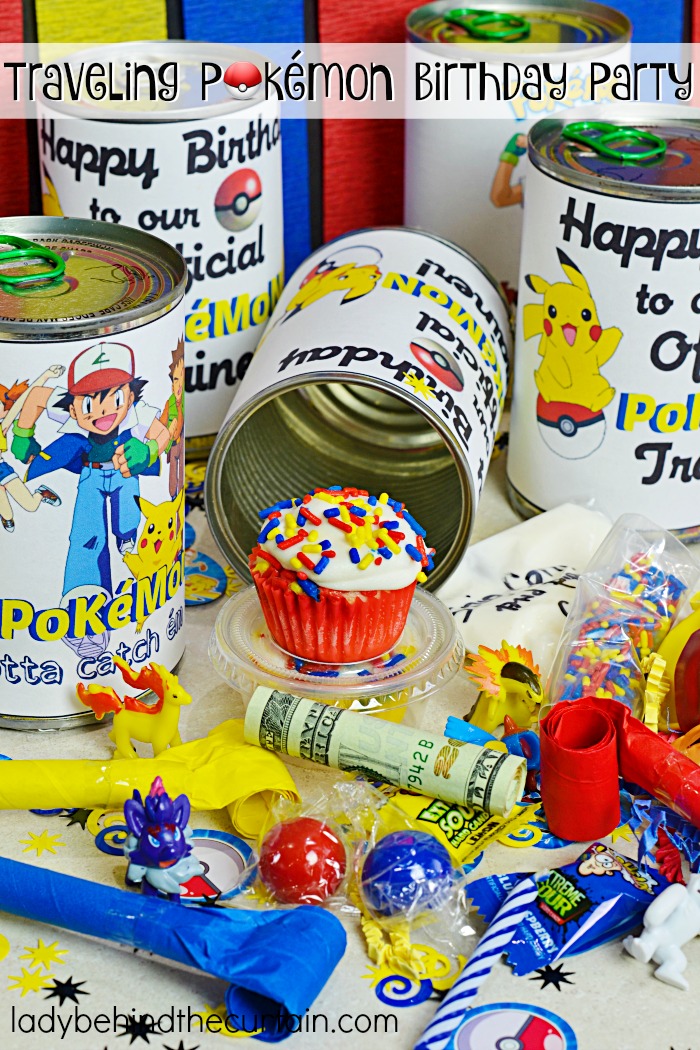
Why You’ll Love This Party in a Can
There is something magical about opening an ordinary can and discovering an entire party tucked inside. Every item is carefully layered so the recipient enjoys a surprise with every pull.
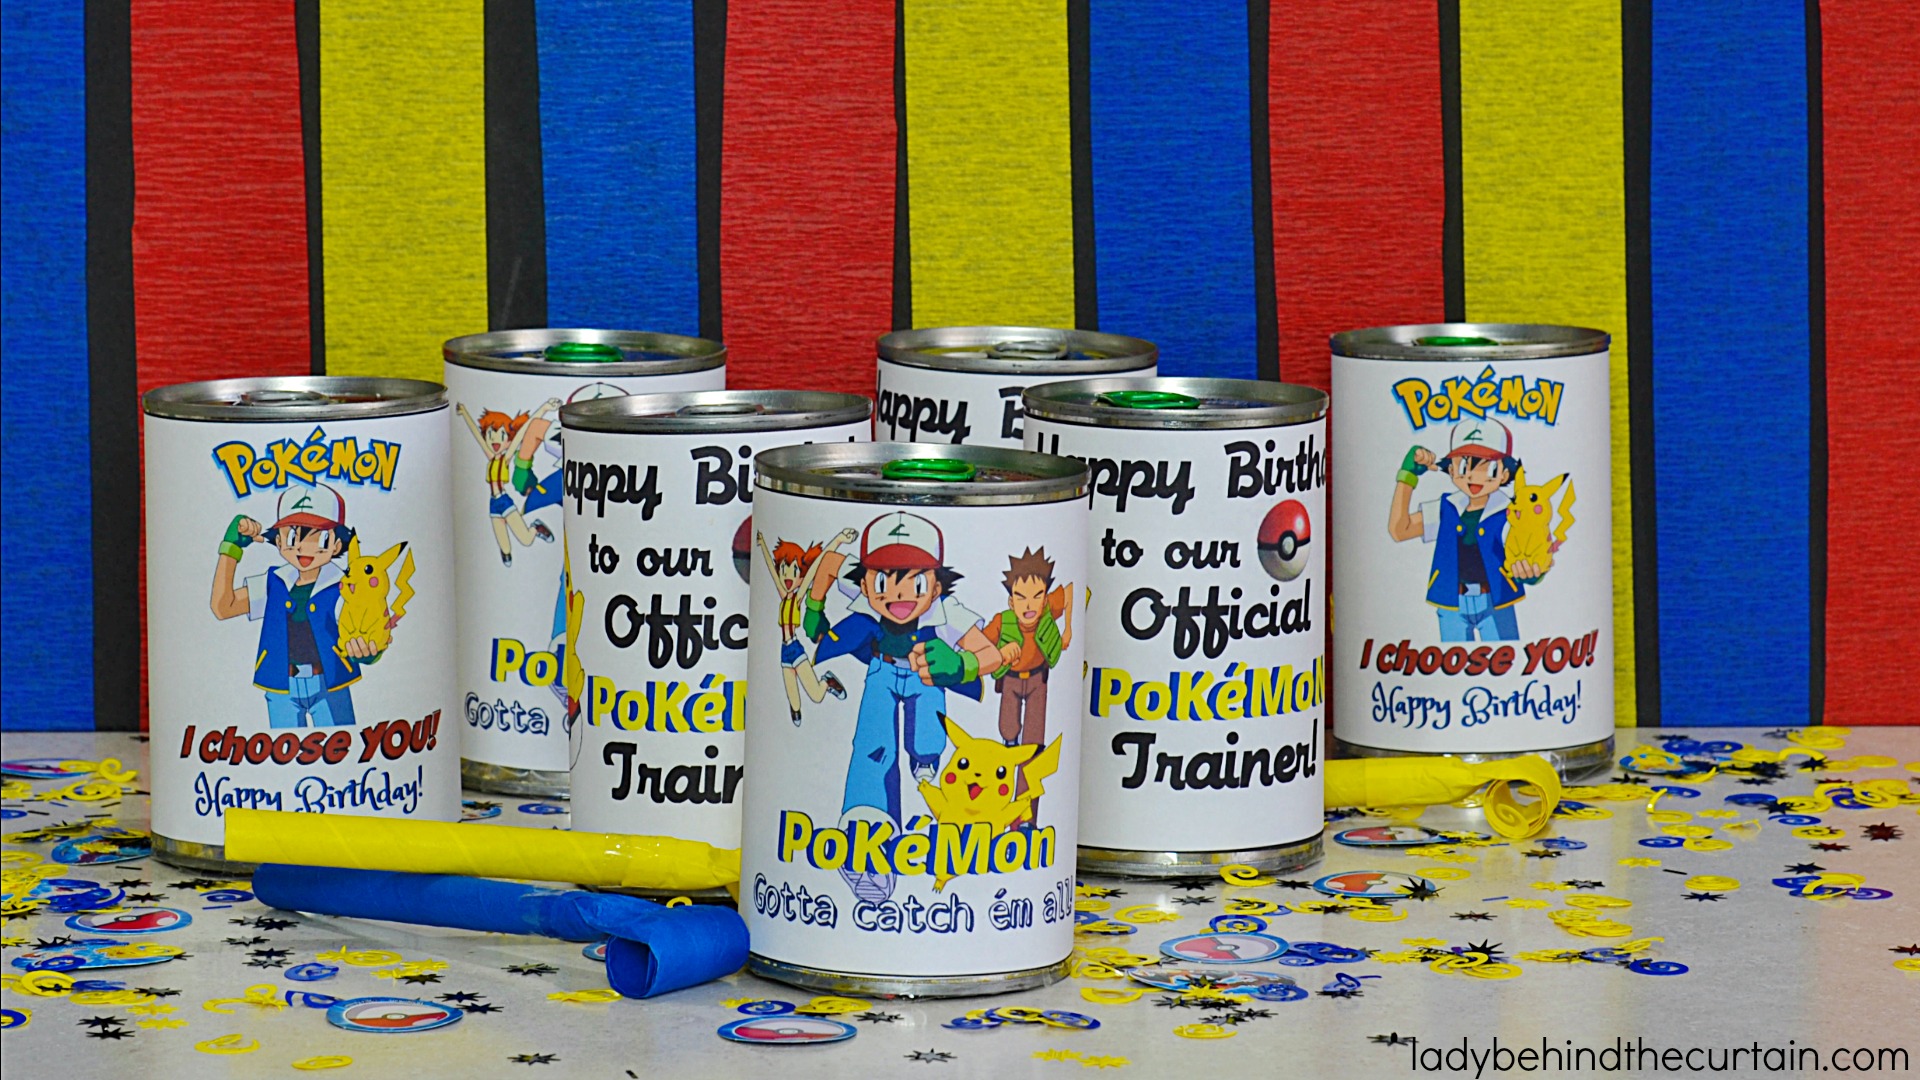
This Pokémon GO version is perfect for:
- Pokémon fans of any age
- Birthday surprises through the mail
- Long-distance celebrations
- Classroom birthday treats
- Sleepover party favors
- Birthday scavenger hunts
- Grandchildren who live far away
- Last-minute birthday gifts with a handmade touch
Since the wrapper slides around the can, you can reuse this same idea with dozens of different themes simply by changing the printable.
WATCH MY SHORT VIDEO!
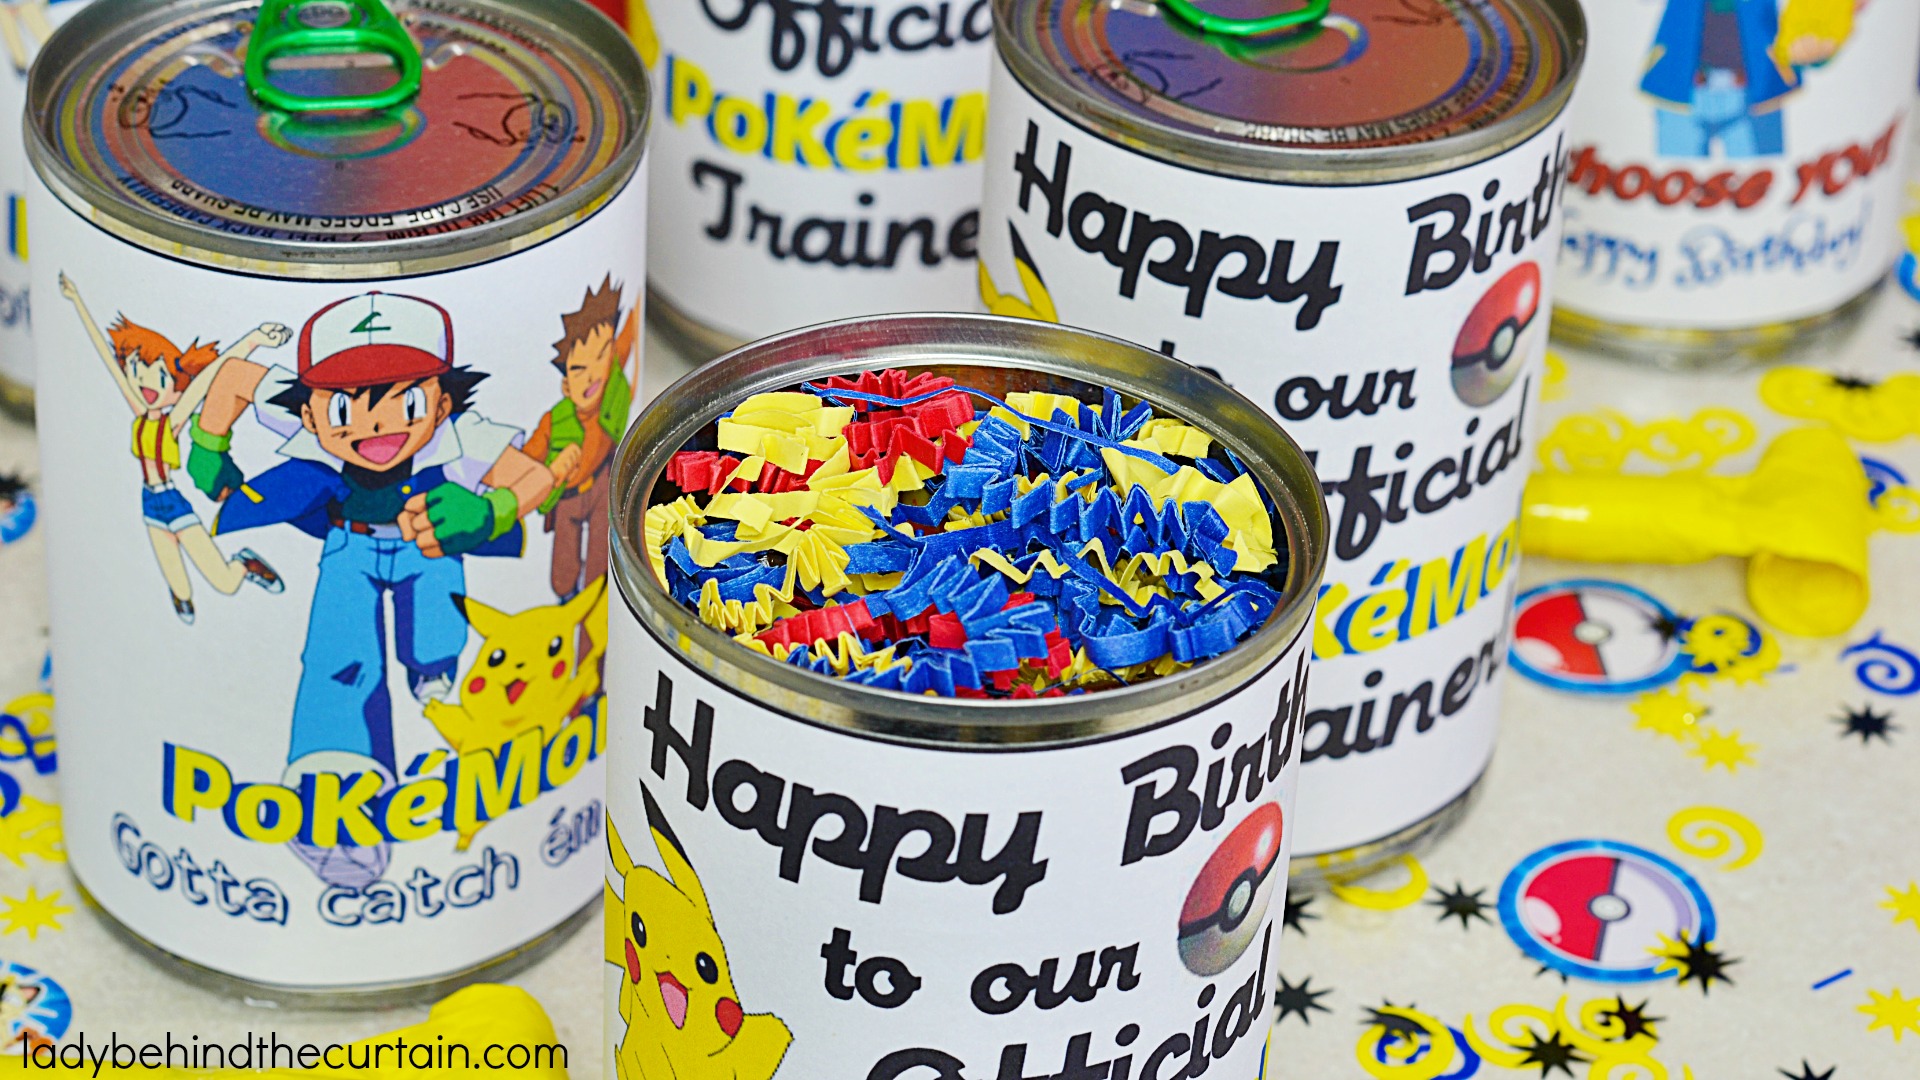
Pop the top to reveal all the goodies! I don’t know…..I think adults might like to get this fun goodie filled can too!

TO PRINT LABELS, MAKE SURE YOU’RE IN LANDSCAPE MODE!
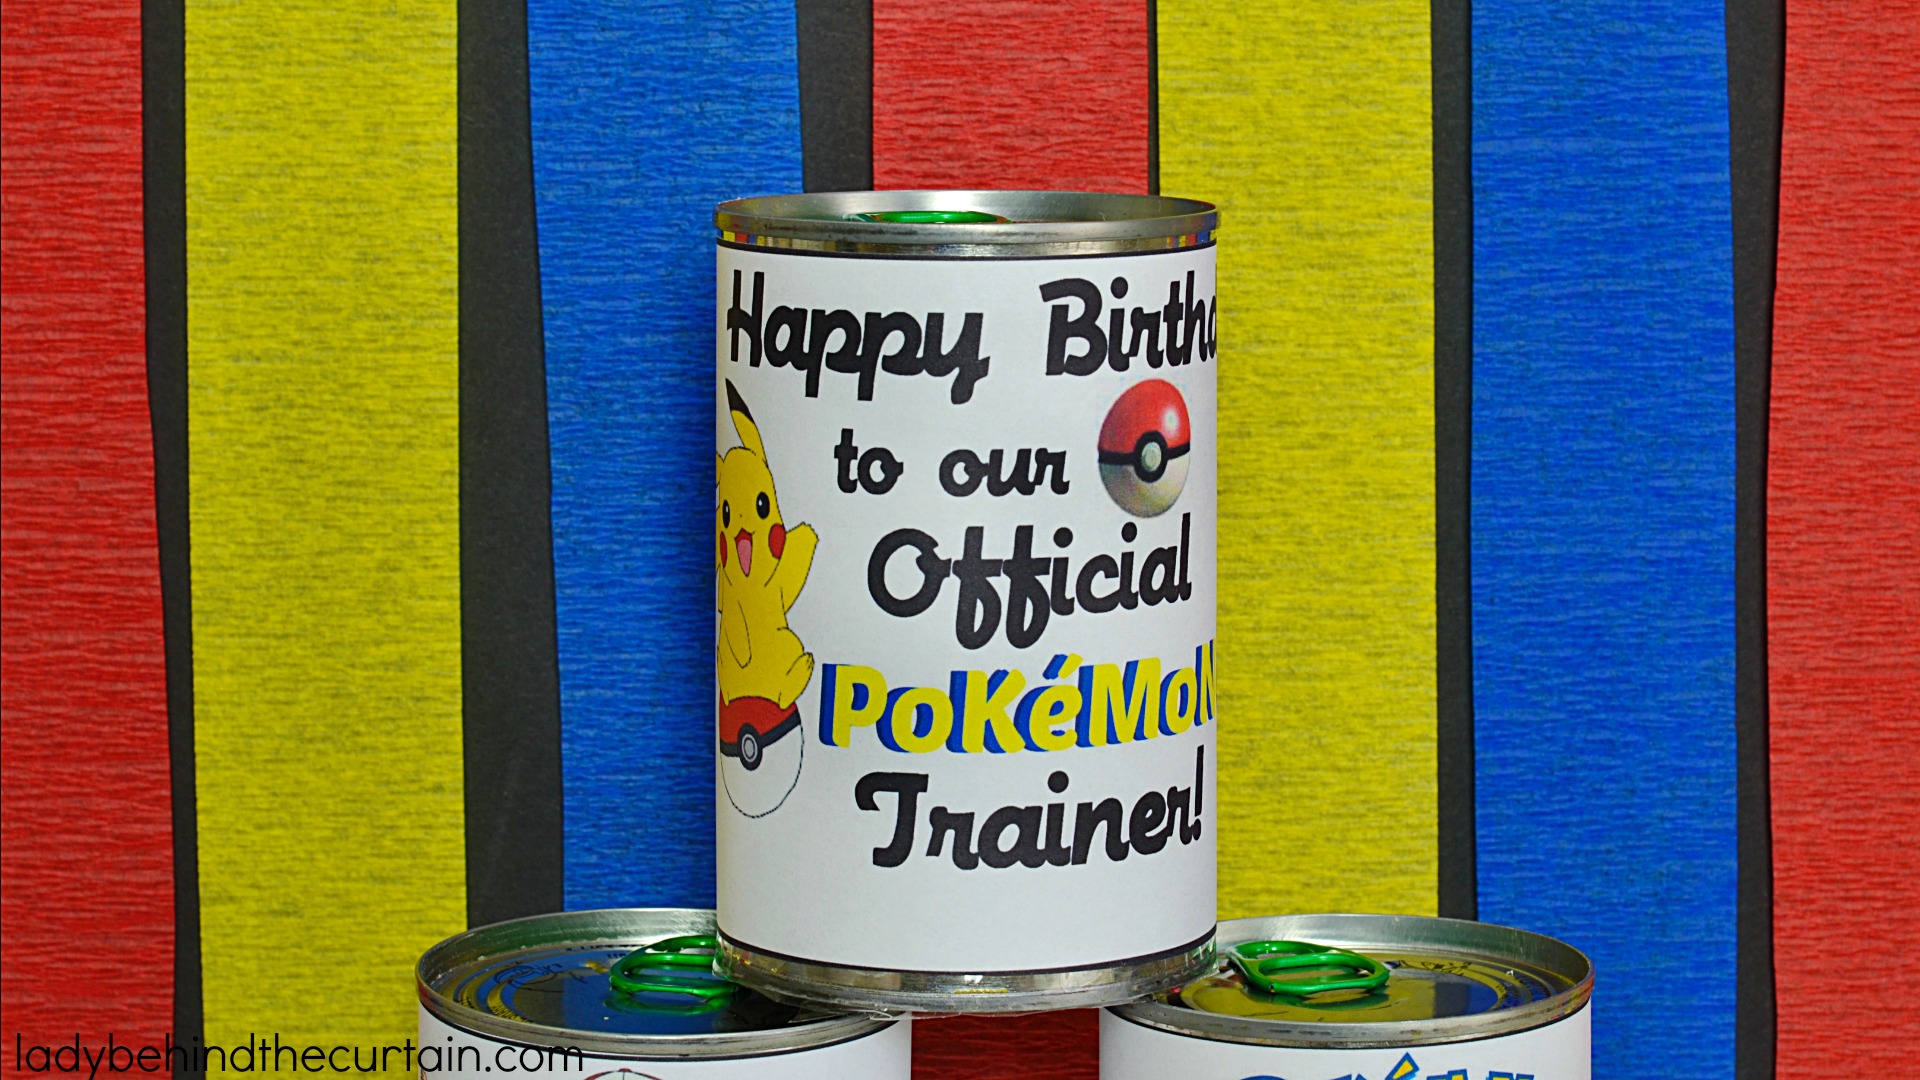
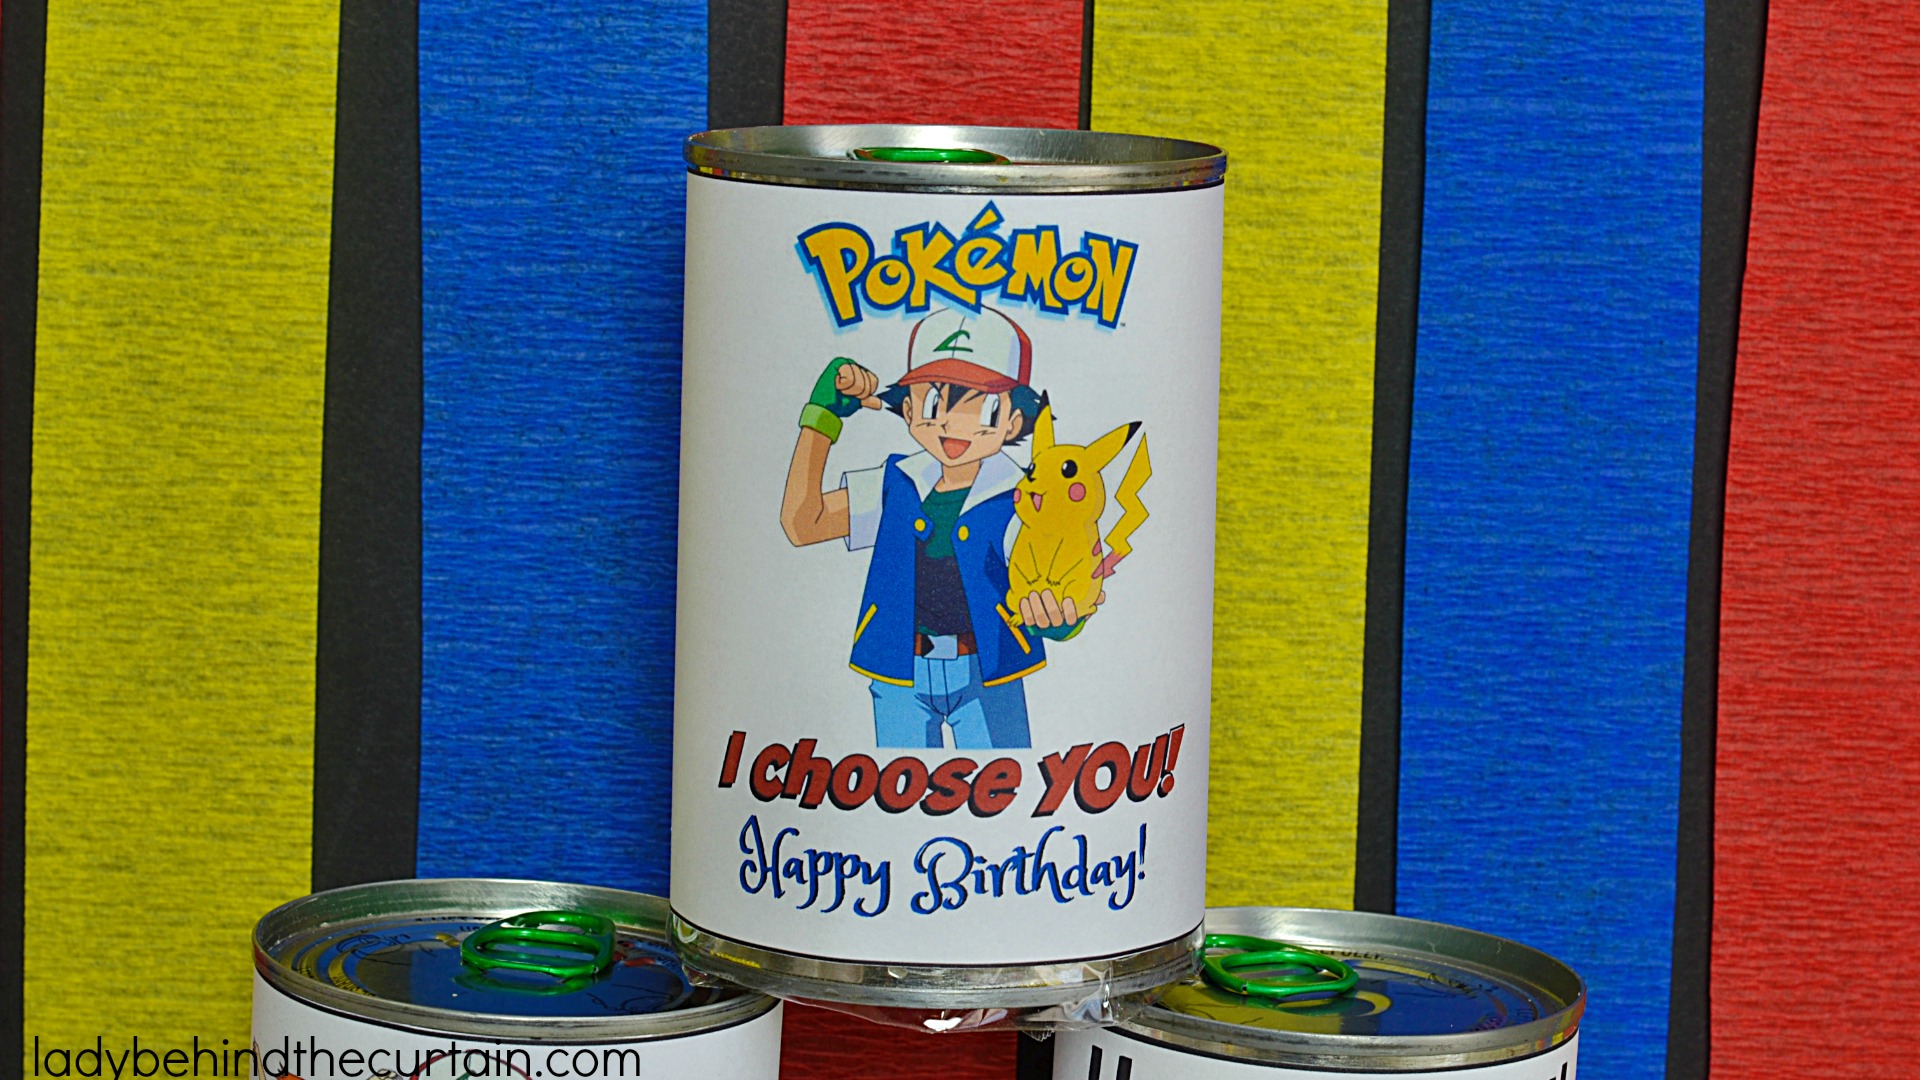

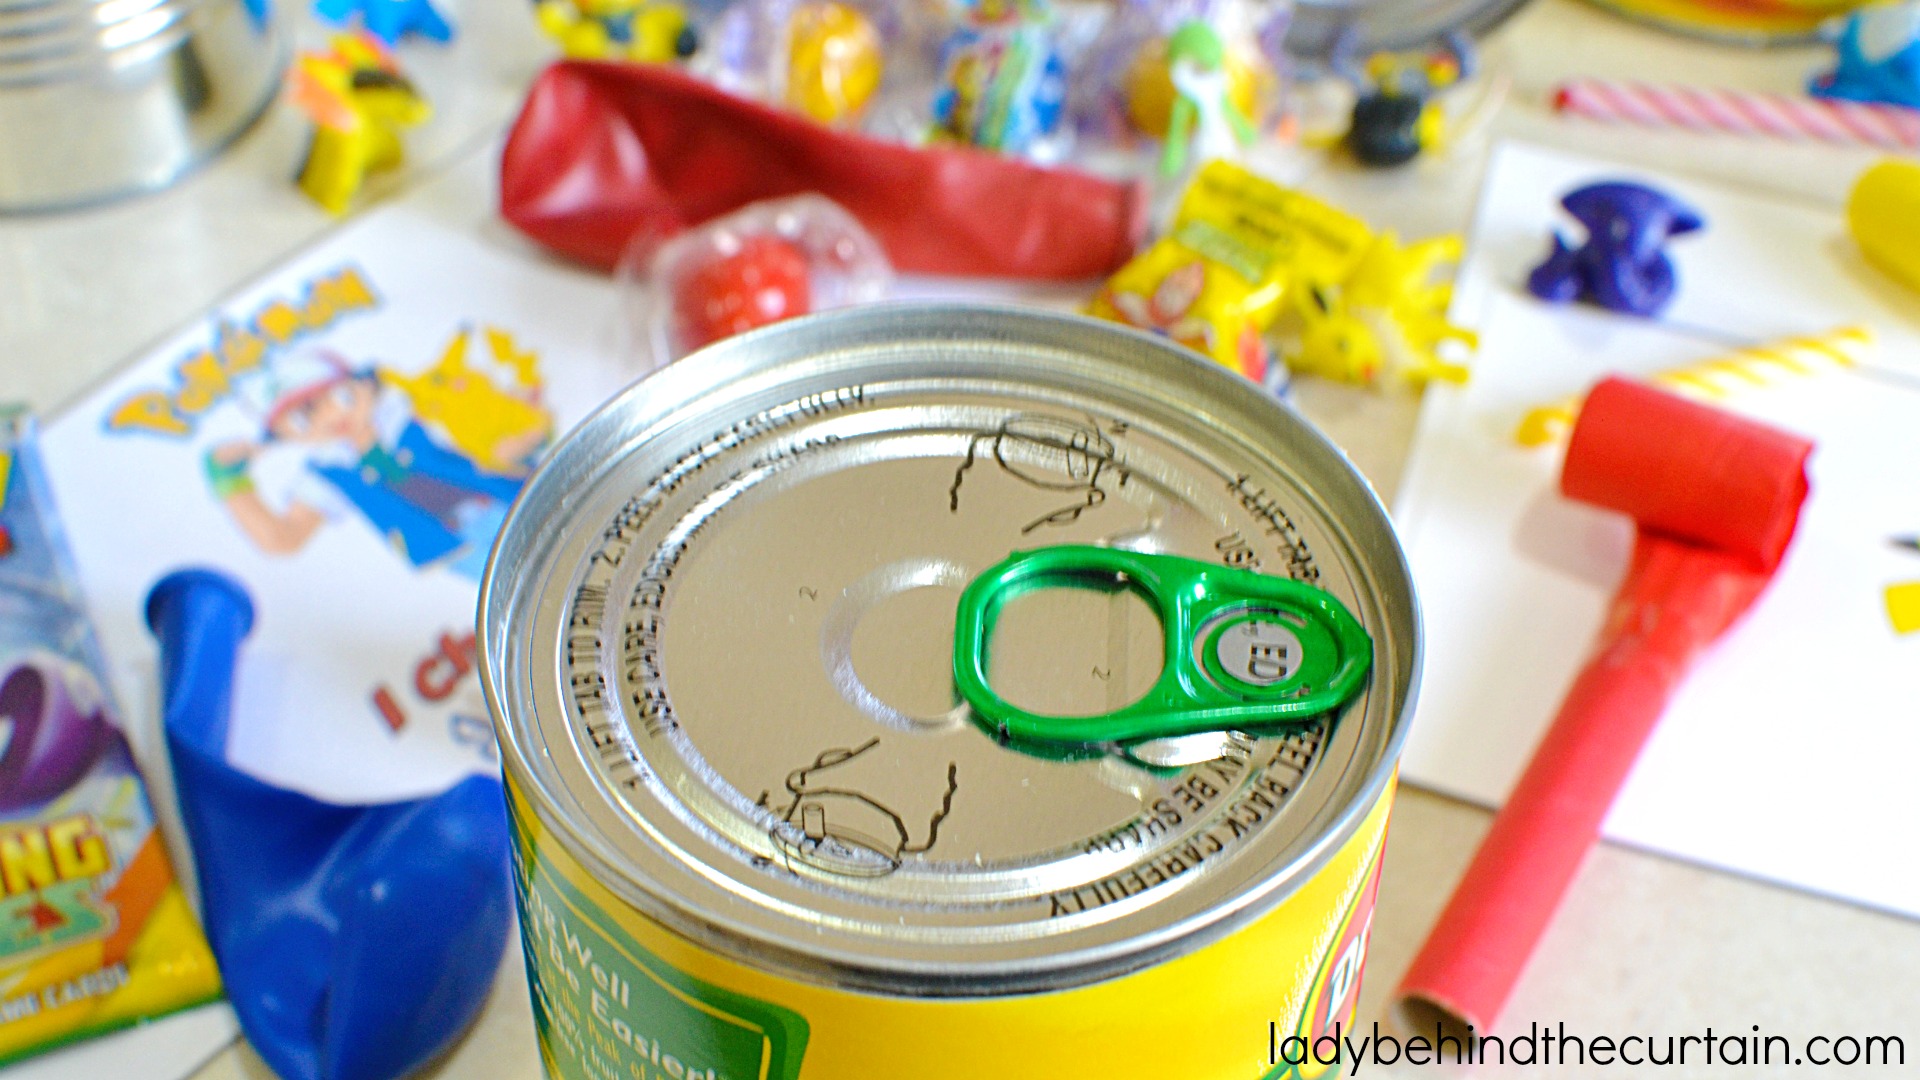
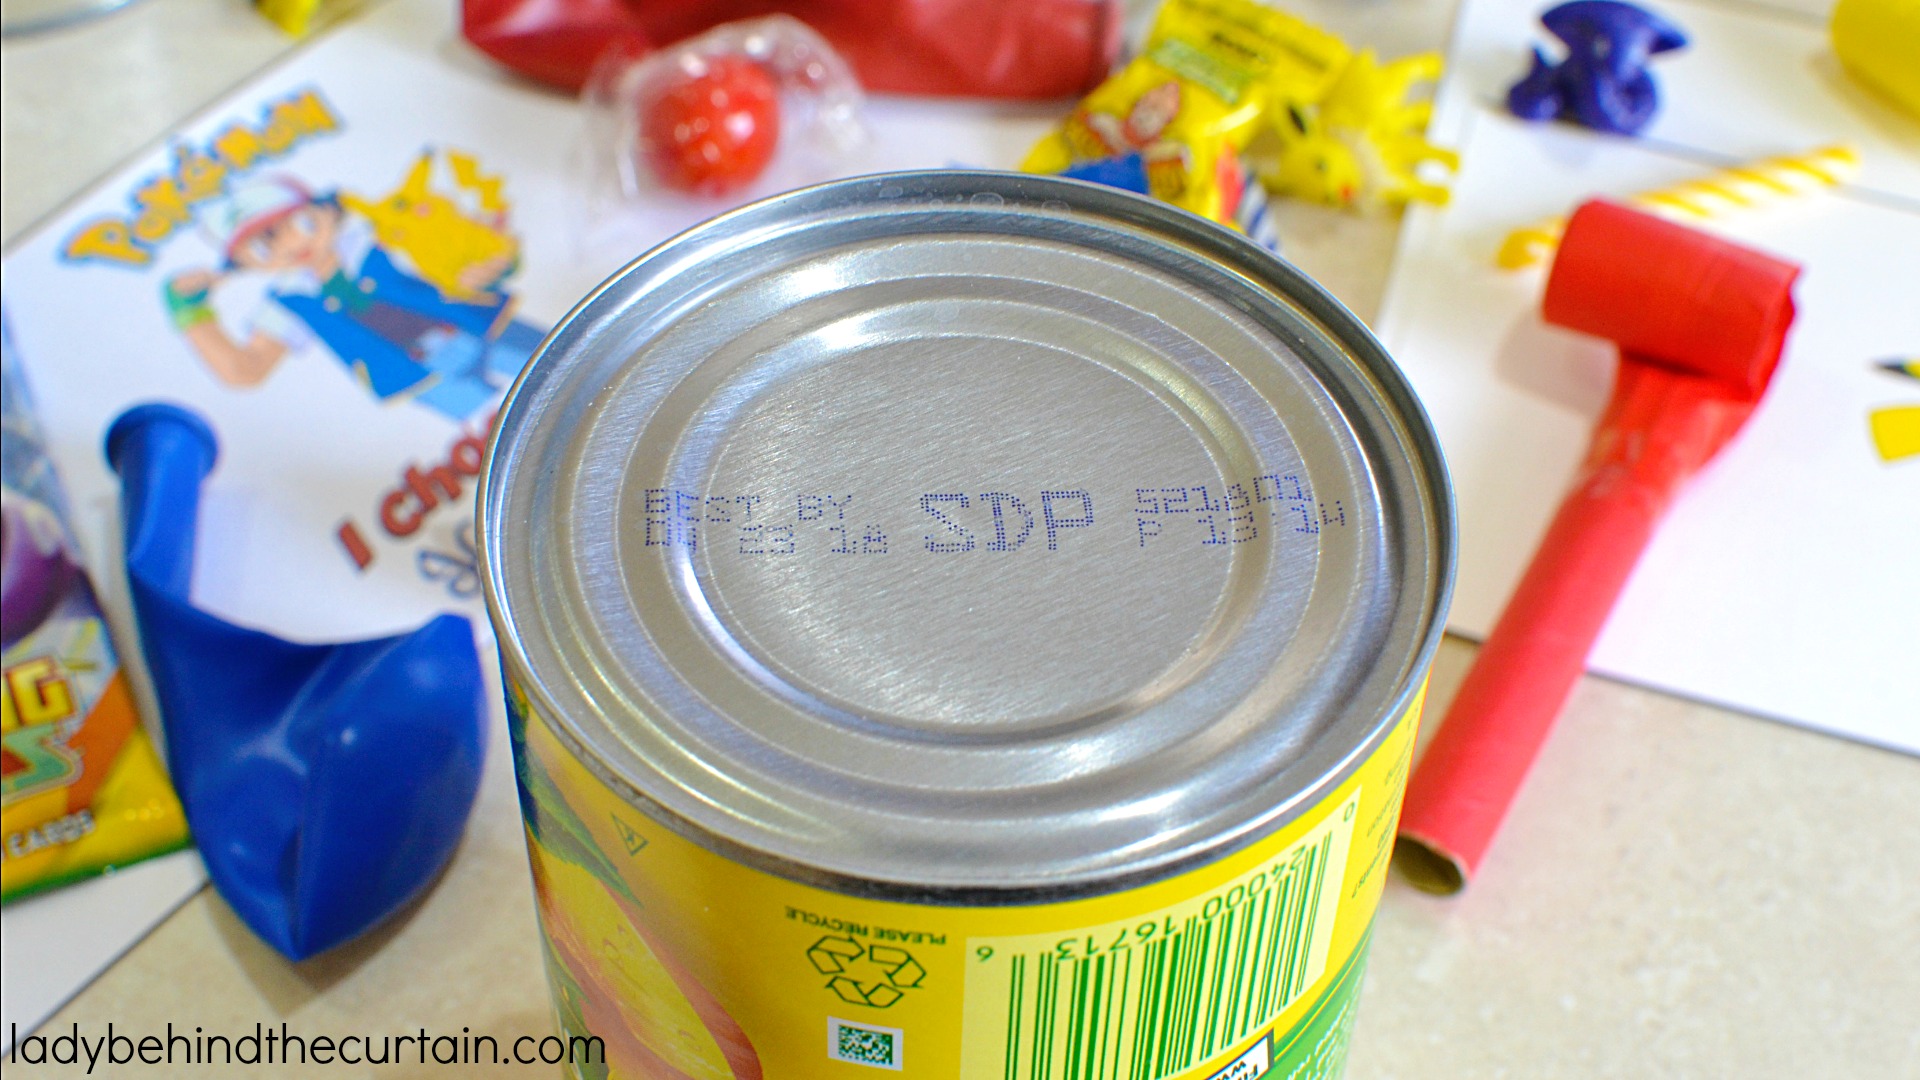
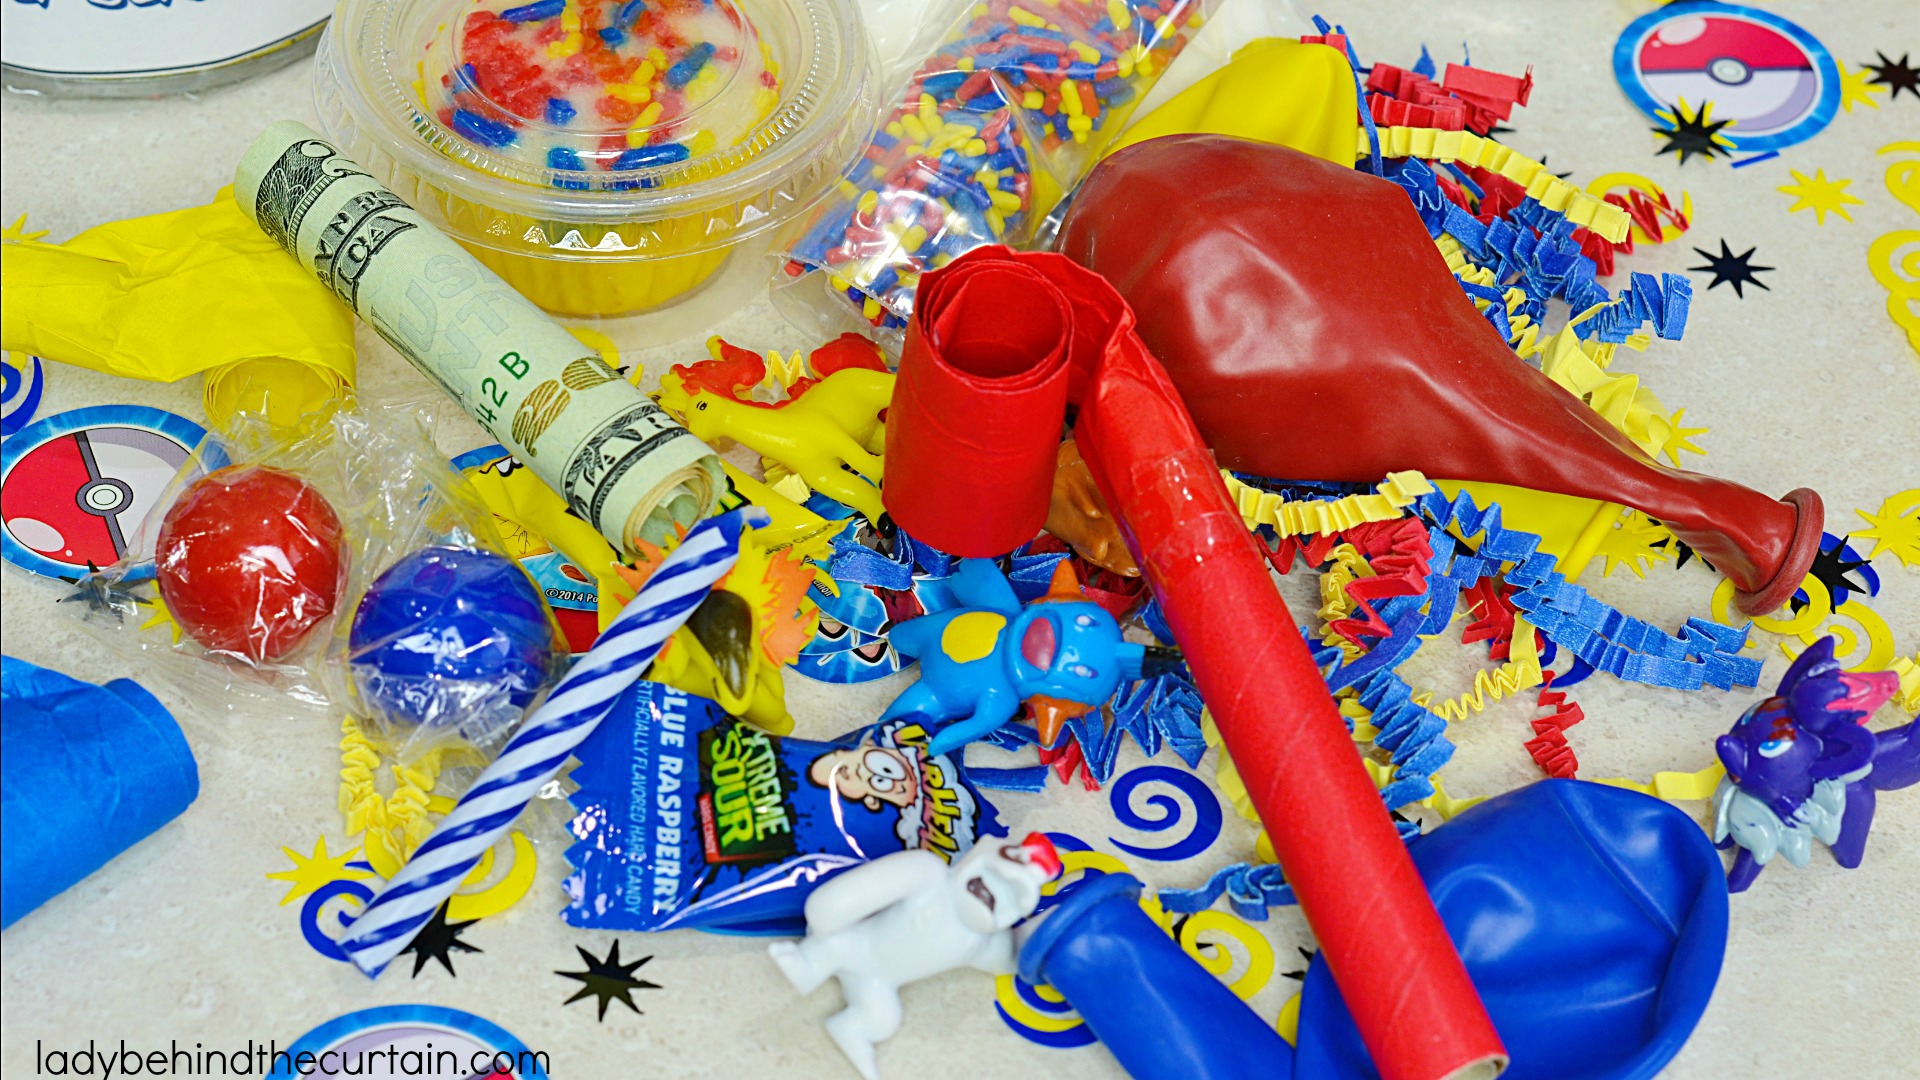
SUGGESTED ITEMS FOR A BIRTHDAY PARTY
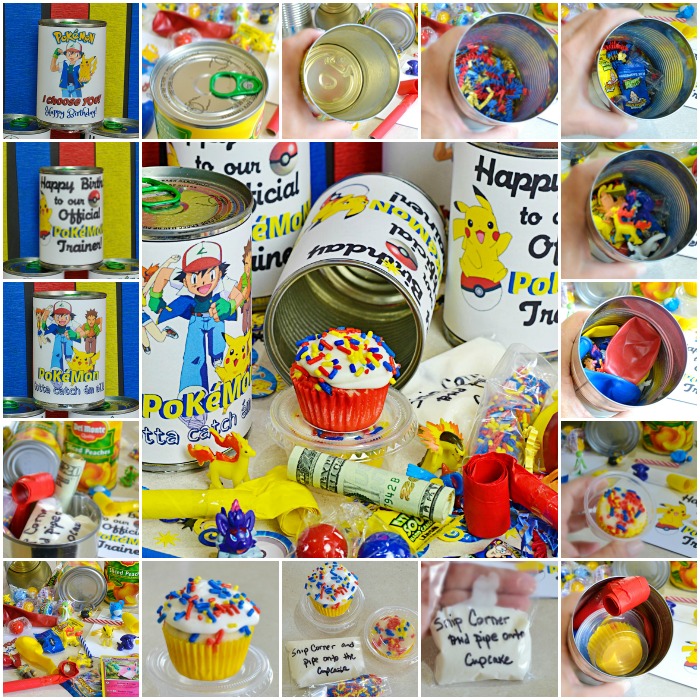
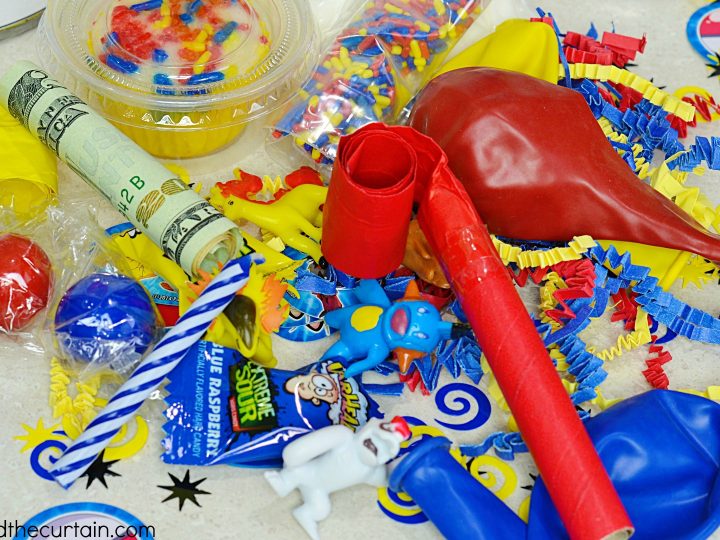
- mini cupcake
- frosting
- sprinkles
- birthday candle
- balloons
- party horn
- mini pokémon toys (from Amazon)
- assorted candy
PARTY FAVOR SUGGESTIONS
- I think adding a cupcakes would still be fun
- mini pokemon tory (from Amazon)
- assorted candy
FOR THE CUPCAKE:
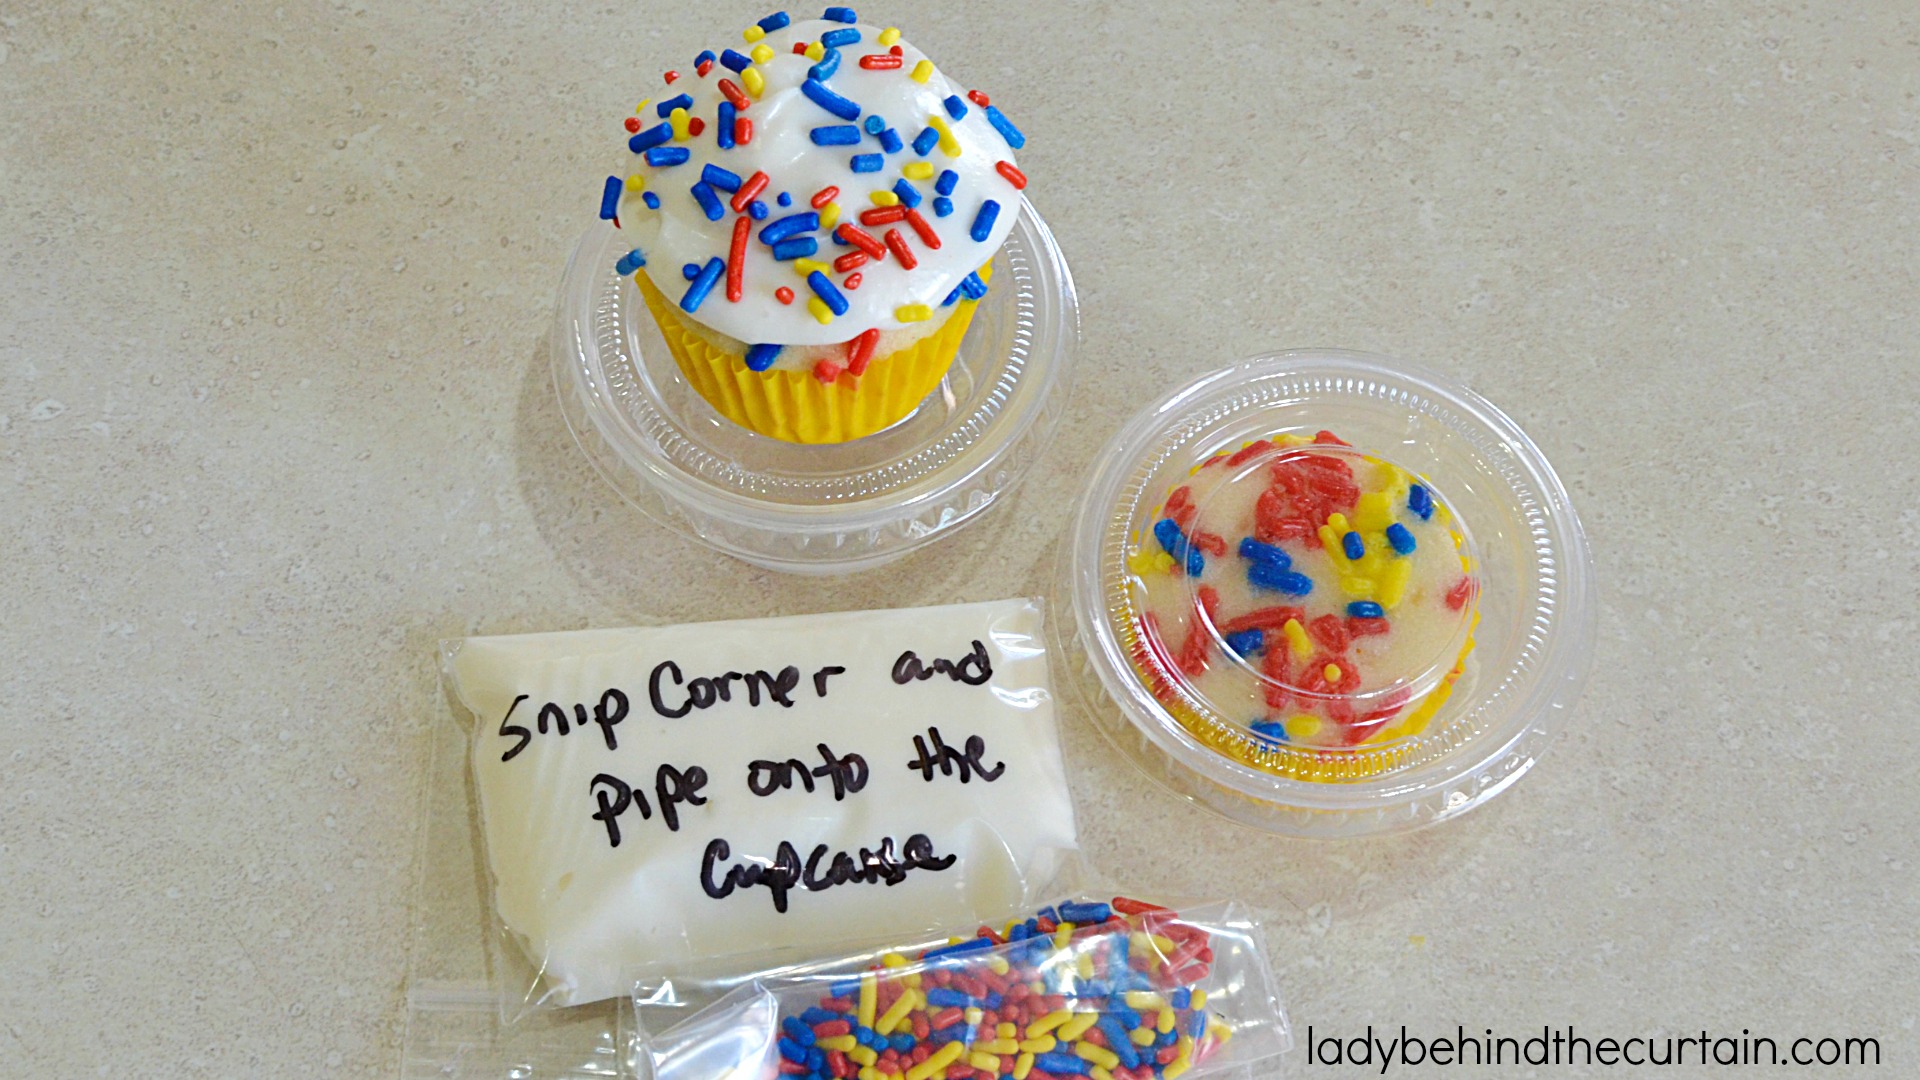
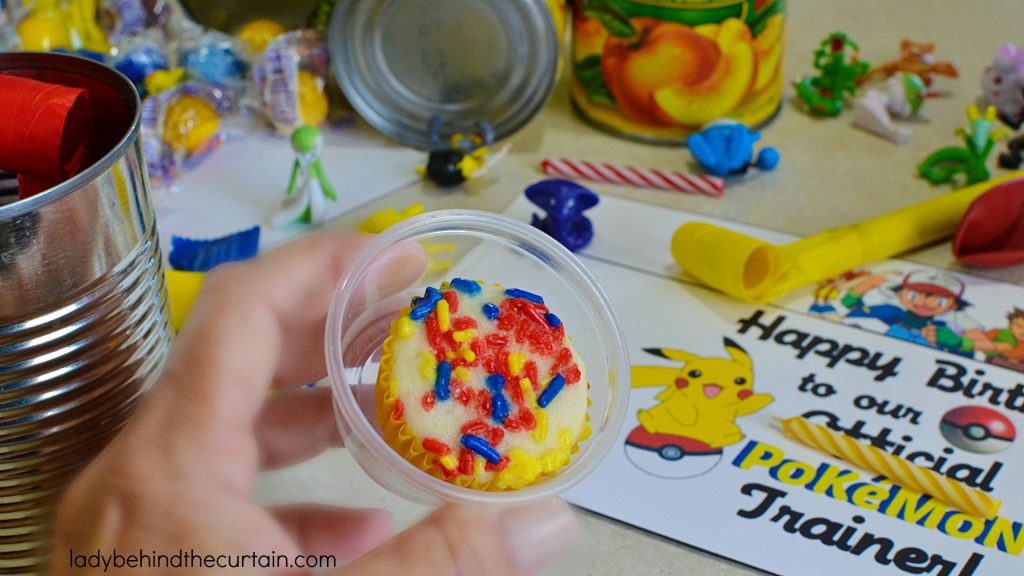
HOW TO DECORETE THE CUPCAKE

ONCE THE CAN IS FILLED…..HERE’S HOW TO CLOSE IT!
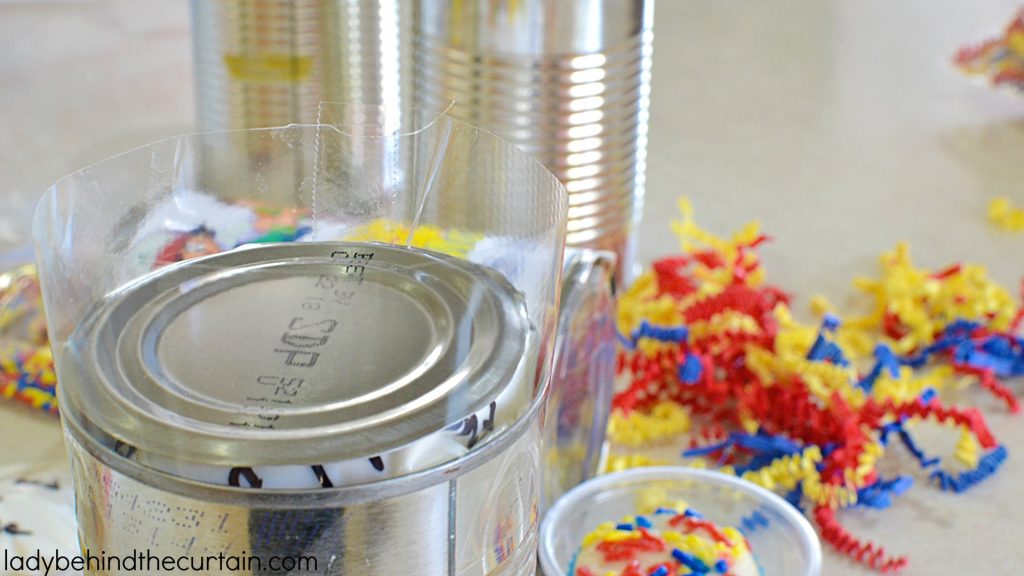
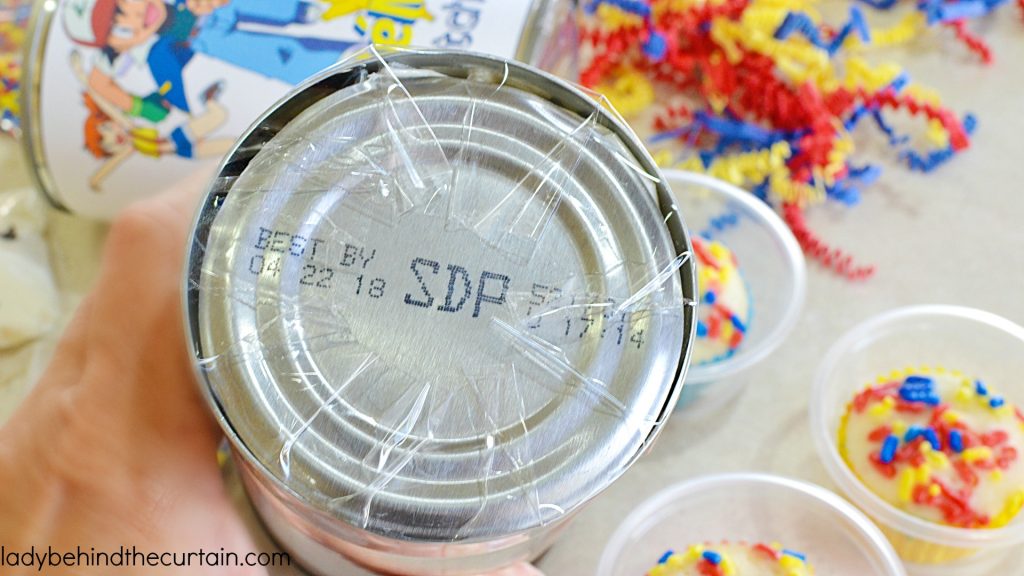
- Wrap a piece of shipping tape around the top (bottom) of the can.
- Slide the lid into the center.
- Press the tape to the top. For added strength, add a small piece of tape over the top.
Tips for the Best Results
Choose lightweight items. Smaller surprises fit better and keep the can from becoming too heavy.
Use colorful shredded paper. It fills empty spaces while creating a festive presentation.
Coordinate your colors. Matching candies, balloons, frosting, sprinkles, and paper make the finished can look professionally designed.
Keep food sealed. Using lidded containers and resealable bags helps keep everything clean and fresh.
Test your arrangement. Before sealing the can, make sure everything fits comfortably without crushing the cupcake.
Think about the opening experience. Every layer should reveal another fun surprise, making the unboxing just as exciting as the gift itself.
More Than Just Pokémon
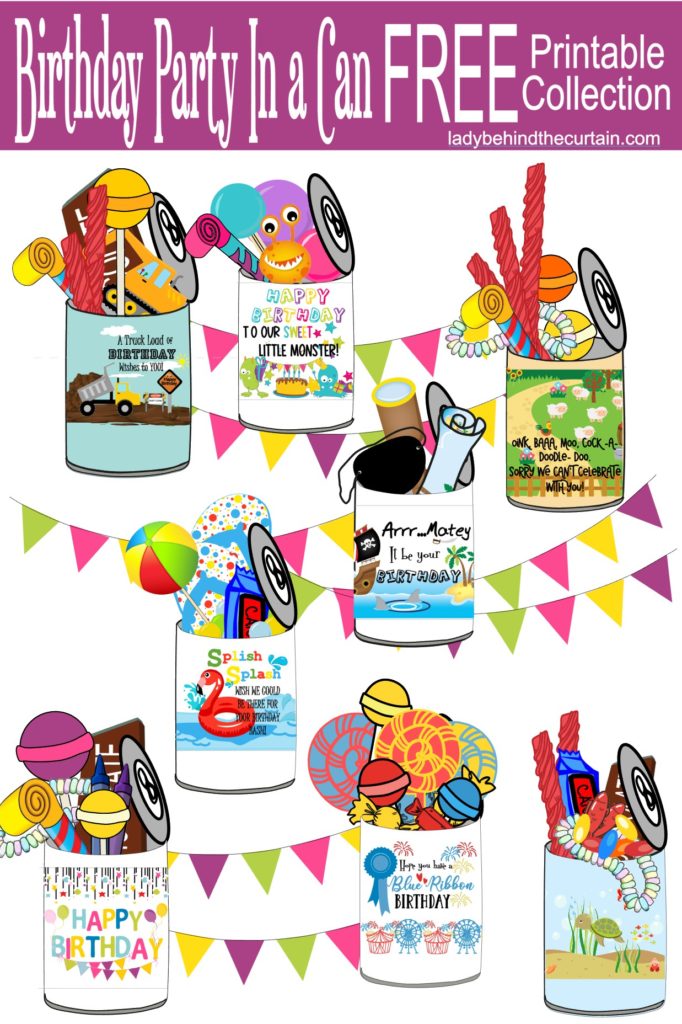
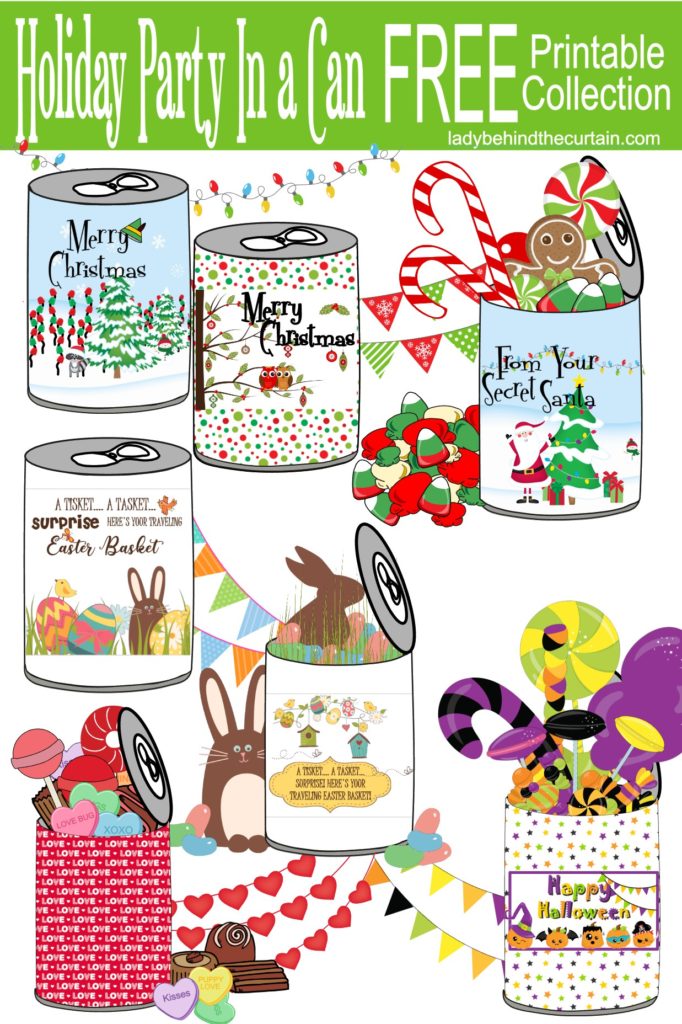
Although this tutorial features my Pokémon GO design, this idea works beautifully with all of the Party in a Can printables available here on Lady Behind the Curtain. Once you learn the basic technique, you can create themed cans for nearly every celebration throughout the year. Simply swap the wrapper and coordinate the goodies inside to match your chosen theme.
A Party That Fits Inside a Can
I love projects that make people stop and smile, and this Traveling Pokémon GO Birthday Party in a Can does exactly that. From the moment the pop-top opens to the final cupcake decorating activity, every layer is filled with colorful surprises that create a memorable birthday experience.
The best part is that once you’ve made one, you’ll find yourself creating Party in a Can gifts for every celebration on your calendar. Simply choose one of the free printable wrappers, gather a few themed goodies, and build a tiny party that’s packed with big smiles.
I hope you’ll have as much fun making these as I do. They’re one of my favorite handmade gifts because they combine creativity, celebration, and a little bit of surprise—all tucked inside one simple can. Sheryl
How to Put Together a Traveling Birthday in a Can
Materials
For the Mini Cupcake:
- cake mix of your choice+ ingredients listed on the box
- mini cupcake liners
- sprinkles
- store-bought frosting
- birthday candle
For the Can:
- 15 ounce cans with a pop top (fruit works best, peaches or fruit cocktail)
- printer paper or card stock paper
- packing tape
- small toys, balloons, candy
- shredded paper
Tools
- mini cupcake pan
- 2 ounce clear plastic cups with a lid (found at Walmart), to hold the mini cupcake
- 1.5 x 2 inch resealable bags (found on the jewelry making aisle at Walmart), for the sprinkles
- 1 cup resealable portion snack bags(from Walmart)
- scissors
Instructions
For the Cupcakes:
- Mix the cupcake batter as instructed on the box. For an extra punch of color, add a sprinkle of coordinating sprinkles to each cupcake before baking.
- Bake the cupcakes as instructed on the box for mini cupcakes. Cool completely before adding the cupcake to the 2-ounce plastic cup.
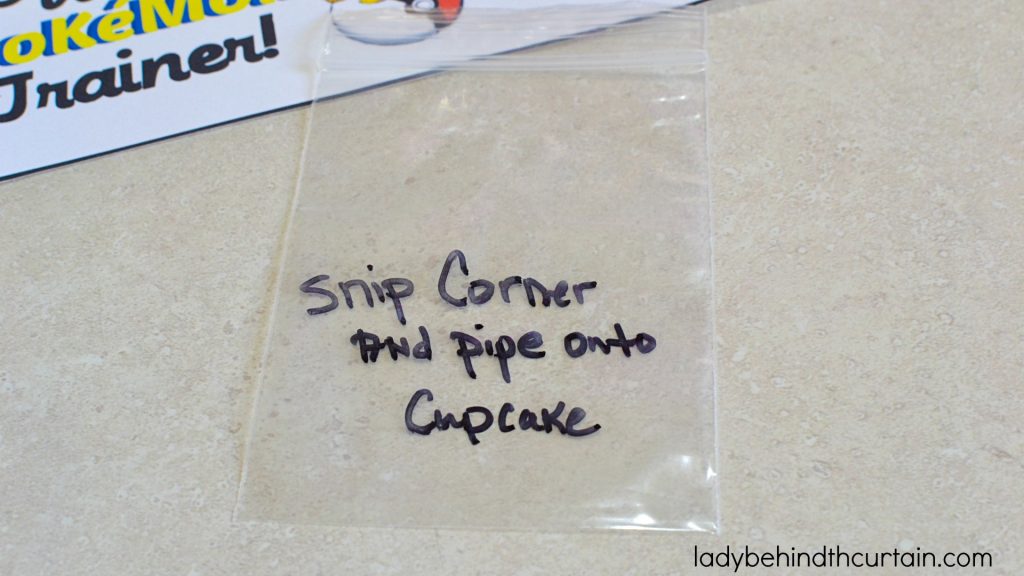
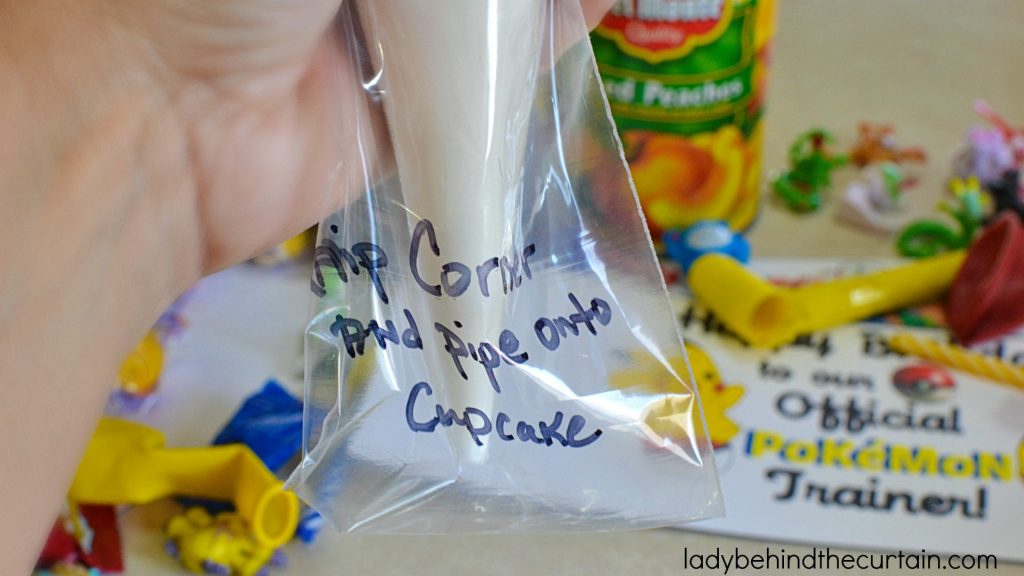
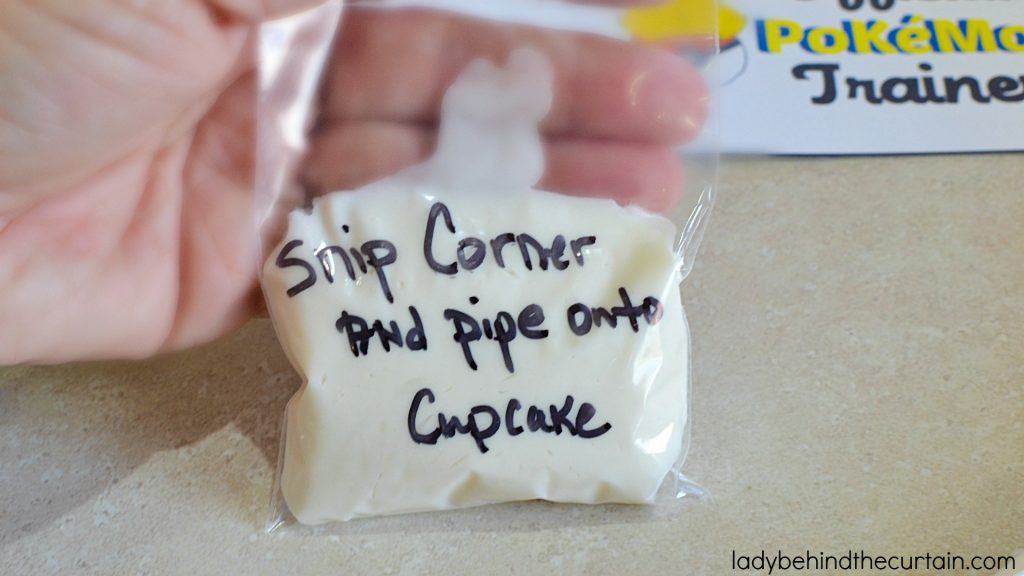
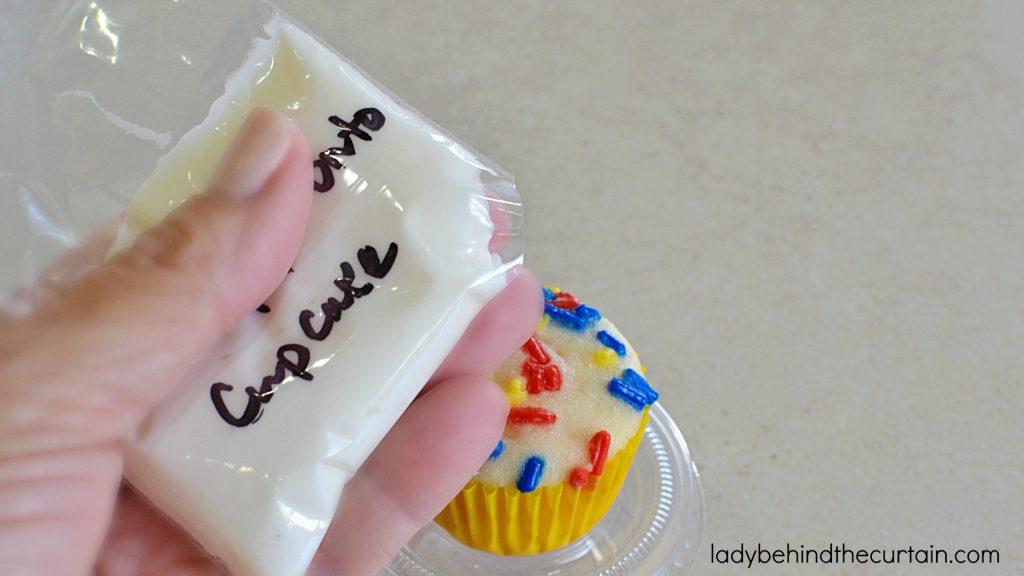
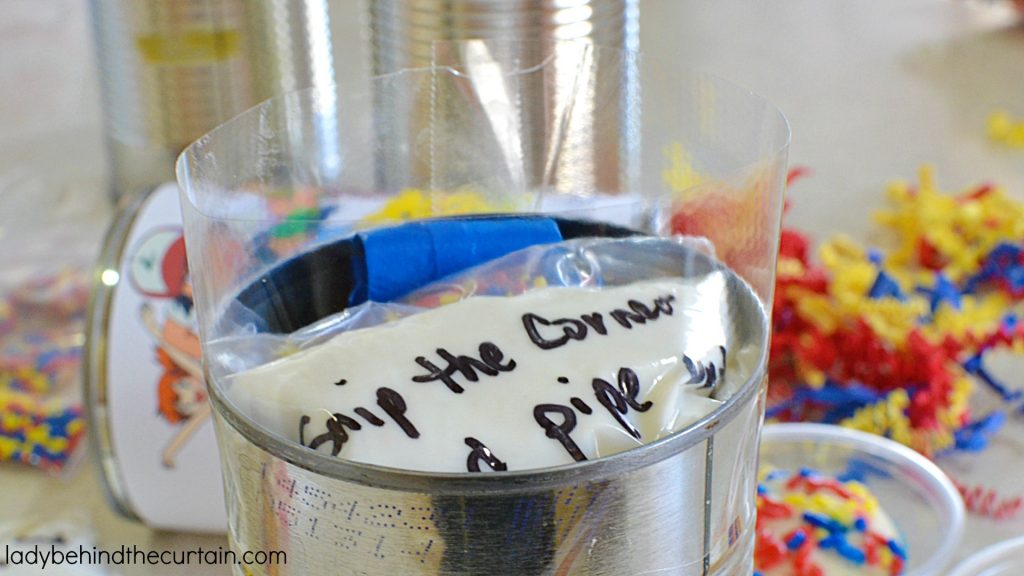
- Write on the 1-cup resealable bag piping instructions. "Snip the corner; pipe onto the cupcake". Fill a piping bag with the store-bought frosting and pipe some into the 1-cup resealable bag.
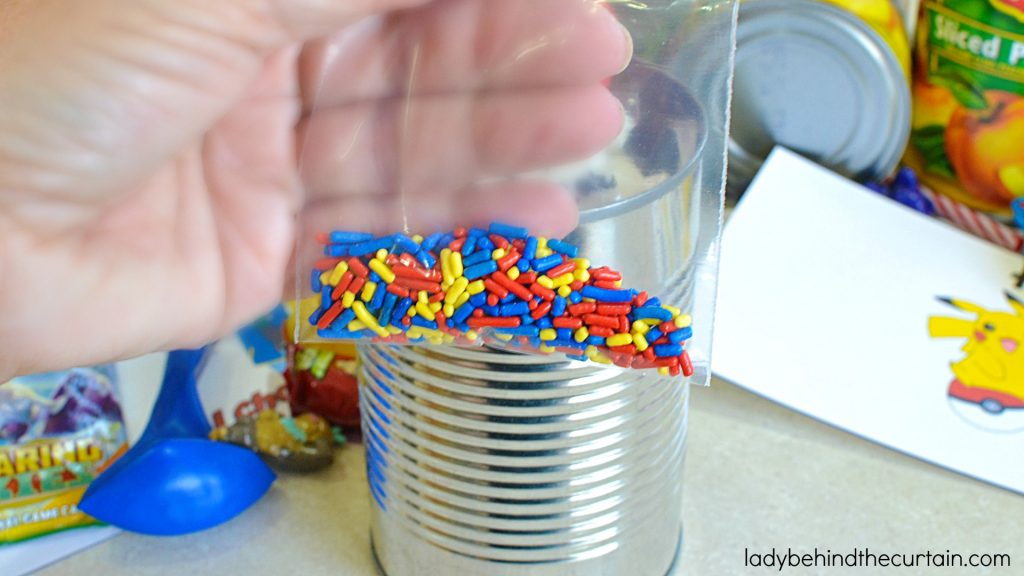
- Fill the 1.5 x 2-inch resealable bag with sprinkles.
How to Fill the Birthday Party Can:
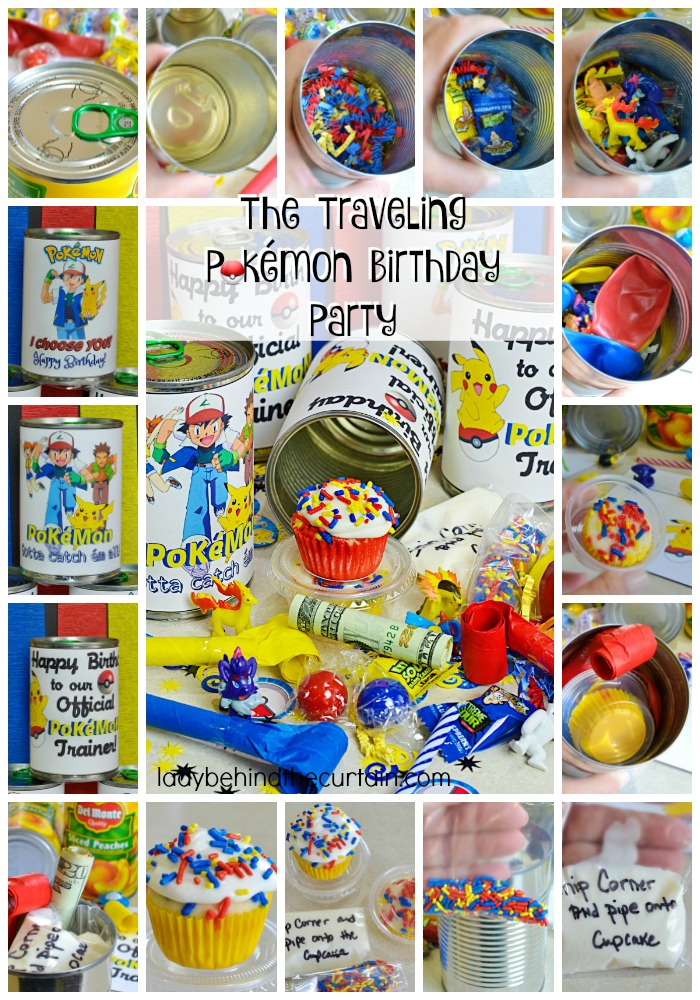
- Print the labels. Remove the label on the can. TIP: Soaking the can in hot water will help.
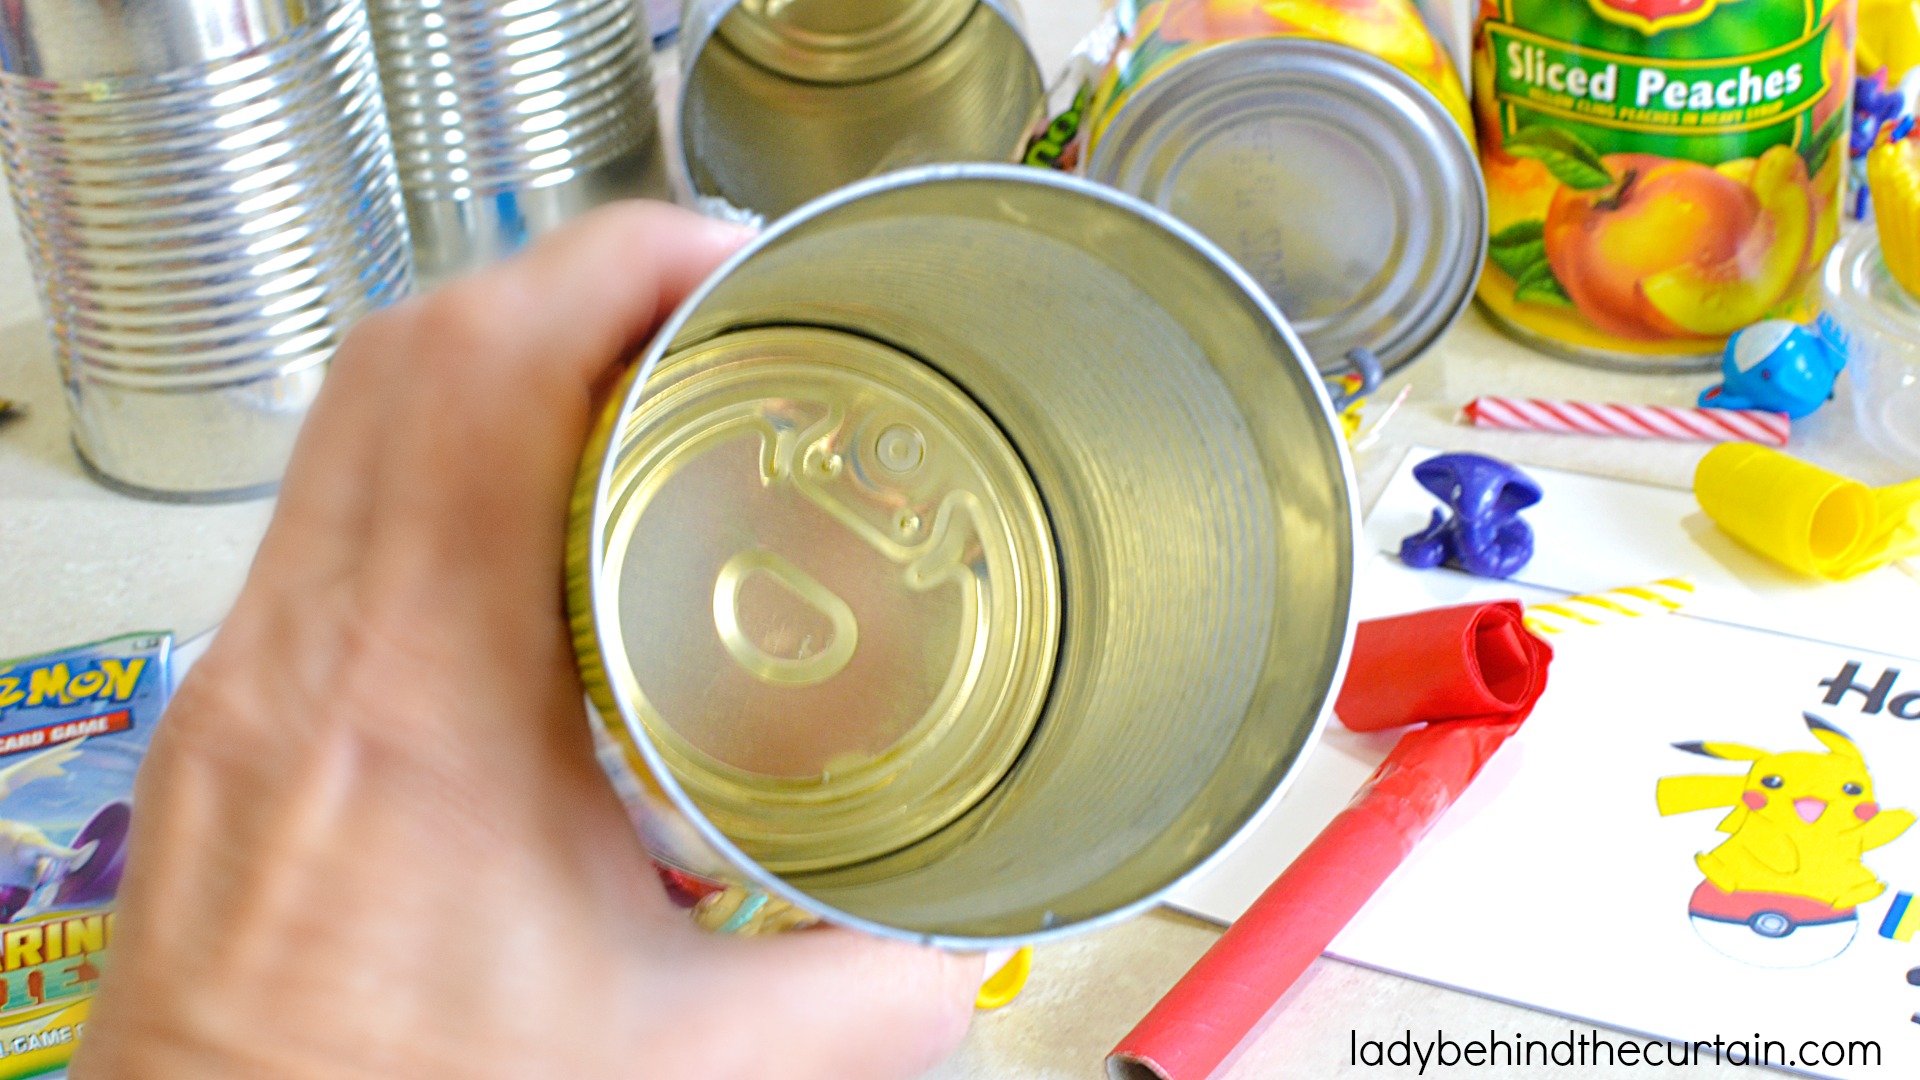
- Turn the can upside down, use a can opener, and remove the bottom. MAKE SURE TO LEAVE THE POP TOP INTACT.
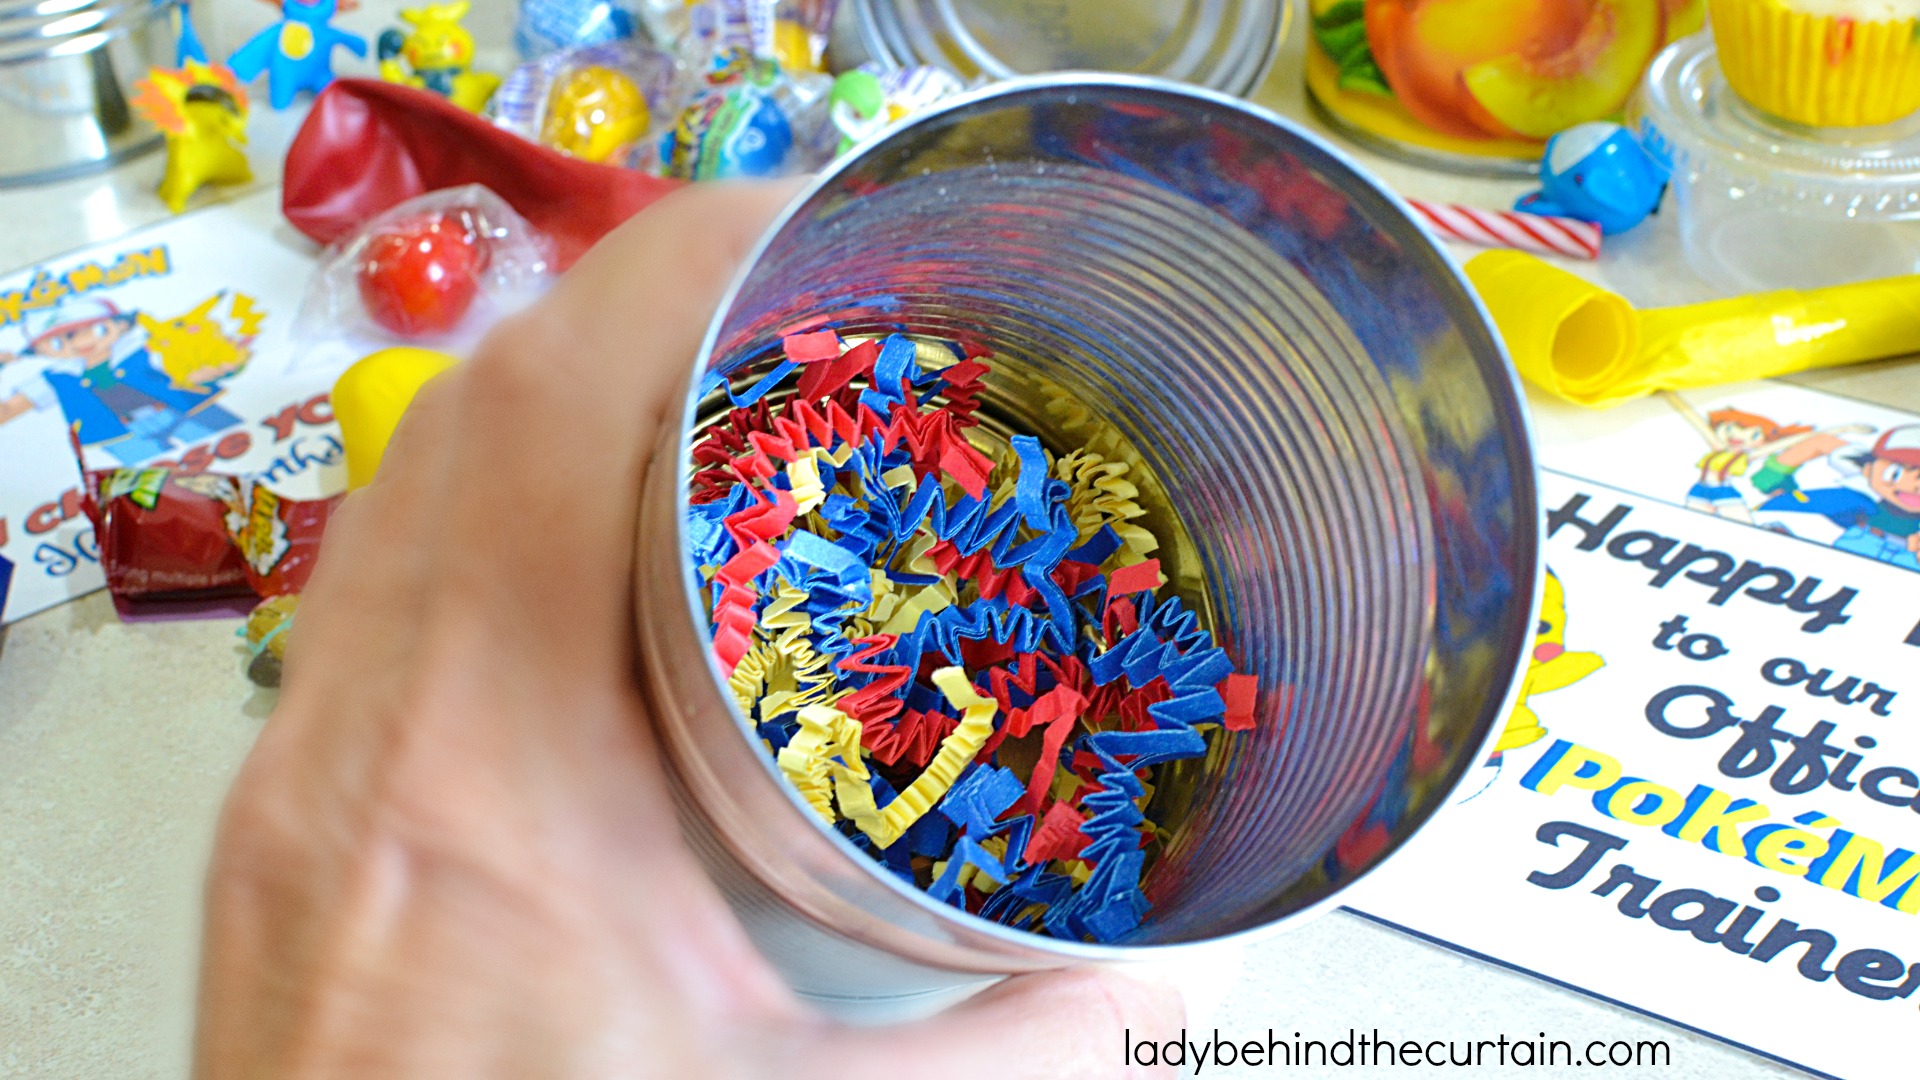
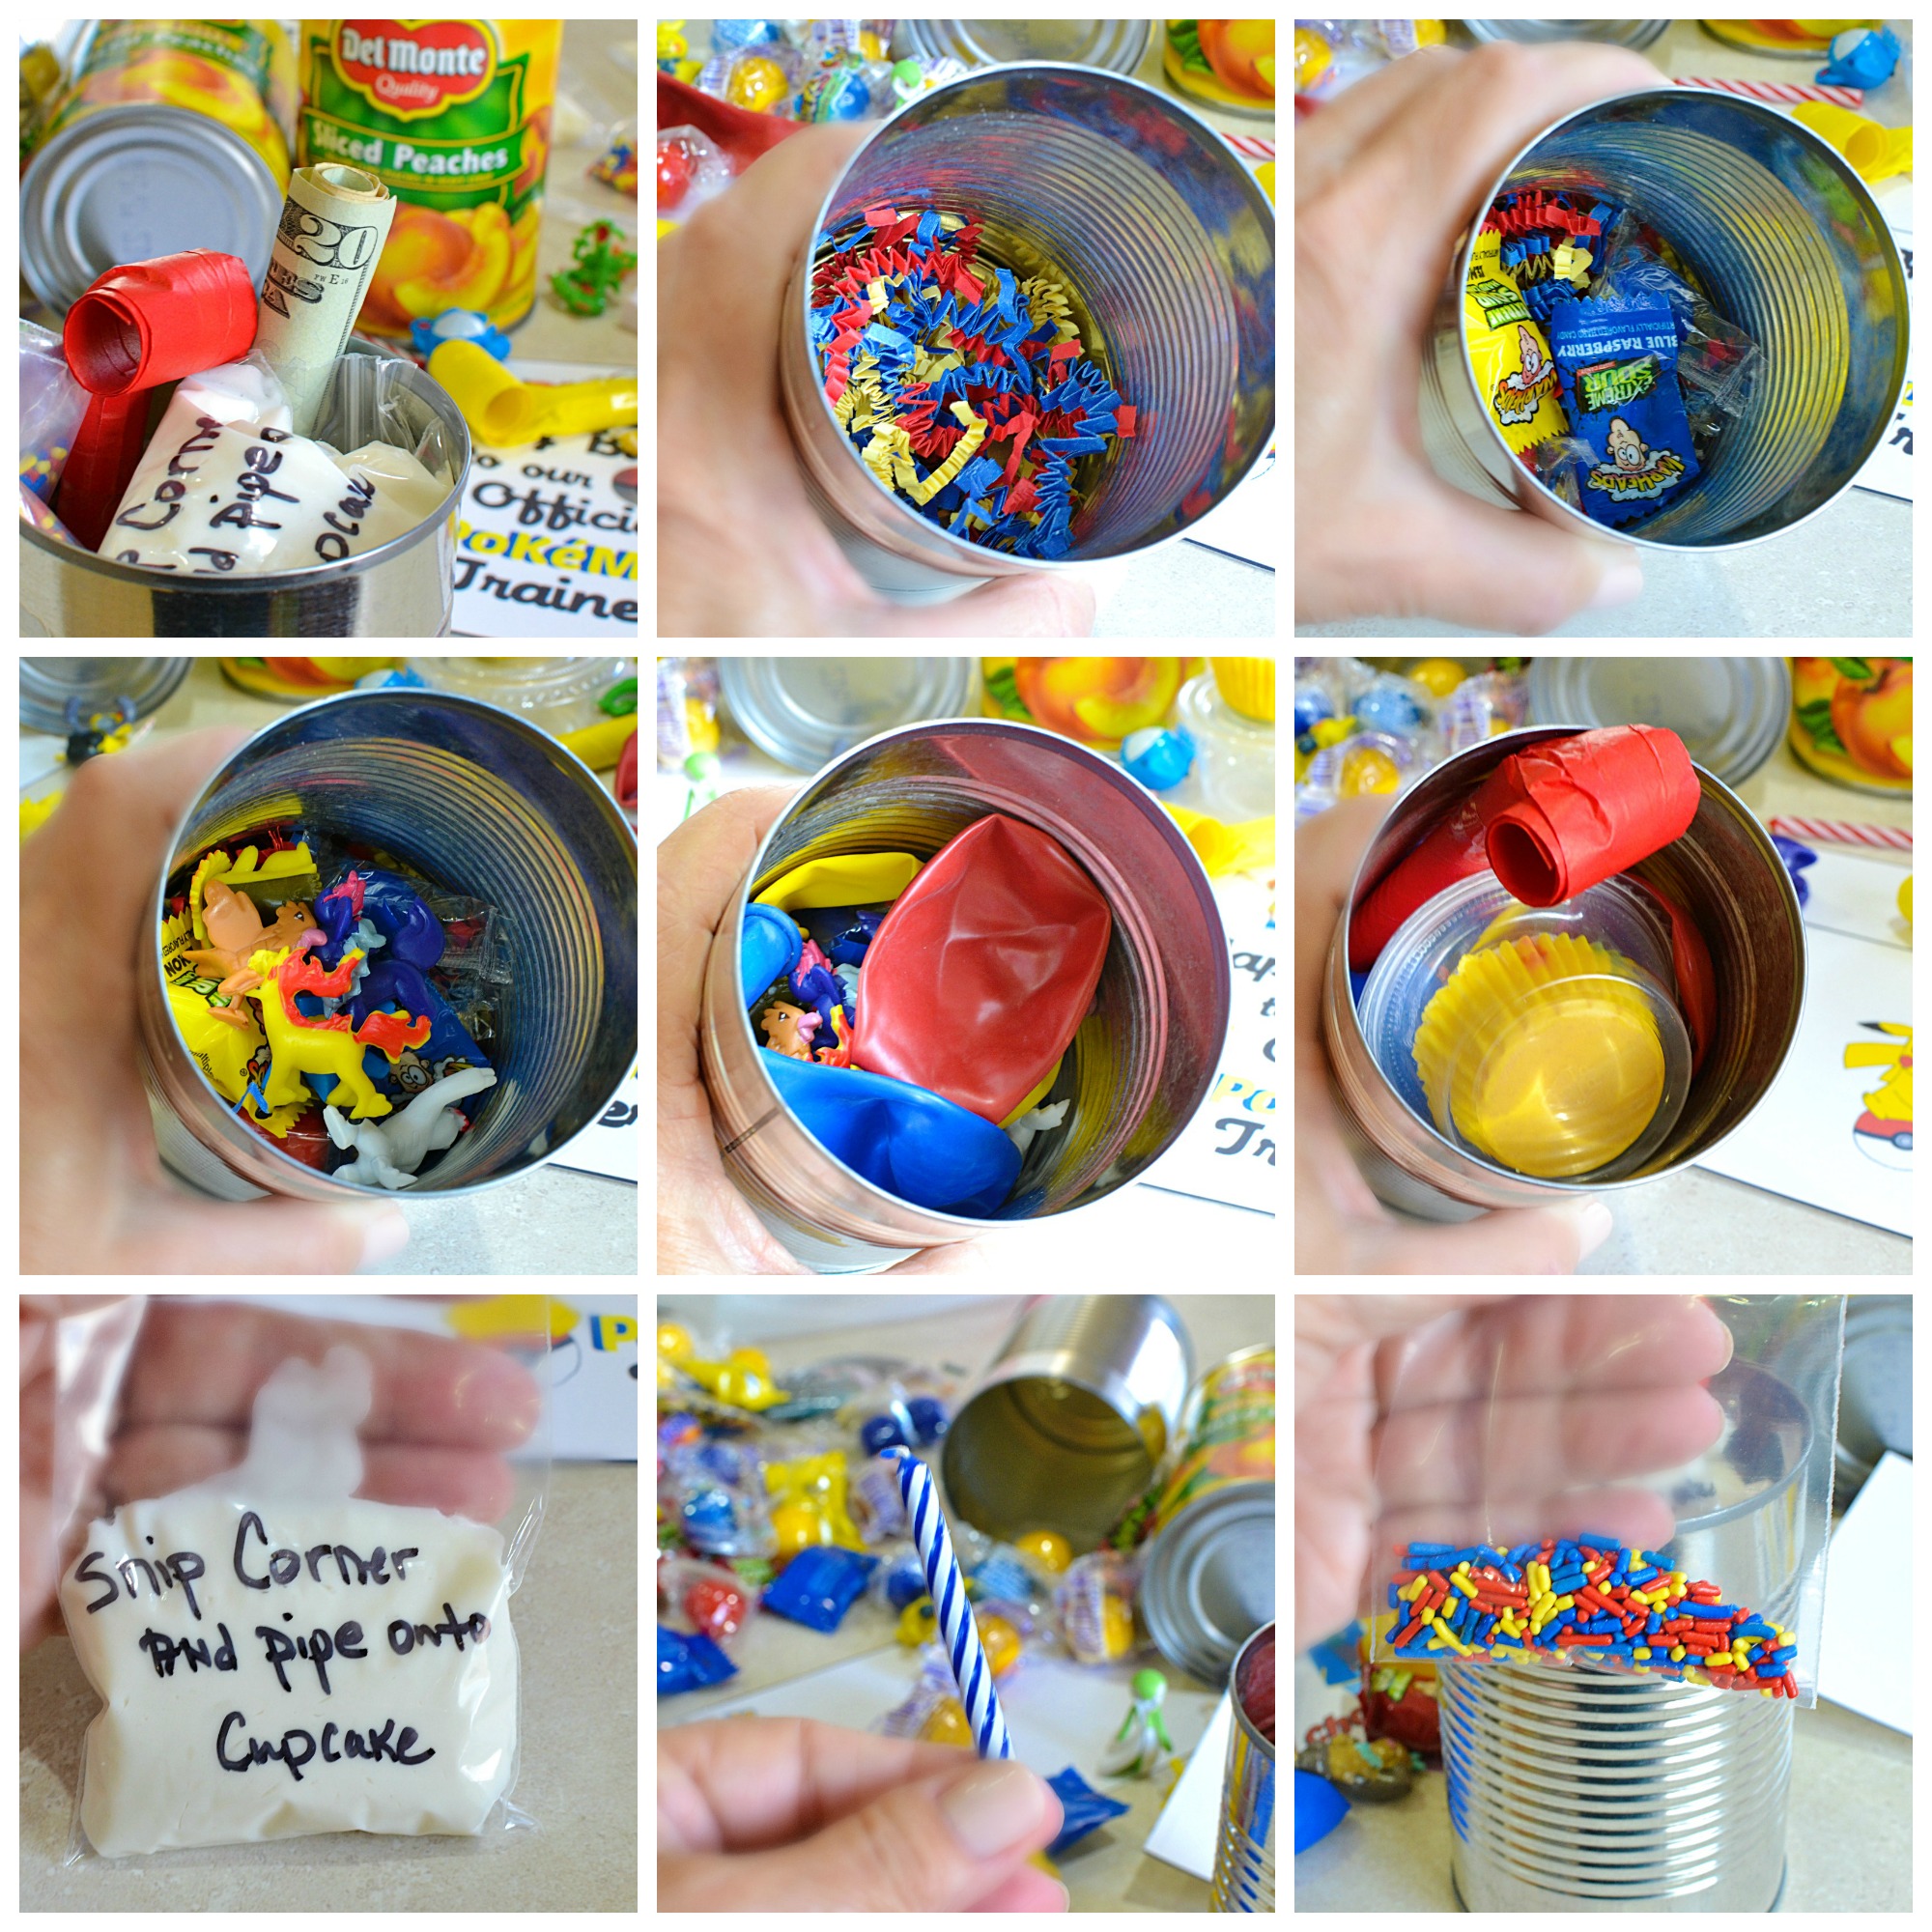
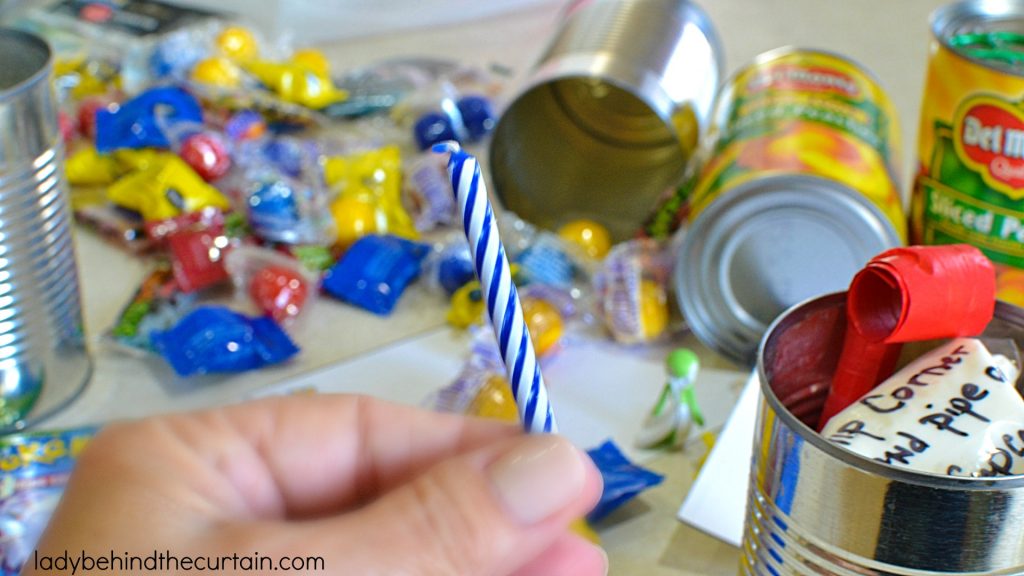
- Now it's time to fill the can. Remember, you are filling it from the top to the bottom. So, the bottom (top) looks like a gift. Start with the shredded paper, then toys, candy party horn, balloons, and the cupcake decorating kit (frosting, sprinkles, and candle). If you're opting for money too!
- SEAL THE CAN: Wrap a piece of packing tape around the top (bottom) of the can. Make sure the packing tape is centered. Meaning half of the tape is on the can, and the other half is in the air. Make sure the tape meets itself. Slide the bottom of the can that you took off with the can opener into the circle you created with the packing tape. Now press the packing tape to the can bottom that was removed.
- Flip the can so the pop top is on top. Cut the label, wrap it around the can, and seal with packing tape.

Frequently Asked Questions-TRAVELING POKEMON GO PARTY IN A CAN
No matter how many Party in a Can gifts I make, there are always a few questions that come up before getting started. From choosing the right can and packing the contents to mailing your finished creation safely, a little planning goes a long way. I’ve gathered the most common questions below to help you create a Traveling Pokémon GO Birthday Party in a Can that’s fun to assemble, easy to personalize, and sure to delight the lucky recipient.
- Can I use any can? A 15-ounce fruit can with a pop-top lid works best because it’s the perfect size and easy for the recipient to open.
- Why remove the bottom instead of the top? Keeping the original pop-top intact creates the illusion of opening a brand-new can, making the surprise much more memorable.
- Can I mail the Party in a Can? Yes. Just be sure everything is securely packed and protected. If you’re including baked goods, consider shipping early in the week and using ingredients that travel well.
- Can I use homemade frosting? Store-bought frosting is recommended because it’s more stable for gifting and transporting.
- What if I don’t want to include a cupcake? You can easily substitute a cookie decorating kit, candy, or additional party favors.
- Can children help assemble these? Absolutely! Kids love choosing the toys, candy, and decorations. An adult should prepare the can and handle any cutting to ensure it’s safe.
- Are there other printable themes available? Yes! This same project can be made with many of the free Party in a Can printables available on Lady Behind the Curtain, making it easy to celebrate birthdays, holidays, and special occasions all year long.
What a fun idea! I’m sure kids would go crazy for this!
Just getting mail alone is a big thing Allison. 🙂
I can’t imagine a child who wouldn’t love it!
Thanks Kristen…me either. 🙂
Such a fun idea! What kid doesn’t love Pokemon these days?!
Thanks Christie….I totally agree. 🙂
Such a cute idea!
This is awesome! Such a great party idea!
Thanks Megan. 🙂
Those cupcakes look pretty yummy! Perfect birthday treat 🙂
Thanks Kay 🙂
This is AMAZING! Perfect for my students and my baby’s future party. I have a lot of fruit to eat…Thanks so much for this great idea.
Yay Vicky! I’m so glad you like the idea. I know if I were a kid I would of loved getting one of these.