





DIY Vintage Halloween Rattles
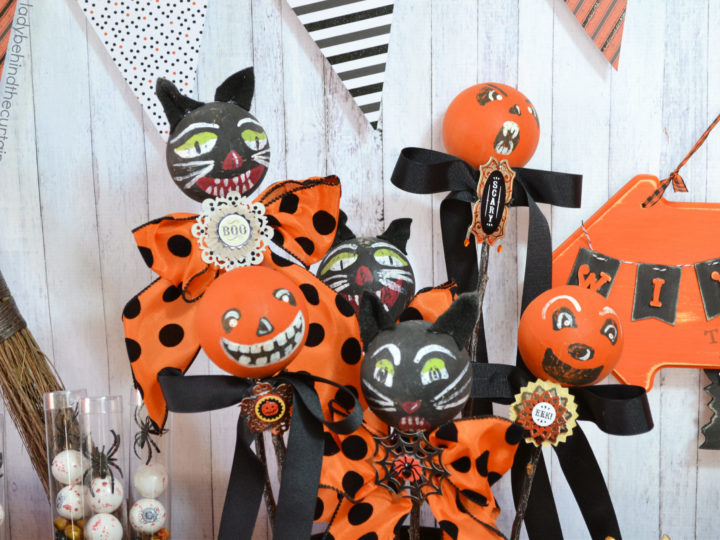
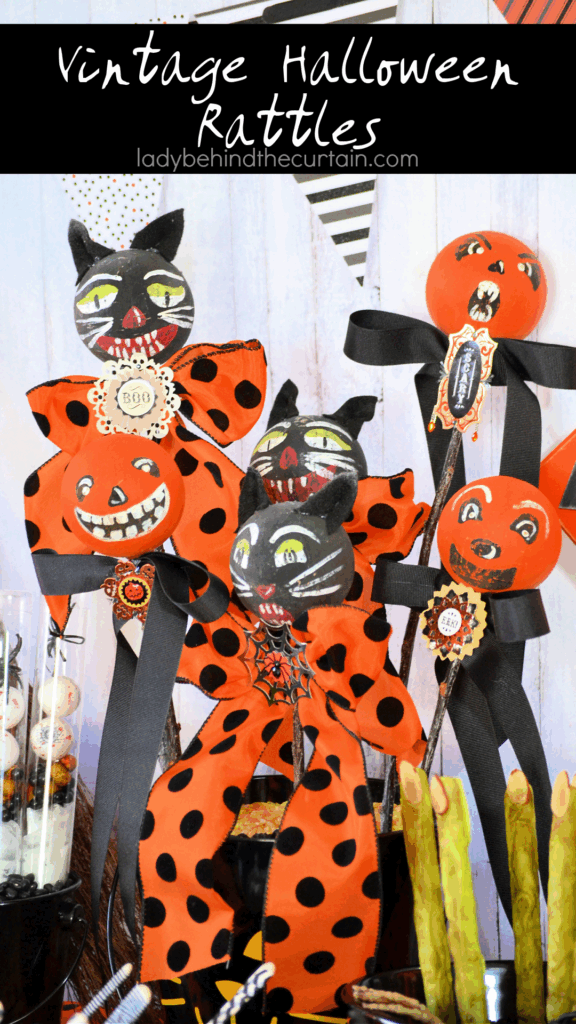
There’s something delightfully nostalgic about vintage Halloween rattles—the kind that look like they’ve been plucked straight from a 1920s costume party. Making your own is a simple, satisfying project that blends a bit of old-world charm with homespun creativity. With just a papier-mâché ball, a sturdy twig gathered from the yard, a dash of paint, a few whimsical embellishments, and a handful of rice to give it that satisfying shake, you can craft a one-of-a-kind noisemaker that’s as fun to display as it is to use. These rattles capture the playful spirit of Halloween’s past while adding a handmade touch to your seasonal décor.
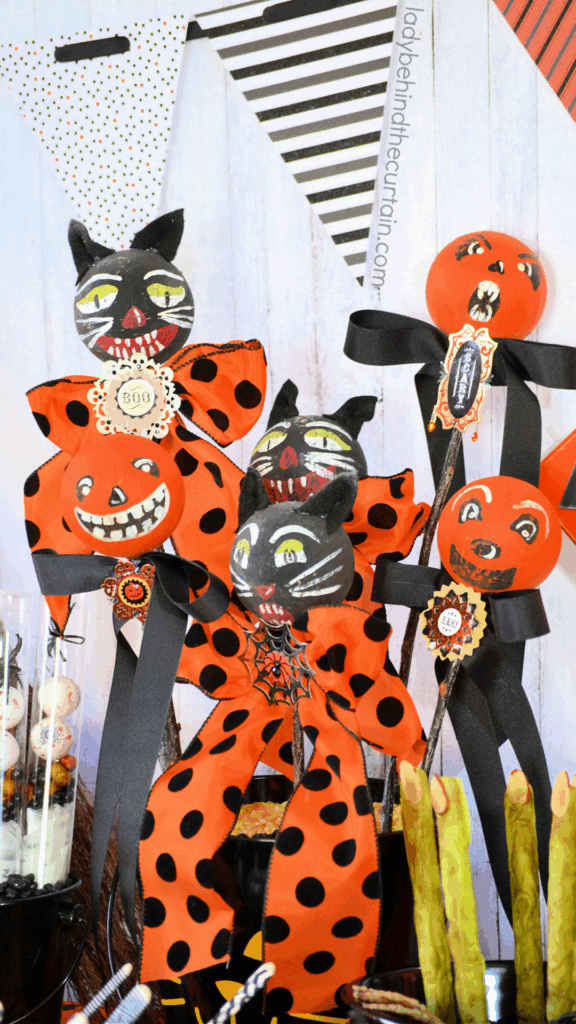
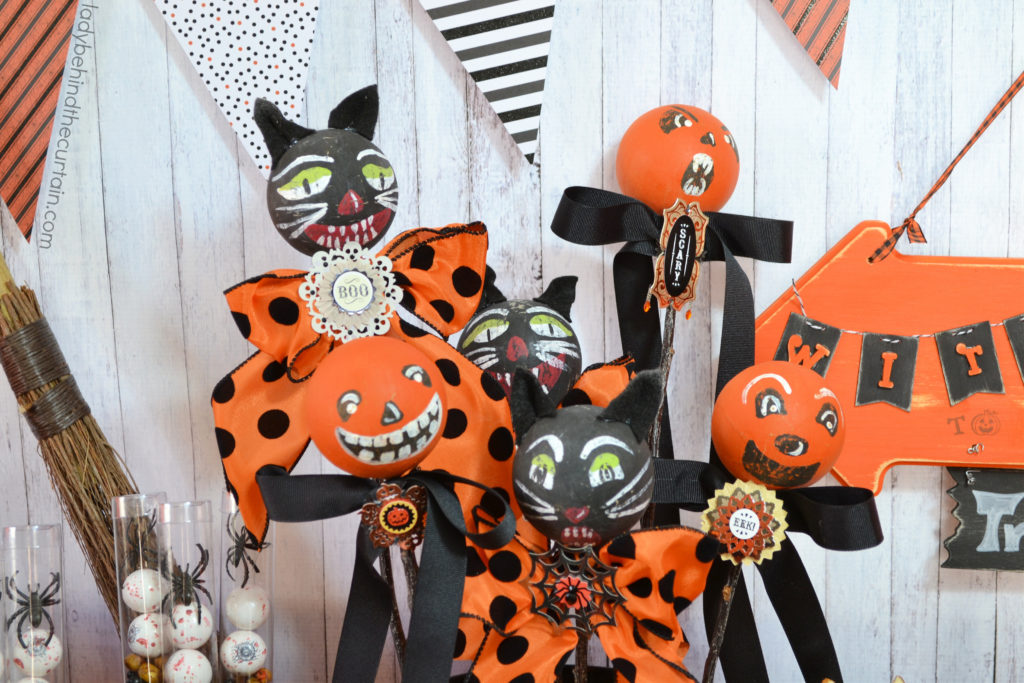
Nothing sets the tone for a Halloween party quite like a touch of vintage charm, and handmade papier-mâché noisemakers are the perfect way to bring that nostalgic magic to life. Inspired by the whimsical designs of yesteryear, these rattles can be painted with classic Halloween icons—grinning jack-o’-lanterns, mysterious black cats, and other playful motifs—to capture that old-fashioned October spirit. Made with lightweight papier-mâché balls, a few twigs or dowels for handles, and filled with rice for a cheerful rattle, they’re as delightful to shake as they are to display. Whether tucked into party favor bags, used to accent a clever costume, or arranged along a Halloween dessert table for extra festive flair, these handmade treasures are a charming nod to Halloweens gone by.
How to Make Vintage Halloween Party Noise Makers
Make Your Own Vintage-Style Halloween Papier-Mâché Noisemakers
If you love the look of old-fashioned Halloween décor, making your own vintage-inspired papier-mâché noisemakers is a fun and creative way to add some nostalgic charm to your festivities. These whimsical rattles—decorated with grinning jack-o’-lanterns, curious black cats, and pops of festive color—are perfect as party favors, costume enhancements, or dessert table accents. They’re surprisingly simple to create, and with just a few supplies, you can whip up a set that looks like it came straight out of a 1920s Halloween party.
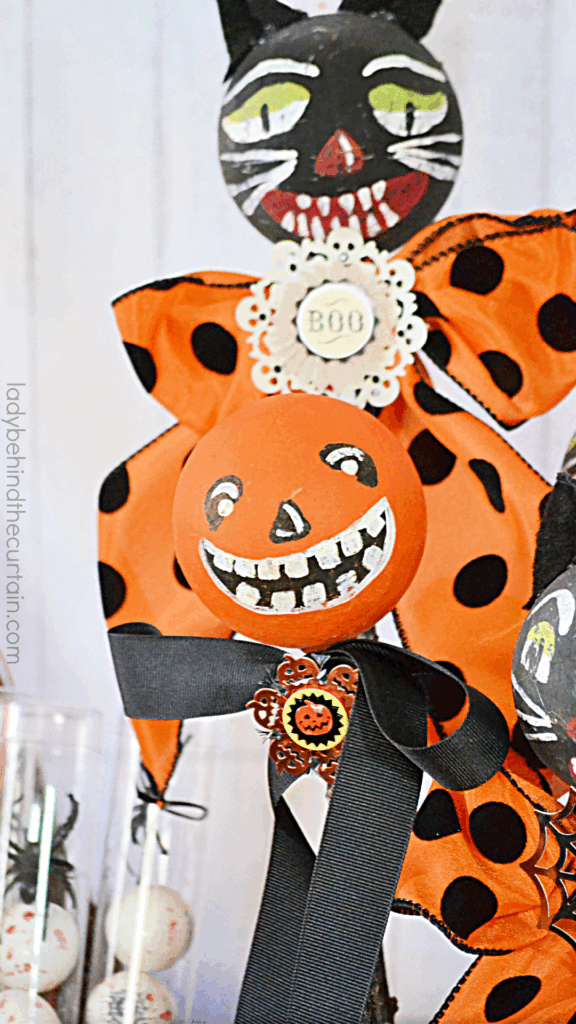
PAPER MÂCHÉ HALLOWEEN NOISE MAKER DECOR SUPPLIES- full printable supplies list below in the How to Card
With these few materials and a little imagination, you can create a whole cast of festive noisemakers that bring a bit of vintage magic to your Halloween celebrations.
VINTAGE JACK-O-LANTERNS AND BLACK CATS MATERIALS
- 2.5-inch paper mâché ball ornaments
- acrylic paints (black, orange, white, green, and red
- white chalk pencil or white colored pencil
- black felt (for the cat ears)
- rice (for the rattle sound)
- twigs (11 to 12 inches)
- ribbon
- scrapbook Halloween embellishments
SCARY VINTAGE NOISE-MAKER TOOLS
- paint brushes
- fine-grit sandpaper
- low-temp glue gun and glue sticks
- powder drill and bit
- scissors
HOW TO MAKE VINTAGE HALLOWEEN RATTLES
- Paint the ornaments the desired background colors. (I chose orange and black because I was creating jack-o-lanterns and cats). Use the ornament strings and hang them to dry. I used a dry cleaner’s paper hanger with a detachable bottom.
- Once the balls are dry, remove the string and locate the center of each ball, ensuring the area where the string was attached is the bottom. NOTE: If your ball is not an ornament, determine where the bottom will be. Then, use the white chalk pencil to draw features on the black cats and jack-o-lanterns. TIP: Search old vintage jack-o-lantern faces and cats for ideas, or use the ones I used.
- Paint on the features.
- Once the paint is dry, use the fine-grit sandpaper to lightly sand the faces. This process will give the rattles a worn, old look.
- FOR THE CAT EARS: Cut a small triangle of black felt. Add a dab of glue to the center of the ear at the bottom (the widest part of the triangle). Pinch the center to create a fold or pleat, and hold until the glue is set. Add another dab of hot glue to the top of the cat head in a “T” shape. Then, place the cat ear on the “T” shape, ensuring the pleat (pinched part) sits on the long end of the T.
- Choose a drill bit about he size of the twigs. Drill a hole in the ball, and pour rice into the hole.
- Cover the hole with hot blue and push the stick in as far as you can without piercing through the top.
- Place the rattle upright until the glue has hardened. Rice is a great tool for this. Fill a container with rice to hold the rattle while the glue cools.
- Embellish the rattle any way you like. ???? ENJOY!
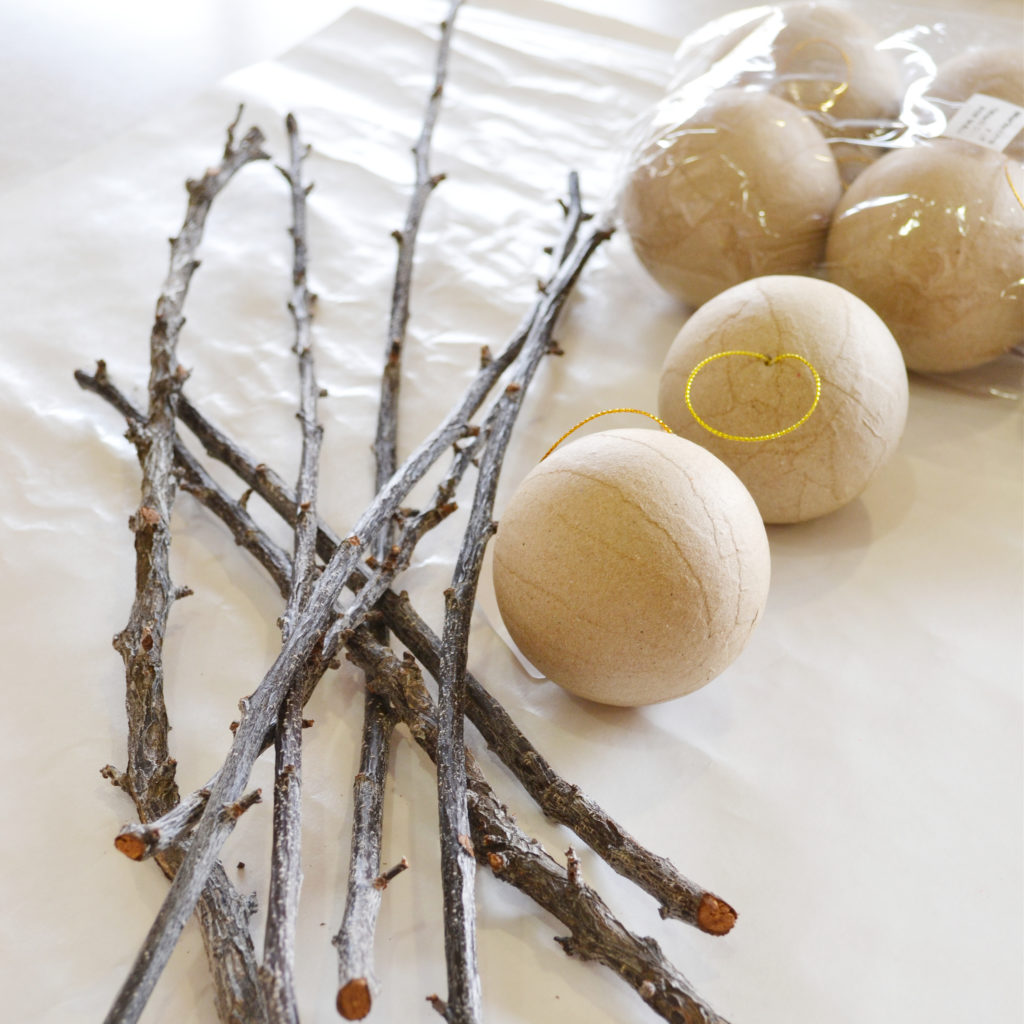
CHOOSE STICKS FROM YOUR BACKYARD
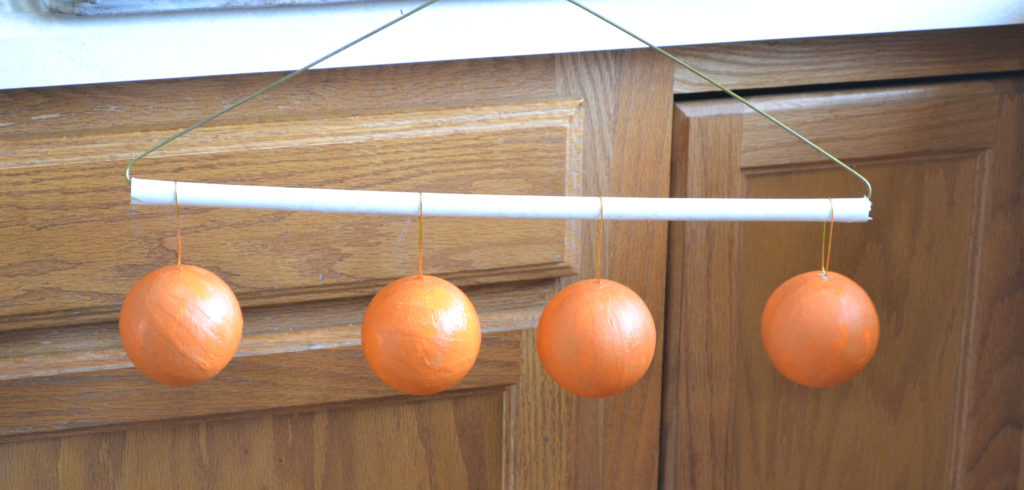
PAINT THE BALLS AND HANG TO DRY (more details in the printable how-to card)
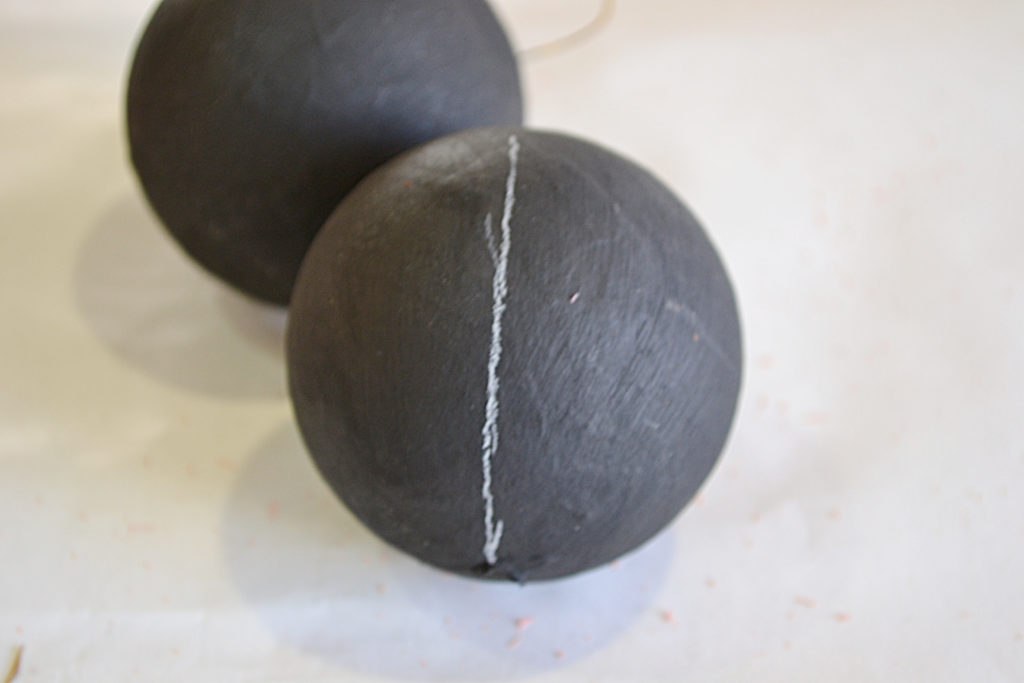
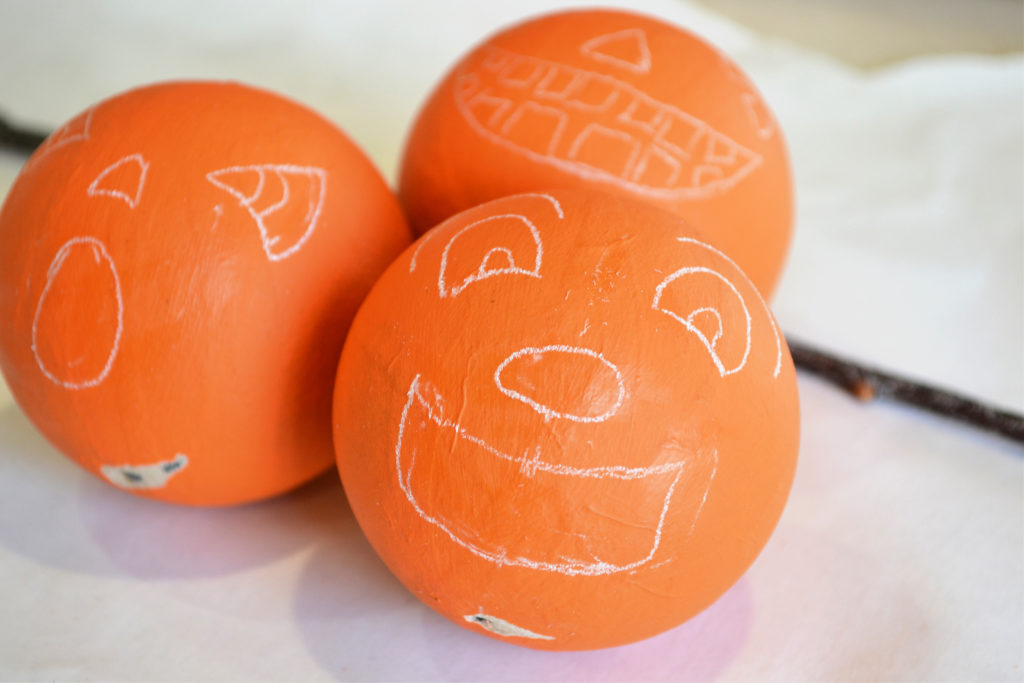
USE THE CHALK PENCIL OR WHITE COLOR PENCIL TO MARK THE CENTER OF THE BALLS, THEN ADD THE FACES.
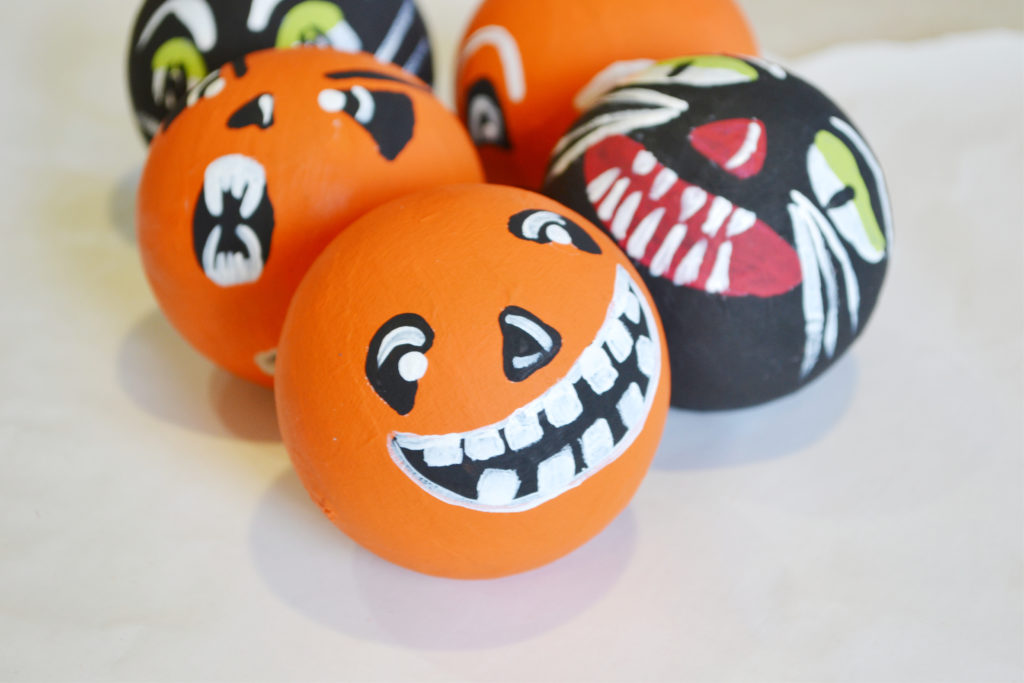
PAINT THE FUN VINTAGE HALLOWEEN FACES ON THE BALLS-SEARCH VINTAGE HALLOWEEN JACK-O-LANTERN OR BLACK CATS FOR FACE IDEAS OR COPY THE ONES I USED.
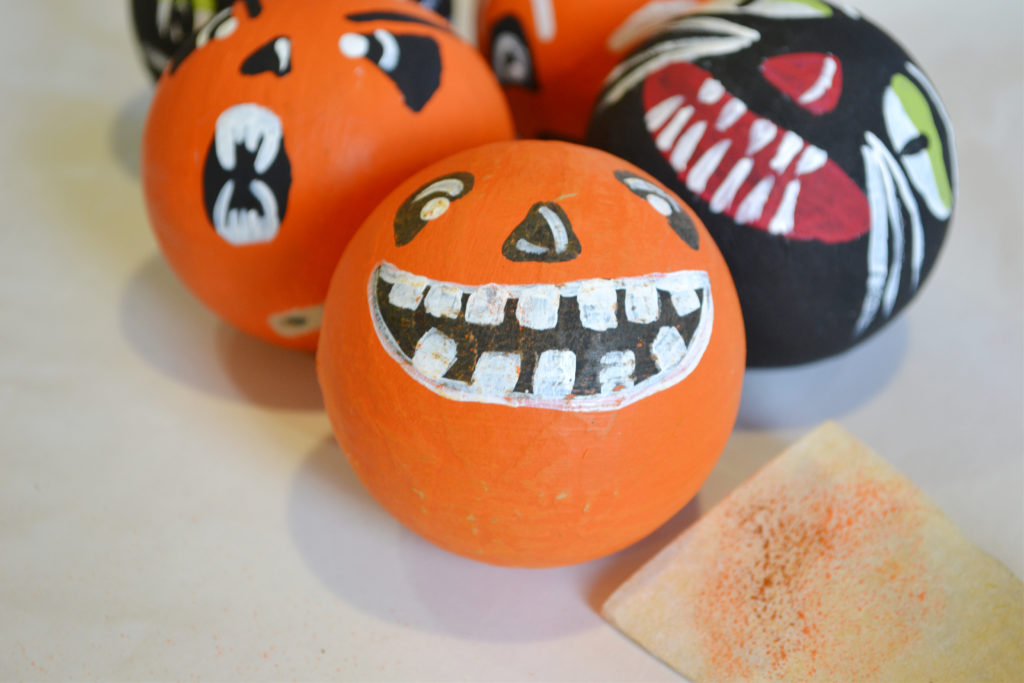
ONCE THE PAINT HAS DRIED, TO GIVE THE RATTLES A VINTAGE LOOK, LIGHTLY SAND.
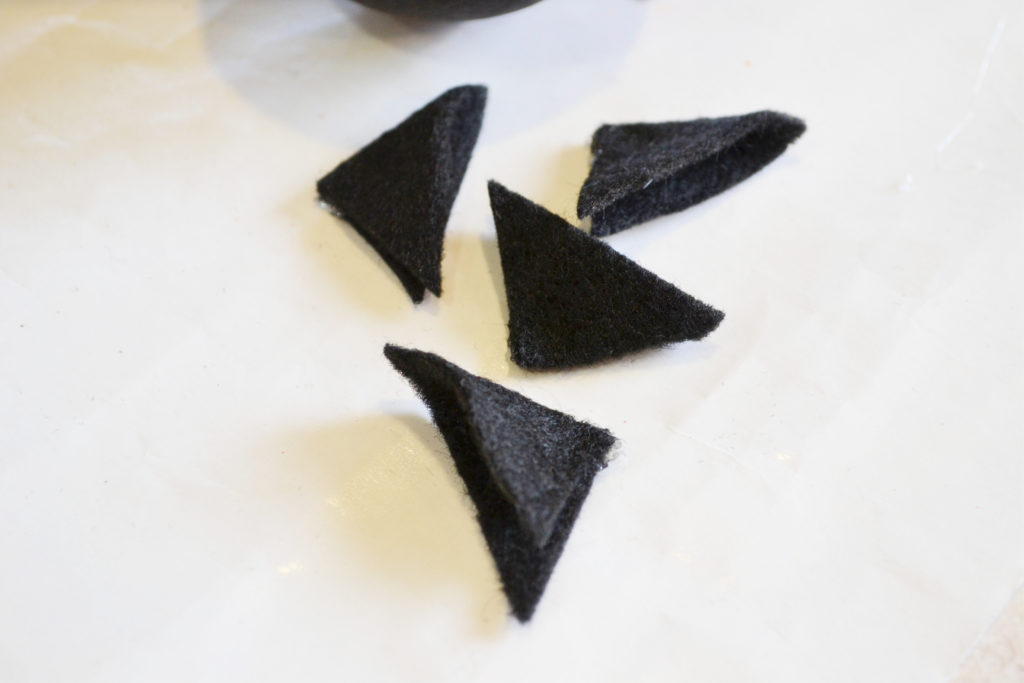
FOR THE CAT EARS, CUT THE FELT INTO SMALL TRIANGLES, FOLD THE TRIANGLE IN HALF, ADD A DAB OF GLUE, PRESS UNTIL THE GLUE IS COLD. THIS WILL CREATE A PLEAT.
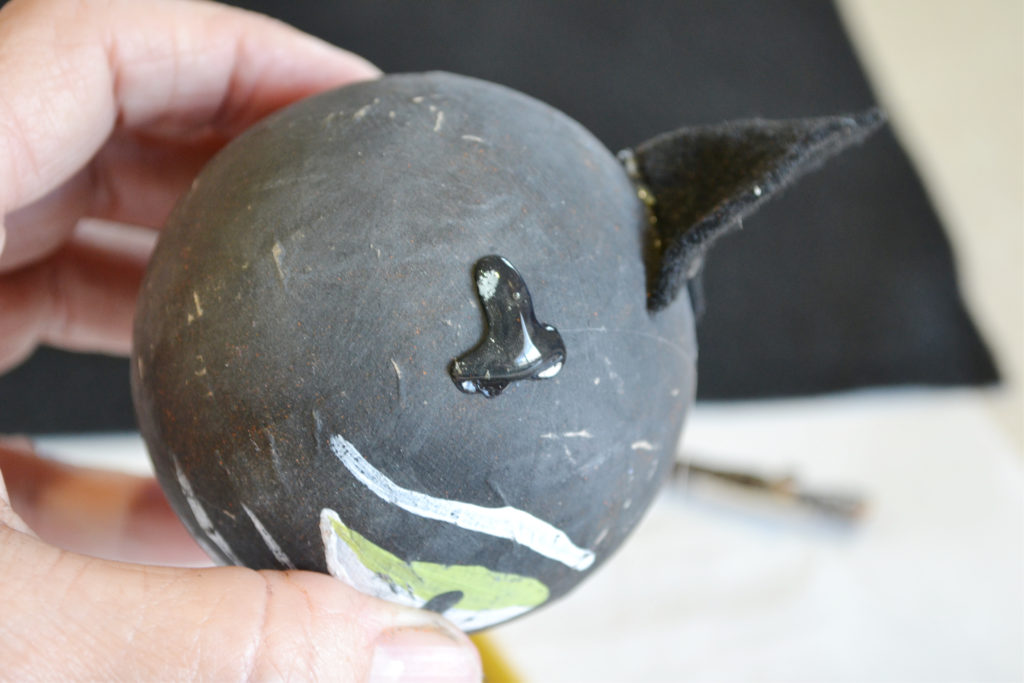
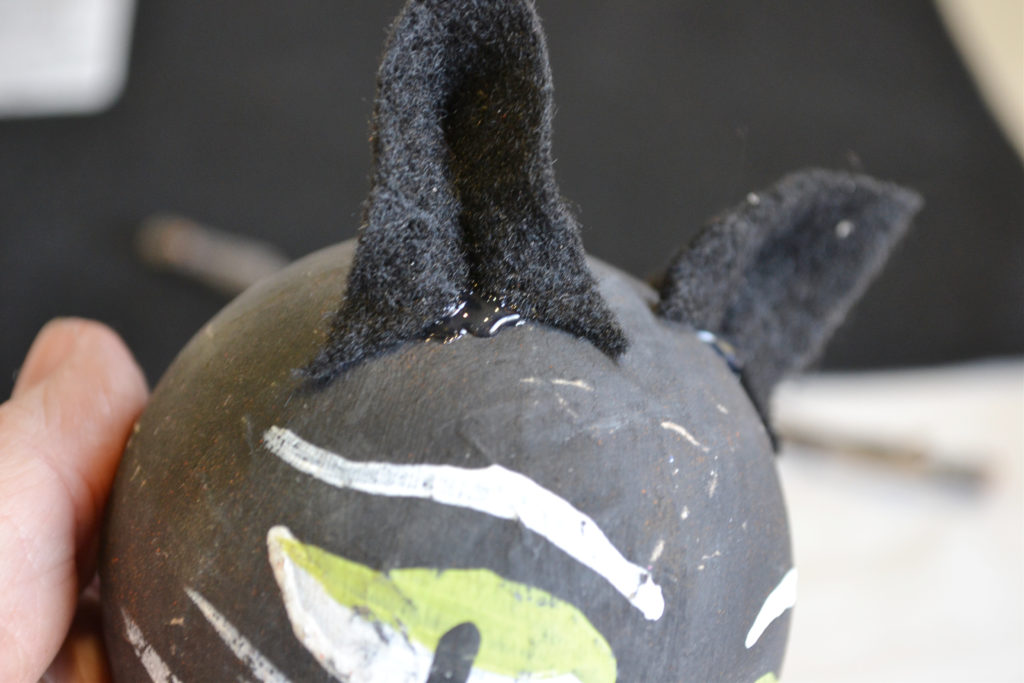
ADD ANOTHER DAB OF HOT GLUE TO THE TOP OF THE CAT HEAD IN A “T” SHAPE. THEN, PLACE THE CAT EAR ON THE “T” SHAPE, ENSURING THE PLEAT (pinched part) SITS ON THE LONG END OF THE T.
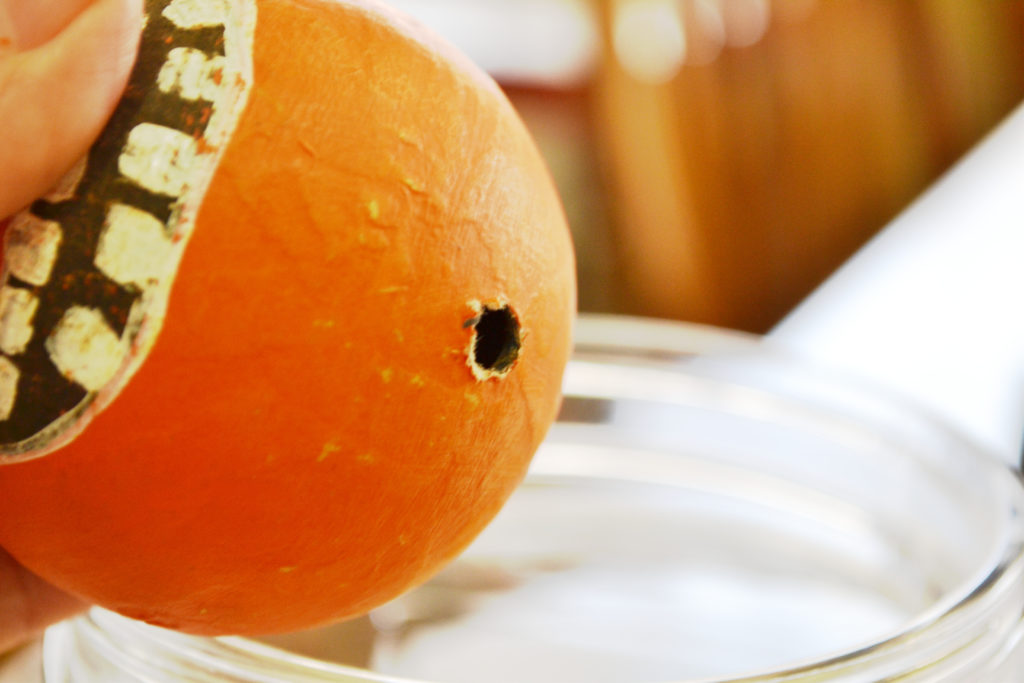
CHOOSE A DRILL BIT ABOUT THE SIZE OF THE TWIGS. DRILL A HOLE IN THE BALL, AND POUR RICE INTO THE HOLE.
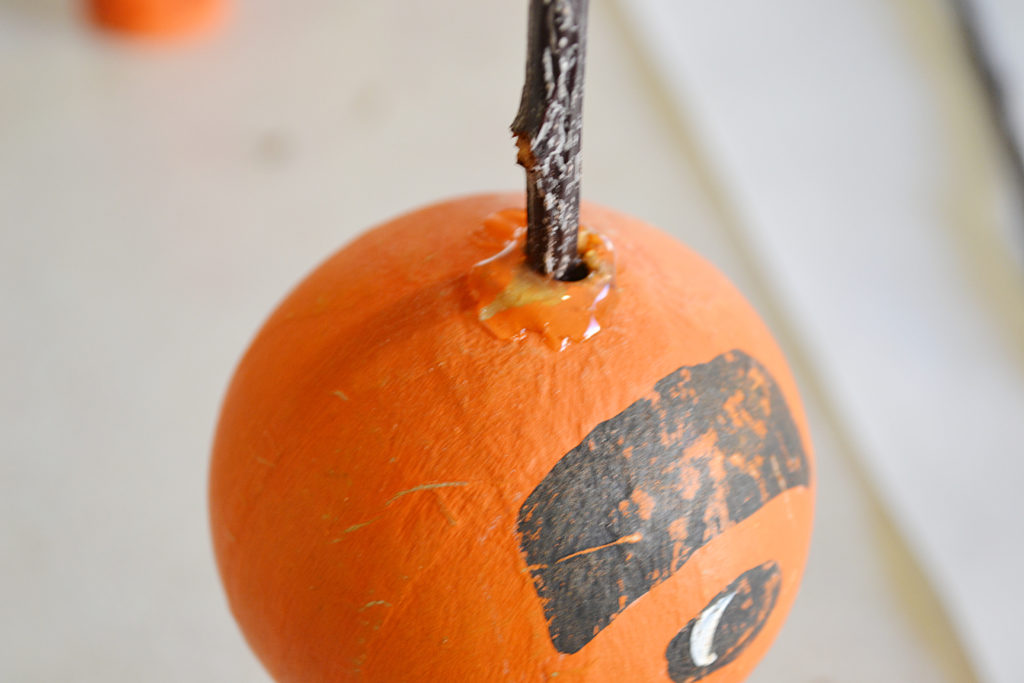
COVER THE HOLE WITH HOT GLUE AND PUSH THE STICK IN AS FAR AS YOU CAN WITHOUT PIERCING THROUGH THE TOP. Place the rattle upright until the glue has hardened. Rice is a great tool for this. Fill a container with rice to hold the rattle while the glue cools.
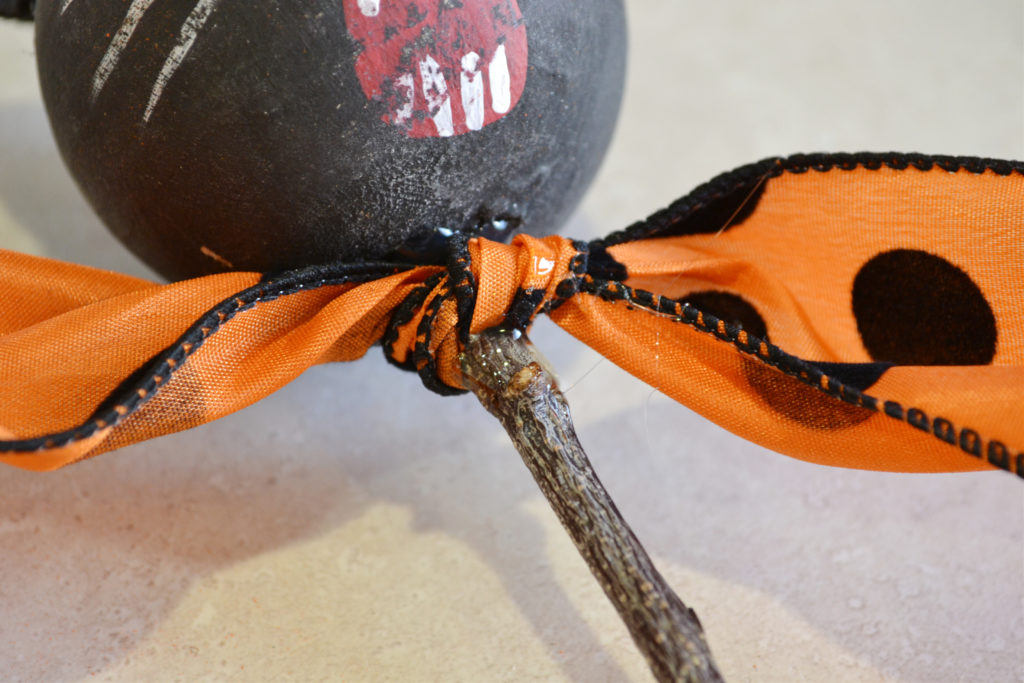
ADD A BOW TO COVER THE GLUE AND TO COMPLETE THE LOOK, ADD EMBELLISHMENTS.
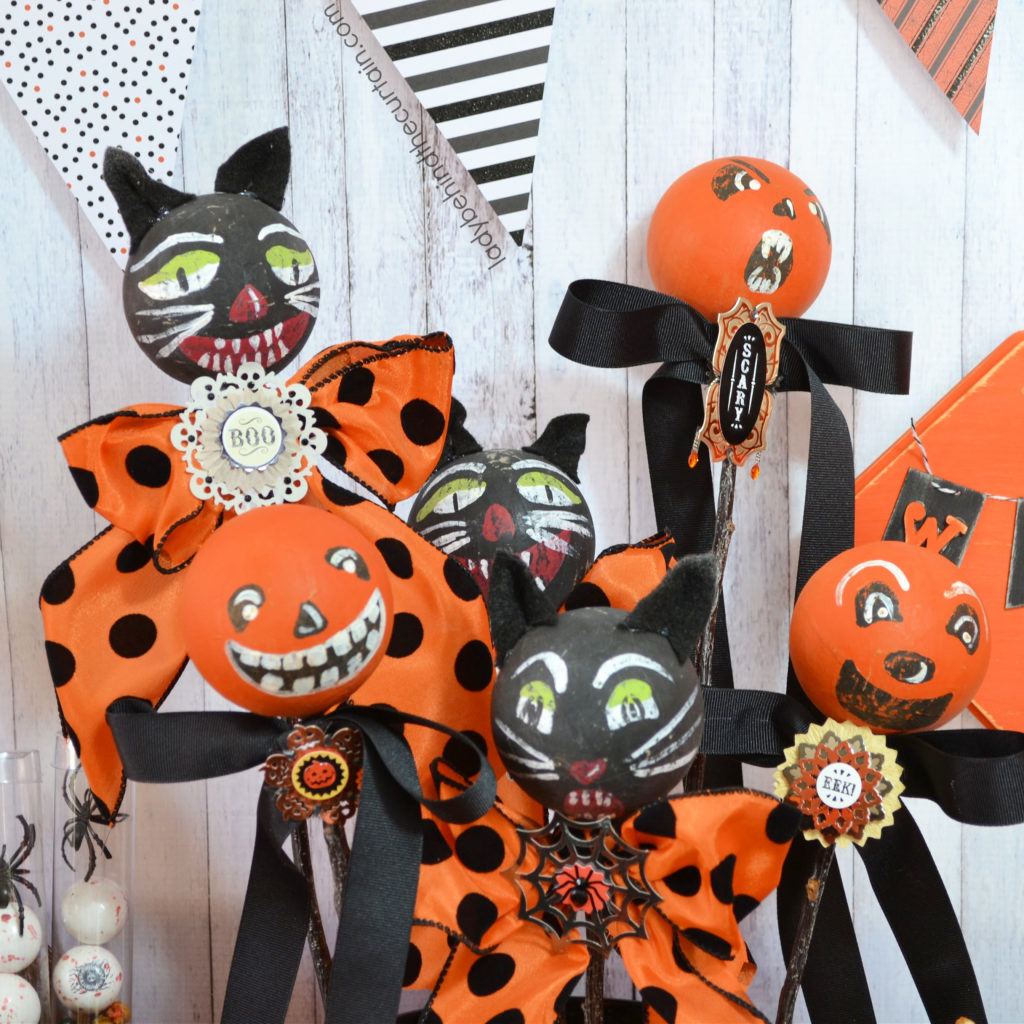
ADDING A TOUCH OF THE UNEXPECTED IS ALWAYS A GOOD THING????⬛
Another Halloween-Inspired Rattle Idea
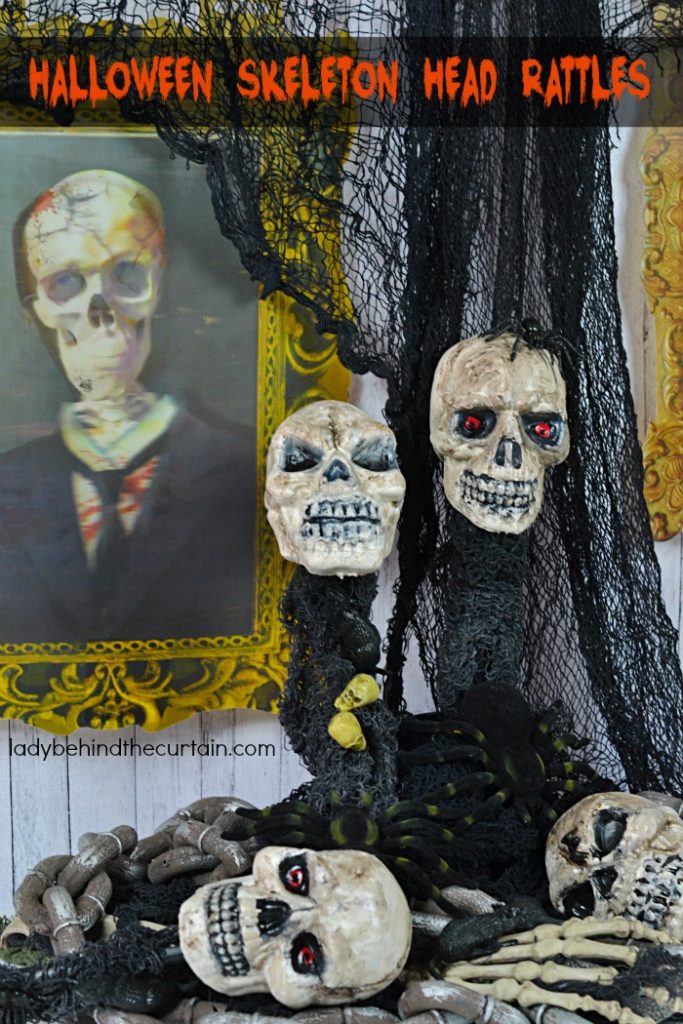
Dollar Tree Halloween Party Skeleton Head Rattle Party Favors: Make your own spooky rattles that can be added to a costume, given away as party favors or placed in a haunted fun house. How creepy they turn out is up to you! These easy to create Halloween Skeleton Heads would also be amazing as yard decorations. With just a few supplies you’ll be able to create your own Halloween Party Favors.
More Halloween-Inspired Decorations
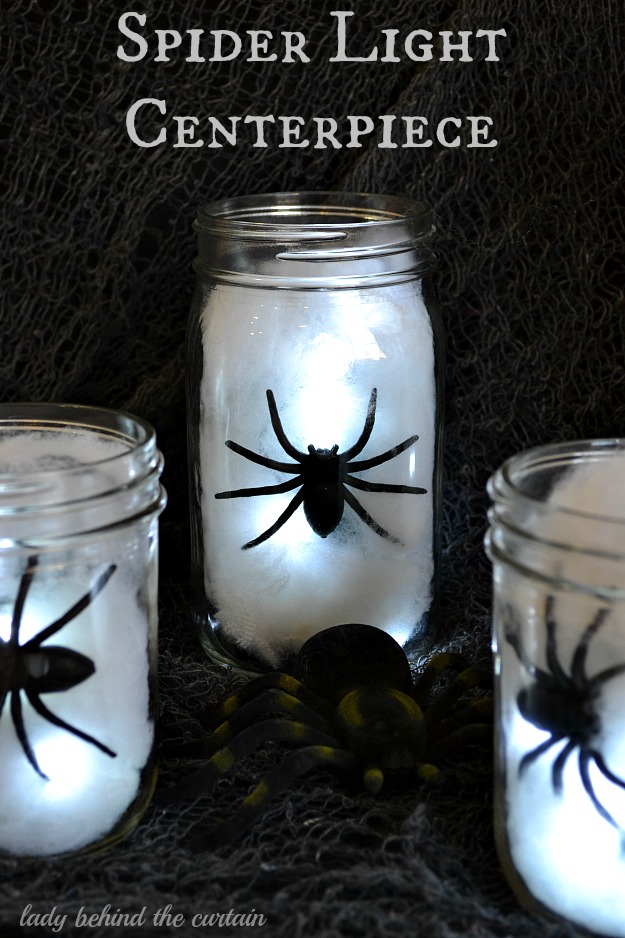
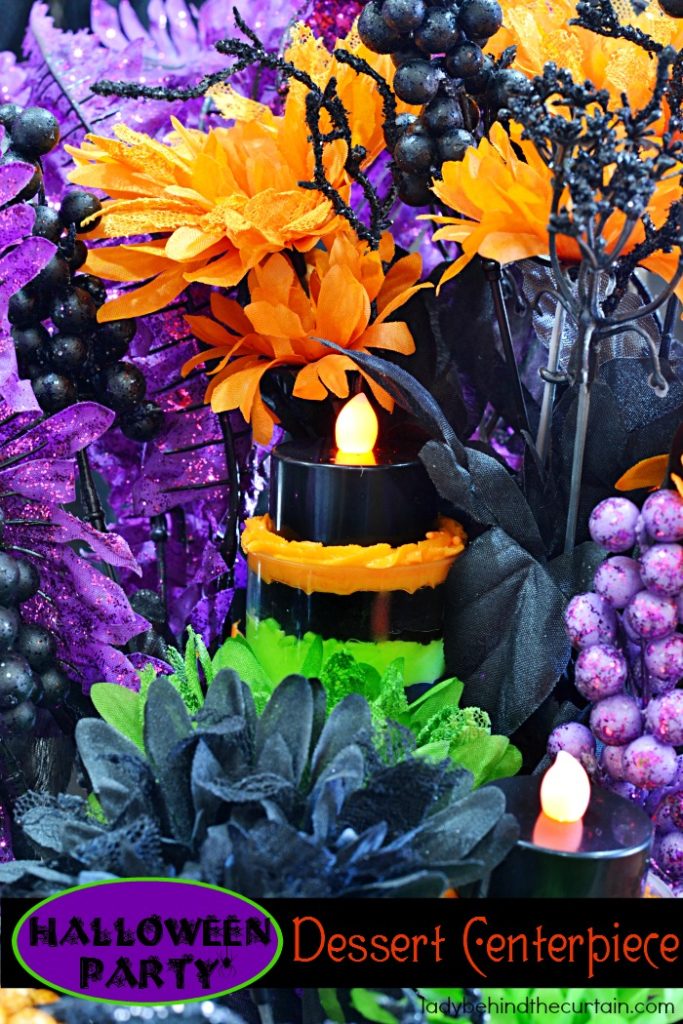
Bring eerie elegance to your Halloween setup with hauntingly creative decorations that are sure to impress. Picture a mason jar glowing from within, filled with soft cotton “webs,” tiny twinkle lights, and a giant spider crawling ominously across the surface—a perfect blend of cozy and creepy. For the centerpiece, swap traditional flowers for a spooky twist: cupcakes arranged to mimic a dark, dramatic bouquet. Each cupcake is placed in a push-up pop container, topped with a battery-operated tea light so it appears to be a flickering candle—though in reality, it’s a delicious treat in disguise. These clever, atmospheric touches turn any Halloween table into a feast for both the eyes and the imagination.
FREE HALLOWEEN PRINTABLE COLLECTION
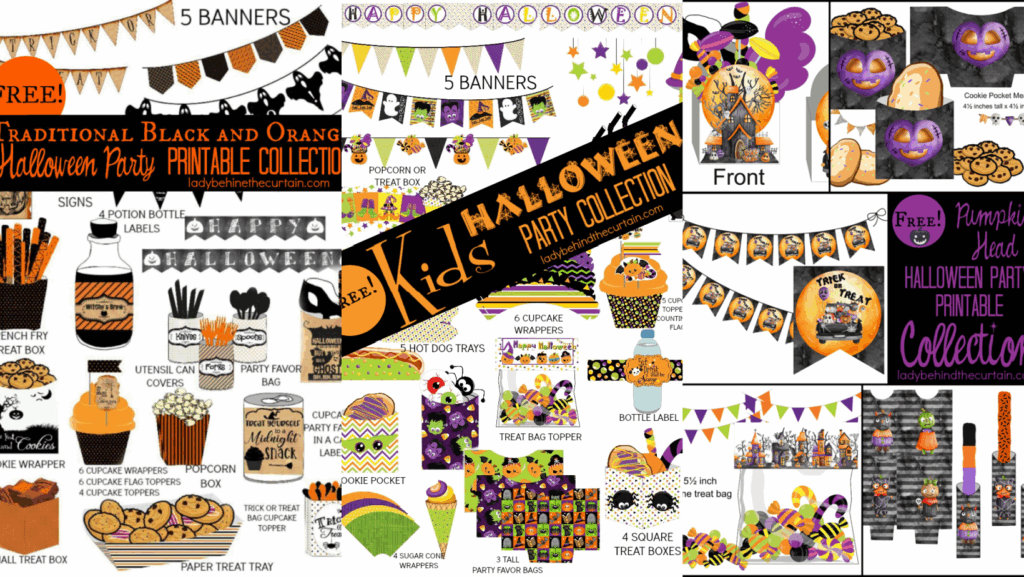
Our free Halloween printable collections offer a fun mix of designs ranging from spine-chillingly creepy to sweet and kid-friendly, making them perfect for any spooky celebration. You’ll find everything you need to set the scene, including eerie banners, festive cupcake wrappers, adorable treat bags, and themed popcorn boxes—plus so much more. Whether you’re hosting a haunted gathering for adults, a cheerful classroom party, or a family movie night, these printables make it easy to add a custom touch without the cost. Just download, print, and enjoy turning your space into a Halloween haven that’s as spooky or as cute as you like.
LATEST POSTS
With just a few simple supplies and a sprinkle of creativity, you can craft Halloween noisemakers that look like they stepped right out of a bygone era ????????⬛. Whether they’re shaking in the hands of party guests, adding personality to a costume, or bringing charm to your dessert table, these little rattles are sure to rouse smiles and a touch of spooky nostalgia ????✨. So gather your paints, felt, and twigs, and let the magic (and the rattling!) begin ????️????????.HAPPY HALLOWEEN-Sheryl
Vintage Halloween Rattles
Materials
- 2.5 inch paper mâché ball ornaments
- acrylic paints (black, orange, white, green, and red
- white chalk pencil or white colored pencil
- black felt (for the cat ears)
- rice (for the rattle sound)
- twigs (11 to 12 inches)
- ribbon
- scrapbook Halloween embellishments
Tools
- paint brushes
- fine grit sand paper
- low temp glue gun and glue sticks
- powder drill and bit
- scissors
Instructions
- Paint the ornaments the desired background colors. (I chose orange and black because I was creating jack-o-lanterns and cats). Use the ornament strings and hang them to dry. I used a dry cleaner's paper hanger with a detachable bottom.
- Once the balls are dry, remove the string and locate the center of each ball, ensuring the area where the string was attached is the bottom. NOTE: If your ball is not an ornament, determine where the bottom will be. Then, use the white chalk pencil to draw features on the black cats and jack-o-lanterns. TIP: Search old vintage jack-o-lantern faces and cats for ideas, or use the ones I used.
- Paint on the features.
- Once the paint is dry, use the fine-grit sandpaper to lightly sand the faces. This process will give the rattles a worn, old look.
- FOR THE CAT EARS: Cut a small triangle of black felt. Add a dab of glue to the center of the ear at the bottom (the widest part of the triangle). Pinch the center to create a fold or pleat, and hold until the glue is set. Add another dab of hot glue to the top of the cat head in a "T" shape. Then, place the cat ear on the "T" shape, ensuring the pleat (pinched part) sits on the long end of the T. For a visual, refer to the post.
- Choose a drill bit about the size of the twigs. Drill a hole in the ball, and pour rice into the hole.
- Cover the hole with hot glue and push the stick in as far as you can without piercing through the top.
- Place the rattle upright until the glue has hardened. Rice is a great tool for this. Fill a container with rice to hold the rattle while the glue cools.
- Embellish the rattle any way you like. ???? ENJOY!
SIGN UP FOR THE LADY BEHIND THE CURTAIN NEWSLETTER

THANKS FOR VISITING❣️
Sheryl, thank you for the wonderful Halloween decorations. I love vintage Halloween. Where did you get your supplies, such as the wooden balls, ribbon, etc? And I am wondering what the easiest way to attach something to hang them with like you show in the picture? I see other embellishments there that really make them the best. I would love to know where you got these things. Thanks again.
Hi Cat, I’m so glad you like the rattles. I love the Halloween vintage look too! The rattles are made with paper mache balls. The balls come as ornaments with the string already attached. I ordered them here—->>>>https://factorydirectcraft.com/catalog/products/1302_2533_1475-9987-paper_mache_ball_ornament.html. All other embellishments were purchased at Michaels.
These are adorable! Thank you for the tutorial!
Thanks Michelle, I love them!
Oooh I LOVE the vintage look of these! So cute!
Thanks Cathy, I really loved making these. 🙂
What a cute idea, Sheryl! Pinned and stumbled!
Oh my goodness, Sheryl, I absolutely am in LOVE with these!!!! Thank you so much for sharing and happy Friday!
Thanks Cindy! I love them too! Creepy and fun. My two favorite combos. 🙂
Love love love these!! And such a cute table!!
Kim
Yay Kim! Thanks. I’m so glad someone loves them as much as I do. 🙂