
Making Grass from Yarn
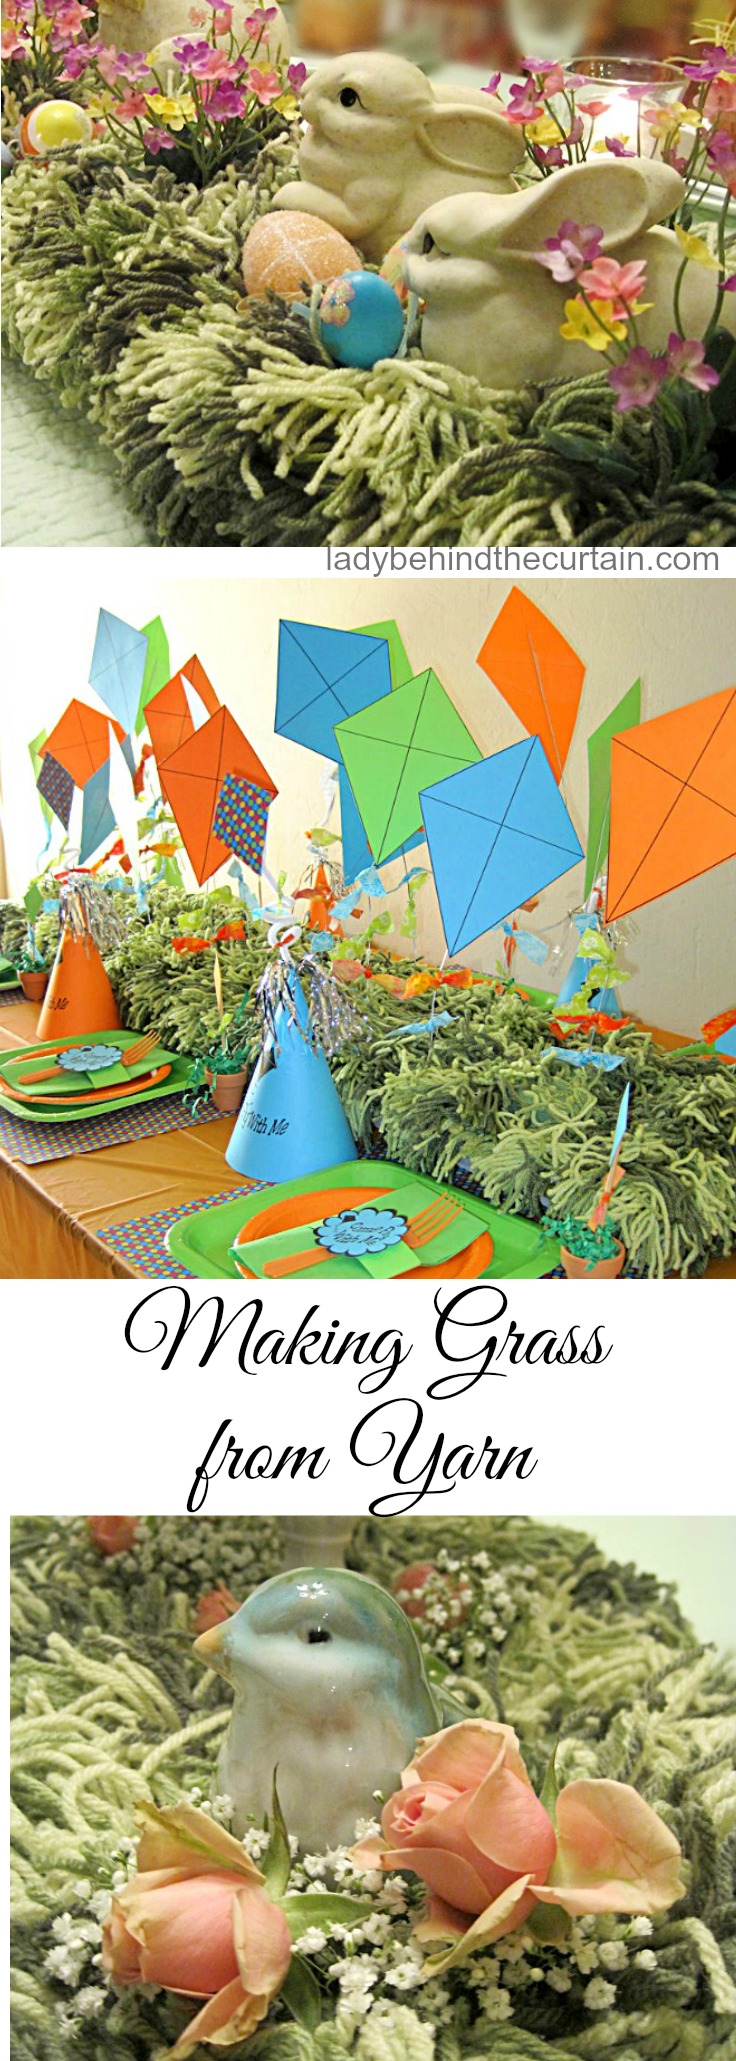
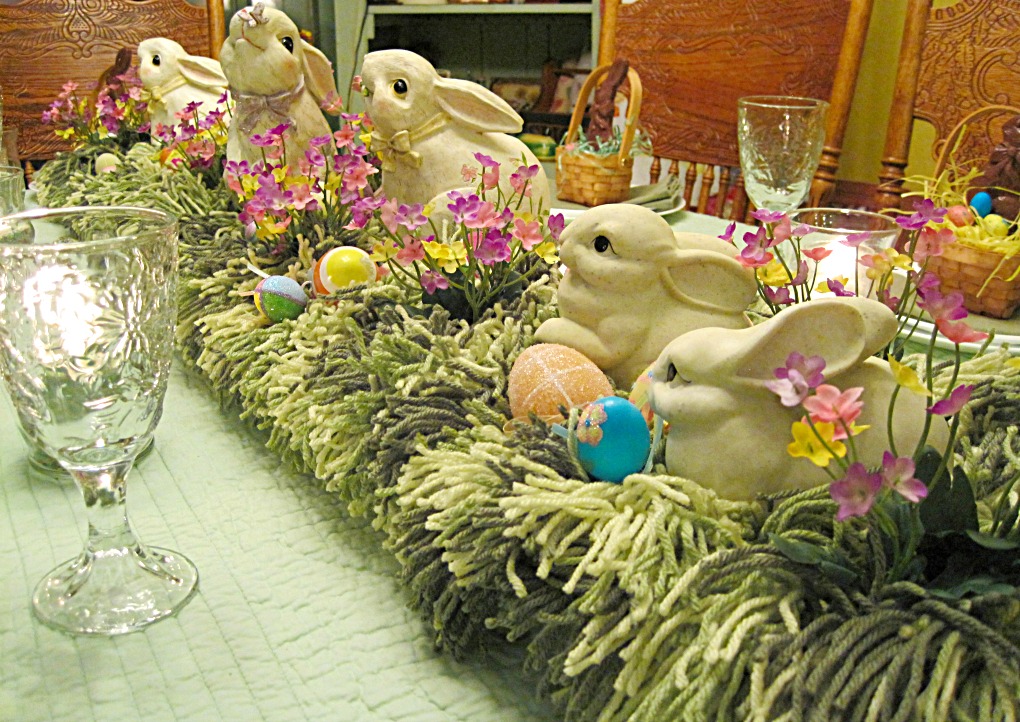
MAKING GRASS FROM YARN | Once you have made the grass it can be used for many centerpieces through out the year. Let me show you how easy it is to make what will become your favorite way to decorate for Spring and Summer!
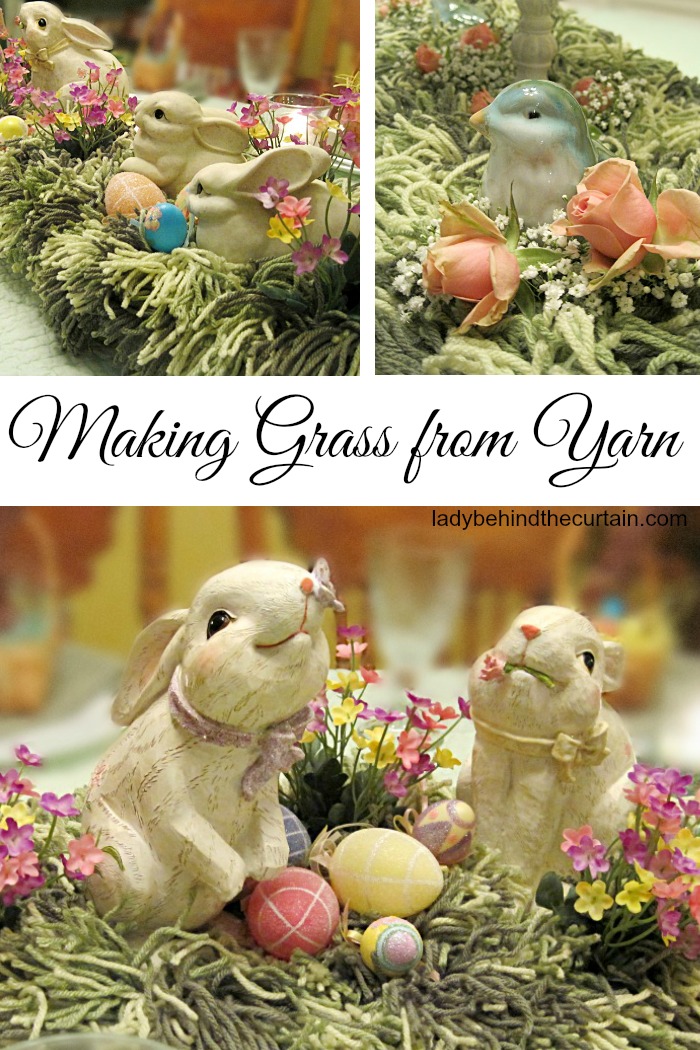
I used the grass as a centerpiece for Easter. You can also use it for a garden theme party or a kite theme party.
The amount of yarn totally depends on how big your container is and how thick you want the grass to be. My container is 4 feet long.
Here’s how I made the grass.
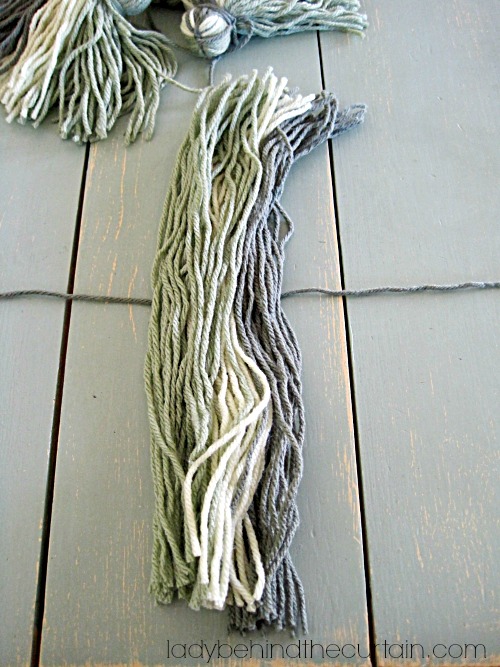
First I chose 3 different colors of green yarn. Then I found an object that was sturdy enough to take all the wrapping I needed to do and close to the right size (6-in.). I wrapped each color around 25 times.
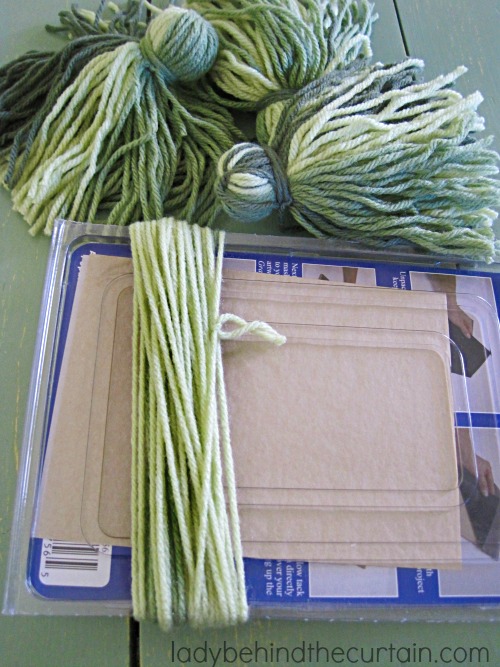
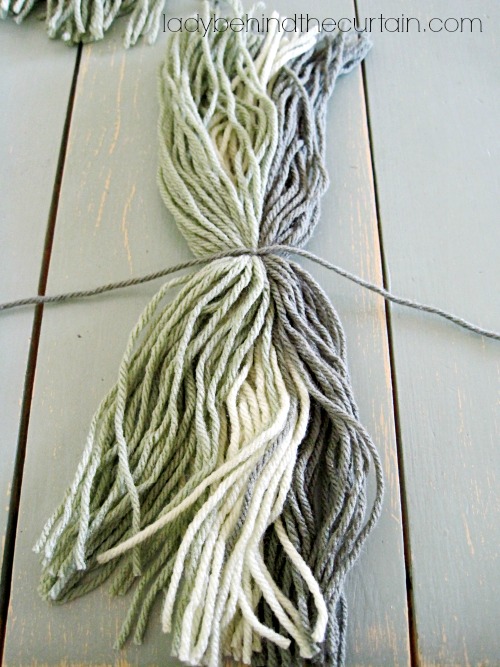
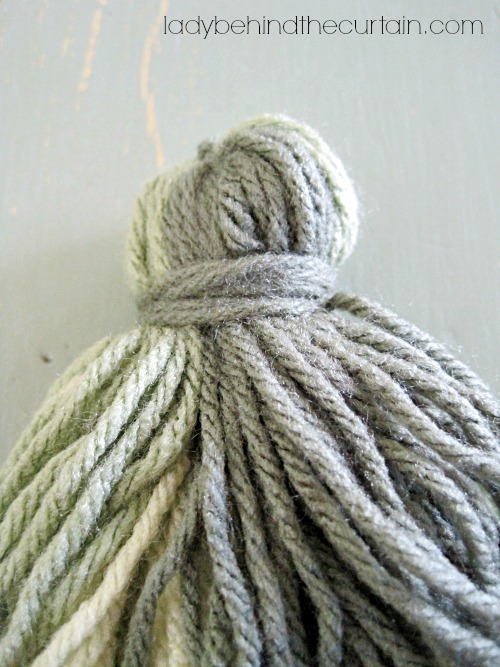
I cut the ends, found the center, laid the bundle of yarn on the center of a 29-in. piece of yarn.
Then I tied the piece of yarn around the bundle pulled it tight and made a knot.
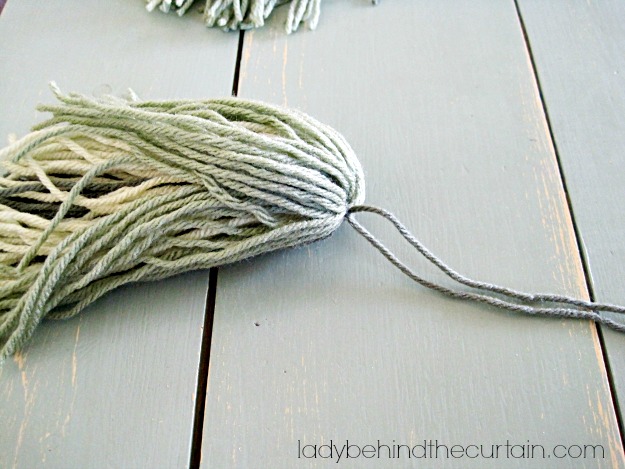
Pull all the yarn together, wrapped one piece of the yarn around the base one way and the other piece the other way and tied them together in a knot.
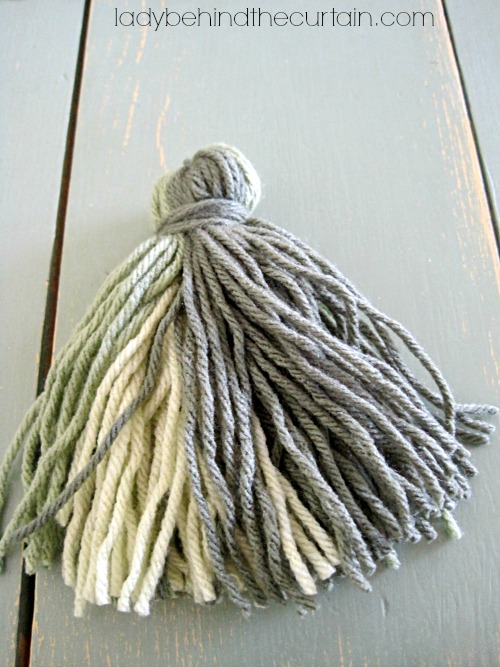
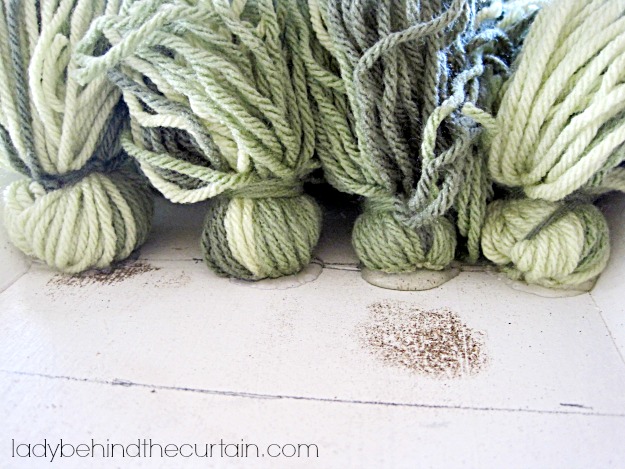
After all that I trimmed the ends about 1 – 2 inches to make the bottom even. The length depends on what you are putting your grass into and how long you want it to be. I like the way it hangs over so I made it long.
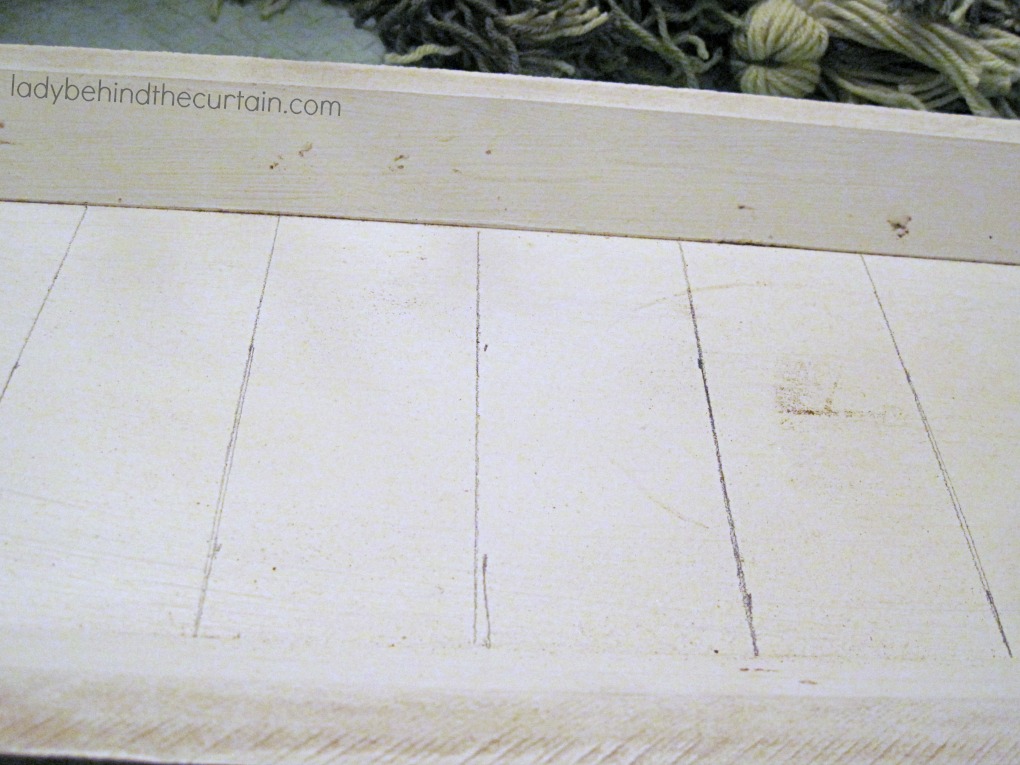
Then I measured out where I wanted the grass to go, made lines and hot glued the bundles to the tray.
How Clever!! Great Idea!!
Thanks Tonia! 🙂
Sheryl, oh my, I absolutely LOVE your centerpiece and this is such a great idea! I am so doing this! 🙂 Thanks for sharing and pinning! Hope you are having a happy and wonderful week!
Thanks Cindy, I store it under my bed. I try to use it every chance I get. I love how it looks. Good Luck! 🙂
Love this. Used to decorate my table for all occasions. You have lovely ideas!
Awww, Thanks Linda. 🙂
Great idea
Sheryl, what did you use for your base? How long was yours, and how many bundles did you need to fill your base? Looks like a great deal. Love the idea and would love to make this for my table.
Hi Annette, It was a tray my husband made for a luau theme party. I used them as centerpieces so it is about 4 feet long. I don’t remember how many bundles I made. This idea would work with something smaller too. 🙁
great idea, it can be used in so many ways.
thanks a lot.
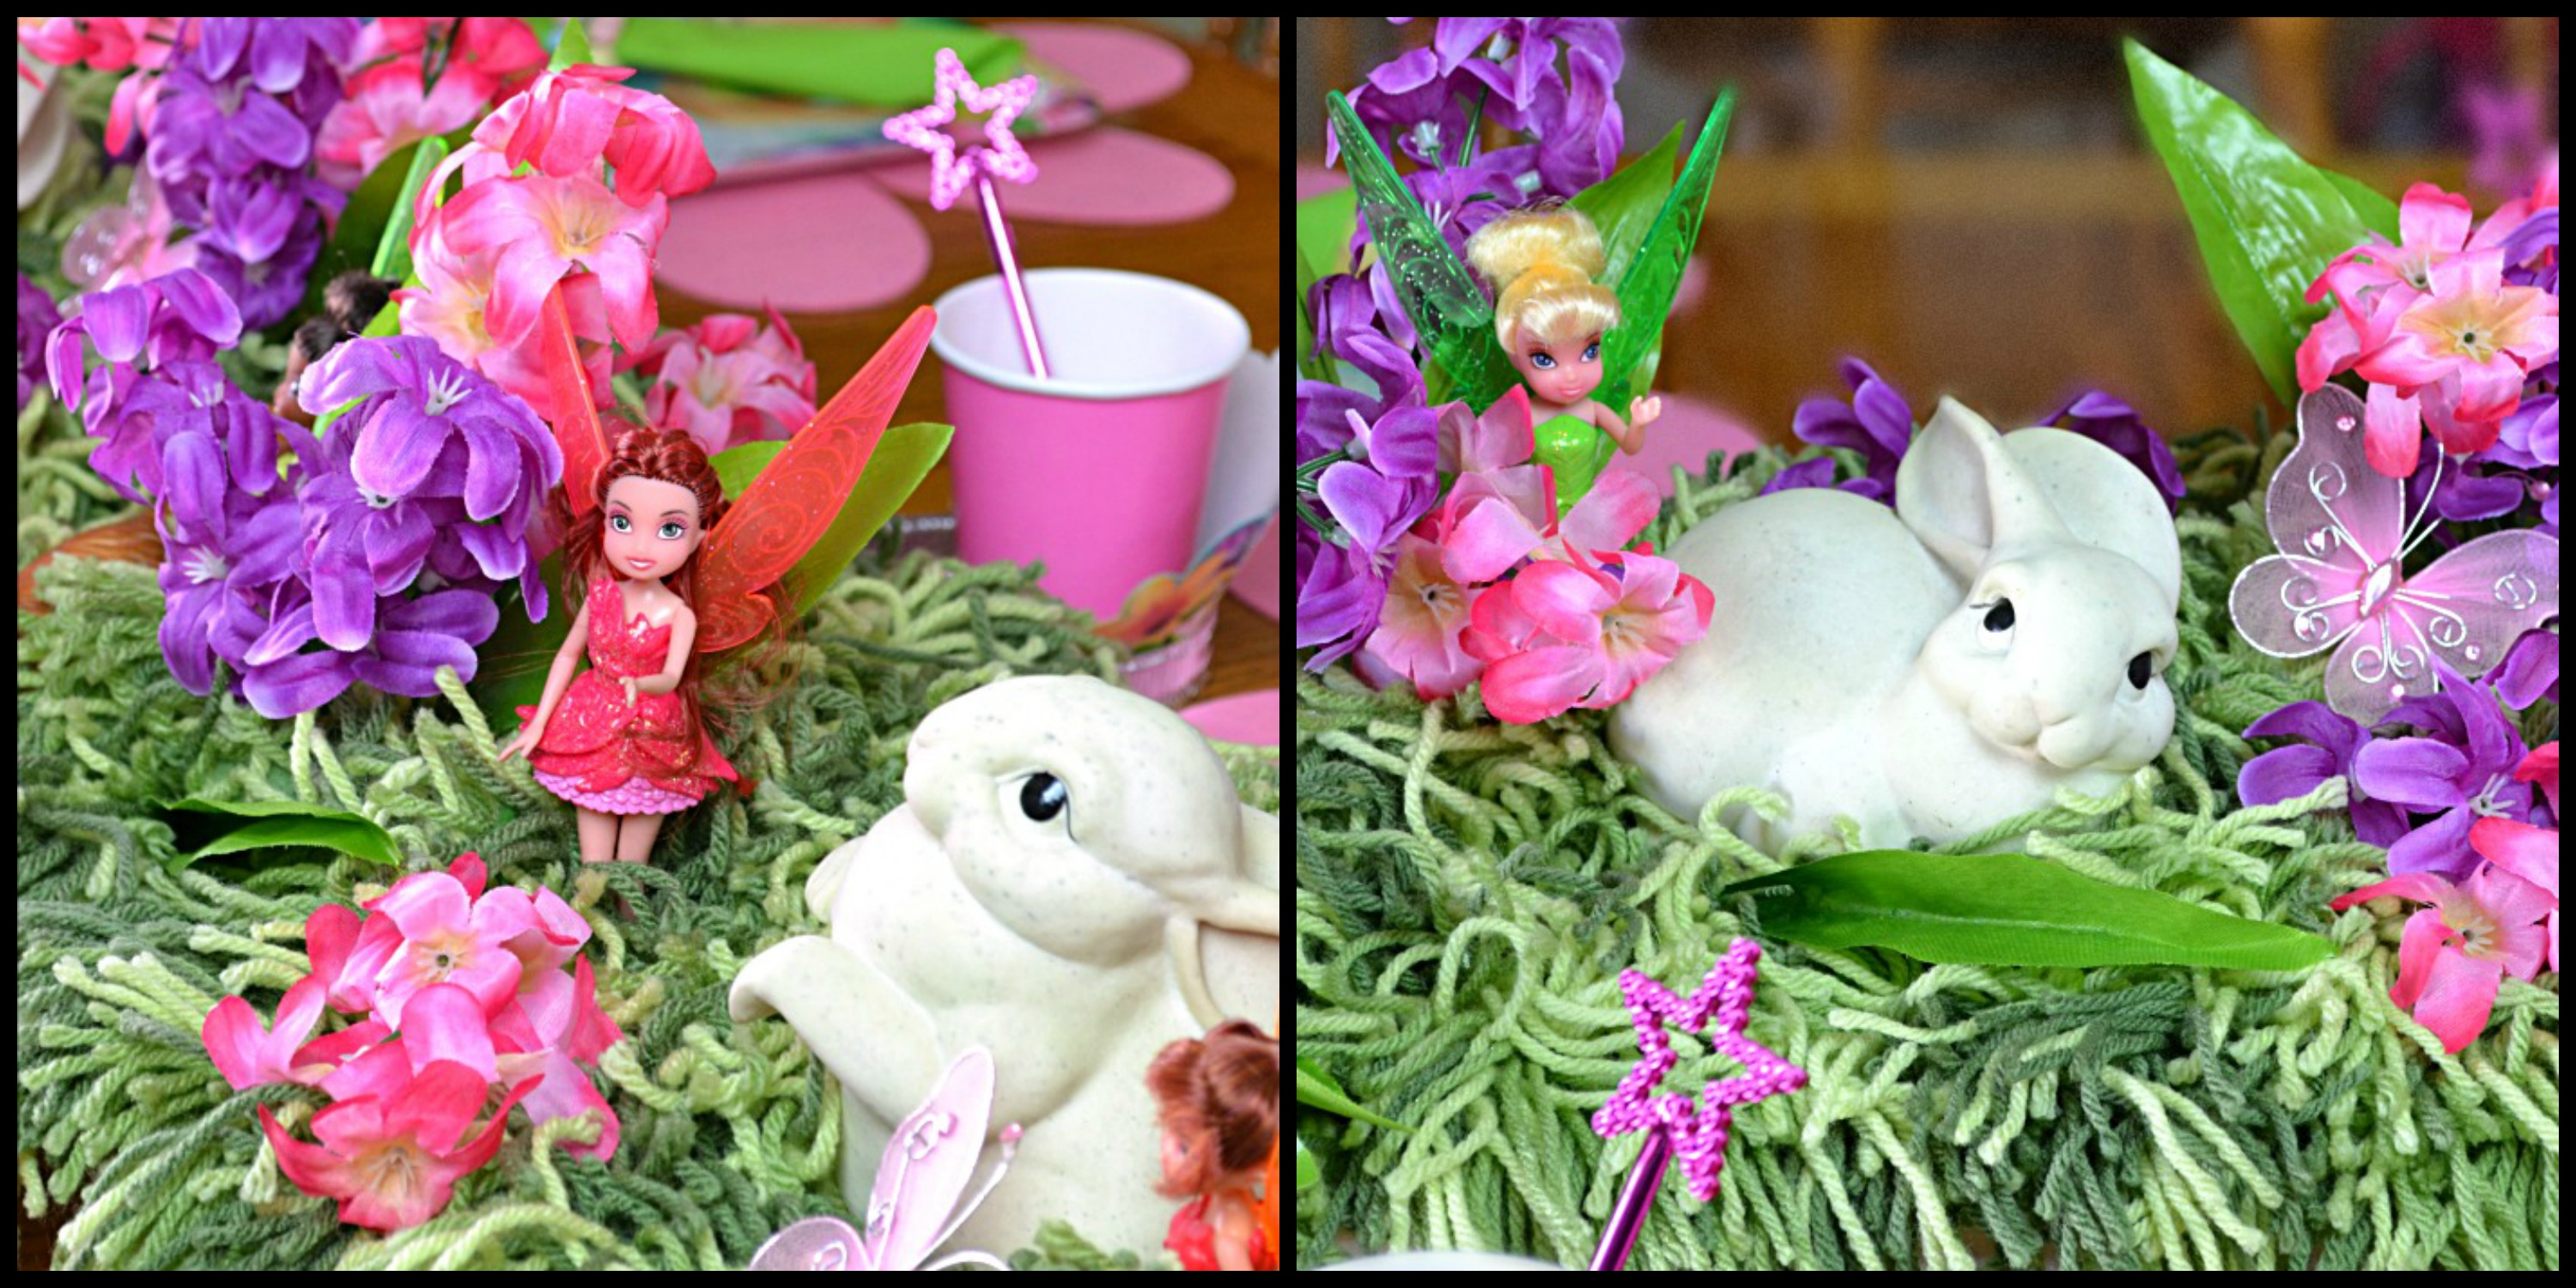
Yes Dannie is can! In fact I’m using it this week for my fairy party. 🙂
Very creative! Love thus entire post! Thank Thank you for sharing.
Thanks Robyn for your kind words.
GREAT idea. Thank you for sharing your idea.
You’re Welcome Kim. 🙂
Love this idea ! I’m going to make it and then a white and silver one for Christmas!?
Oh My Gosh Erin! That is a great idea!
AWESOME! I love decorating the table for garden club luncheons. This is going in board for tablescapes. Can’t wait to try it.
Awesome Peggy! The grass is so versatile. Perfect for lots of themes!
I have nearly finished mine but have a question. Did you cover the whole tray with the yarn grass or just round the edges then fluffed it around? Yours looks amazing.
Hi Ann, I covered the whole tray. There was still enough room between the bundles to add styro foam for flowers.
Thank you so much.
Sheryl: how wide is the tray that you use?
Hi Camille, The tray is 10 inches by 4 feet.