





Halloween Sour Gummies
Bright colors, sparkling sugar, and a sour coating with enough pucker to make your eyes widen, Halloween Sour Gummies are homemade candy with a playful Halloween twist. Cut them into chunky little squares or pull out your favorite cookie cutters and turn them into spooky shapes. Either way, that coating of sugar and citric acid is what takes them from sweet homemade gummies to sour candy.
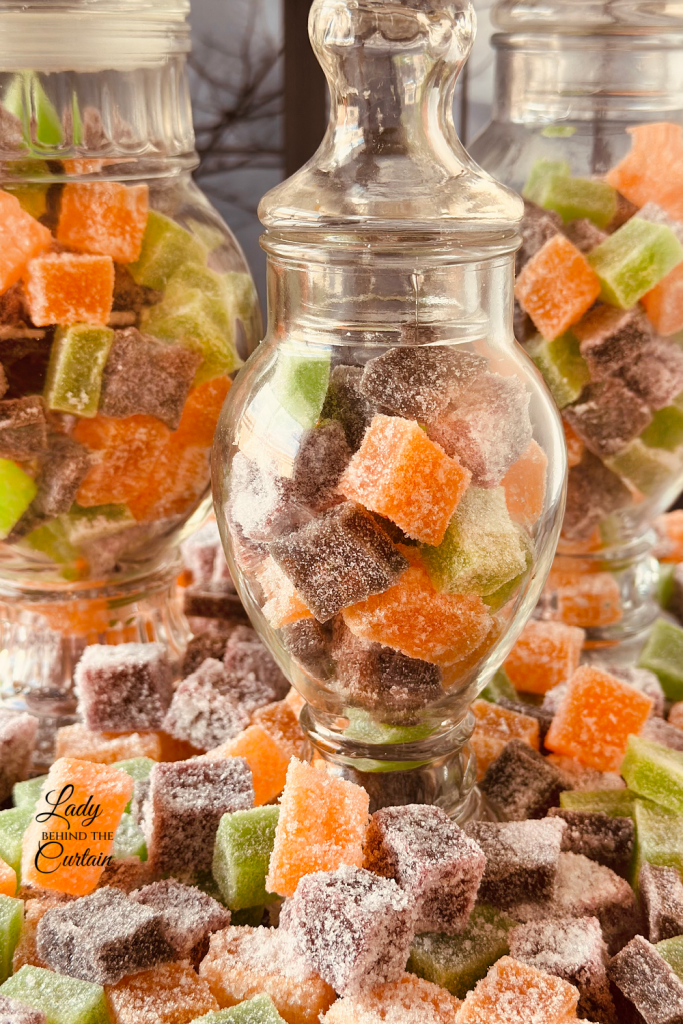
There’s plenty of room to have fun with these. Change the color, choose a different LorAnn flavor, decide how sour you want the coating to be, or switch from simple squares to seasonal shapes. One basic candy can take on an entirely different personality just by changing a few finishing details.
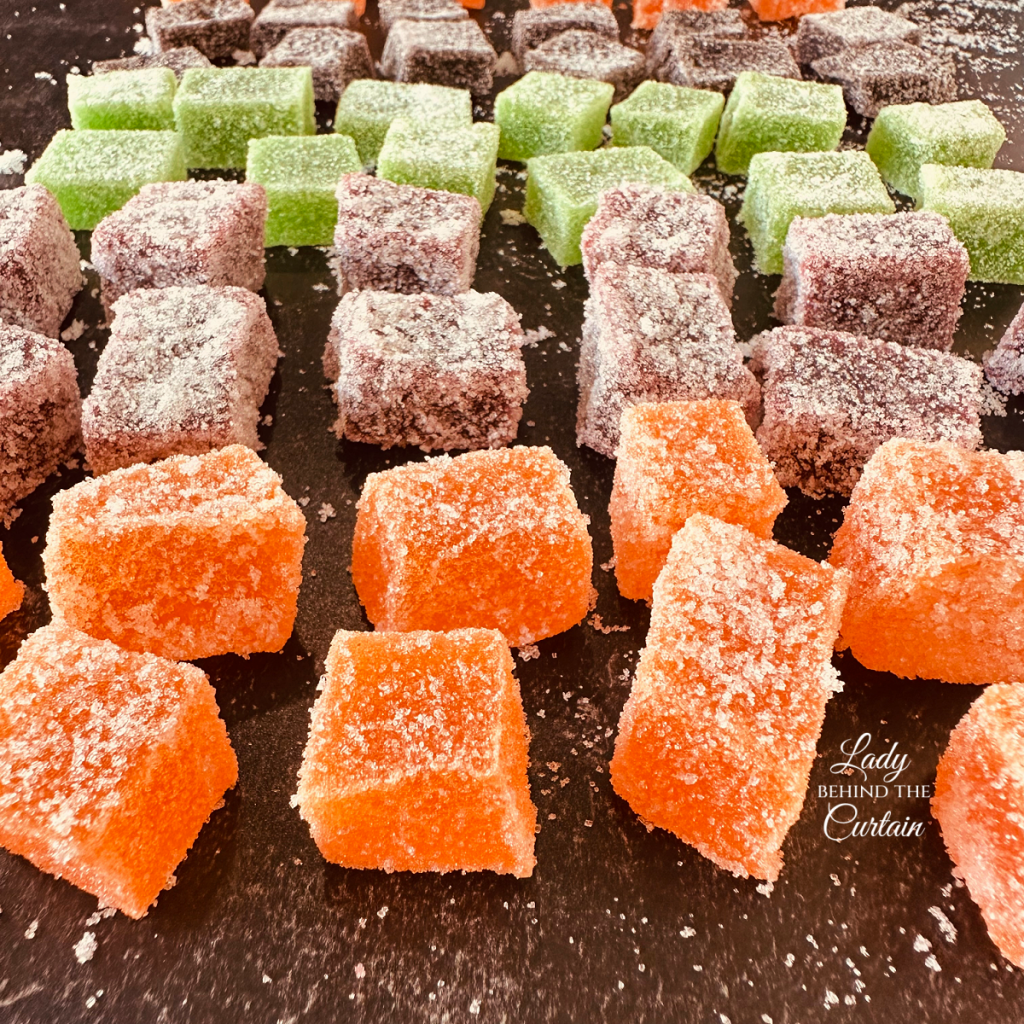
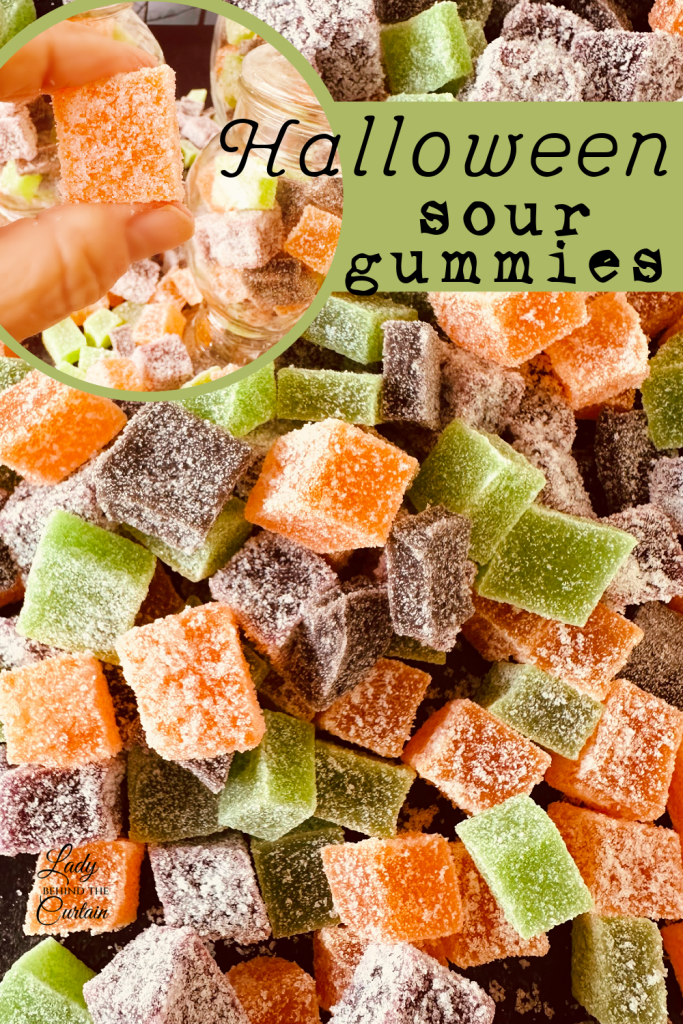
For Halloween, black, purple, orange, and green turn a pan of homemade gummies into a colorful assortment made for spooky season. Once they’re covered in that sparkling coating, they look like little sugar-crusted jewels ready for the Halloween candy bowl.
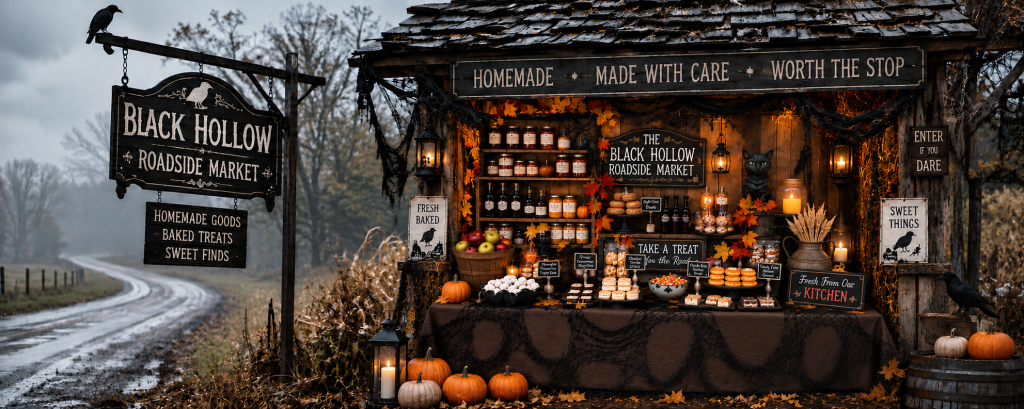
And now they’ve found their way to a rather unusual little roadside stand.
A New Candy Appears at the Black Hollow Roadside Market
The shelves of the Black Hollow Roadside Market have been filling up with homemade treats, and Recipe #9 adds candy to the collection: Halloween Sour Gummies.
These are a little different from some of the treats that have already appeared at Black Hollow. Instead of a bakery case creation or something tucked into a jar on the pantry shelves, this recipe brings the fun of homemade candy to the market.
The Halloween colors certainly help them fit in. Black, purple, orange, and green are right at home in Black Hollow, especially once they’re covered in sparkling sugar. Pile the finished gummies together, and you have a candy assortment that immediately feels ready for Halloween.
But the real fun is underneath all that sparkle. These aren’t limited to a single flavor or level of sourness. You get to decide how you want your gummies to taste, which makes this one of those recipes that can change depending on who you’re making it for.
Someone who likes just a little tang doesn’t have to eat the same gummy as the person who considers seriously sour candy a challenge.
And yes, I tested the serious stuff.
We’ll get to that.
Soft, Squishy, and So Much Fun
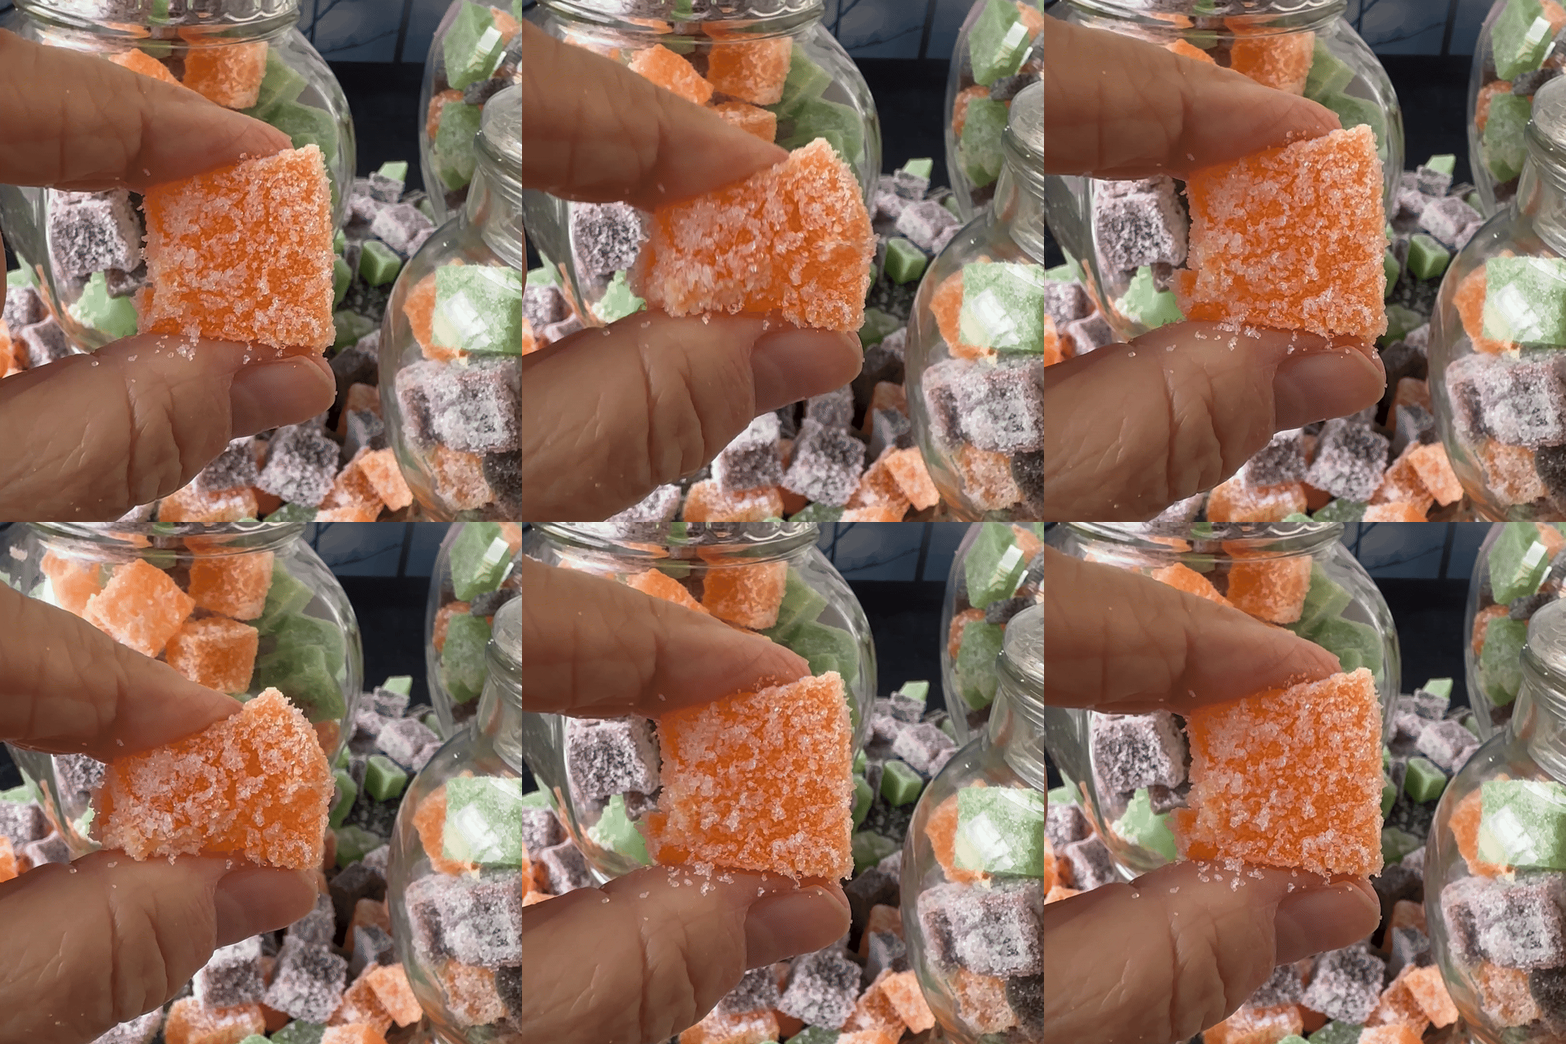
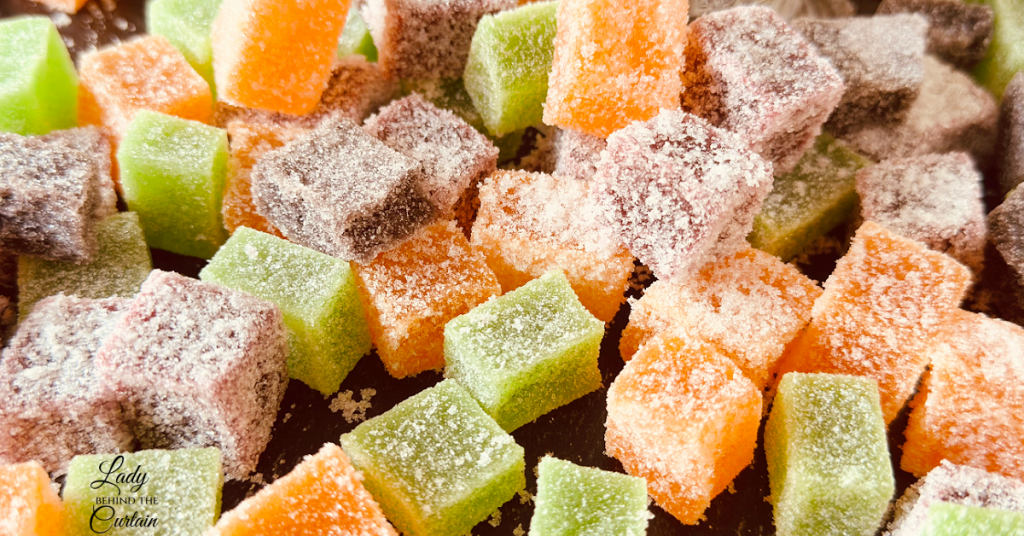
Give one of these gummies a squeeze to see just how soft and flexible they are. They compress easily between your fingers and spring back when released, giving them that fun, squishy texture you want in a homemade gummy.
The sparkling coating adds another layer to the experience. After the gummies sit uncovered for 24 hours, the outside develops the crunchy crust that surrounds that soft gummy center. It’s a combination you can see below: a candy that looks sturdy enough to pick up and serve, but still has plenty of softness when you give it a squeeze.
And really, who can resist squishing a gummy at least once before eating it?
The Little Bottle That Brings the Flavor
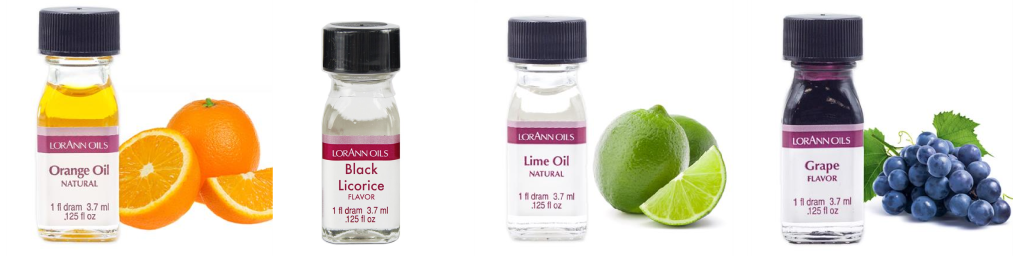
If you’ve never used LorAnn flavorings before, don’t let that tiny bottle fool you. These flavorings are highly concentrated, so it doesn’t take a large bottle to bring flavor to homemade treats.
What I especially like about LorAnn flavorings is how true they are to the flavor they claim to be. When I choose a particular flavor, that’s the flavor I expect to taste in the finished treat. For example, the black licorice flavor was spot on. When I tried a black licorice gummy, it tasted exactly like black licorice.
That reliability has made LorAnn my number one choice for adding flavor to baked goods and treats.
It also opens up many possibilities with these gummies. The gummy itself doesn’t have to be tied to one particular Halloween flavor. You can choose a flavor you love and pair it with the gel food color you want to use.
That means the color can be part of the theme rather than a rule about what the candy has to taste like. A purple gummy doesn’t have to taste like grape simply because it’s purple. If another LorAnn flavor sounds better, use that instead.
Behind the Curtain Tip: LorAnn flavorings are highly concentrated, so this isn’t an ingredient where I automatically assume more will make the candy better. I use the amount called for in my recipe and let the concentrated flavoring do its job.
From a Little Tang to a Serious Pucker
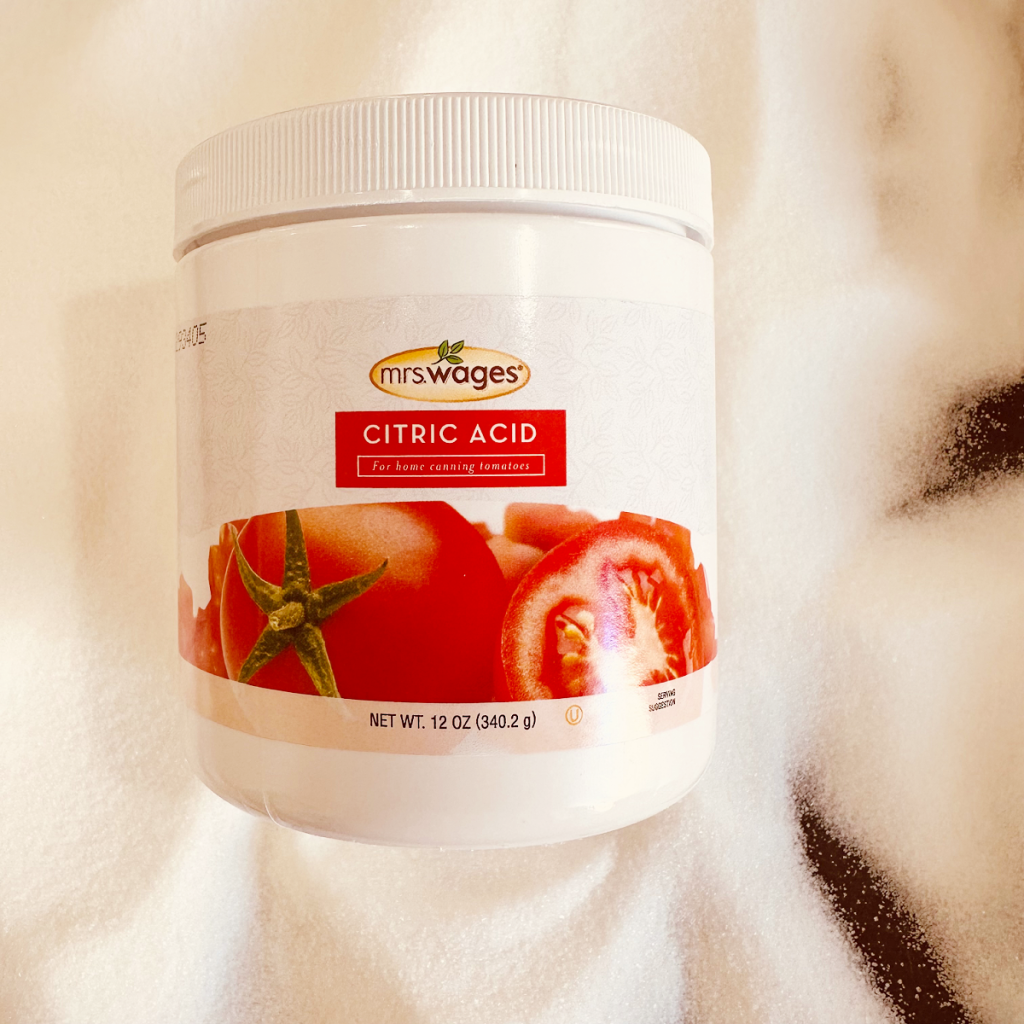
Now we get to the part that makes these sour gummies.
Citric acid is combined with granulated sugar to create the coating that goes around the outside of the candy. By adjusting the proportion of citric acid in the mixture, you can control the sourness of the finished coating.
That matters because “sour” means very different things to different people.
I tested the full 4:1 sugar-to-citric-acid ratio, and WOW, it was SOUR! I’m admittedly a wimp when it comes to sour candy, so if you’re like me, start with one of the lower levels on the chart. You can always work your way up to that serious pucker.
| Sour Level | Granulated Sugar | Citric Acid | Sugar-to-Citric-Acid Ratio |
|---|---|---|---|
| Light | 1 cup | 1 tablespoon | 16:1 |
| Medium | 1 cup | 2 tablespoons | 8:1 |
| Sour | 1 cup | 3 tablespoons | about 5⅓:1 |
| Very Sour | 1 cup | ¼ cup | 4:1 |
Think of the chart as a way to choose your starting point rather than assuming everyone at the party wants the same sour experience. If you’re making gummies for people who aren’t big sour-candy fans, the lighter end gives you a good place to start. If your crowd loves the pucker, you can move farther down the chart.
The coating is also one reason I like cutting the gummies into individual pieces rather than leaving them as one large slab. Every newly cut surface gets rolled through that sweet-and-sour mixture, so each little piece gets its own sparkling finish.
Making Homemade Gumdrops
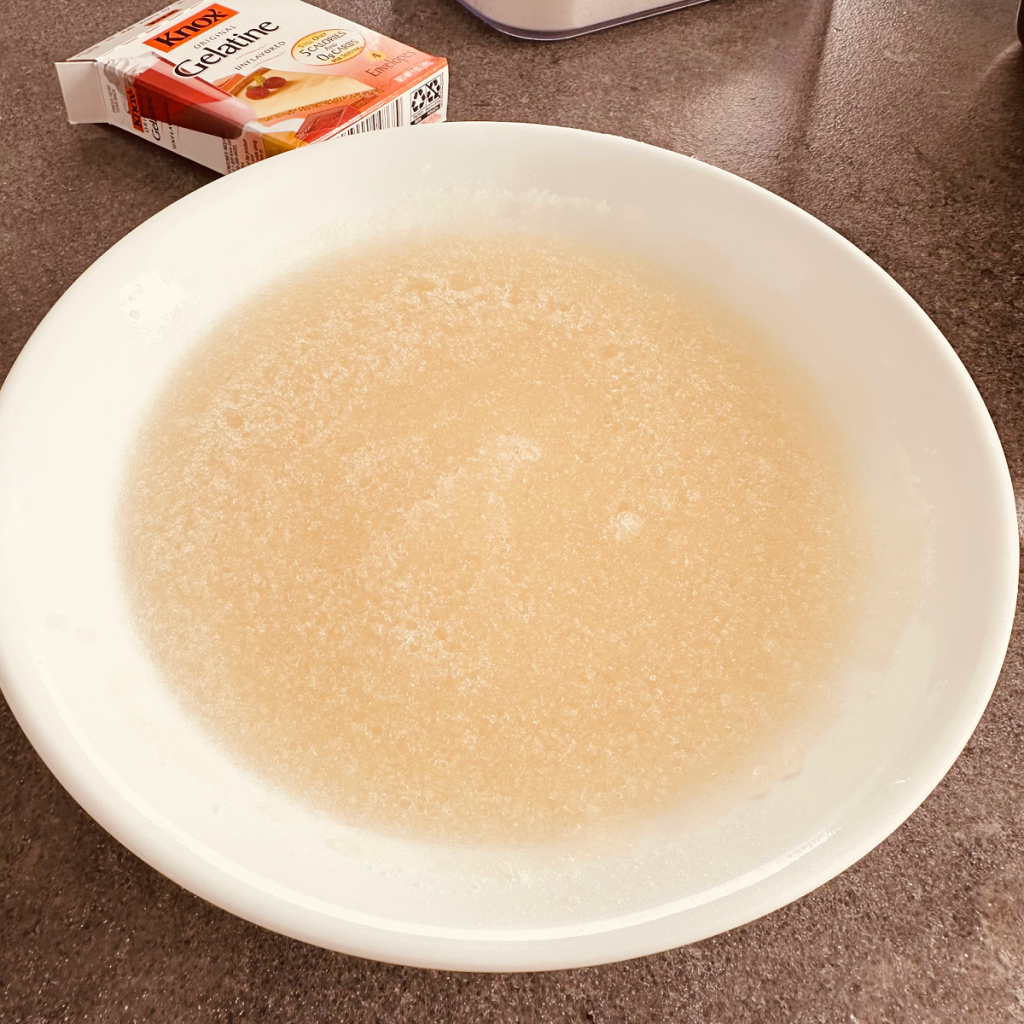
- Pour the water into a medium bowl. Evenly sprinkle the gelatin over the water. Allow the gelatin to bloom or soak up the water. While the gelatin is forming, make the sugar syrup.
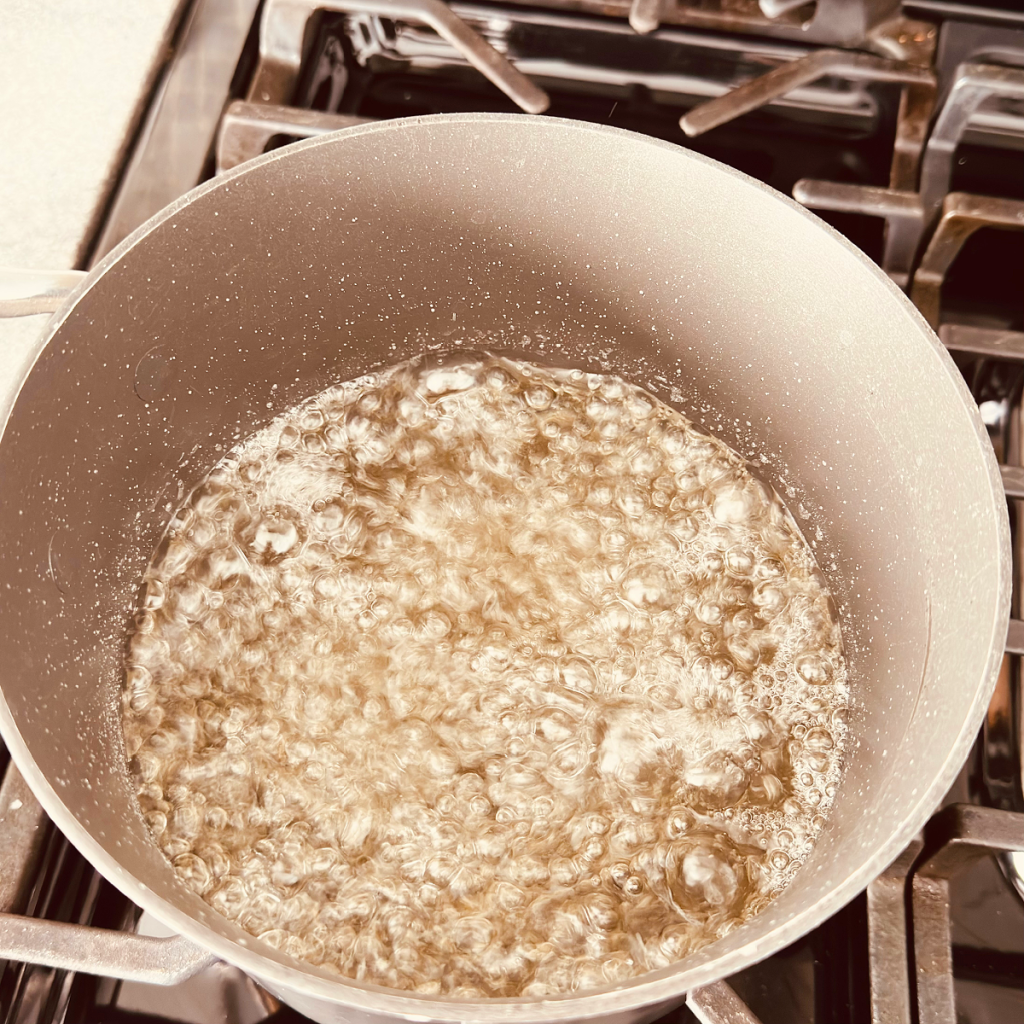
- Add water and sugar to a medium saucepan. Bring it to a boil and simmer for 5 minutes.
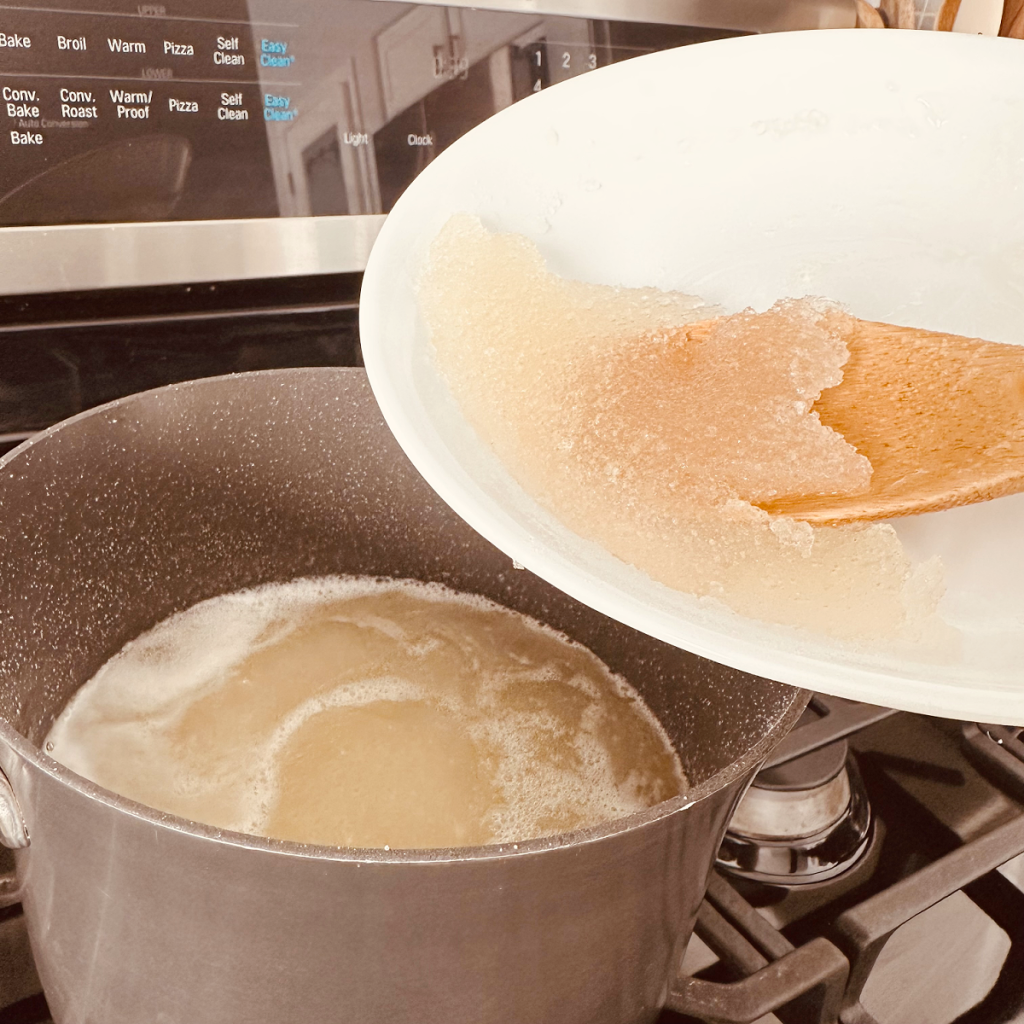
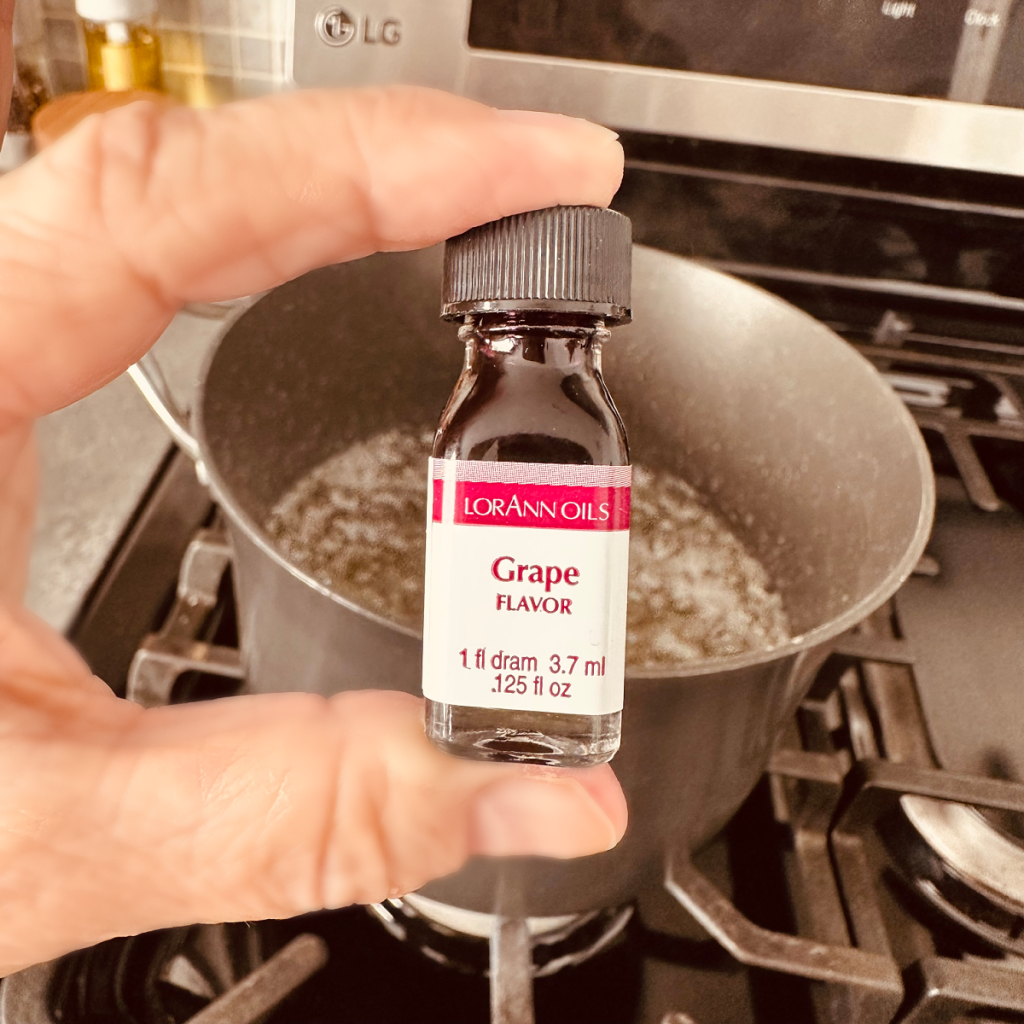
- Add gelatin to the hot mixture. Stir until the gelatin is completely dissolved. Bring to a boil, turn off the heat, and add the gel food coloring and LorAnn flavoring. Stir to combine.
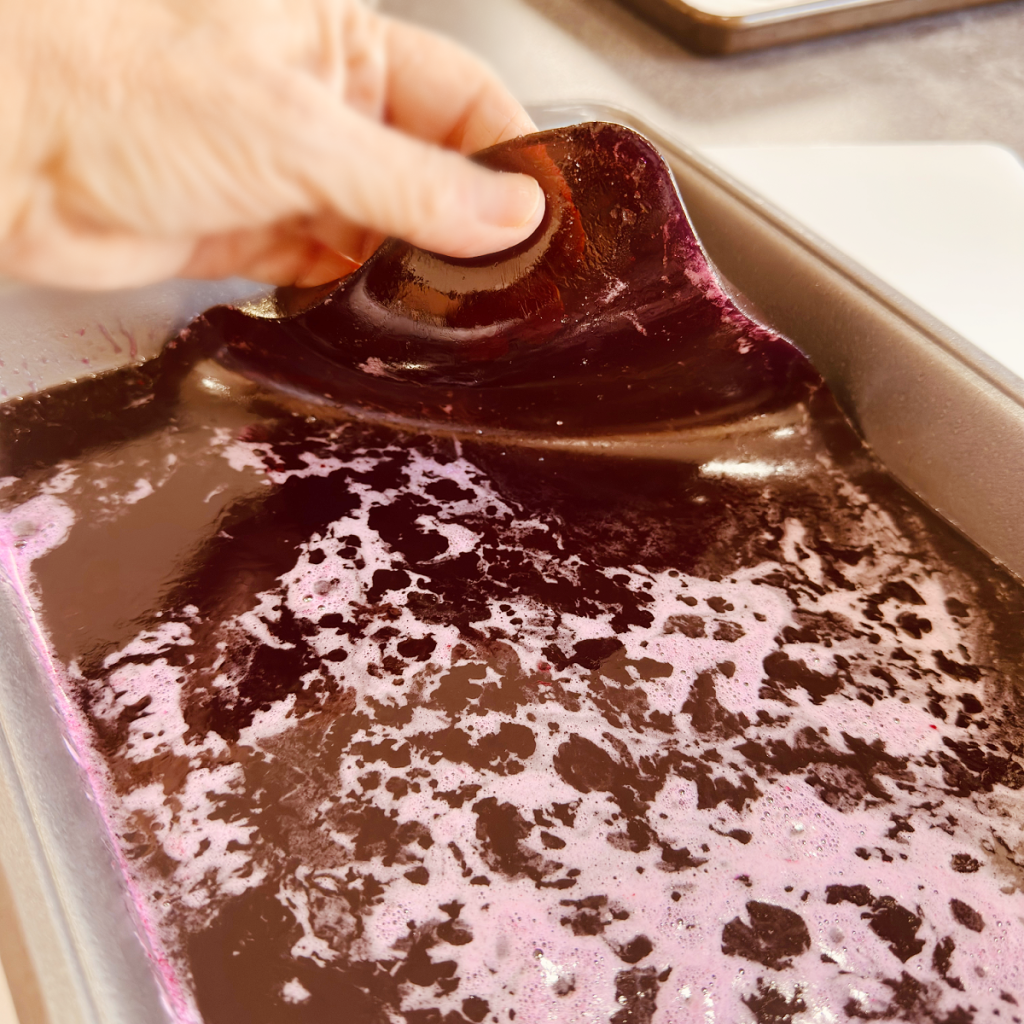
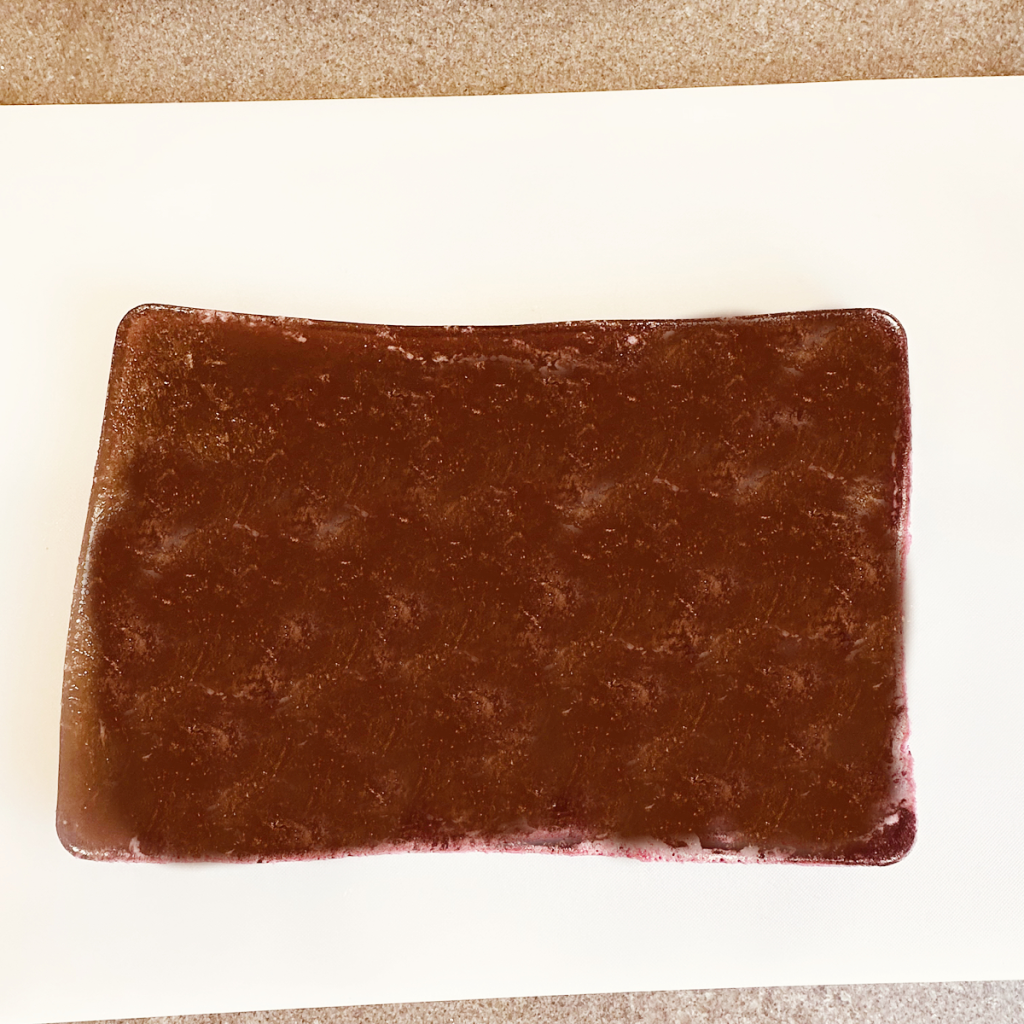
- You’ll know the gelatin is firm when you can safely pull it out of the baking dish without it breaking. Lay the gelatin slab on a large cutting board.
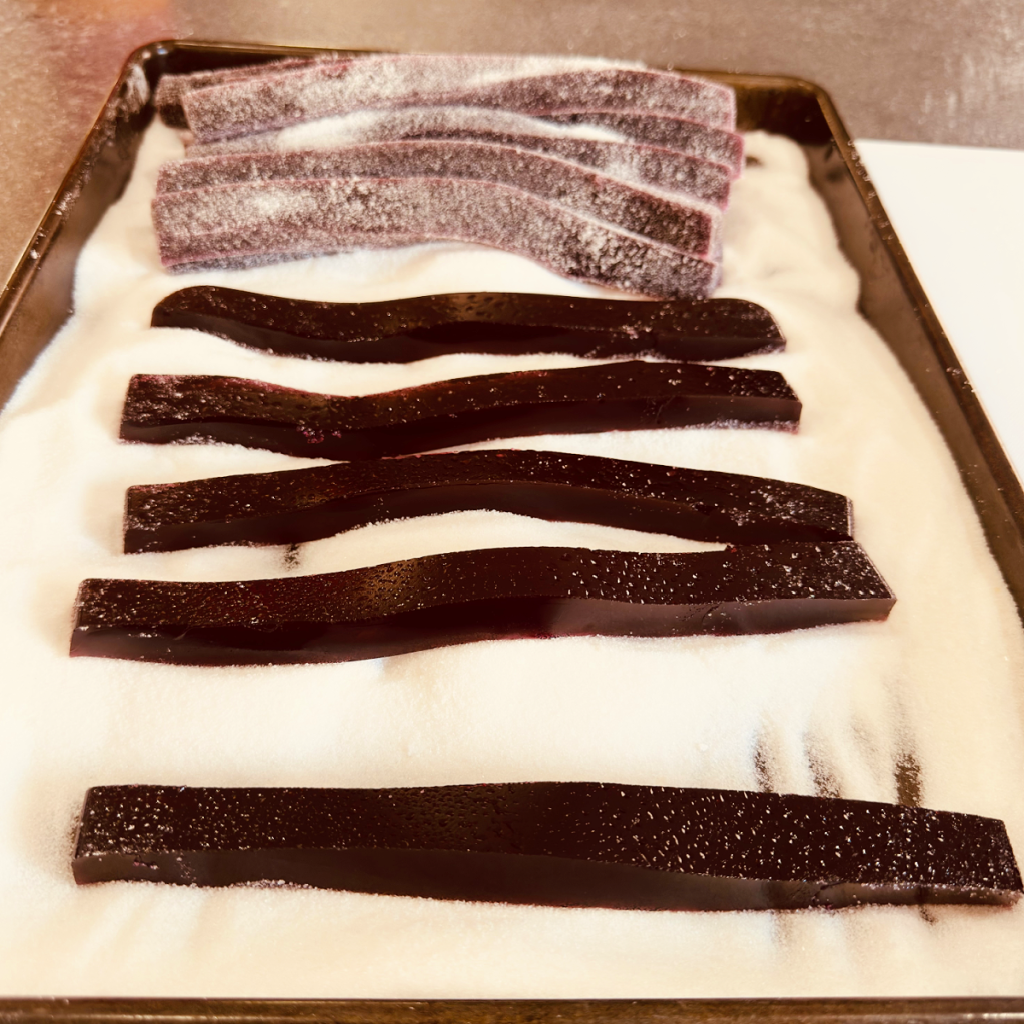
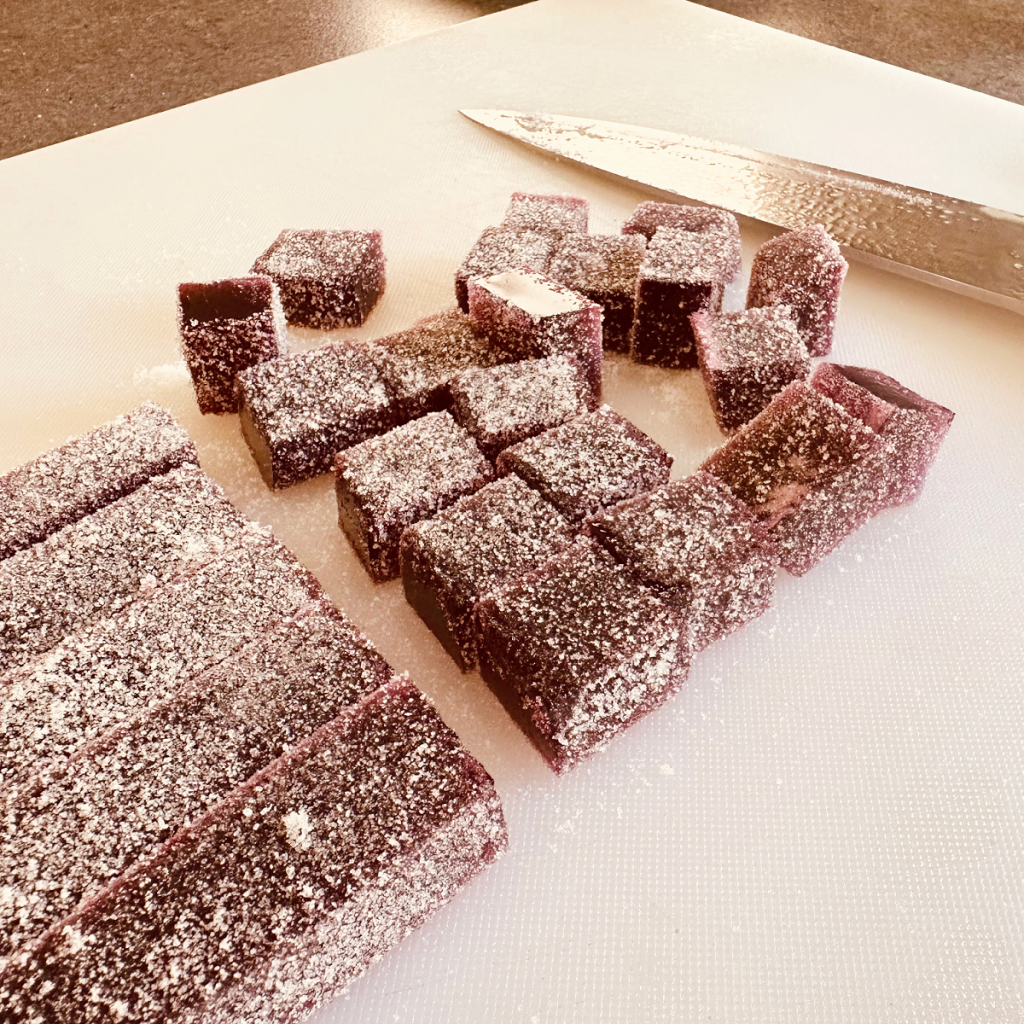
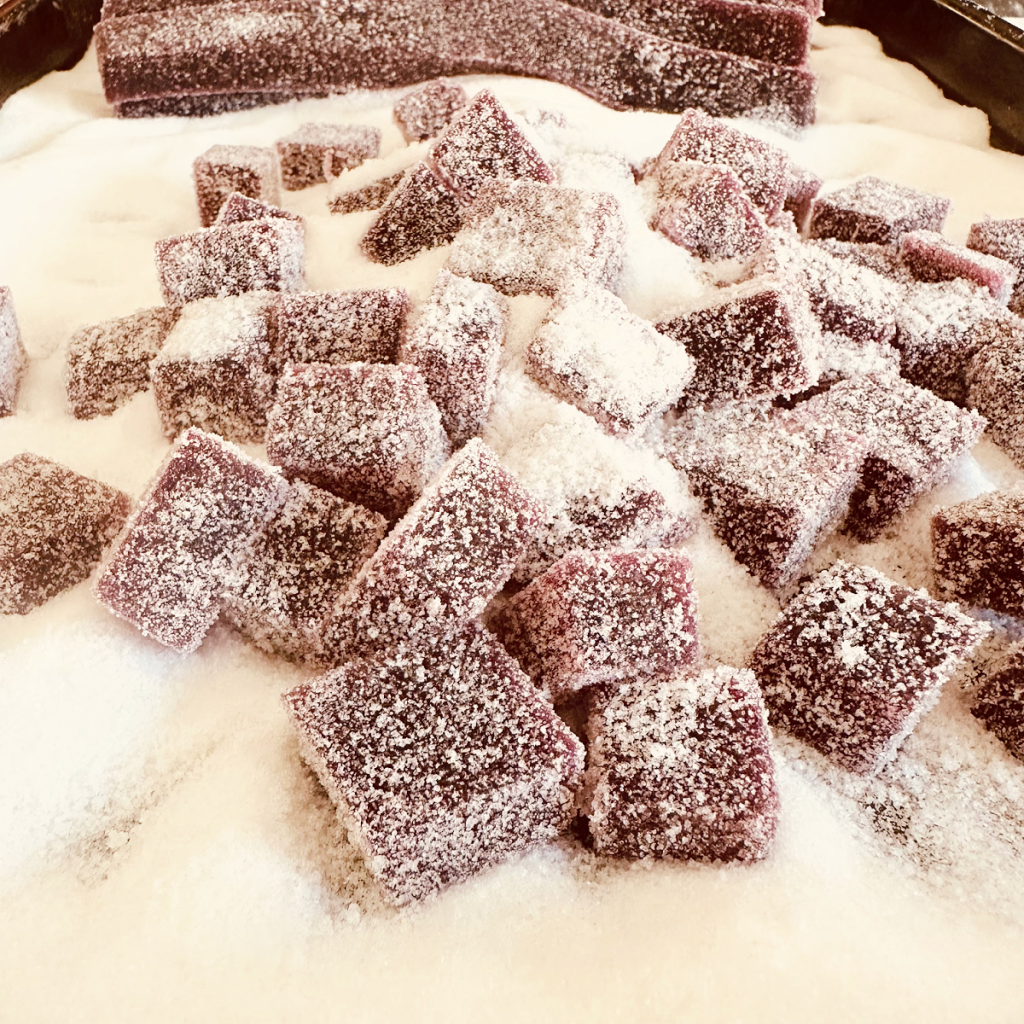
- Spray a large knife with cooking spray, and cut the slab into 1-inch strips.
- Place the strips on the sugar mixture and roll to coat all sides, especially the cut sides. Continue cutting the gelatin into 1-inch strips.
- Once all the gelatin has been cut, line up several strips and cut them into 1-inch cubes.
- Place them back on the sugar and roll.
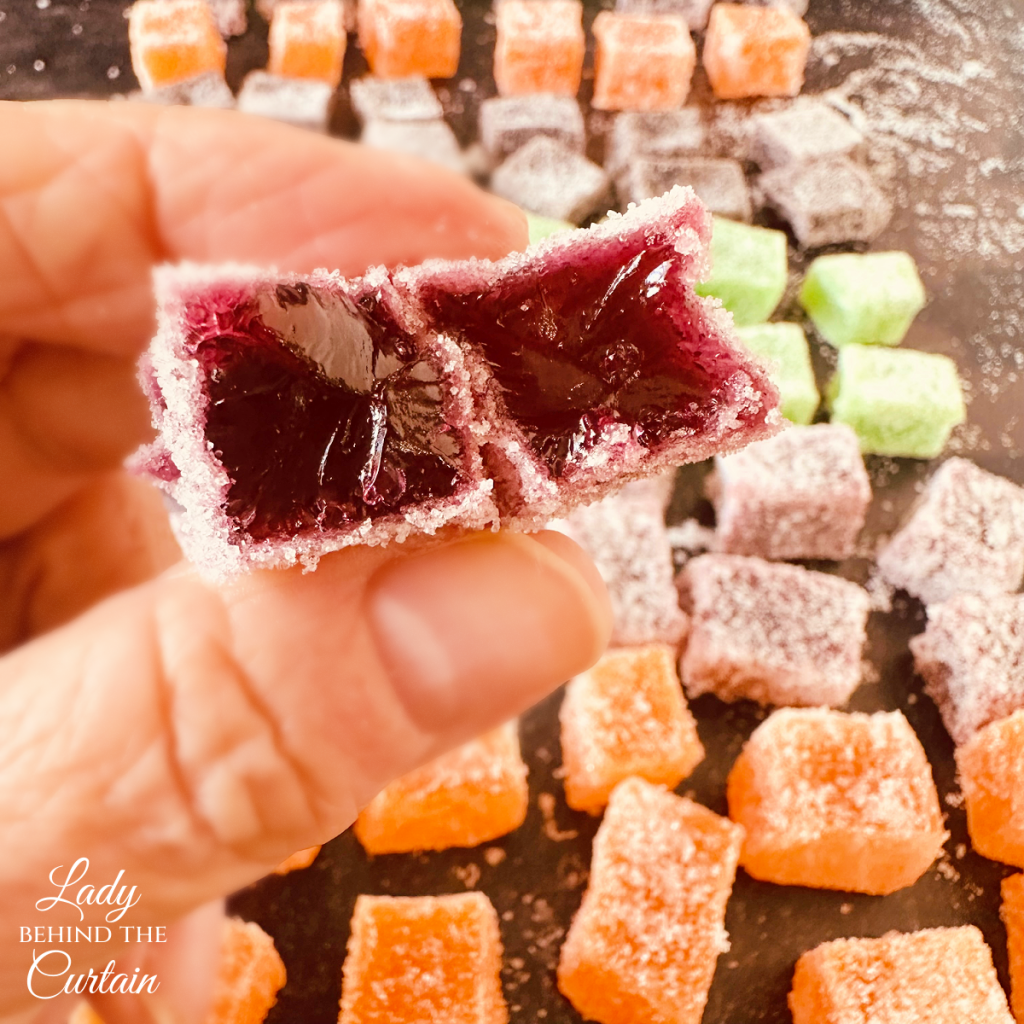
SOFT AND FULL OF FLAVOR!
Squares, Shapes, and a Little Halloween Magic
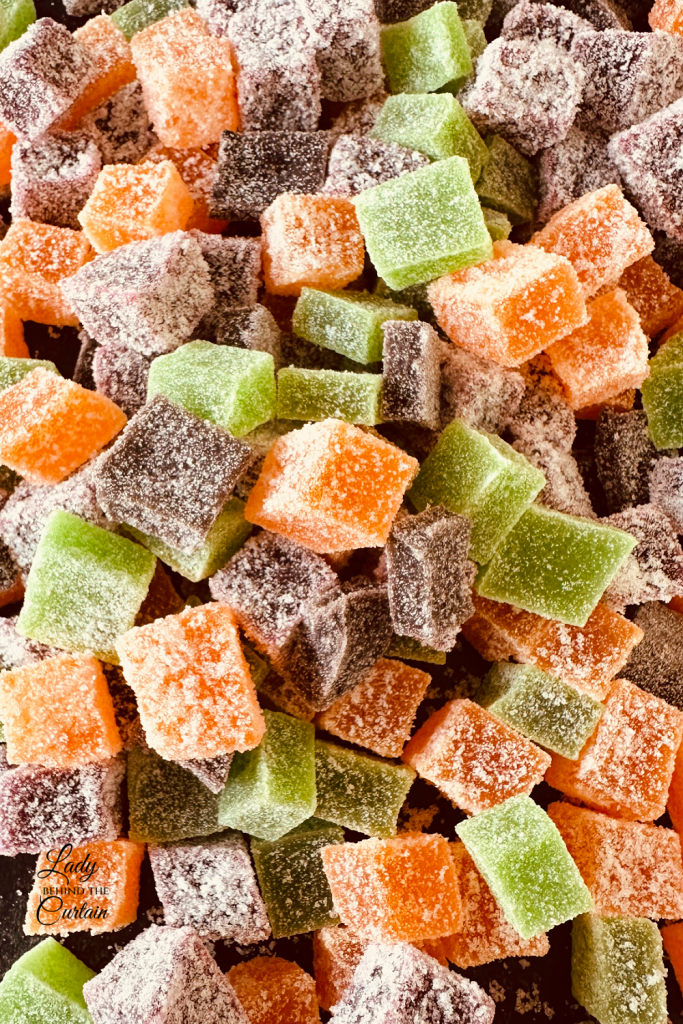
There are two ways I make these gummies, and each gives you a completely different presentation.
The simplest is to cut the firm gummy slab into approximately 1-inch squares. They’re chunky, colorful, easy to pile into a candy dish, and the straight-cut edges give the sugar coating plenty of surface area to cover.
The second option is to bring out the cookie cutters.
This is where the recipe can become especially fun for Halloween. Instead of every gummy being a square, small cookie cutters can turn the slab into seasonal shapes. The cutter is prepared before pressing it into the gelatin, which helps with the cutting process.
There is one trade-off with shaped gummies: you’ll have scraps left between the shapes.
Or, as I prefer to look at it, pieces you can nibble on.
Squares make the most of the slab, while cookie cutters provide decorative shapes. You can decide which matters more for the occasion.
That choice also makes it easy to change the look later in the year. Halloween shapes are only the beginning.
The Final 24 Hours Make a Difference
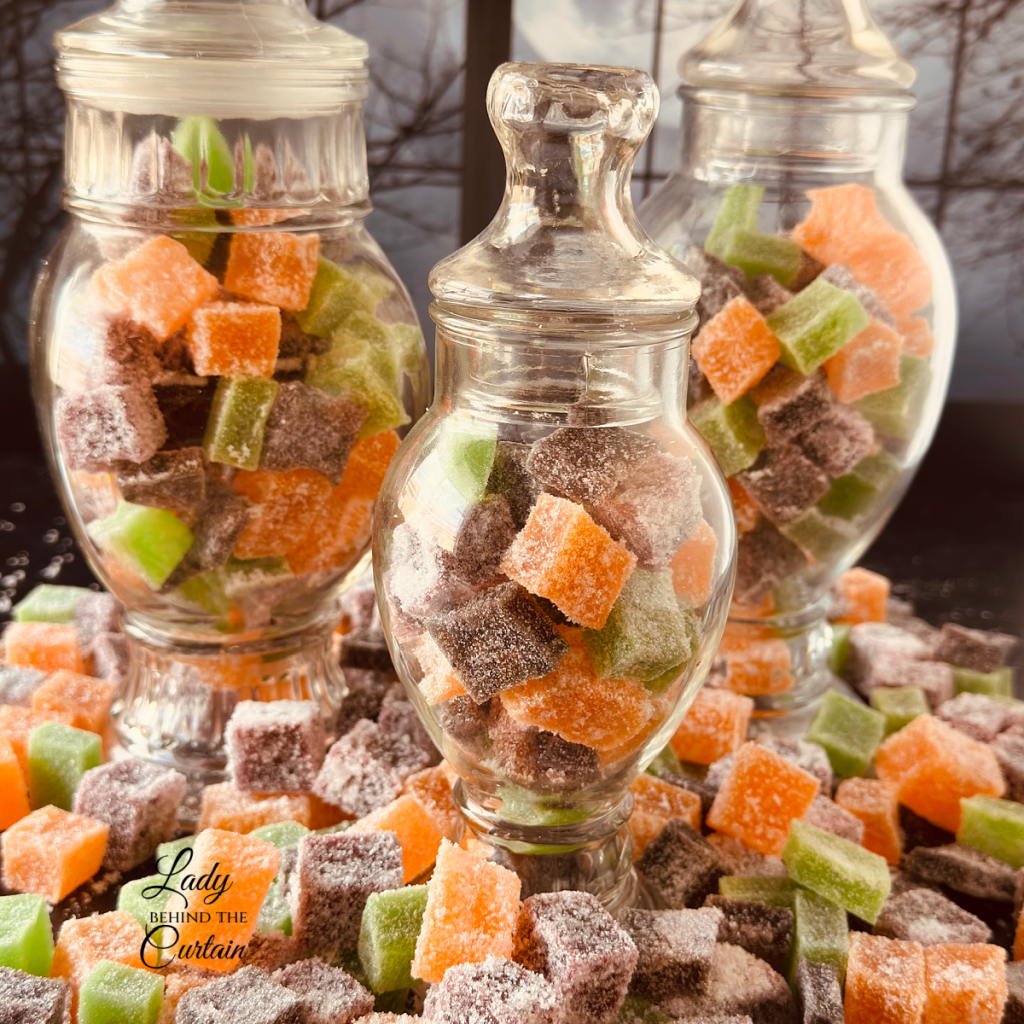
One part of this recipe happens after all the cutting and coating are finished.
The coated gummies sit uncovered for 24 hours.
During that time, the outside develops the crunchy crust I want on these gummies. Only after that uncovered resting time do I move them into an airtight container for storage.
This is worth remembering when you’re deciding when to make them. If you want the gummies ready for a Halloween party, candy table, or another event, don’t plan to finish them right before you need them. Build that uncovered 24-hour period into your schedule.
A simple way to think about the timing is:
| When | What’s Happening |
|---|---|
| First | Make the gummy mixture and allow it to become firm |
| Next | Remove, cut, and coat the gummies |
| Following 24 hours | Leave the coated gummies uncovered |
| After the 24-hour rest | Transfer them to an airtight container |
This gives the candy enough time to go through each stage without rushing the final finish.
One Pan Turns Into a Surprising Number of Gummies
A 9×13-inch pan may not sound like an enormous amount of candy, but once the finished slab is divided into 1-inch pieces, those little gummies add up quickly.
A 9×13-inch pan has 117 square inches of surface area. If the slab is cut into an exact grid of 1×1-inch pieces, the calculated yield is 117 gummies.
Of course, homemade candy isn’t a geometry test.
Your cuts may not be perfectly even, and there may be a little trimming around the edges. For that reason, a more practical estimate is 110-117 gummies per batch.
That number is a calculation based on the pan’s dimensions and the approximate size of the cuts, rather than a counted yield. I think that’s an important distinction because your actual total will depend on how you cut your slab.
If you use cookie cutters instead, the yield won’t follow that same calculation. The size and shape of the cutters, and the spacing between them, will determine how many finished pieces you get.
One Gummy Recipe for Celebrations All Year Long
Halloween may have brought these gummies to the Black Hollow Roadside Market, but there’s nothing about the basic idea that has to be limited to October.
Changing the gel food color, LorAnn flavor, and shape can completely change the theme. That makes the recipe something you can return to for holidays, birthday parties, showers, summer celebrations, and other special occasions.
Here are some combinations to get the ideas started. The colors are suggestions, not rules, so choose whatever works with your celebration.
| Occasion | Flavor Idea | Gel Food Color |
|---|---|---|
| Valentine’s Day | Cherry | Red |
| Valentine’s Day | Strawberry | Pink |
| Easter | Cotton Candy | Pastel Blue |
| Easter | Marshmallow | Pastel Pink |
| Easter | Lemon | Pastel Yellow |
| St. Patrick’s Day | Green Apple | Green |
| 4th of July | Cherry | Red |
| 4th of July | Blue Raspberry | Blue |
| Summer Party | Watermelon | Pink or Red |
| Summer Party | Peach | Peach or Orange |
| Fiesta | Mango | Orange |
| Fiesta | Lime | Bright Green |
| Birthday Party | Bubble Gum | Pink |
| Birthday Party | Cotton Candy | Blue or Pink |
| Fall | Apple | Red or Green |
| Halloween | Orange | Orange |
| Halloween | Grape | Purple |
| Halloween | Green Apple | Green |
| Christmas | Peppermint | Red |
| Christmas | Cherry | Red |
| Christmas | Green Apple | Green |
| Baby Shower | Cotton Candy | Pastel Pink or Blue |
You don’t have to make the flavor match the color. That’s simply one way to approach the combination. If the party decorations call for blue candy but your favorite flavor isn’t one you’d normally associate with blue, there is no reason you can’t pair the two.
The same goes for cookie cutters. Hearts immediately move the gummies toward Valentine’s Day, while another seasonal shape can take the same candy in an entirely different direction.
This is one place where a Halloween recipe can quietly become a year-round party recipe.
A Few Details Worth Knowing Before You Start
Because homemade gummies aren’t something everyone makes every day, there are a few details from this particular recipe worth keeping in mind before you head to the kitchen.
- Give the gelatin time to become firm. You’re eventually going to remove the entire slab from the baking dish, so it needs to be firm enough to come out without breaking. My recipe allows you to chill it overnight, which is also an easy option if you’d rather split the project over two days.
- Prepare the knife when cutting squares. The recipe has you spray the knife with nonstick cooking spray before cutting the gummy slab. Keep that little instruction in mind when you reach the cutting stage rather than treating these exactly like brownies or bar cookies.
- Pay attention to the newly cut sides. When the strips go into the coating, make sure the cut surfaces get coated too. Those surfaces were inside the slab only moments earlier and haven’t touched the coating yet.
- Cookie cutters need preparation too. For shaped gummies, the cutter is prepared with nonstick cooking spray and granulated sugar before being pressed into the slab.
- Don’t cover the gummies during their final rest. This is one instruction that’s easy to overlook because covering food often feels automatic. For these gummies, the 24-hour period is specifically uncovered so the crunchy crust can form.
None of these details make the recipe complicated. They’re simply the little things to notice as you move from a pan of firm gelatin to individual pieces of finished candy.
From Pan to Candy Bowl Without the Last-Minute Rush
If you’re making Halloween Sour Gummies for a party, breaking the process into stages keeps you from having to do everything on the day you need them.
The first natural stopping point is when the gelatin begins to firm up. Since the recipe can be refrigerated overnight, you can make the gummy mixture one day and come back to cutting and coating the next day.
The second stage is the hands-on candy-making part: removing the slab, cutting or shaping the gummies, and coating every piece.
Then the candy needs its uncovered 24-hour rest.
That makes these a good recipe to put on your calendar rather than squeeze between other party preparations. Work backward from the day you want to serve them and make sure you’ve left room for both the chilling time and the uncovered resting time.
Once that final rest is complete, the gummies can go into their airtight container.
Sweet, Sour, and Ready for the Candy Bowl
There’s a lot packed into one little square of Halloween candy.
You have the bright color underneath, the sparkle of sugar on the outside, the flavor you chose for the gummy, and, finally, that sour coating waiting to deliver anything from a little tang to a full-on pucker.
You can keep them simple and cut the slab into squares. You can turn them into Halloween shapes. You can make them lightly sour. Or, if you’re far braver about sour candy than I am, you can head straight toward that 4:1 coating.
And when Halloween is over, you don’t have to put this recipe away with the decorations. A new color, flavor, and cookie cutter are all it takes to send it to the next celebration.
For now, though, the colors are spooky, the sugar is sparkling, and another homemade treat has taken its place at the Black Hollow Roadside Market. Recipe #9 has arrived.
I love a recipe that gives you room to make it your own, and these Halloween Sour Gummies definitely do that. You can choose the flavor, play with the colors, decide how sour you want them, and even choose between simple squares and fun shapes.
And if you’re wondering where I land on that sour chart, you already know. That 4:1 coating was SOUR! I’ll happily leave the serious pucker to the true sour-candy fans.
Whether you make yours just a little tangy or take them all the way to very sour, I hope you have fun adding another homemade candy to your Halloween celebration.
Happy Halloween!
Sheryl
LATEST POSTS
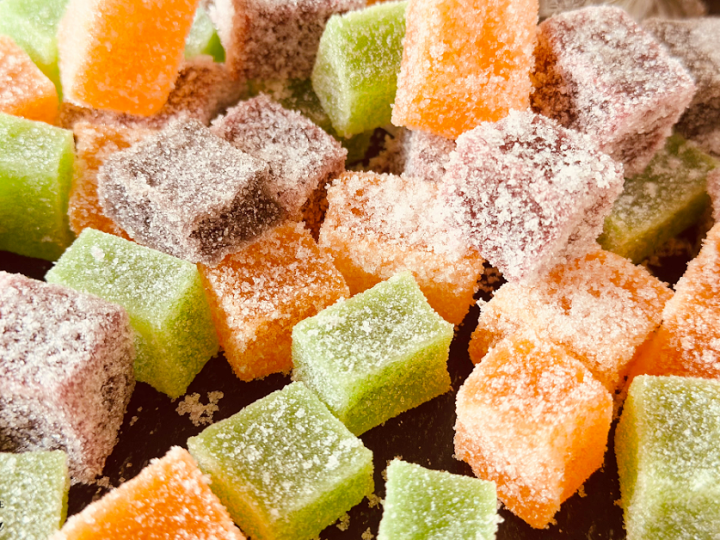
Halloween Sour Gummies
Ingredients
For the Gelatin:
- 1 cup cold water
- 6 envelopes gelatin powder
For the Sugar Syrup:
- 1 ½ cups water
- 4 cups granulated sugar
- 3 squirts of desired gel food color
- 1 dram of Lorann Flavor
For the Sweet and Sour Coating:
- Start at 1 cup granulated sugar
- Citric Acid (see the chart below)
Instructions
For the Gelatin Mixture:
- Spray a 9x13-inch baking dish with nonstick cooking spray and set aside.
- Pour the water into a medium bowl. Evenly sprinkle the gelatin over the water. Allow the gelatin to bloom or soak up the water. While the gelatin is forming, make the sugar syrup.
For the Sugar Syrup:
- Add water and sugar to a medium saucepan. Bring it to a boil and simmer for 5 minutes.
- Add gelatin to the hot mixture. Stir until the gelatin is completely dissolved. Bring to a boil, turn off the heat, and add the gel food coloring and LorAnn flavoring. Stir to combine.
- Pour into the prepared pan, cover, and refrigerate until firm (preferably overnight or at least 3 hours).
- You'll know the gelatin is firm when you can safely pull it out of the baking dish without it breaking. Lay the gelatin slab on a large cutting board.
- Pour coating sugar and citric acid into a rimmed baking sheet to cover the bottom. Mix the sugar and citric acid together.
- Spray a large knife with cooking spray, and cut the slab into 1-inch strips.
- Place the strips on the sugar mixture and roll to coat all sides, especially the cut sides. Continue cutting the gelatin into 1-inch strips.
- Once all the gelatin has been cut, line up several strips and cut them into 1-inch cubes.
- Place them back on the sugar and roll.
- Let the gummies sit out UNCOVERED for 24 hours. This will allow a crunchy crust to form.
- After that, store them in an airtight container.
Notes
How to Make Shaped Sour Gummies:
- Take the gelatin out of the baking dish and lay it on a flat surface.
- Spray a cookie cutter with nonstick cooking spray, then dip it in granulated sugar.
- Press the coated cookie cutter into the gelatin, remove it, and place the shaped gelatin on the prepared sugar coating. Continue until as much of the gelatin has been cut as possible. NOTE: This technique has some waste, or you can nibble on the pieces!
A Few More Things to Know About Homemade Sour Gummies
By this point, you know how to adjust the sour coating, cut or shape the gummies, and why you need to plan for the final uncovered resting period. There are still a few practical questions that may come up when you’re ready to make your own batch.
- Can I make more than one flavor of gummies? Yes. Make separate batches when you want different flavors. Each batch can have its own LorAnn flavoring and gel food coloring, so you aren’t limited to a single combination.
- Do the color and flavor have to match? No. The gel food coloring gives the gummies their color, while the LorAnn flavoring determines their candy flavor. You can pair them however you like, which is especially helpful when you’re coordinating the gummies with party or holiday colors.
- Can I make the gummies without citric acid? Citric acid turns the sugar coating into the sour coating used in these Halloween Sour Gummies. Leaving it out would give you a sugar-coated gummy rather than the sour version featured in this recipe.
- Can I use cookie cutters instead of cutting the gummies into squares? Yes. The firm gummy slab can be cut with cookie cutters instead of a knife. Spray the cutter with nonstick cooking spray and dip it in granulated sugar before pressing it into the gelatin. Keep in mind that shaped gummies will leave scraps between the cutouts.
- Do I have to make the gummies extremely sour? No. That’s why I included several sour levels instead of giving you only one coating option. Choose the level that suits your taste, and work your way up to stronger coatings if you’re not sure how much sourness you’ll enjoy.
- Why aren’t my gummies ready to store as soon as they’re coated? The finished gummies sit uncovered for 24 hours so a crunchy crust can form on the outside. After that resting period, they’re ready to be transferred to an airtight container.
- How many gummies will I get if I use cookie cutters? There isn’t a single set number because the yield depends on the size and shape of your cutters and how closely you can position them on the gummy slab. The estimate of approximately 110 to 117 gummies applies to cutting the slab into roughly 1-inch squares.
- Can I use this recipe for holidays other than Halloween? Absolutely. Change the gel food color, LorAnn flavoring, and cookie-cutter shape to fit another celebration. The sour coating can stay exactly as sour, or as mild, as you like.
Now that those last details are covered, there’s only one decision left to make: how much pucker do you want in your candy?
Comments
Halloween Sour Gummies — No Comments
HTML tags allowed in your comment: <a href="" title=""> <abbr title=""> <acronym title=""> <b> <blockquote cite=""> <cite> <code> <del datetime=""> <em> <i> <q cite=""> <s> <strike> <strong>