





Mini Ube Cheesecakes with Stabilized Vanilla-Coconut Whipped Topping
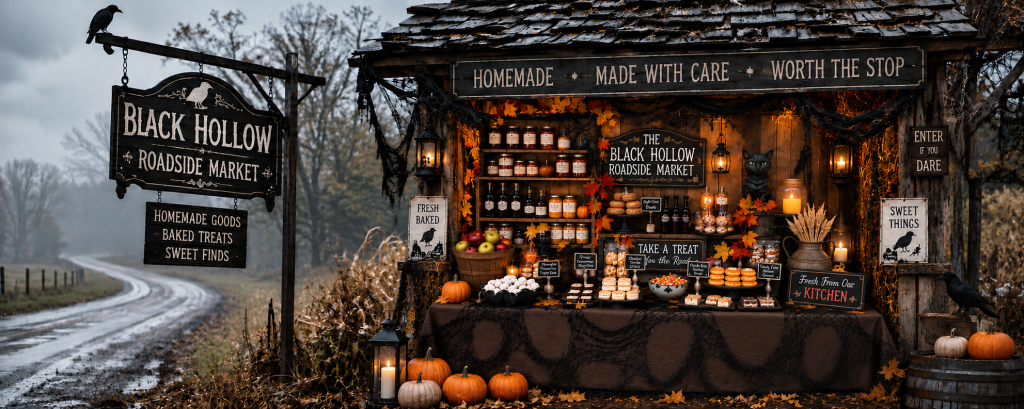
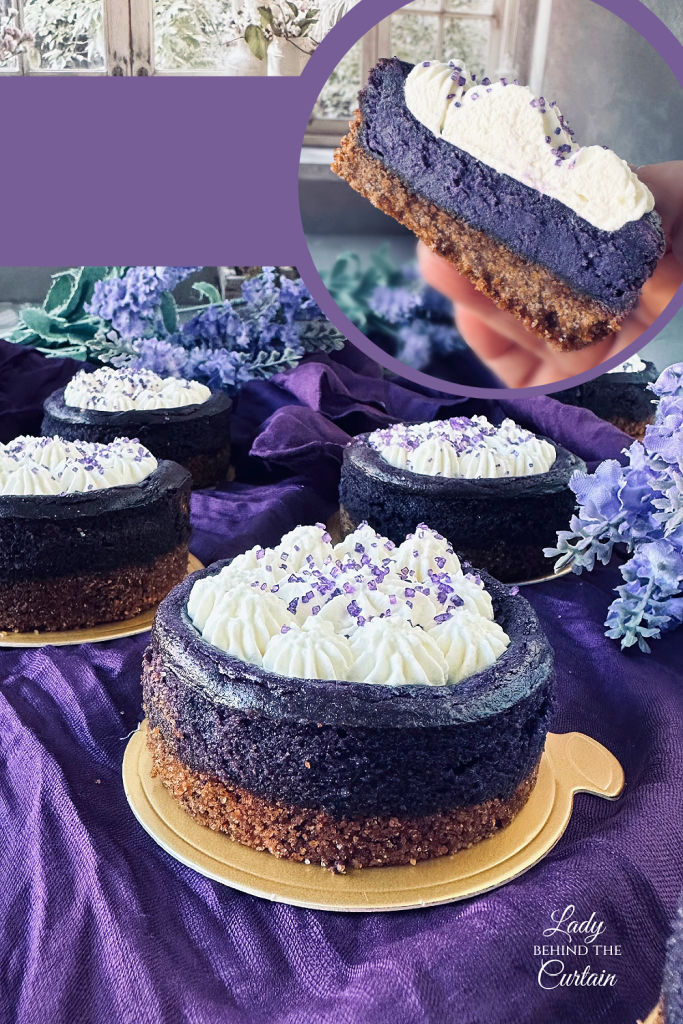
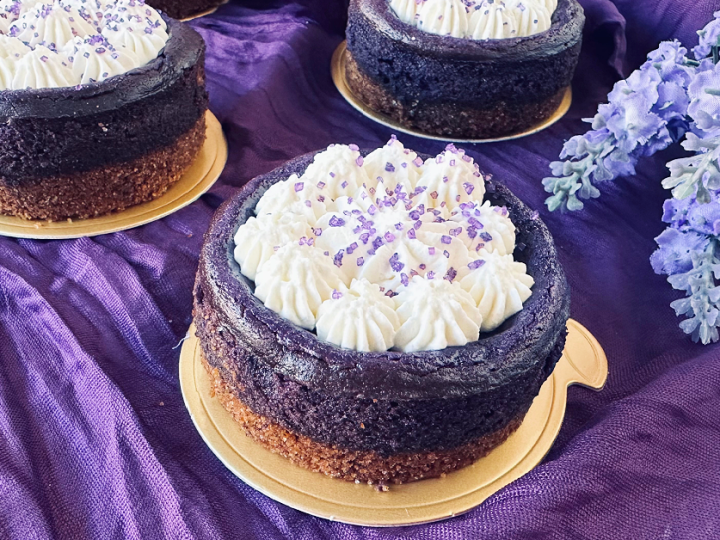
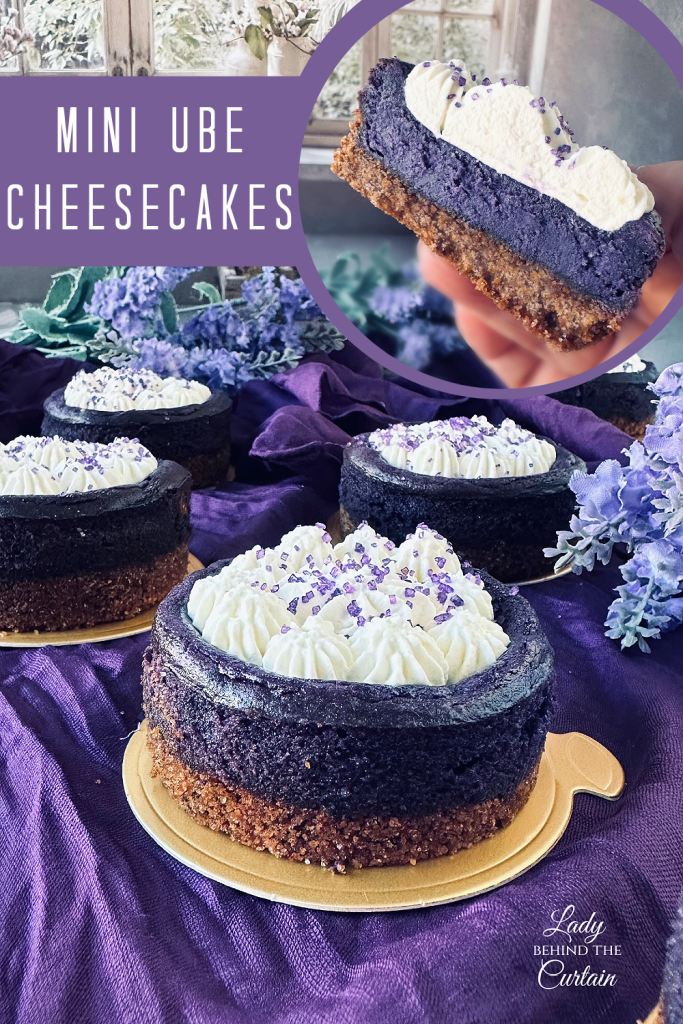
Tucked among the jars, baked goods, and homemade treats at the Black Hollow Roadside Market is a little cheesecake dressed in the most beautiful shade of purple. These Mini Ube Cheesecakes with Stabilized Vanilla-Coconut Whipped Topping are Recipe #8 in the Black Hollow Roadside Market series, bringing an unexpected splash of color to the bakery case.
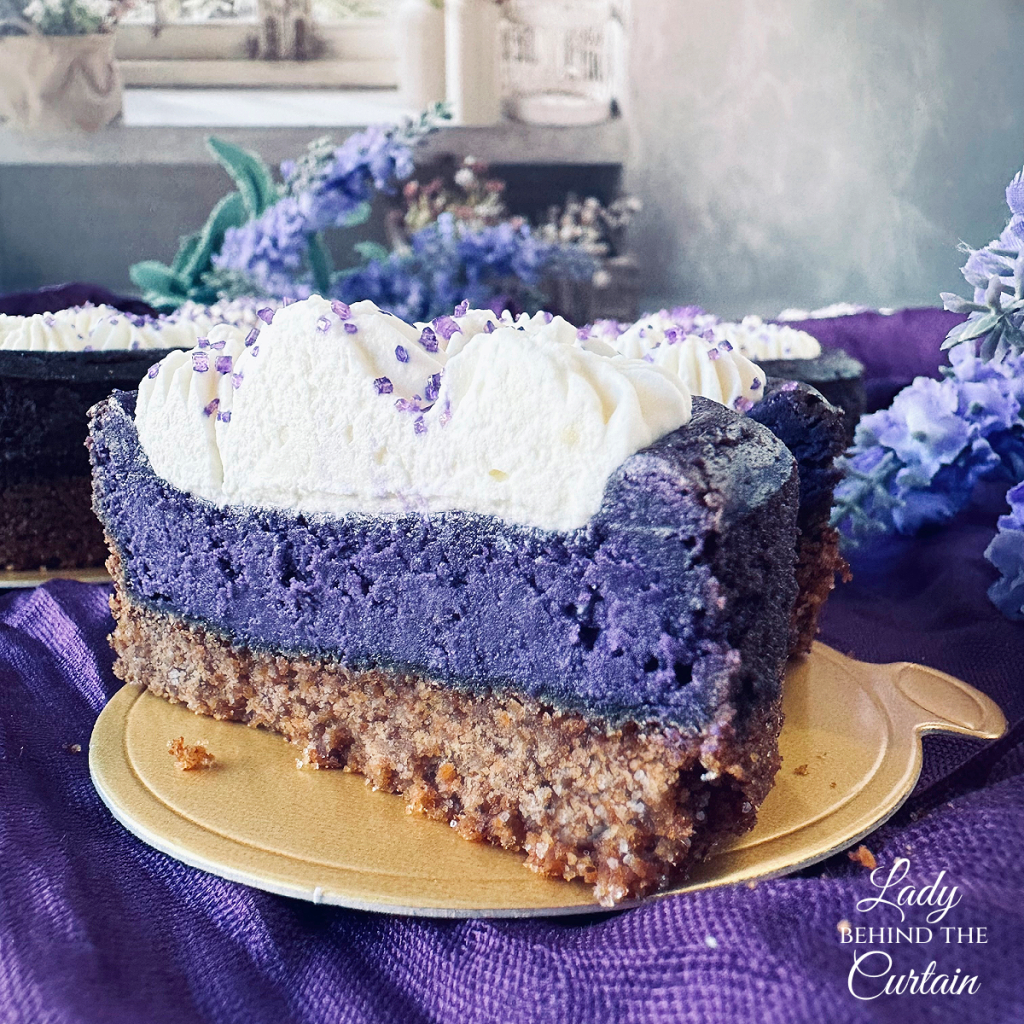
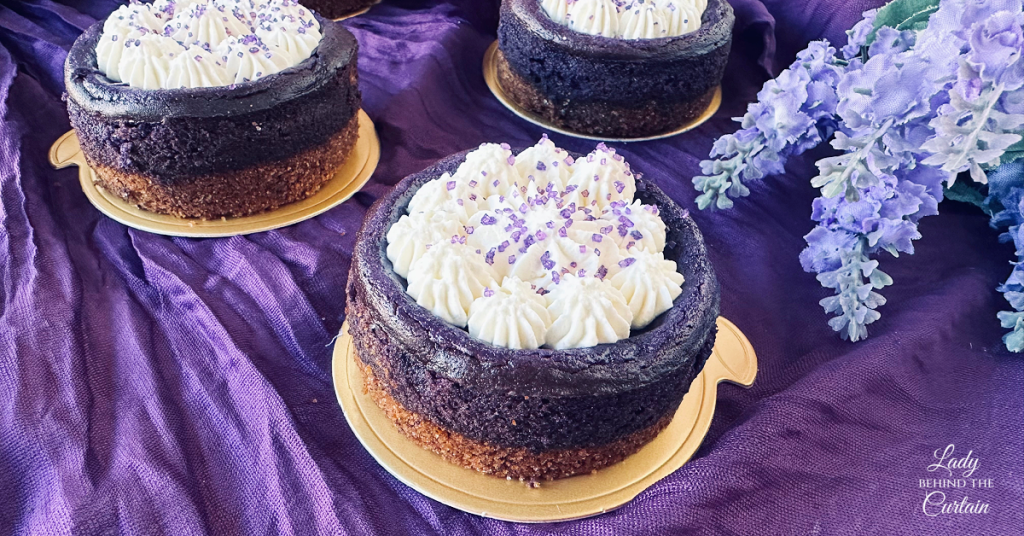
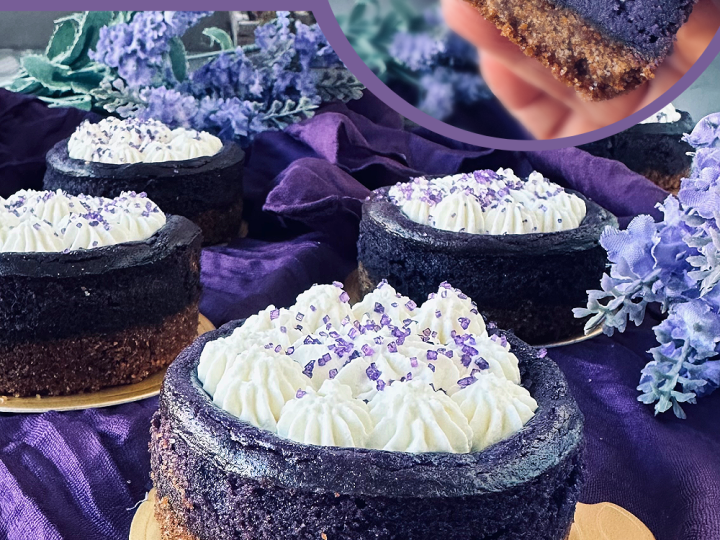
Underneath that purple cheesecake filling is a graham cracker crust made with browned butter instead of ordinary melted butter. On top is a tall swirl of stabilized whipped cream with a subtle coconut flavor, finished with sparkling purple sugar. Each layer brings something different: toasted and buttery on the bottom, creamy and tangy in the middle, and cool and fluffy on top.
A Little Purple Surprise from the Black Hollow Bakery
Black Hollow Roadside Market was designed to feel like a mysterious old roadside stand where something new is always appearing. Some recipes belong on the pantry shelves, some look as though they came straight from the candy counter, and others deserve a place in the bakery case.
These mini ube cheesecakes definitely belong in the bakery case.
The purple filling immediately separates them from traditional cheesecake flavors, but the color is only the introduction. This dessert was built around layers that balance one another rather than compete.
| Layer | Flavor | What It Brings to Each Bite |
|---|---|---|
| Brown butter graham crust | Toasted, buttery, slightly nutty | Texture and deeper flavor |
| Ube cheesecake | Creamy, tangy, mellow, and sweet | The main flavor and signature purple color |
| Vanilla-coconut whipped topping | Light, cool, and subtly tropical | Contrast to the rich cheesecake |
| Purple sugar | Sweet and delicate | A little sparkle and a bakery-style finish |
That last layer may be tiny, but it matters visually. The purple sugar connects the white topping to the cheesecake beneath, hinting that this isn’t an ordinary vanilla cheesecake.
Getting to Know Ube Beyond Its Beautiful Purple Color
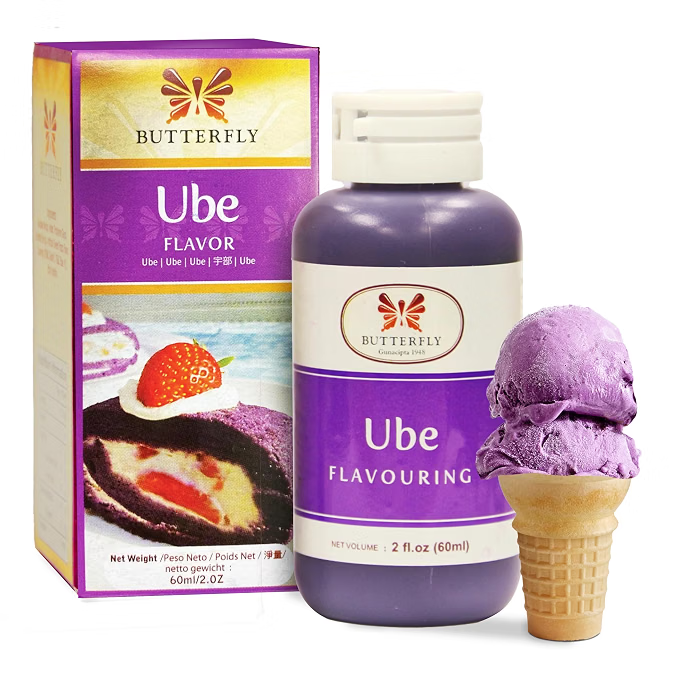
Ube is a purple yam strongly associated with Filipino cooking and especially Filipino desserts. It can be found in cakes, ice cream, pastries, candies, and creamy desserts, where both its flavor and unmistakable color make it stand out.
The flavor is more subtle than its appearance suggests. Ube is mildly sweet and earthy, with nutty, vanilla-like notes, which is one reason it pairs so beautifully with dairy-based desserts.
Cream cheese is an especially good partner. Its slight tang balances the sweetness, while vanilla brings out the ube’s softer qualities. Heavy cream contributes richness without introducing another competing flavor.
Coconut enters the dessert through the topping rather than the cheesecake filling. Keeping it there lets you taste ube first and coconut second, rather than turning the entire dessert into a single, uniform flavor.
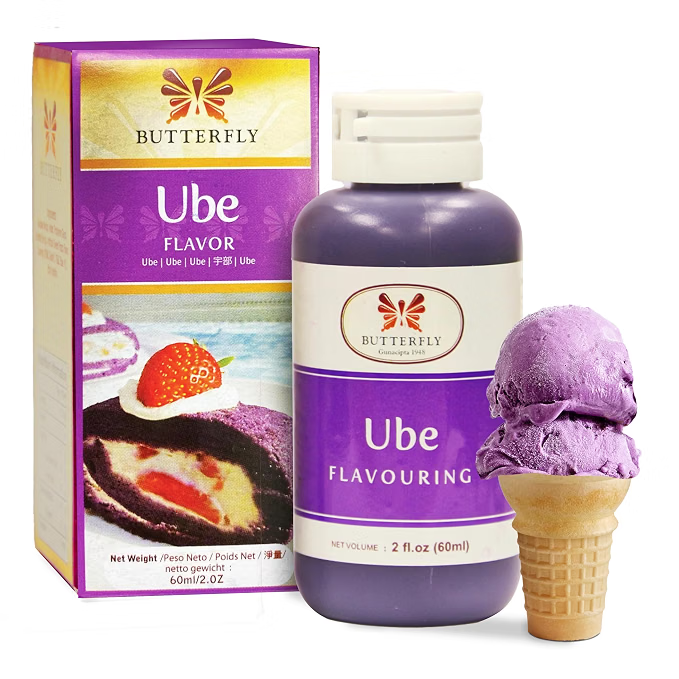
One important warning comes with using concentrated ube flavoring: treat it the same way you would gel food coloring. Protect light countertops and nearby surfaces before opening the bottle. A tiny drip can leave behind a surprisingly stubborn purple stain.
Wow! I Never Knew That… Ube and purple sweet potatoes are not the same thing. Although both can have purple flesh and are sometimes confused with one another, ube is a yam. That distinction matters when shopping for ingredients because products labeled purple sweet potato will not necessarily deliver the same flavor as ube.
Behind the Curtain Tip: Put the bottle on a paper towel or small plate before opening it, and keep a damp paper towel nearby. It is much easier to prevent a purple countertop than to clean one.
Brown Butter Gives the Graham Cracker Crust a Bakery Upgrade
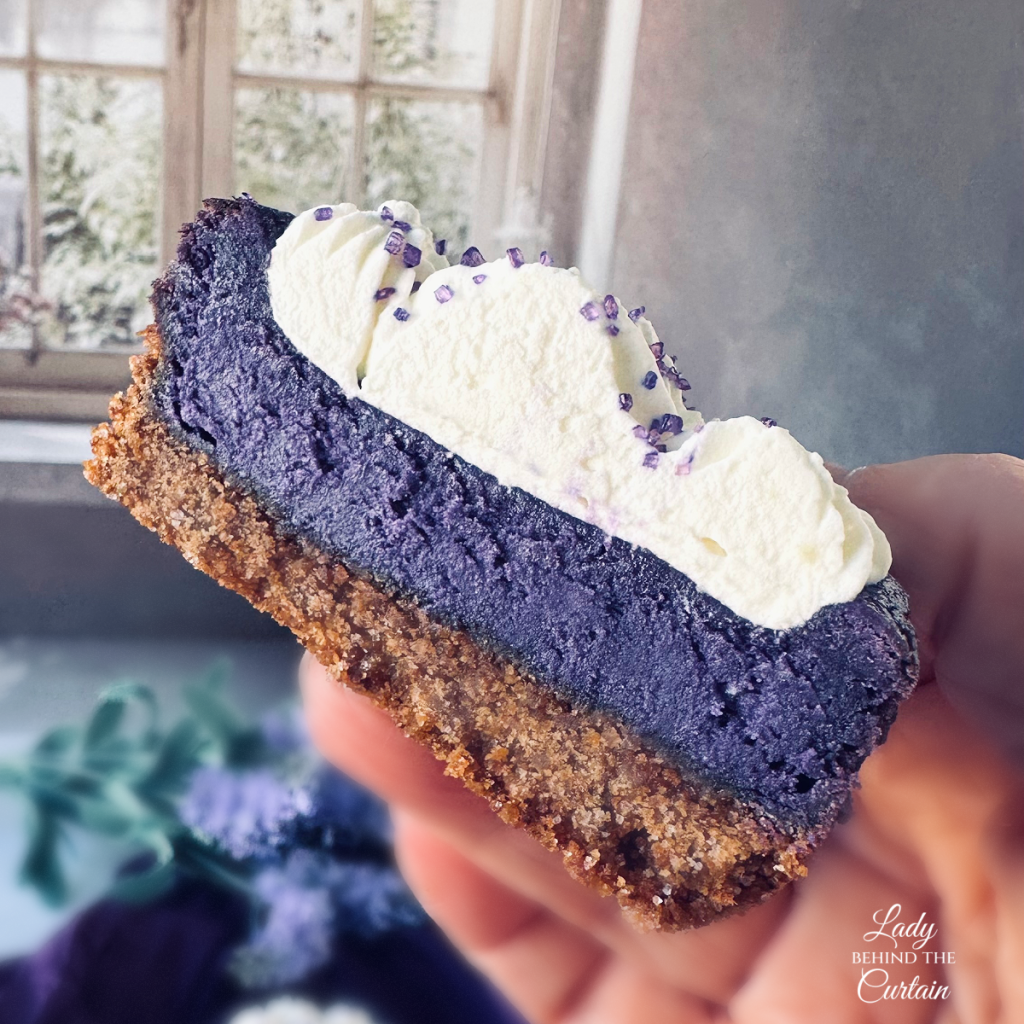
A traditional graham cracker crust already has plenty going for it. Graham crackers bring toasted grain and honey notes, sugar adds sweetness, and butter binds everything together. Browning that butter takes the same familiar ingredients in a much more interesting direction.
As butter cooks, its milk solids begin to toast. Those little toasted particles develop nutty, caramel-like flavors that complement the graham crackers beautifully. The crust doesn’t suddenly taste strongly of brown butter. Instead, it tastes deeper and toastier, almost as if something extra has been added.
Those little brown specks at the bottom of your browned butter are important. They are toasted milk solids and contain much of the flavor you worked to create, so don’t leave them behind in the pan.
Brown Butter at a Glance
✓ Start with more butter than the finished amount you need.
✓ Watch for the butter to move from yellow to golden and finally to a caramel color.
✓ Look underneath the foam to judge the actual color of the butter.
✓ Pour it out of the hot pan when it reaches the right color so residual heat doesn’t continue cooking it.
✓ Scrape in those flavorful browned milk solids.
✓ Measure the finished browned butter for the most accurate result.
Butter contains water, and some of that water evaporates while it browns. Your crust needs ½ cup + 3 tablespoons, or 11 tablespoons, of finished, browned butter. Starting with about 13 tablespoons of unsalted butter gives you room for that moisture loss, though the exact yield can vary slightly.
This is one of those small baking details that can make a big difference. Measuring after browning ensures the graham cracker crumbs receive the amount of fat the crust was developed to use.
The Little Details Behind Creamy Mini Cheesecakes
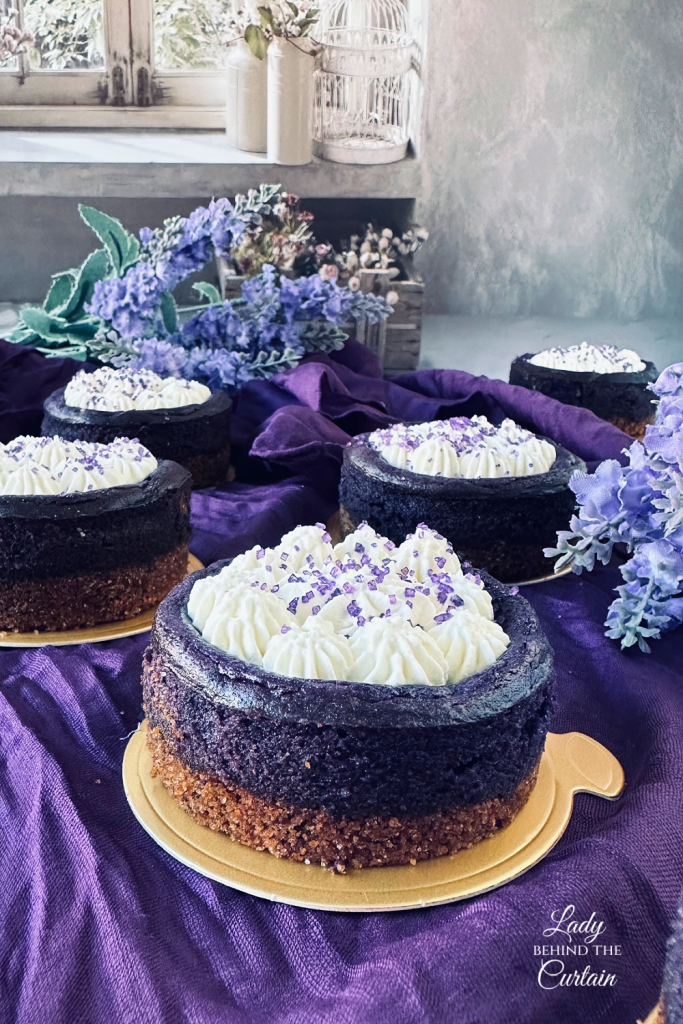
Mini cheesecakes may be smaller than a traditional cheesecake, but the same baking principles still apply. Smooth batter begins before the first egg ever reaches the mixing bowl.
Softened cream cheese is essential because cold cream cheese resists blending. Trying to beat lumps out later can introduce more air into the batter than you want. Starting by making the cream cheese completely creamy creates a smooth foundation for everything that follows.
Once the eggs are added to the mixture, the goal changes from beating to combining. Eggs give cheesecake structure as their proteins set during baking, but aggressively whipping the batter incorporates air. Those air pockets expand in the oven and contract later, which can contribute to uneven surfaces.
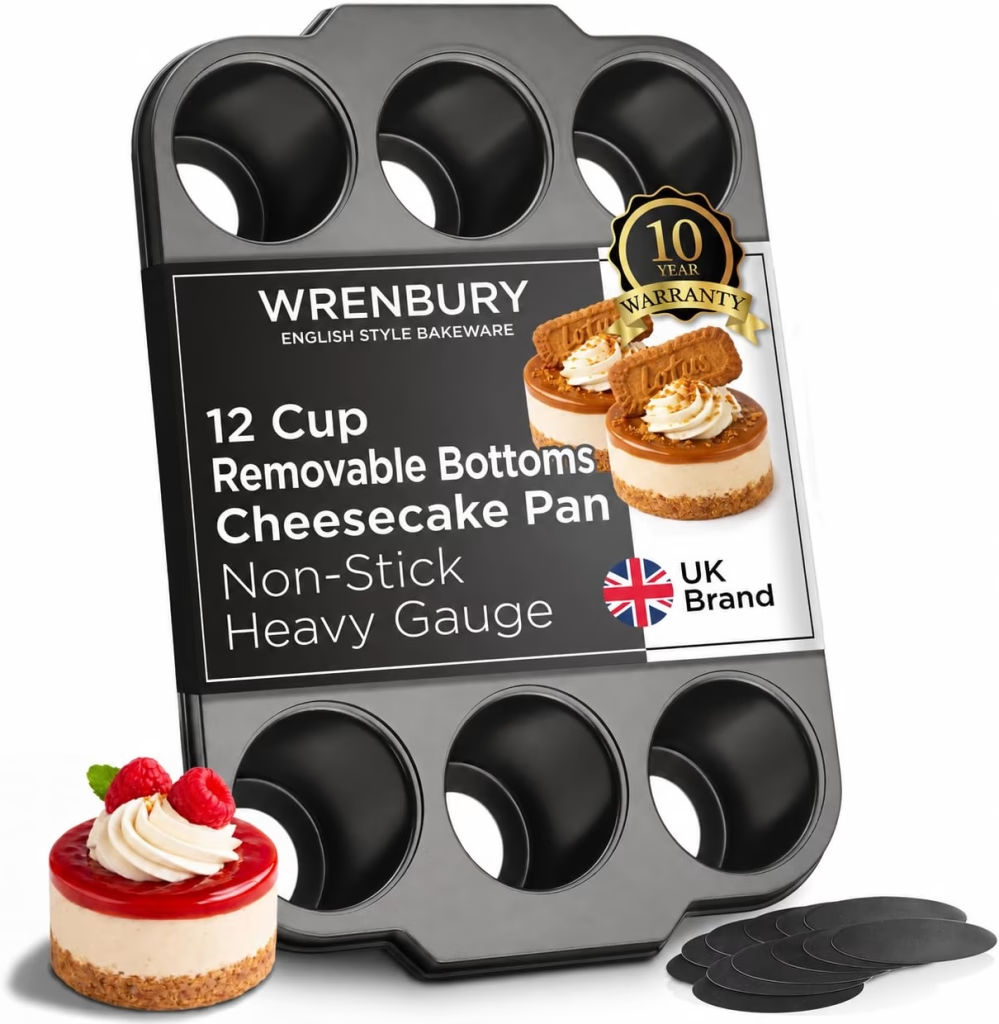
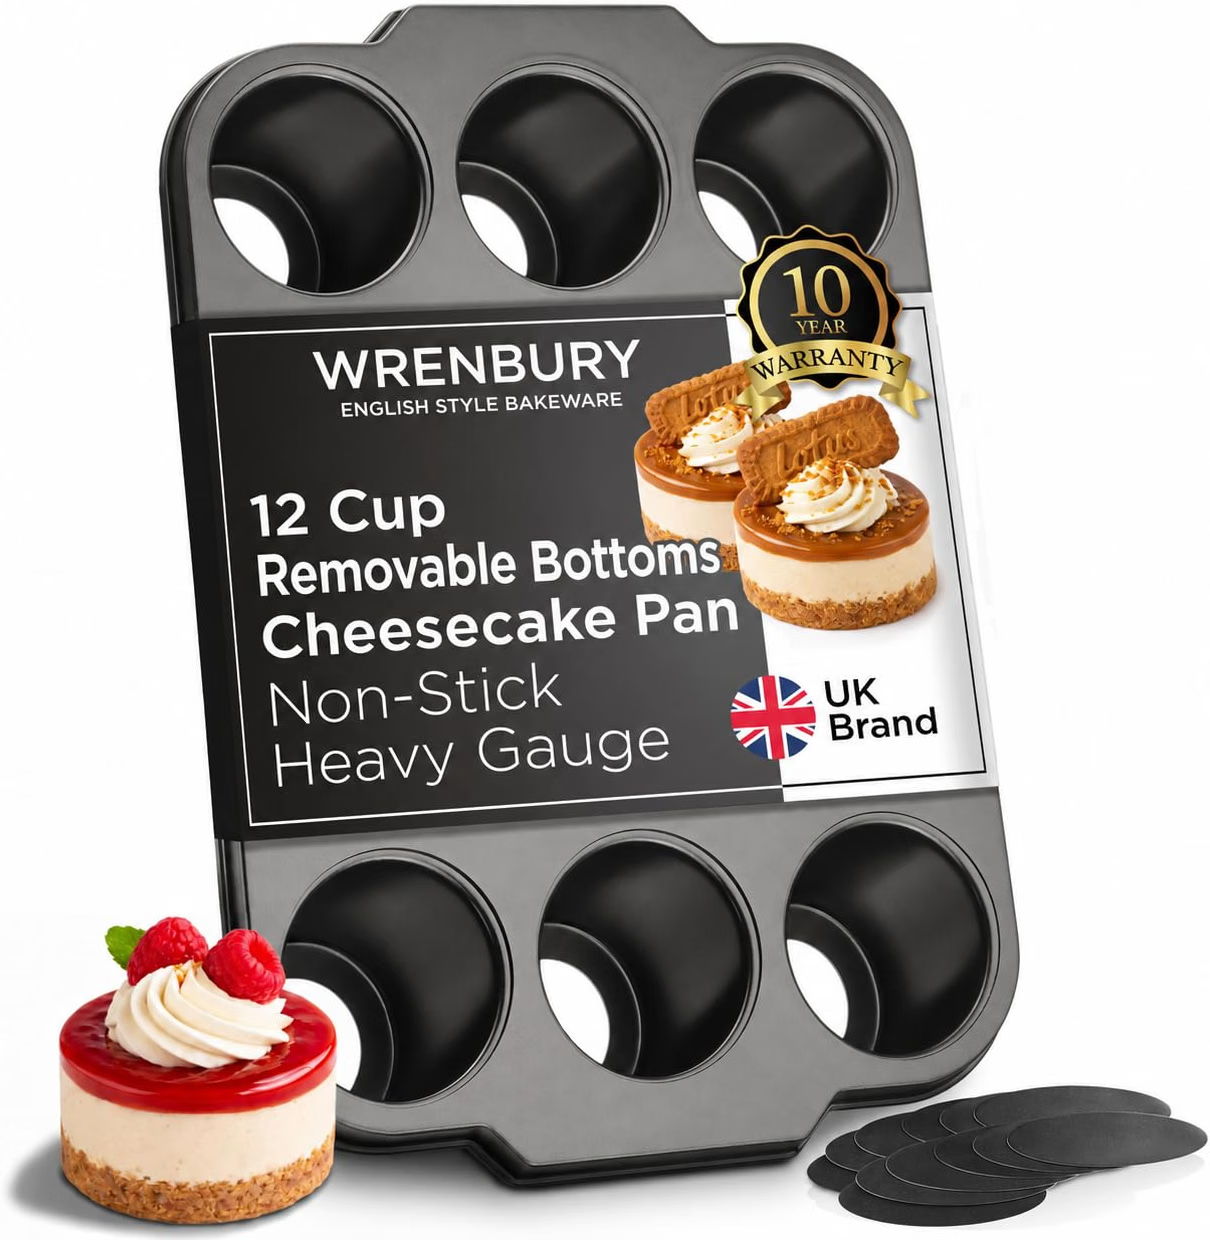
For these Mini Ube Cheesecakes, I used a mini cheesecake pan with removable bottoms. The removable bottoms make a big difference with a dessert this delicate, because each chilled cheesecake can be gently pushed up and out of its well without turning the pan over or prying around the crust.
The size of the wells also matters when following this recipe. This is the pan I used to determine the amount of crust and cheesecake filling for each mini cheesecake, so using a pan with significantly larger or smaller wells may change both the yield and baking time. LINK IN THE RECIPE CARD
Before the Cheesecakes Go Into the Oven
Use this quick visual check before baking:
☐ Cream cheese was fully softened before mixing
☐ Batter looks silky rather than fluffy
☐ No visible cream cheese lumps remain
☐ Crust portions are level and consistent
☐ Filling portions are approximately equal
☐ Obvious surface bubbles have been released
☐ Oven is fully preheated
Equal portions aren’t only about making the finished cheesecakes look prettier. They also help the entire batch bake at approximately the same rate. One noticeably fuller cavity can still be underbaked when the smaller portions are ready to come out.
Behind the Curtain Tip: After filling the pan, give it a few gentle taps on the counter. This can encourage larger trapped air bubbles to rise before baking rather than appearing on the surface of the finished cheesecake.
A Slight Wobble Is Exactly What You’re Looking For
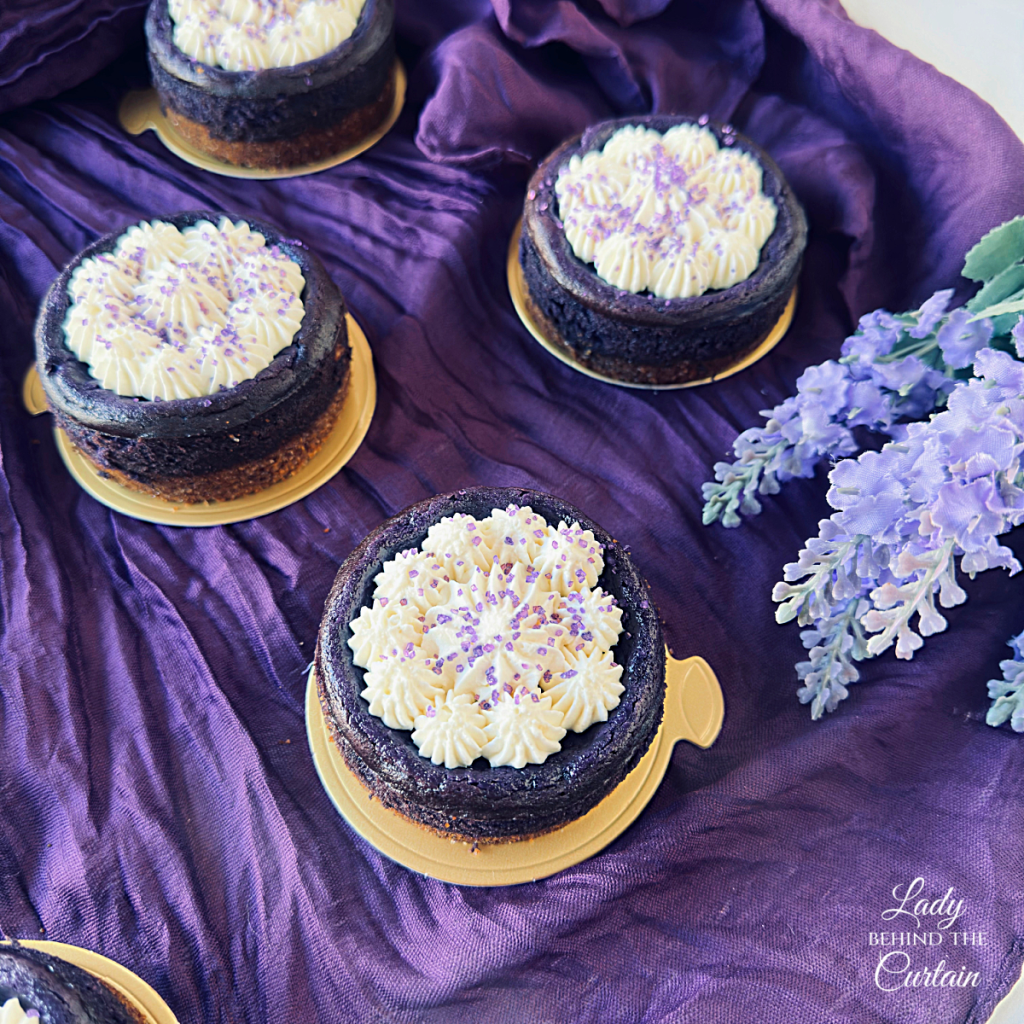
One of the hardest things about cheesecake is trusting it when it looks slightly underdone.
The center should retain a gentle wobble when the active baking time ends. Waiting until every part looks completely firm can mean the cheesecake has already gone too far because the filling continues to set from residual heat.
That is where the slow cooling period becomes important. Leaving the mini cheesecakes in the turned-off oven allows them to cool gradually from baking temperature to room temperature. Instead of being abruptly removed from a hot oven, the filling has time to set gently.
Read the Cheesecake, Not Just the Clock
| What You See | What It Means |
|---|---|
| Liquid movement across most of the center | Needs more baking time |
| Small, controlled wobble in the center | Ready for the slow cooling stage |
| Completely rigid center in the oven | May be overbaked |
| Puffy surface | Batter may contain excess air |
| Firm cheesecake after chilling | Normal final texture |
Ovens vary, which is why appearance is more reliable than treating the baking time as an absolute rule. Start watching the cheesecakes as they approach the expected baking time, using the center as your guide.
Whipped Cream Built to Hold That Beautiful Swirl
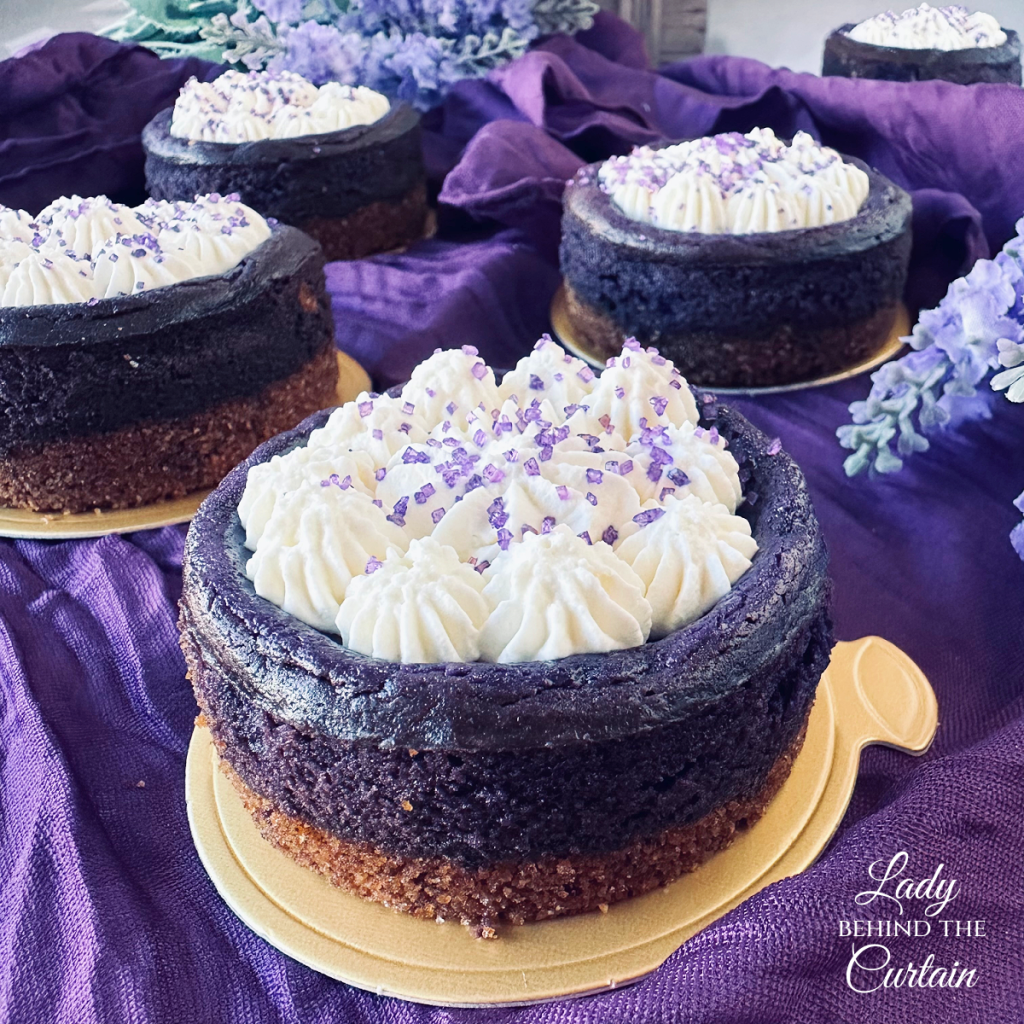
A mini cheesecake destined for the bakery case needs more than a spoonful of ordinary whipped cream. The topping needs enough structure to hold decorative ridges while still tasting light and creamy.
The coconut cream pudding mix provides the solution. It brings a subtle coconut flavor while also helping stabilize the whipped cream, giving it more staying power than cream sweetened with sugar alone.
Powdered sugar is useful here because it dissolves easily into cold cream. Clear vanilla keeps the topping bright white, creating a dramatic contrast against the purple cheesecake. Coconut extract can be used instead when a more pronounced coconut flavor is wanted.
Cold temperature is another part of the equation. Chilling the mixing bowl and whisk gives the heavy cream a cold environment from the start, helping the fat hold the incorporated air.
Three Signs Your Topping Is Ready
The peak stands up. When the whisk is lifted, the whipped cream should form a peak that holds its shape rather than folding back into itself immediately.
The surface is still smooth. Stiff whipped cream should look creamy, not rough or grainy.
The piping ridges stay defined. A test swirl should retain the shape formed by the piping tip rather than slowly melting into itself.
Once those signs appear, stop mixing. More isn’t better. Whipping too far can take cream past stiff peaks and toward separation.
From Cheesecake to Bakery-Case Beautiful
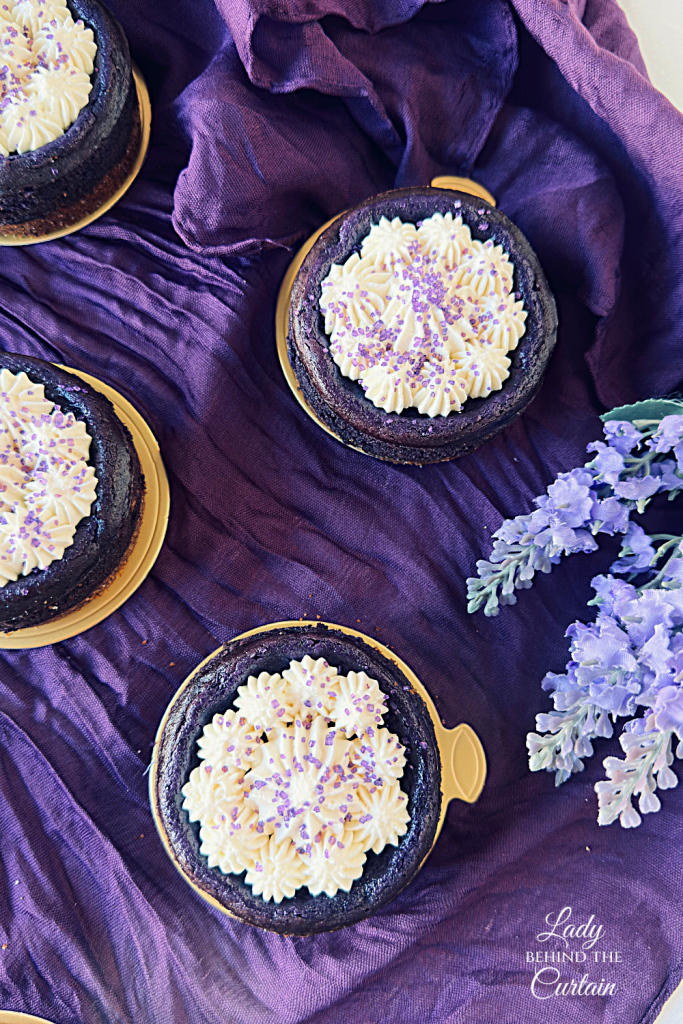
Once everything is completely cold, decorating is where these little cheesecakes really come alive.
A large open-star tip such as the Wilton #4B creates deep ridges and a generous swirl without requiring complicated piping skills. The design looks impressive because the piping tip does most of the work.
Purple sugar adds sparkle without covering the topping. It also keeps the finished dessert visually connected to the ube cheesecake beneath all that white cream.
The basic design can shift easily depending on the occasion:
| For This Look | Try This Finish |
|---|---|
| Black Hollow Halloween | Purple sugar with black serving pieces |
| Elegant dessert table | Fine purple sanding sugar |
| Tropical party | Light sprinkle of toasted coconut |
| Birthday celebration | Purple, white and metallic sprinkles |
| Simple bakery style | One piped swirl with minimal decoration |
The key is restraint. The cheesecake itself already provides a dramatic color, so it doesn’t need a mountain of decorations competing for attention.
One Cheesecake, Plenty of Personality
The combination of ube, coconut, vanilla, and brown butter gives you several ways to change the dessert’s personality without having to rebuild the entire recipe.
For more coconut flavor, choose coconut extract for the whipped topping and finish with a light scattering of toasted coconut. Toasting the coconut adds another layer of nuttiness that connects especially well with the browned butter crust.
For a softer coconut profile, use clear vanilla in the topping. The coconut pudding mix still contributes flavor, but vanilla keeps it from becoming the dominant note.
For an elegant purple-and-white presentation, skip additional colors entirely. A white whipped cream swirl and a little purple sanding sugar are enough to make the cheesecake look finished.
For Halloween at Black Hollow, let the serving pieces do some of the decorating. Black trays, dark linens, old-fashioned cake stands, blackberries, or moody purple accents can transform the presentation without changing the cheesecake.
That makes this dessert much more versatile than its Black Hollow beginnings might suggest. The same little purple cheesecake can move from a Halloween market to a birthday party or dessert buffet simply by changing what surrounds it.
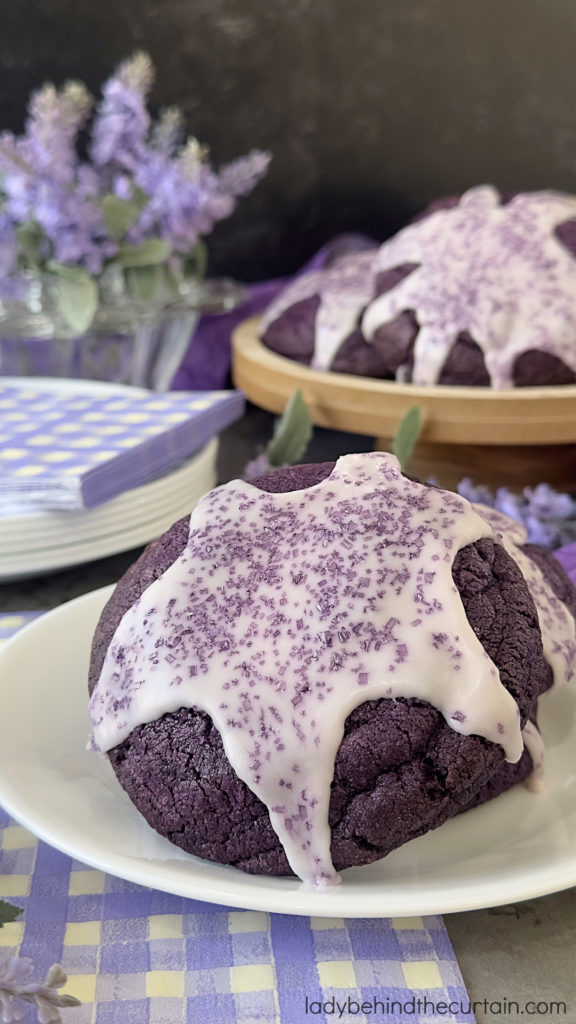
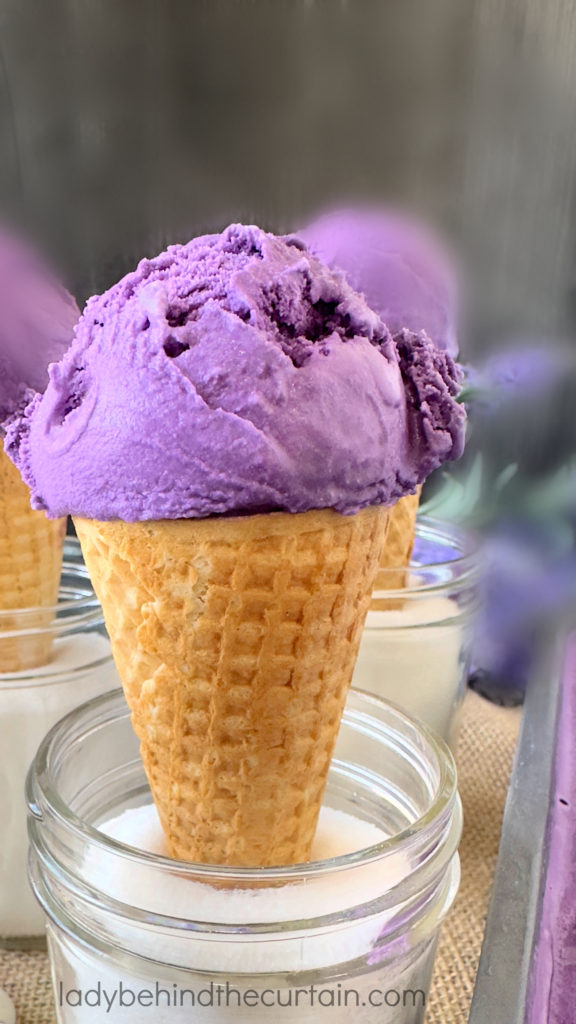
THE SECRET TO ADDING MORE UBE FLAVOR TO YOUR MINI CHEESECAKES.
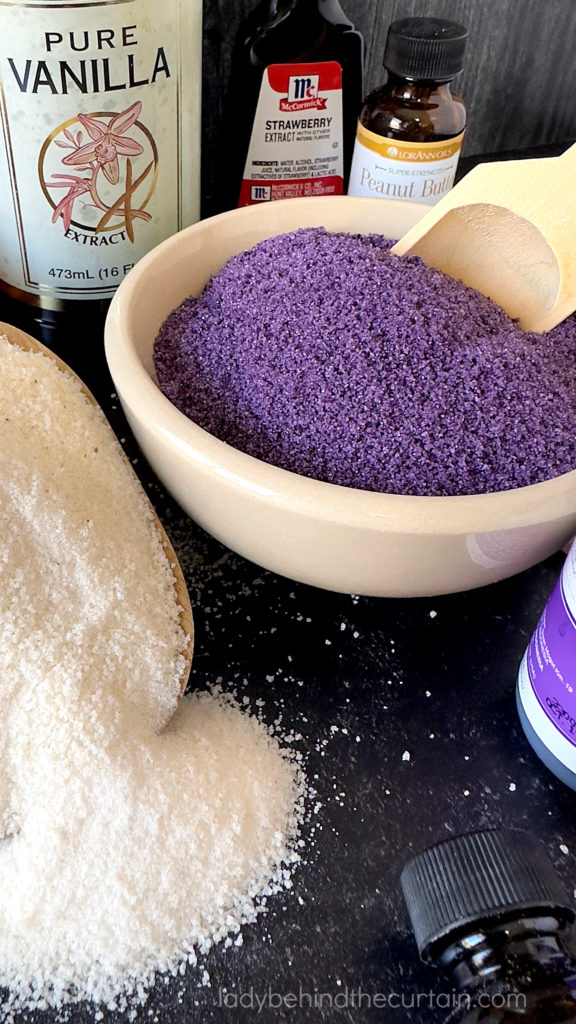
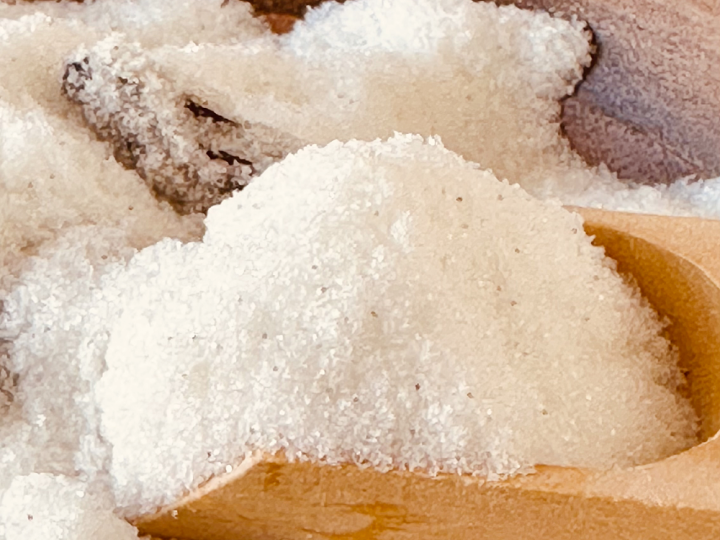
*Make Ube Flavored Sugar Sprinkles*
Add 1 teaspoon of Ube flavoring to 1 cup of granulated sugar.
A Make-Ahead Dessert That Rewards Patience
Cheesecake is an ideal dessert for entertaining because making it ahead isn’t a compromise. Chilling is actually part of developing its final texture.
As cheesecake cools, the fats firm and the structure settles. A thoroughly chilled cheesecake will feel denser and more cohesive than one that has only reached room temperature.
Instead of trying to bake, cool, decorate, and serve everything in one afternoon, spread the work out.
The Mini Cheesecake Game Plan
The day before serving
☐ Bake the cheesecakes
☐ Give them their slow cooling period
☐ Cool completely
☐ Remove them from the pan
☐ Transfer to an airtight container
☐ Refrigerate overnight
The day you’re serving
☐ Prepare the stabilized whipped topping
☐ Make sure the cheesecakes are completely cold
☐ Pipe the topping
☐ Add purple sugar or your chosen decoration
☐ Refrigerate until serving time
This schedule gives the cheesecake plenty of time to chill, so you can decorate with firm cheesecakes that are much easier to handle.
Keeping Every Purple Bite Fresh
Store the mini cheesecakes in an airtight container in the refrigerator. The container protects them from drying out and prevents the cheesecake from absorbing odors from other foods.
If they haven’t been decorated yet, storage is especially easy. Once the whipped topping has been piped, use a container tall enough that the lid doesn’t touch the swirls.
For transporting the finished cheesecakes, a rigid container is preferable to a flexible one. Keep the cheesecakes close enough together that they can’t slide freely, but leave enough room so the toppings don’t touch.
Quick Storage Guide
| Stage | Best Storage Method |
|---|---|
| Baked and undecorated | Airtight container in refrigerator |
| Stabilized topping | Covered container in refrigerator |
| Fully decorated | Tall airtight container in refrigerator |
| Transporting | Rigid chilled container with protected tops |
| Waiting to serve | Refrigerated until close to serving |
Because cheesecake and whipped cream are dairy-based, these aren’t desserts to leave sitting on a warm party table for hours. Keeping them cold also preserves the firm cheesecake texture and crisp definition of the piped topping.
Why These Little Purple Cheesecakes Belong in Your Dessert Lineup
These Mini Ube Cheesecakes aren’t simply standard cheesecakes turned purple. Every layer has a reason.
Brown butter deepens the graham cracker crust without making it complicated. Ube and vanilla give the filling a mellow flavor that works naturally with tangy cream cheese. Coconut is kept in the whipped topping so it complements rather than overpowers the ube. Stabilizing that topping makes it practical for decorating ahead of time, while the individual size makes serving easy.
They also offer something every good dessert table needs: contrast. Against trays filled with chocolate, caramel, vanilla, and golden baked goods, that beautiful purple filling immediately catches the eye.
Then comes the best surprise.
It tastes every bit as interesting as it looks.
Recipe #8 has officially arrived in the Black Hollow Roadside Market bakery case.
Shop the Black Hollow Roadside Market
I think one of the most fun parts of baking is taking ingredients we already know and adding one unexpected element that makes us look at the whole dessert differently. That’s exactly what ube does to these little cheesecakes.
Yes, the purple color is beautiful, and it certainly makes them stand out on a dessert table. But I hope you also notice everything happening underneath that color: the nutty browned butter in the crust, the vanilla running through the cheesecake, the little bit of coconut in the whipped topping, and the contrast between the creamy filling and that light swirl on top.
Those are the details that turn a pretty dessert into one worth making again.
If these Mini Ube Cheesecakes find their way onto your party table, holiday dessert tray, or simply into your refrigerator for the family to enjoy, I hope you have fun making them. And if ube is completely new to you, even better. Trying one unfamiliar ingredient can sometimes lead to a brand-new favorite.
Recipe #8 has found its place in the Black Hollow Roadside Market bakery case, with more homemade treats still waiting to appear from the shelves of this strange little stand.
Enjoy every purple, creamy bite.
Sheryl
LATEST POSTS
Mini Ube Cheesecakes with Stabilized Vanilla-Coconut Whipped Topping
Ingredients
For the Graham Cracker Crust:
- 2 cups graham cracker crumbs
- ⅓ cup granulated sugar
- ½ cup + 3 tablespoons unsalted brown butter; important information below(start with 13 tablespoons)
For the Ube Cheesecake:
- 3 (8-ounce) packages cream cheese, softened
- 1 vanilla bean, split and seeds removed, or 2 teaspoons of vanilla extract
- 2 teaspoons Ube flavoring
- 1¼ cups granulated sugar
- 2 tablespoons all-purpose flour
- ¼ teaspoon salt
- 4 large eggs
- ⅔ cup heavy cream
For the Stabilized Coconut Whipped Cream Topping:
- 2 cups heavy cream
- ½ cup powdered sugar
- 2 tablespoons coconut cream pudding mix
- ½ teaspoon clear vanilla extract or optional coconut extract
Instructions
For the Crust:
- Whisk together the cracker crumbs and sugar; stir in the brown butter.
- Press level 3 tablespoons of the crust into each well.
- Set aside.
A WORD OF CAUTION: TREAT THE UBE FLAVORING LIKE YOU WOULD GEL FOOD COLORING. PROTECT YOUR COUNTERTOP; IT WILL STAIN!
For the Ube Cheesecake Filling:
- Preheat oven to 325°.
- In a large mixing bowl, beat cream cheese until soft and creamy (do not skip this step); add the vanilla, ube, sugar, flour, and salt; add eggs one at a time, then add the heavy cream.
- Beat until combined and silky smooth.
- Add ¼ cup of the cheesecake batter over the toasted graham cracker crust.
- Bake at 325°F until the center is almost set but still slightly wobbly for about 20 minutes. This depends on your oven. Keep a watch on them; they will look slightly underbaked.
- Turn off the oven, and let the mini cheesecakes stand in the oven, with the door closed, for 1 hour.
- Remove the cheesecakes and place on a wire rack. Cool completely (about 1 hour) or until the oven has almost cooled.
- Push up the bottoms to release the cheesecakes.
- Place the cheesecakes in an airtight container and store them in the refrigerator until ready to add the whipped topping.
For the Stabilized Coconut Whipped Topping:
- Before starting, place the mixing bowl and whisk attachment in the freezer for 15 minutes.
- Add the heavy cream, pudding mix, powdered sugar, and vanilla to the mixing bowl. Beat on low until lightly thickened.
- Continue mixing (working your way up to high speed) until the mixture reaches stiff peaks.
- Store covered in the refrigerator until ready to use.
- Pipe the stabilized whipped cream onto the completely cooled cheesecakes and sprinkle with the purple sugar. NOTE: I used Wilton piping tip #4B
Notes
How to Brown Butter:
- In a small saucepan, bring the 13 tablespoons of butter to a boil over medium-high heat, stirring constantly (about 5 to 6 minutes).
- Once the butter starts to foam, you're close (about 30 seconds).
- Use the spoon to pull away the top coat (foam) of the butter; when you can see that the butter has reached a caramel color, it is done!
- Pour the mixture into a jar; let it cool on the counter.
- Place a lid on and store in the refrigerator.
Why do you start with 13 tablespoons of butter when the recipe calls for ½ cup + 3 tablespoons of brown butter?
- Because water evaporates as the butter melts, foams, and cooks, you lose roughly 1 to 2 tablespoons of volume.
Recommended Products
The products listed below are not affiliated links. I just love the products! ❤️Sheryl

A Few More Details Worth Knowing
Once you understand the main components of these mini cheesecakes, a few smaller questions can help troubleshoot issues that sometimes arise along the way. These details aren’t essential to making the dessert, but knowing the answers can make you a more confident cheesecake baker next time.
- Why does bottled ube flavoring look so much brighter than ube itself? Commercial ube flavorings are often formulated to provide both flavor and consistent color. That is why a dessert made with ube flavoring may have a much brighter purple appearance than one made primarily with fresh or prepared ube.
- Can I make the brown butter in advance? Yes. Brown butter can be prepared ahead and refrigerated in a covered container. Be sure to include the browned milk solids when storing it because those toasted particles carry a significant amount of the flavor.
- Why did I get a different amount of browned butter than last time? Butter brands can contain slightly different amounts of water, and pan size, heat level, and cooking time can also affect evaporation. That is why measuring the finished brown butter is more dependable than relying solely on the starting quantity.
- Can I use regular vanilla instead of clear vanilla in the topping? Yes. Regular vanilla extract may give the whipped cream a slight ivory tint, while clear vanilla helps preserve the bright white contrast against the purple cheesecake. The choice is mostly about appearance.
- Can I pipe the topping while the cheesecakes are still slightly warm? Don’t rush this step. Even residual warmth can soften whipped cream and reduce its ability to maintain sharp piping ridges. Thoroughly chilled cheesecake provides a much better base for decorating.
- Why does my cheesecake taste better after it has been refrigerated? Chilling doesn’t just make cheesecake cold. It allows the fats to firm and the texture to settle, creating the dense, creamy consistency associated with cheesecake. The flavors also have time to meld, which can make the finished dessert taste more cohesive.
- Can I skip the purple sugar? Absolutely. It is decorative rather than structural. The contrast between white whipped cream and purple cheesecake is already striking, so the topping can be left plain for a simpler presentation.
- Can the cheesecakes be served without whipped topping? Yes, although it changes the dessert’s balance. The airy topping provides a light textural contrast to the dense cheesecake and introduces the coconut element, so leaving it off creates a simpler, more ube-forward dessert.
With those final details covered, these little cheesecakes are ready to move from the refrigerator to the dessert table, or in this case, straight into the Black Hollow bakery case.
Comments
Mini Ube Cheesecakes with Stabilized Vanilla-Coconut Whipped Topping — No Comments
HTML tags allowed in your comment: <a href="" title=""> <abbr title=""> <acronym title=""> <b> <blockquote cite=""> <cite> <code> <del datetime=""> <em> <i> <q cite=""> <s> <strike> <strong>