





Homemade Salted Caramel Sauce
There is caramel sauce, and then there is Homemade Salted Caramel made by actually caramelizing sugar. The difference becomes obvious with the first spoonful. This version has a deeper, more complex flavor with buttery richness, warm vanilla, and enough sea salt to pull everything into that irresistible sweet-and-salty balance.
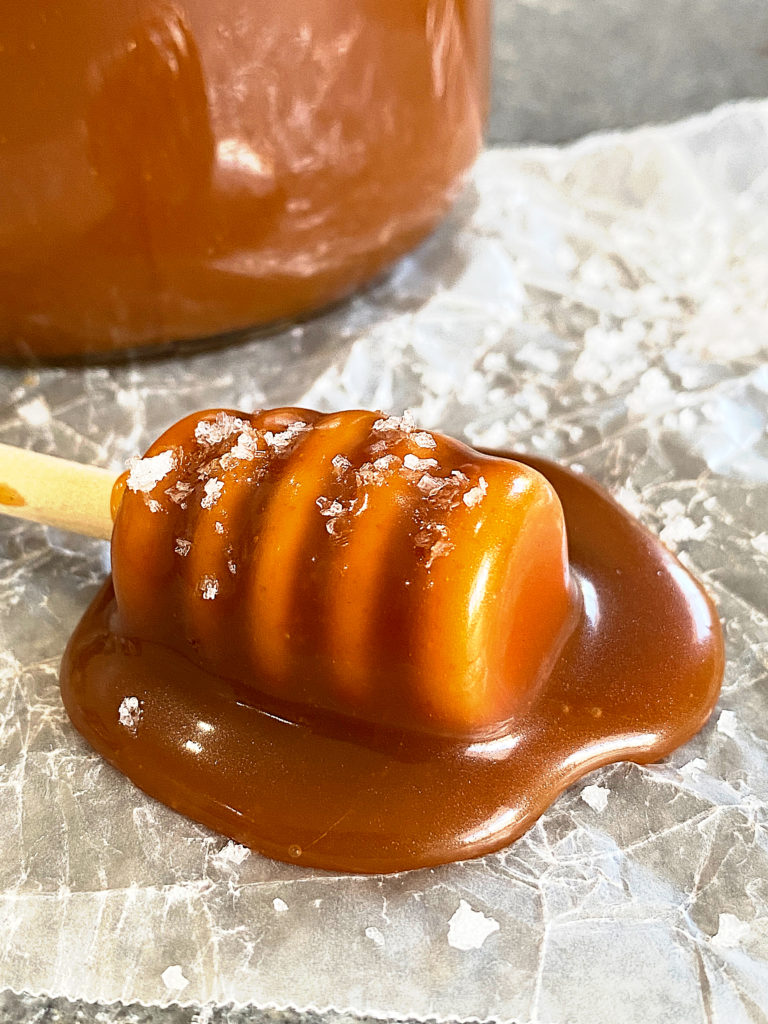
Making caramel from granulated sugar can sound intimidating, especially when a recipe tells you to stop stirring and essentially stand there watching a pan full of bubbling sugar. But caramel isn’t unpredictable. It gives you clues all along the way. The trick is learning which clues matter.
Color matters more than the clock. Knowing when to put down the spoon matters. Understanding what happens when cream meets extremely hot sugar makes the dramatic parts of caramel-making much easier to handle.
Once you know what you’re looking for, homemade salted caramel becomes less of a candy-making mystery and more of a technique worth having in your baking toolbox.
This Is Caramel in the Truest Sense
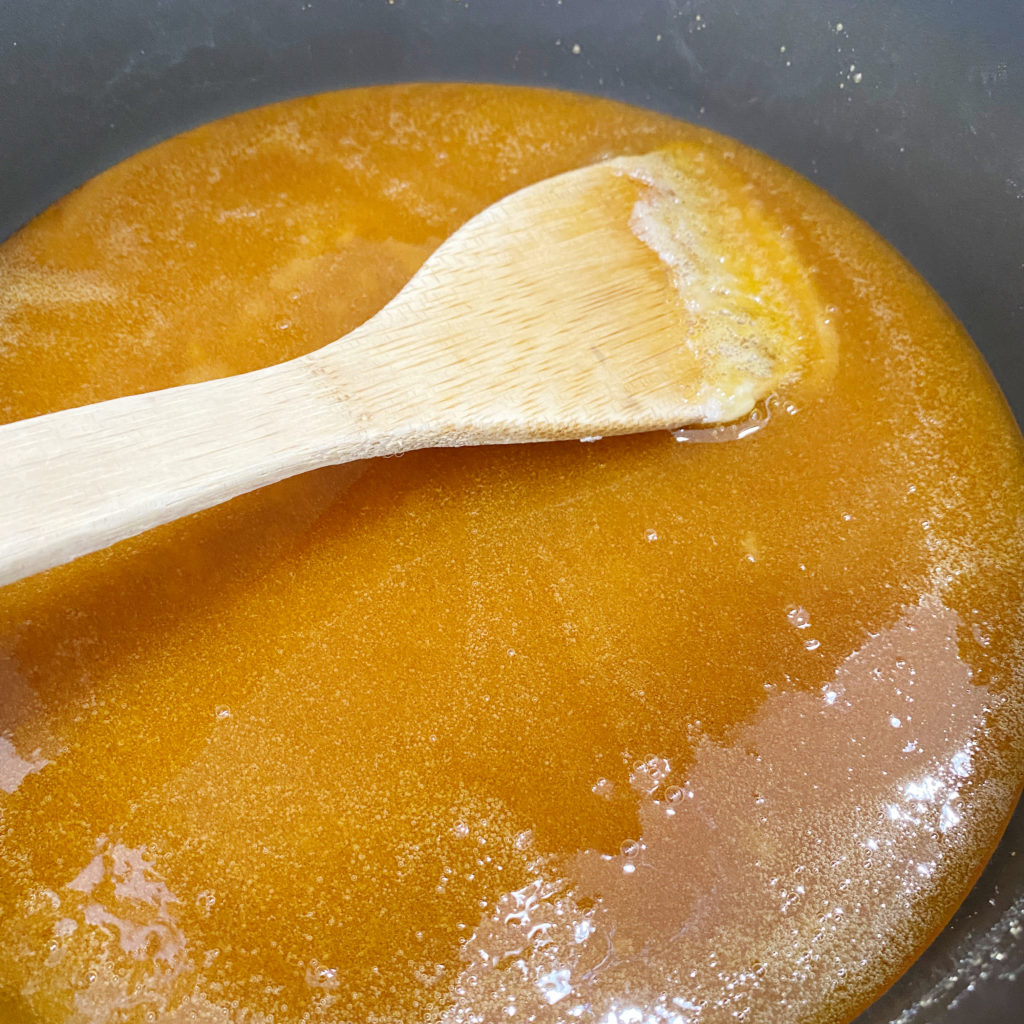
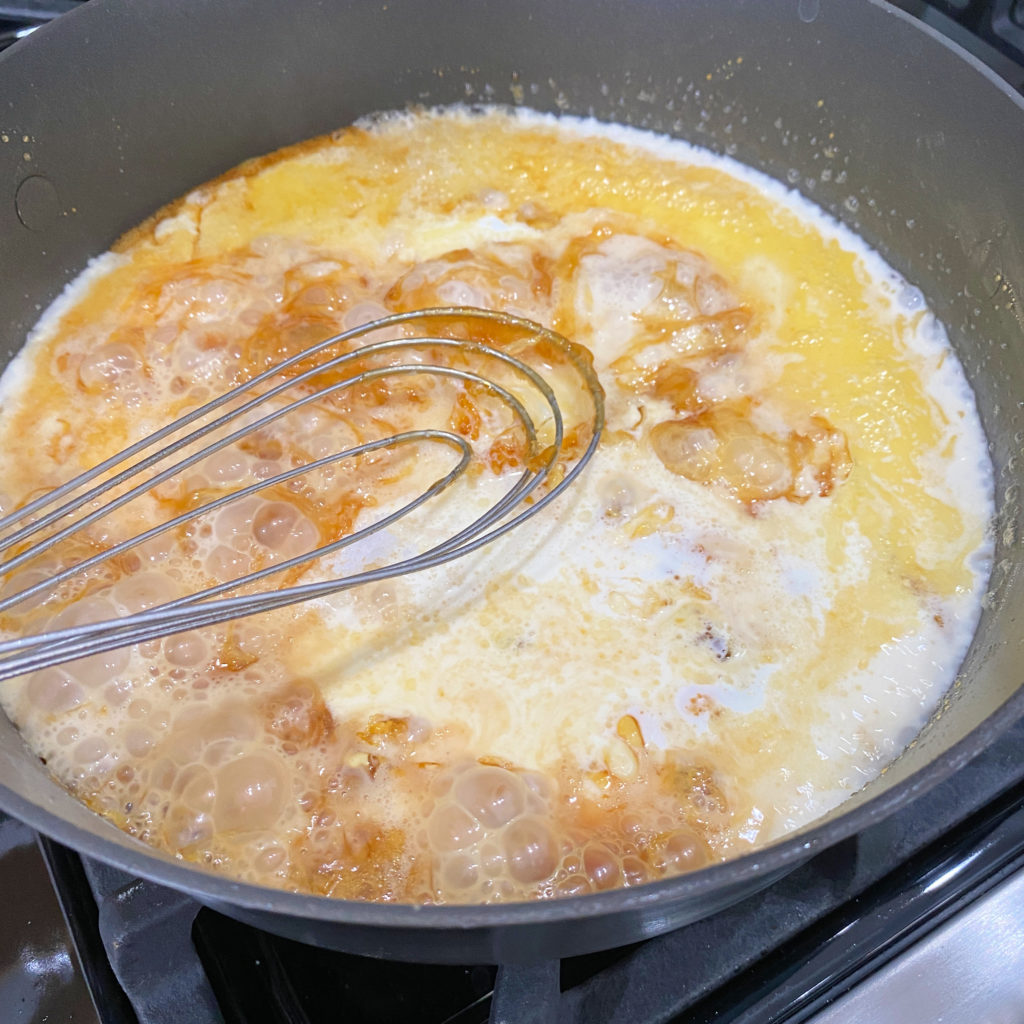
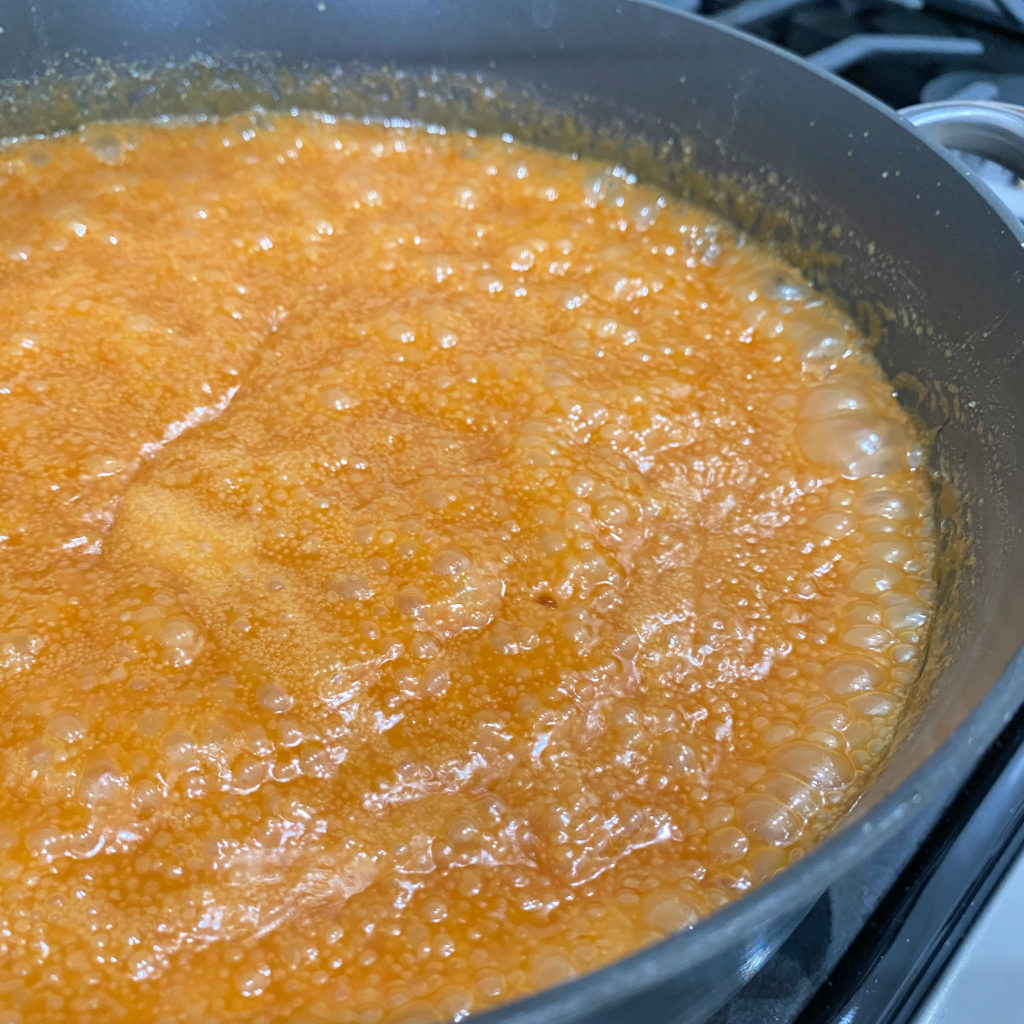
Unlike an easy brown sugar caramel sauce, this recipe starts with granulated sugar and develops its flavor through caramelization.
Caramelization happens when sugar is heated to the point that it begins undergoing a series of chemical changes. Sugar doesn’t simply turn brown. Its flavor changes too, developing hundreds of new flavor compounds along the way.
That’s why properly caramelized sugar tastes so much more complex than plain sugar. The sweetness remains, but it is joined by toasted, buttery, nutty, and slightly bitter notes.
The deeper the caramel becomes, the less it tastes like straightforward sweetness. That slight bitterness is important. Without it, caramel can taste like nothing more than melted sugar. With too much, caramel tastes burned. The goal is the beautiful territory between the two.
Wow! I Never Knew That… Caramelization and browning aren’t the same thing. Caramelization is the breakdown of sugar under heat, while the Maillard reaction involves sugars reacting with proteins. Since the first stage of this caramel is essentially sugar and water, you’re watching caramelization at work rather than the type of browning responsible for a golden loaf of bread or a seared steak.
The Little Spoonful of Corn Syrup Has a Big Job
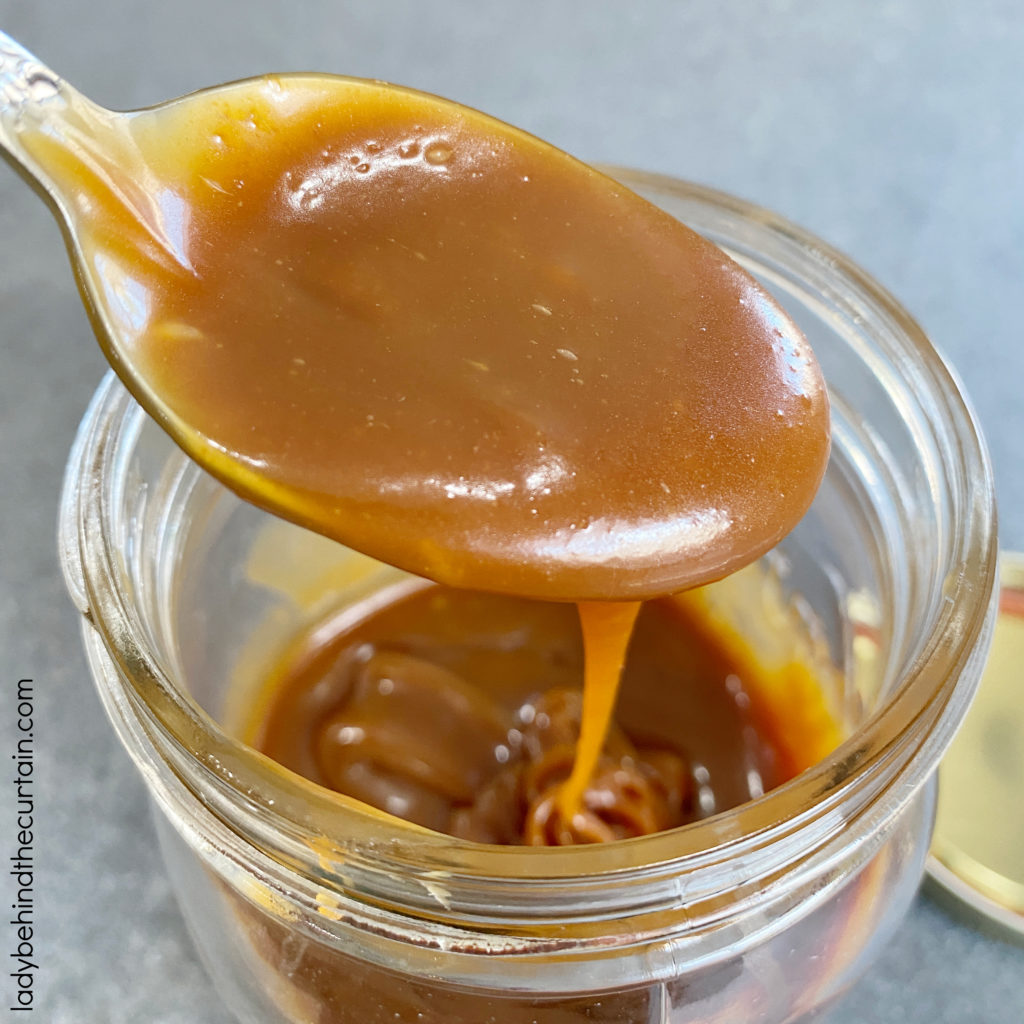
Granulated sugar naturally wants to form crystals. Usually that’s useful. It’s why sugar can sit happily in a bowl instead of behaving like syrup. However, when making caramel, those crystals can become troublesome.
As sugar dissolves in water, you create a concentrated sugar solution. If stray sugar crystals encourage the dissolved sugar to begin forming crystals again, the smooth syrup can become grainy. That is where light corn syrup becomes especially useful.
Corn syrup contains different types of sugar molecules that interfere with sucrose molecules neatly arranging themselves back into crystals. In other words, it makes crystallization more difficult. It is a little bit of insurance built into the caramel.
The amount is small enough that the finished sauce isn’t going to taste like corn syrup. Its job is primarily structural, helping create a more forgiving environment while the granulated sugar cooks.
The Most Important Moment Is When You Stop Stirring
At first, stirring helps the sugar dissolve evenly in the water. Once that mixture reaches a boil, the rules change. Put down the spoon.
Continuing to stir boiling sugar syrup can encourage crystals to form. A single crystal can give other sugar molecules a structure to attach to, and suddenly a smooth syrup can begin to turn grainy. This is one of those unusual kitchen situations where doing less produces the better result.
Once the syrup is boiling, let the heat do the work. The surface should be active with bubbles as water evaporates and the sugar becomes increasingly concentrated. For much of the cooking time, the syrup may look relatively clear and uneventful. Then the color begins to change. That’s when your attention belongs completely on the pan.
Behind the Curtain Tip: Measure the cream, butter, salt, and vanilla and have them ready before you begin caramelizing the sugar. Once the caramel reaches the color you want, the process moves quickly. This isn’t the moment to discover the butter is still wrapped in the refrigerator.
Learn the Color of Caramel and You Won’t Need to Guess
A cooking time can point you in the right direction, but color is the better guide. Different pans, burner strengths, and stovetops transfer heat differently. One cook’s fifteen minutes may not look exactly like another cook’s fifteen minutes. The sugar itself tells you when it is ready.
At first, the syrup is clear. Eventually, it begins to take on a pale yellow tint. That yellow deepens toward gold, then honey, then amber. The darker the caramel becomes, the deeper and less purely sweet its flavor becomes. But there is a limit. Once caramel crosses from deep amber into burned territory, there is no bringing it back.
The Caramel Color Guide
| What You See | What’s Happening | What You Should Do |
|---|---|---|
| Clear syrup | Water is evaporating and sugar is concentrating | Keep watching |
| Very pale yellow | Caramelization is beginning | Stay close to the pan |
| Golden | Flavor is developing quickly | Watch continuously |
| Rich honey | Deep caramel flavor has developed | Be ready for the next step |
| Dark amber | Stronger toasted and slightly bitter notes | Proceed immediately |
| Very dark brown or smoking | Sugar is burning | Start over |
For this salted caramel, a beautiful honey color gives you depth without pushing the sauce toward an aggressively bitter flavor. Once the first hint of color appears, stay close. Caramel can spend what feels like forever looking almost unchanged and then move through several shades surprisingly quickly.
The Bubbles Tell a Story Too
Color gets most of the attention when making caramel, but the bubbles provide another useful clue. Early in the process, much of what you are seeing is water turning into steam. As water evaporates, the sugar solution becomes increasingly concentrated.
The bubbles can make it harder to judge color from the surface alone. Looking through the syrup toward the bottom of the pan can give you a better idea of how the color is developing. This is one reason a lighter-colored pan can make caramel easier to judge than a very dark pan. Contrast helps you see those subtle changes from clear to pale gold to honey.
The Dramatic Part Is Supposed to Be Dramatic
The moment dairy meets caramelized sugar is spectacular. It can also be slightly terrifying the first time you see it.
Caramelized sugar is extremely hot. When cream is added, the moisture in the cream hits that intense heat and rapidly turns into steam. The mixture can bubble and foam dramatically. That reaction is normal.
The important thing is to use a pan large enough to give the expanding mixture room and keep your face and hands away from the rising steam. This isn’t a good recipe for a small pan filled close to the top. Extra space is your friend. Once the initial bubbling settles, whisking brings the caramel, cream, butter, and salt together into a smooth sauce.
If some of the caramel briefly firms when you add cooler ingredients, don’t assume the batch has failed. The sudden temperature change can cause caramelized sugar to seize temporarily. Controlled heat allows those hardened pieces to melt back into the sauce.
Behind the Curtain Tip: A larger pan isn’t wasted space when you’re making caramel. Think of that empty space as your bubble insurance.
Salt Doesn’t Just Make Caramel Salty
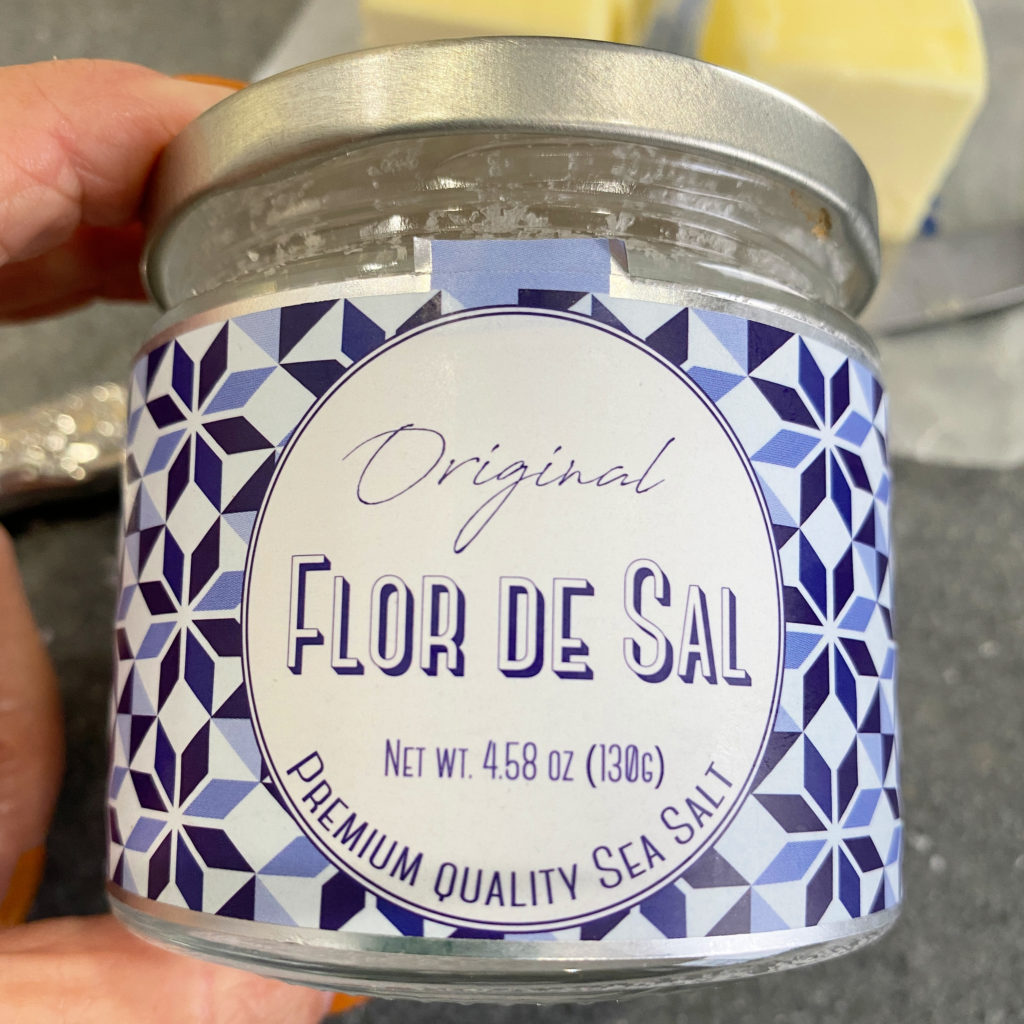
Salted caramel works because salt does more than simply add a salty flavor. Caramel is intensely sweet. Salt provides contrast, reducing the perception of one-note sweetness and making the deeper toasted flavors easier to notice. Butter and cream become more noticeable. Vanilla becomes warmer. The darker caramel notes become clearer.
That is why salted caramel can actually taste more complex than the same caramel without enough salt. Sea salt is particularly well suited to caramel, but salts vary tremendously in crystal size. A tablespoon of one type of salt may not taste the same as a tablespoon of another.
The salt used in the caramel seasons the sauce throughout. If you also want those occasional pops of salt found on bakery-style desserts, add a small amount of flaky finishing salt over the finished dessert rather than increasing the salt in the entire batch.
Butter, Cream, and Vanilla Turn Caramelized Sugar Into Sauce
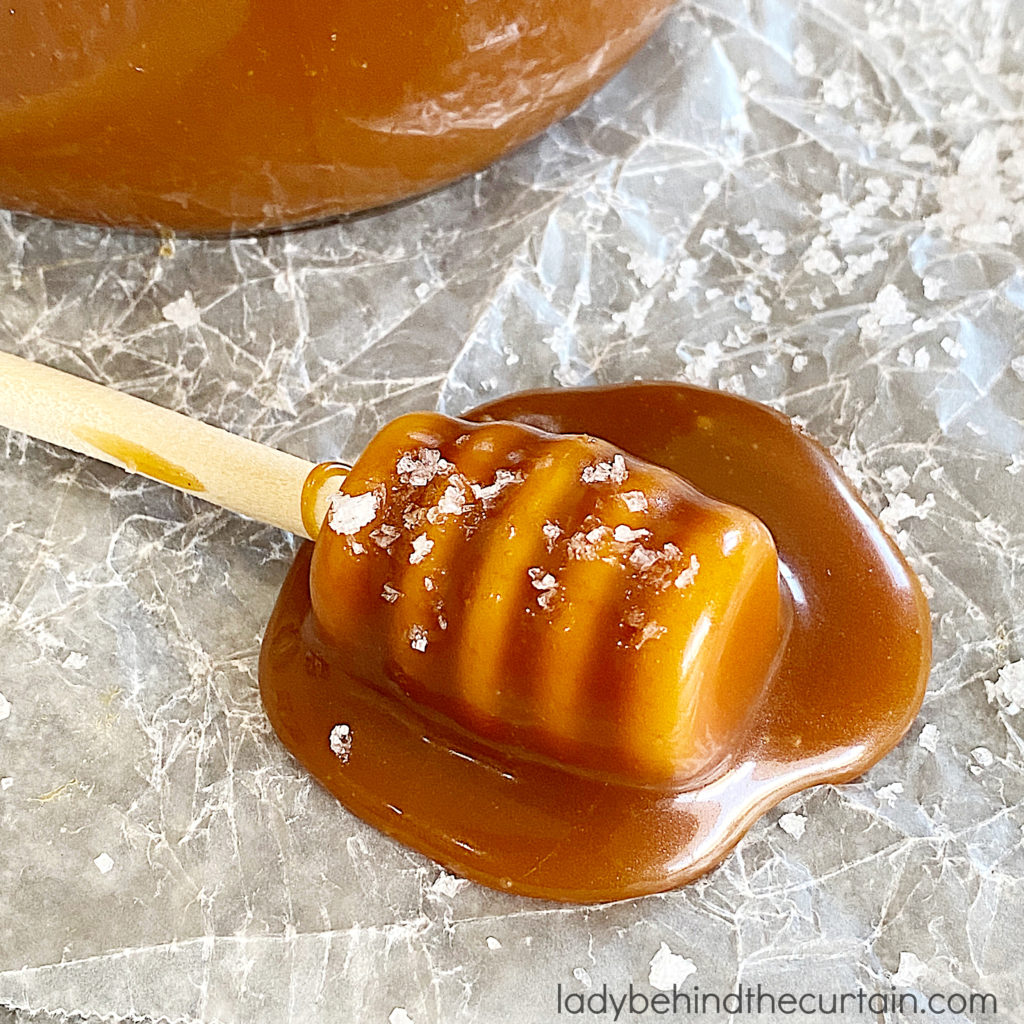
Caramelized sugar provides the flavor foundation, but it isn’t yet the creamy sauce you want to pour over cheesecake. Heavy whipping cream adds both liquid and richness. Its fat softens the intensity of caramelized sugar and helps transform it into a luxurious sauce.
Butter contributes another layer of dairy flavor and creates a silky mouthfeel. Unsalted butter is useful because the salt level is already being deliberately controlled elsewhere in the recipe.
Vanilla comes in at the end, after the most aggressive cooking is finished. That preserves more of vanilla’s aromatic character, rather than letting prolonged high heat drive it away. Together, those ingredients create several layers of flavor: sweetness, toasted caramel, buttery richness, vanilla warmth, and finally salt.
From Warm Drizzle to Thick, Spoonable Caramel
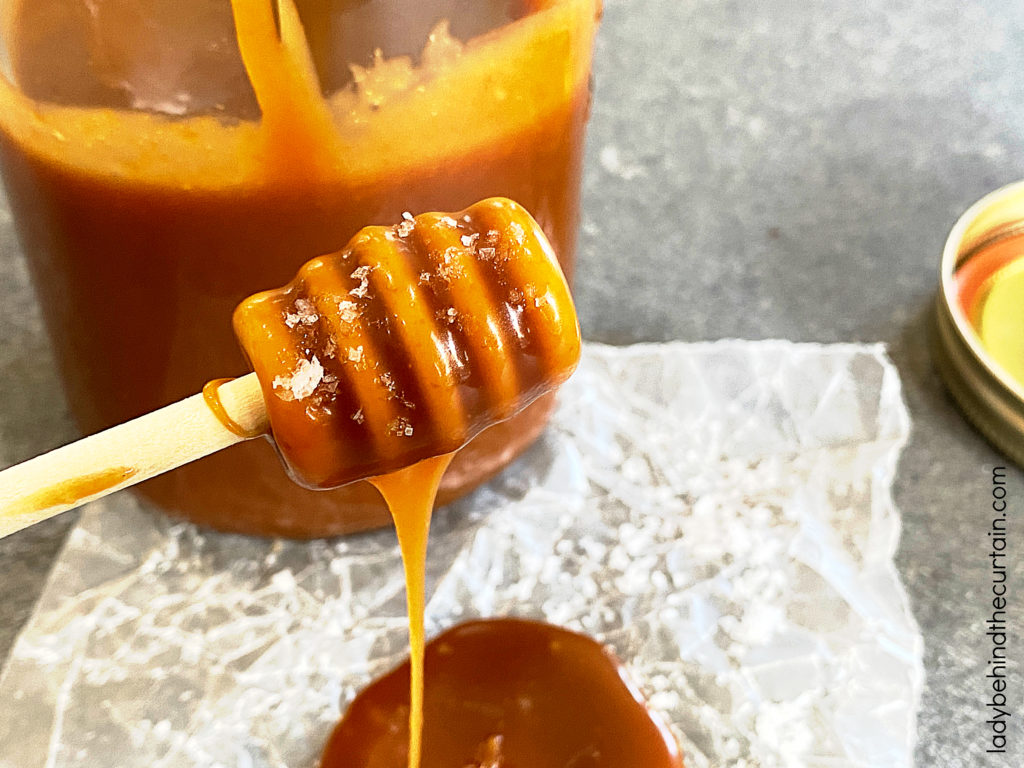
Fresh from the pan, salted caramel is quite fluid. As it cools, it thickens and becomes more luxurious. Refrigeration takes that transformation even further. Instead of treating those changes as a problem, use them to your advantage.
| Caramel Temperature | Texture | Perfect For |
|---|---|---|
| Warm | Fluid and easily pourable | Ice cream, bread pudding, apple crisp |
| Room temperature | Thick, glossy drizzle | Cheesecake, brownies, cakes |
| Chilled | Very thick and spoonable | Dessert fillings, apple dipping |
| Gently rewarmed | Smooth and flowing | Drizzling refrigerated caramel |
This also makes salted caramel an excellent make-ahead dessert component. Prepare it before you need it, let it cool completely, and store it covered in the refrigerator. When it’s time to serve, remove only the amount you need. Leave it in the cooler for dipping and spooning, or gently warm it for pouring.
For entertaining, finish the potentially messy caramel-making before guests arrive. For gifting, package the cooled sauce in a clean jar and include instructions to keep it refrigerated and gently warm it when you want a pourable sauce.
One Batch Can Follow Dessert Through the Entire Year
Salted caramel may feel especially at home during fall, but it has no reason to disappear when apple season ends. Apples, pears, pumpkin, pecans, and warm spices are obvious companions, making it an easy addition to fall desserts and Thanksgiving tables.
Chocolate takes caramel in another direction. Chocolate’s slight bitterness mirrors caramel’s deeper toasted notes, while the salt keeps the combination from becoming overwhelmingly rich. Vanilla desserts provide a blank canvas, letting caramel become the dominant flavor. Cheesecake, pound cake, and vanilla ice cream all benefit from a caramel drizzle without needing much else.
Then there are bananas, coffee, pretzels, popcorn, nuts, brownies, bread pudding, pancakes, waffles, and French toast. A jar in the refrigerator has a surprising way of making ordinary desserts look as though you planned them.
Pick Your Salted Caramel Dessert
Use this quick mix-and-match list when you have caramel waiting in the refrigerator:
- Apple + Caramel + Pecan: apple pie, warm caramel, toasted pecans
- Chocolate + Caramel + Salt: brownie, caramel drizzle, flaky sea salt
- Banana + Caramel + Cream: sliced bananas, caramel, whipped cream
- Pumpkin + Caramel + Crunch: pumpkin cheesecake, caramel, pecan crumble
- Vanilla + Caramel + Coffee: vanilla ice cream, warm caramel, espresso
- Pretzel + Caramel + Chocolate: pretzels, caramel, chocolate drizzle
- Cheesecake + Caramel + Pecan: plain cheesecake, caramel, toasted pecans
Caramel already contains so much flavor that the best combinations often need only two or three supporting ingredients.
Your Before-You-Caramelize Checklist
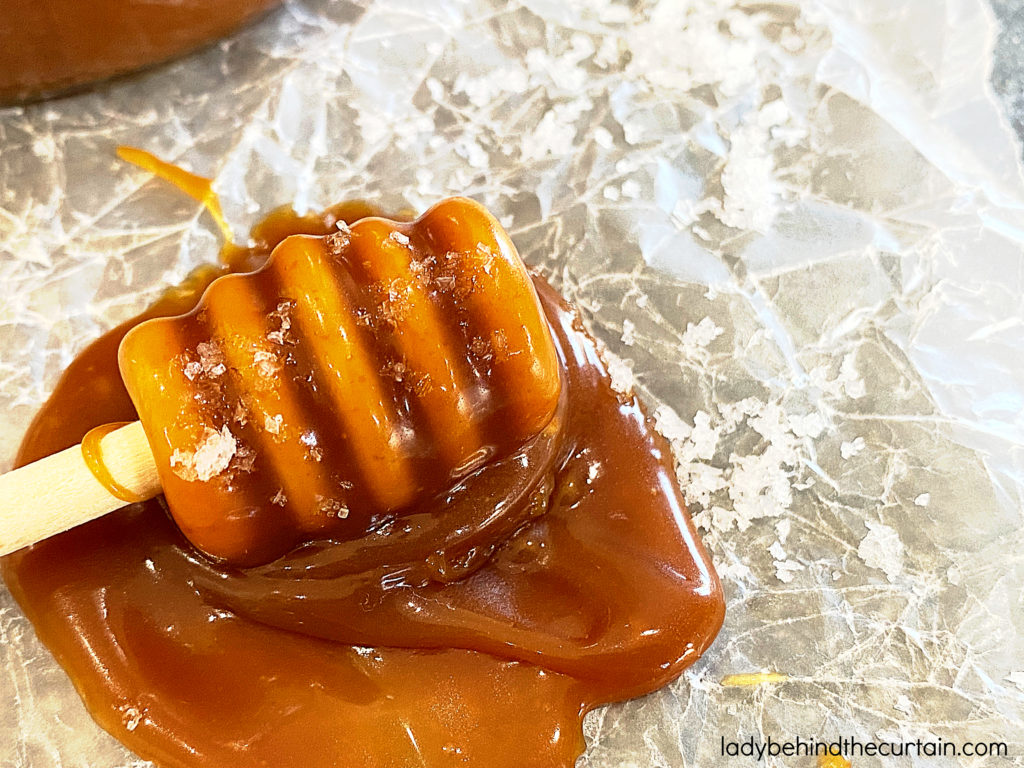
Caramel moves quickly once it reaches the right color, so preparation matters more here than it does in many simple sauces.
Before turning on the burner:
- □ Measure the cream.
- □ Measure and prepare the butter.
- □ Have the sea salt ready.
- □ Measure the vanilla.
- □ Choose a pan with plenty of room.
- □ Have a whisk nearby.
- □ Make sure you have somewhere heat-safe to place the hot pan.
- □ Clear away distractions once the syrup begins changing color.
Measuring, preparing, and having everything within reach before you begin makes homemade caramel much easier. Once the sugar reaches that beautiful honey color, the next steps happen quickly. With everything already waiting beside the stove, you can focus on the caramel instead of scrambling for an ingredient.
When Caramel Decides to Test You
Even experienced bakers occasionally have a batch of caramel misbehave. Fortunately, the appearance of the caramel usually gives you a clue about what happened.
| Problem | Likely Cause | What to Do |
|---|---|---|
| Grainy caramel | Sugar crystallized | Avoid stirring once the syrup boils |
| Bitter caramel | Sugar cooked too dark | Start over and stop at a lighter color |
| Hardened pieces after adding cream | Temperature change caused caramel to seize | Return to controlled heat and whisk until smooth |
| Separated or oily sauce | Excessive heat after adding dairy | Reduce the heat and whisk gently |
| Scorched flavor | Sugar or dairy burned | Start over |
Burned caramel is the one problem not worth fixing. Butter, cream, salt, and vanilla can soften strong caramel flavor, but they can’t disguise burned sugar.
Why This Salted Caramel Is Worth Making
There are easier ways to create caramel flavor, but actually caramelizing granulated sugar produces something distinctive.
The sweetness becomes toasted and complex before cream, butter, vanilla, and sea salt ever enter the picture. Corn syrup helps protect against crystallization, while the wet caramel method lets the sugar dissolve before caramelization begins.
Then the sea salt provides the contrast that makes all those flavors stand out.
Learn what honey-colored caramel looks like, when to stop stirring, and how to have everything ready before the sugar reaches that perfect color.
After that, the hardest part may be keeping a spoon out of the jar.
If you’ve ever looked at homemade caramel and thought, “That seems like something I could mess up,” I hope this recipe convinces you to try it.
Caramel is one of those techniques that feels much more mysterious before you’ve actually watched it happen. Once you’ve seen the sugar travel from clear to gold to that beautiful honey color, you’ll know what you’re looking for the next time. And the time after that will feel even easier.
Then comes the fun part. Drizzle your salted caramel over cheesecake, pour it over ice cream, add it to brownies, serve it with apples, or put the jar right on the dessert table and let everyone find their own favorite combination.
Recipes like this are wonderful to have tucked into your collection because they can make something simple feel special without requiring an entirely new dessert.
I hope you make it, share it, and find plenty of delicious reasons to keep a jar in the refrigerator.
♥ Sheryl
LATEST POSTS
- Protected: Orange Cheesecake Puppy Chow
- Protected: Homemade Vanilla Sugar: Two Simple Ingredients, Endless Ways to Use It
- Large Gourmet Blueberry Muffin Cookies
- The Ultimate Guide to Crunchy Dessert Toppings: 23 Streusel, Cookie Crumble, and Crunch Recipes
- The Ultimate Bakery-Size Double Chocolate Chip Cookies
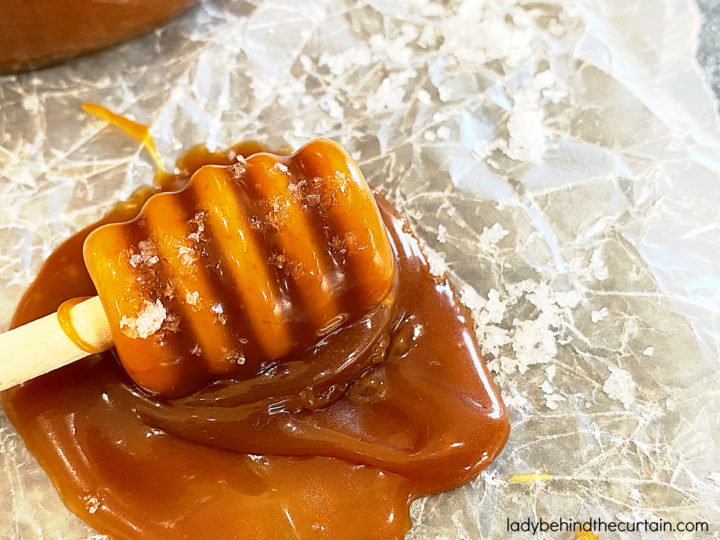
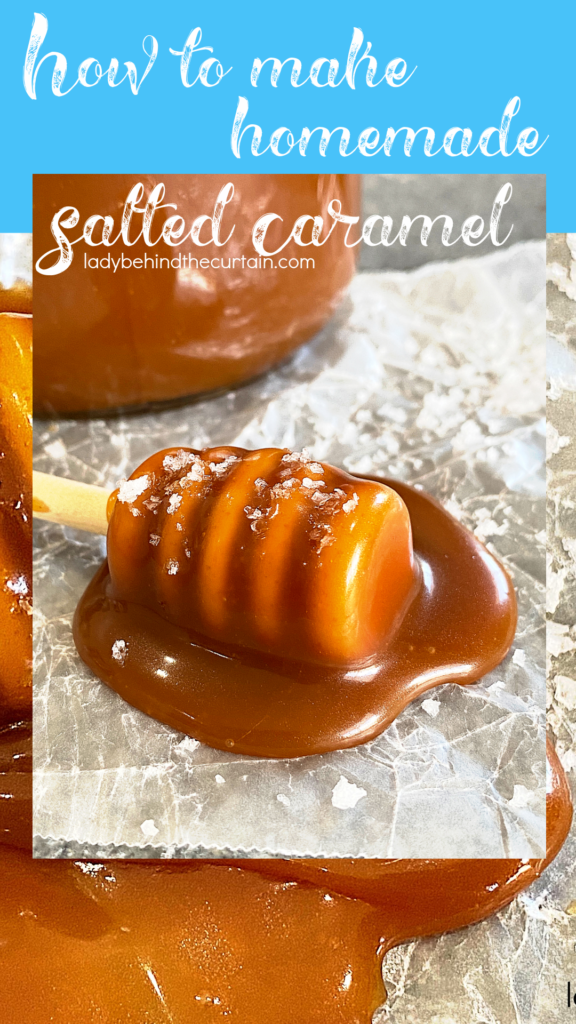
Homemade Salted Caramel
Easy to Make recipe that is perfect as a topping, filling or gift!
Ingredients
- 2 cups granulated sugar
- ½ cup water
- 2 tablespoons light corn syrup
- 1 cup heavy whipping cream
- ¼ cup unsalted butter
- 1 tablespoon sea salt
- 1 teaspoon vanilla extract
Instructions
- In a large skillet, cook sugar, water, and syrup over medium-high heat. Bubbles should cover the pan. TIP: Once the sugar comes to a boil, stop stirring immediately.
- Continue cooking until the mixture has reached a beautiful honey color (approximately 15 minutes).
- Remove from heat and whisk in the cream, butter, and salt.
- Continue cooking until the mixture is smooth and slightly thickened (about 2 minutes).
- Remove the pan from the heat and stir in the vanilla. Let cool to room temperature before using.
Notes
How to Store Salted Caramel:
After the caramel cools down, pour it into a glass jar or container. Refrigerate for up to 1 month. The caramel solidifies as it cools, but you can reheat in the microwave or on the stove so it’s liquid again. You can freeze the salted caramel, too. Freeze in an airtight container for up to 3 months. Thaw in the refrigerator or at room temperature, then warm up before using.

The Salted Caramel Questions Worth Answering
A few additional details: Caramel becomes much easier once you understand what is happening in the pan. A few additional details are worth knowing before you begin.
- Can I leave out the corn syrup? There are caramel methods that don’t use corn syrup, but in this recipe, it helps discourage crystallization. Removing it removes one of the safeguards built into this method.
- Can I use salted butter? Unsalted butter gives you better control because the caramel already contains a deliberate amount of sea salt. Salted butter varies by brand, making the final salt level less predictable.
- Does the cream need to be at room temperature? Taking some of the chill off the cream can reduce the temperature difference when it meets the caramelized sugar. It doesn’t eliminate the reaction, but it can make the transition a little less abrupt.
- Can I make a double batch? You can, but caramel becomes harder to control as the quantity increases, especially because the mixture expands when you add the cream. For very large quantities, making separate batches can be easier and more predictable than making one enormous batch.
These aren’t complicated rules. They’re simply the little details that make a precise technique more dependable.
Comments
Homemade Salted Caramel Sauce — No Comments
HTML tags allowed in your comment: <a href="" title=""> <abbr title=""> <acronym title=""> <b> <blockquote cite=""> <cite> <code> <del datetime=""> <em> <i> <q cite=""> <s> <strike> <strong>