





The Ultimate Bakery-Size Double Chocolate Chip Cookies
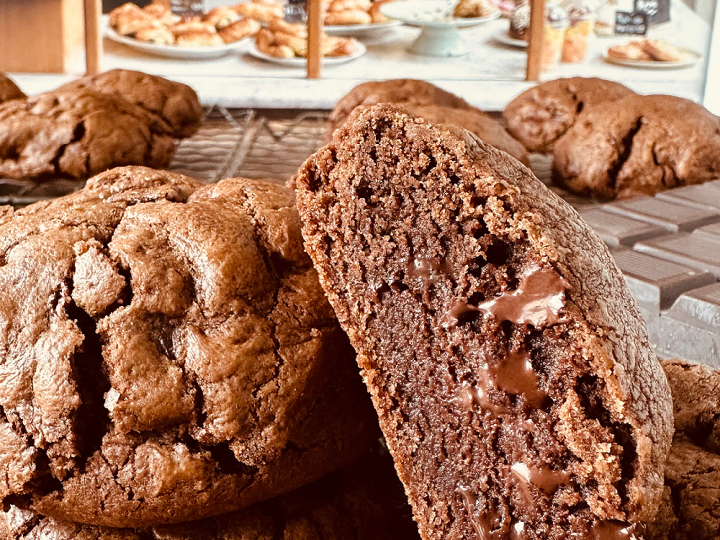
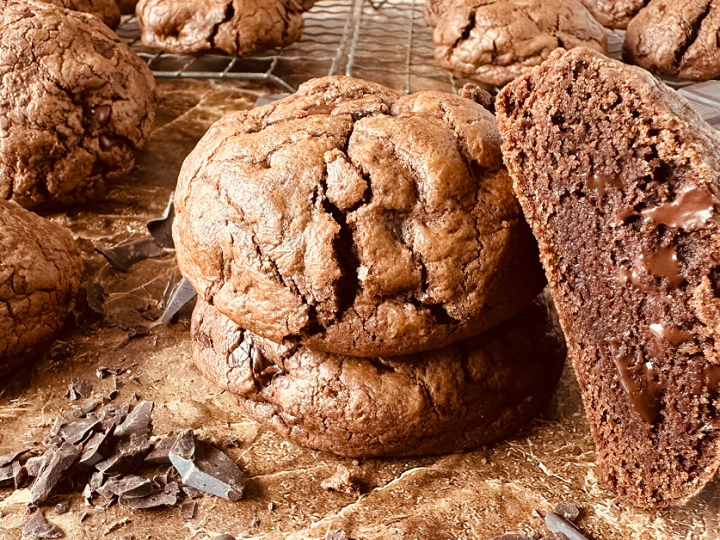
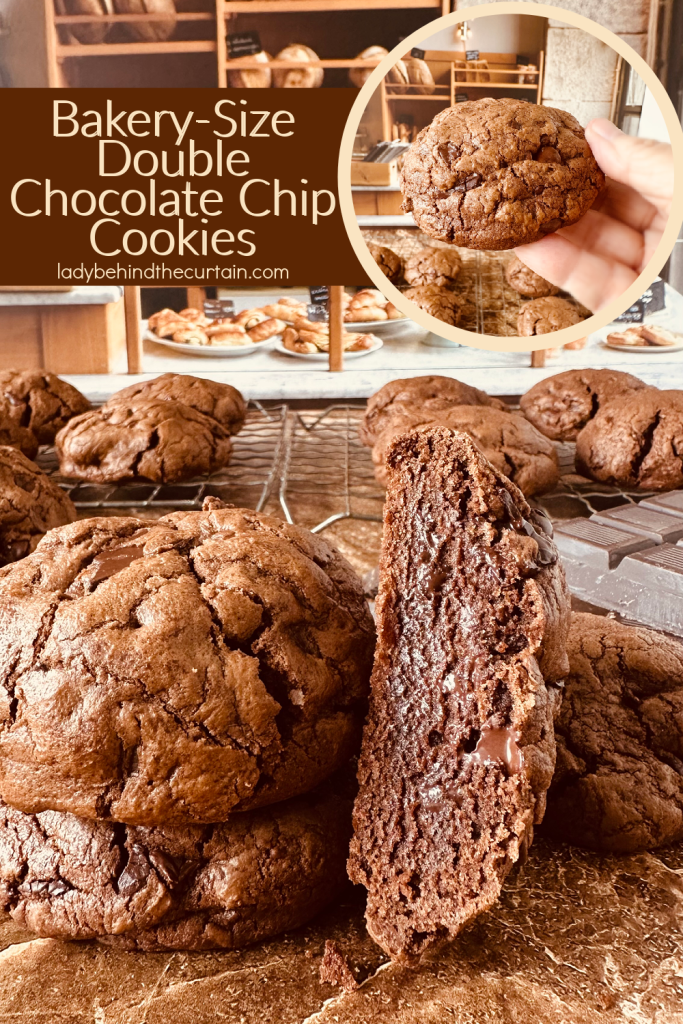
There are chocolate cookies, and then there are the cookies that make you stop at the bakery case. These Ultimate Bakery-Size Double Chocolate Chip Cookies are big, thick, chewy, and packed with so much chocolate that you know exactly what you’re getting before you ever take that first bite.
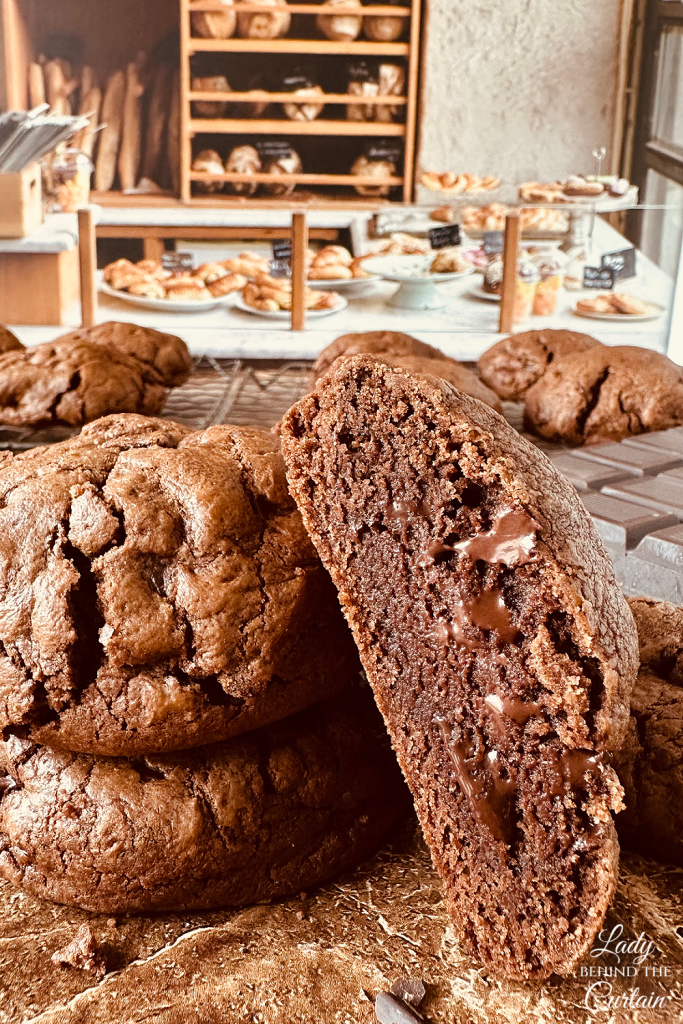
But here’s the fun part. When I tasted the finished cookie, the flavor immediately reminded me of a brownie. Not the texture, because this is definitely a cookie. The center is thick and chewy with a softer, lighter bite than a dense brownie. It’s the deep chocolate flavor that takes you there, and I love that you get a little bit of both worlds without actually turning the cookie into a brownie cookie.
And when I say bakery-size, I mean it. Each cookie starts with 4 ounces of dough. That gives you a big, substantial cookie with enough thickness to develop a soft center while the outside sets. Add Dutch cocoa, semisweet chocolate chips, and chunks of chopped chocolate, and this is one serious chocolate cookie. If you’re going to make a double chocolate chip cookie, you might as well make one worth talking about. This one certainly is.
A Chocolate Dough Built for the Bakery Case
Making a bakery-size cookie isn’t as simple as taking your favorite cookie dough and making the portions bigger. Once you start working with 4-ounce balls of dough, everything has to work together to keep those cookies thick while still giving you the soft, chewy texture you’re after.
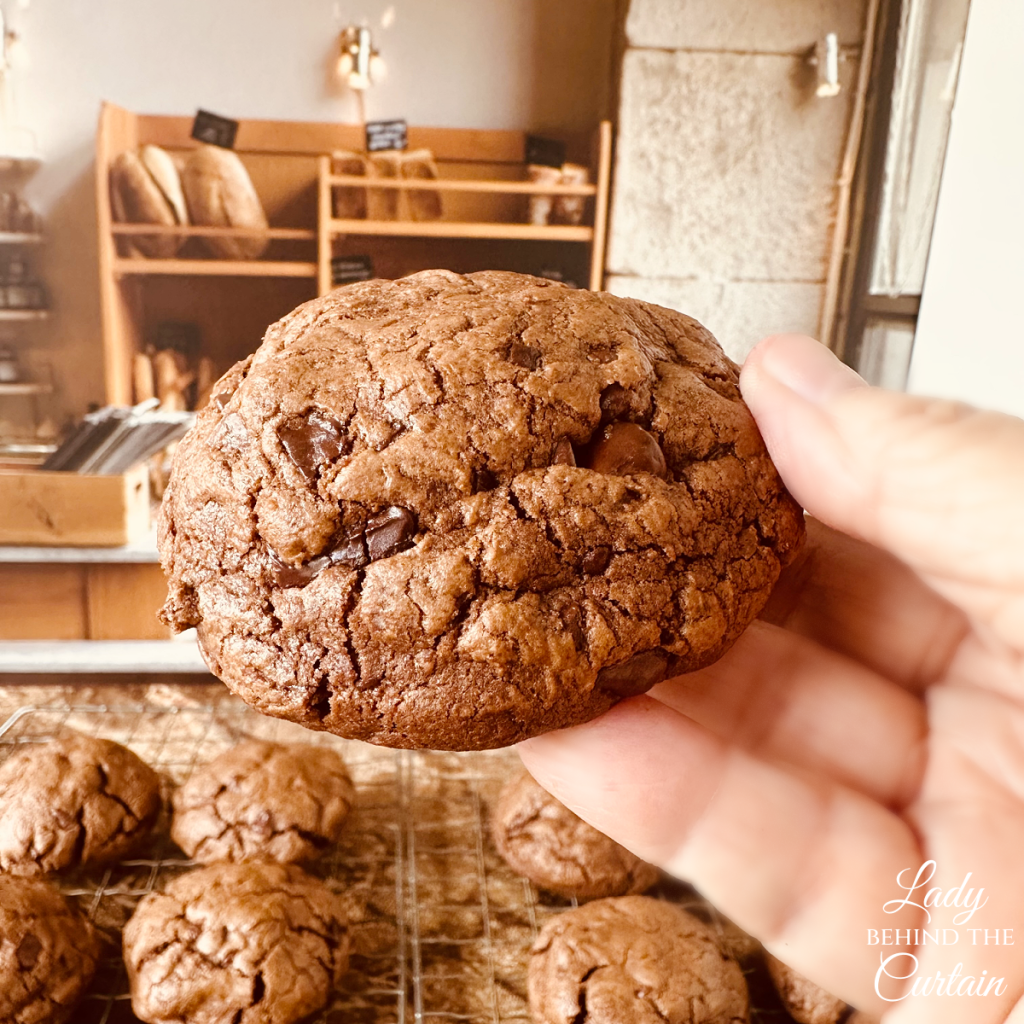
That’s one reason I like the combination of butter, shortening, and cream cheese in this dough. They each bring something a little different to the cookie. Butter gives you that wonderful flavor we expect from a homemade cookie, shortening helps with softness and spread, and cream cheese adds moisture and tenderness.
Here’s a quick look at what the main ingredients are doing while those giant cookies are baking.
| Ingredient | What It Brings to the Cookie |
|---|---|
| Butter | Rich flavor and classic cookie character |
| Vegetable shortening | Helps control spread and keeps the texture soft |
| Cream cheese | Adds moisture, richness, and tenderness |
| Granulated sugar | Adds sweetness and helps build the cookie’s structure |
| Eggs | Hold everything together and add moisture |
| Dutch cocoa | Brings deep chocolate flavor and rich color |
| Baking powder | Gives the heavy dough enough lift to keep it from feeling dense |
This is one of those times when the ingredient list really does tell the story. We’re not relying on chocolate chips alone to make this a chocolate cookie. Chocolate is built right into the dough, and everything around it is there to help that dough bake into the thick cookie we’re after.
When a Brownie Meets a Bakery Cookie
This was the surprise for me. I expected a rich chocolate cookie, but once I tasted it, I immediately thought of a brownie. That deep cocoa flavor is there, along with plenty of semisweet chocolate, but the cookie never crosses over into brownie territory when it comes to texture.
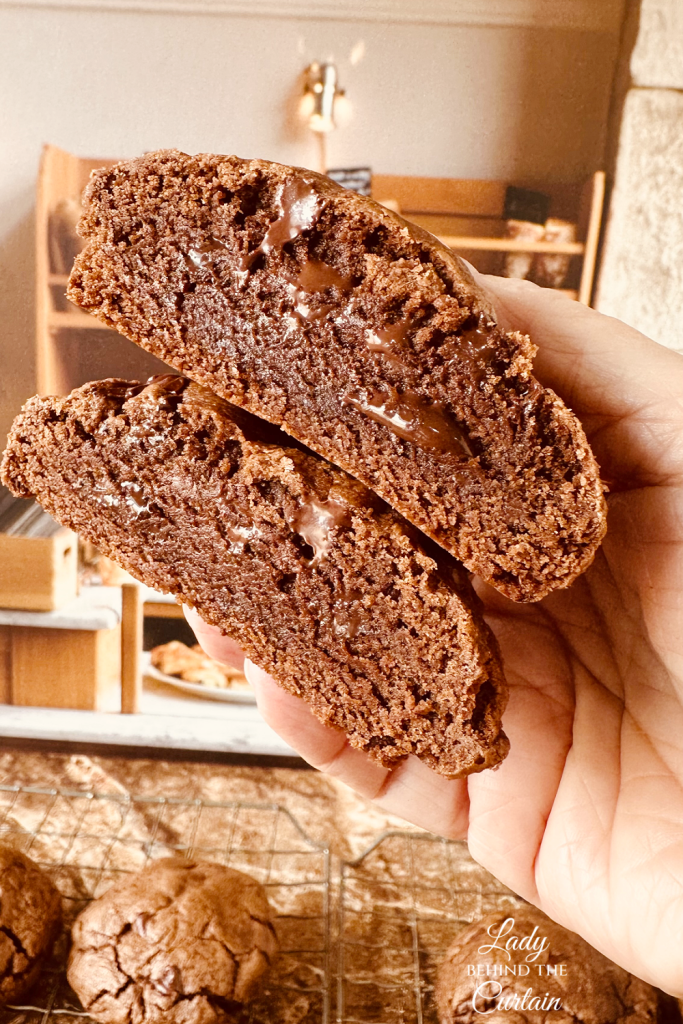
Dutch-process cocoa has a smooth, deep chocolate flavor that gives the dough a wonderful richness. Then you add semisweet chocolate chips and chopped chocolate, and suddenly you have layers of chocolate instead of one flat chocolate flavor. It’s easy to see why your taste buds start thinking brownie.
After you first bite, you’ll know you’re eating a cookie. It has the thick, chewy texture you expect from an oversized bakery cookie with a softer, lighter center than the compact density of a brownie. That’s what makes this combination so good. You’re not trying to turn a brownie into a cookie. You’re getting a really good chocolate cookie with the unexpected bonus of brownie-like flavor.
Behind the Curtain Tip: Cocoa powder loves to soak up moisture, so don’t pack it into the measuring cup. Spoon it lightly into the cup and level it just as you would flour. A little extra cocoa may not look like much, but too much can take a cookie from soft and chewy to dry.
Two Kinds of Chocolate Make Every Bite Better
You could certainly make a double chocolate chip cookie using nothing but chocolate chips, but adding chopped chocolate gives you something chips alone can’t quite deliver.
Chocolate chips are made to hold their shape fairly well in the oven. That’s exactly what we want from them. They stay scattered throughout the cookie, so you’re almost guaranteed to find a little pocket of chocolate in every bite.
Chopped chocolate is a lot less orderly, and that’s a good thing. When you chop a chocolate bar, you end up with big pieces, little pieces, and all those tiny chocolate shards left on the cutting board. I want all of it going into the dough.
The larger pieces melt into soft pockets while the little fragments work their way through the cookie. Instead of every piece of chocolate being exactly the same size and shape, you get a little surprise with each bite.
| Chocolate | What It Does | What You Get |
| Semisweet chocolate chips | Hold their shape as they bake | Little chocolate pockets throughout |
| Larger chopped pieces | Soften and melt more freely | Bigger bites of melted chocolate |
| Tiny chocolate shards | Scatter throughout the dough | Extra chocolate flavor in between |
This cookie already has plenty of sweetness. Semisweet is my choice here because the cookie already has plenty of sweetness. You still get rich, melty chocolate without burying that wonderful cocoa flavor underneath too much sugar.
Wow! I Never Knew That… Have you ever wondered why chocolate chips come out of the oven still looking like chocolate chips? They’re made to hold their shape better during baking. They soften when heated, but they don’t melt and flow the same way a chopped chocolate bar does. That’s exactly why using both works so well in these cookies. The chips give you those familiar little chocolate pockets, while the chopped chocolate melts more freely into soft, irregular pieces.
Four Ounces Is Where the Bakery Magic Happens
If you’ve never weighed cookie dough before, bakery-size cookies are a great reason to pull out the kitchen scale.
Each of these cookies starts with 4 ounces of dough, and I don’t eyeball it. With a standard-size cookie, being a little off from one portion to another usually isn’t a big deal. With cookies this large, those differences start to matter.
If one dough ball weighs 3 ounces and another weighs closer to 5, they aren’t going to bake at the same rate. Weighing every portion means the cookies are starting on equal footing, which makes it much easier to get consistent results from the entire batch.
The larger size also gives you something a smaller cookie can’t quite duplicate. The outside begins baking while the center is still protected inside that big mound of dough. That gives the cookie time to develop structure without drying out the middle.
The Bakery-Size Cookie Game Plan
| Detail | Why I Do It |
| 4-ounce dough portions | Gives the cookies their thick bakery-size center |
| Weigh each portion | Keeps the cookies baking at the same rate |
| 7 cookies per sheet | Gives those big cookies room to spread |
| Chill for 2½ hours | Helps the dough hold its shape |
| Bake on parchment | Makes moving the cookies off the hot pan easy |
| Cool away from the baking sheet | Stops the hot pan from continuing to bake the bottoms |
Once you start weighing bakery-size cookies, it’s hard to go back to guessing. If a batch turns out exactly the way you want it, you know precisely how much dough made that cookie.
Give That Dough Time to Chill
I know. You make cookie dough, and you want cookies now. But don’t skip the refrigerator with these.
The dough needs time to get good and cold before it goes into the oven. Remember, we’re working with butter, shortening, cream cheese, and 4 ounces of dough in every cookie. If those big portions go into the oven too soft, the fat starts melting quickly and the cookies can spread before they’ve had enough time to develop structure.
Cold dough slows things down. The outside begins baking while the chilled center gradually warms, which helps you keep more of that bakery-style thickness.
The refrigerator rest also gives the flour and cocoa time to settle into the moisture in the dough. By the time you’re ready to bake, the portions should feel much firmer than when you first shaped them.
And never put cold cookie dough onto a hot cookie sheet. If you’re baking multiple batches, let the pan cool first. Starting with a hot sheet gives the bottom of the dough a head start on melting before the cookie even reaches the oven.
Behind the Curtain Tip: Weigh and shape the dough before you refrigerate it. Trying to scoop and divide a big bowl of thoroughly chilled chocolate dough is a lot more work than portioning it while it’s still soft.
Chocolate Cookies Don’t Give Away Their Secrets Easily
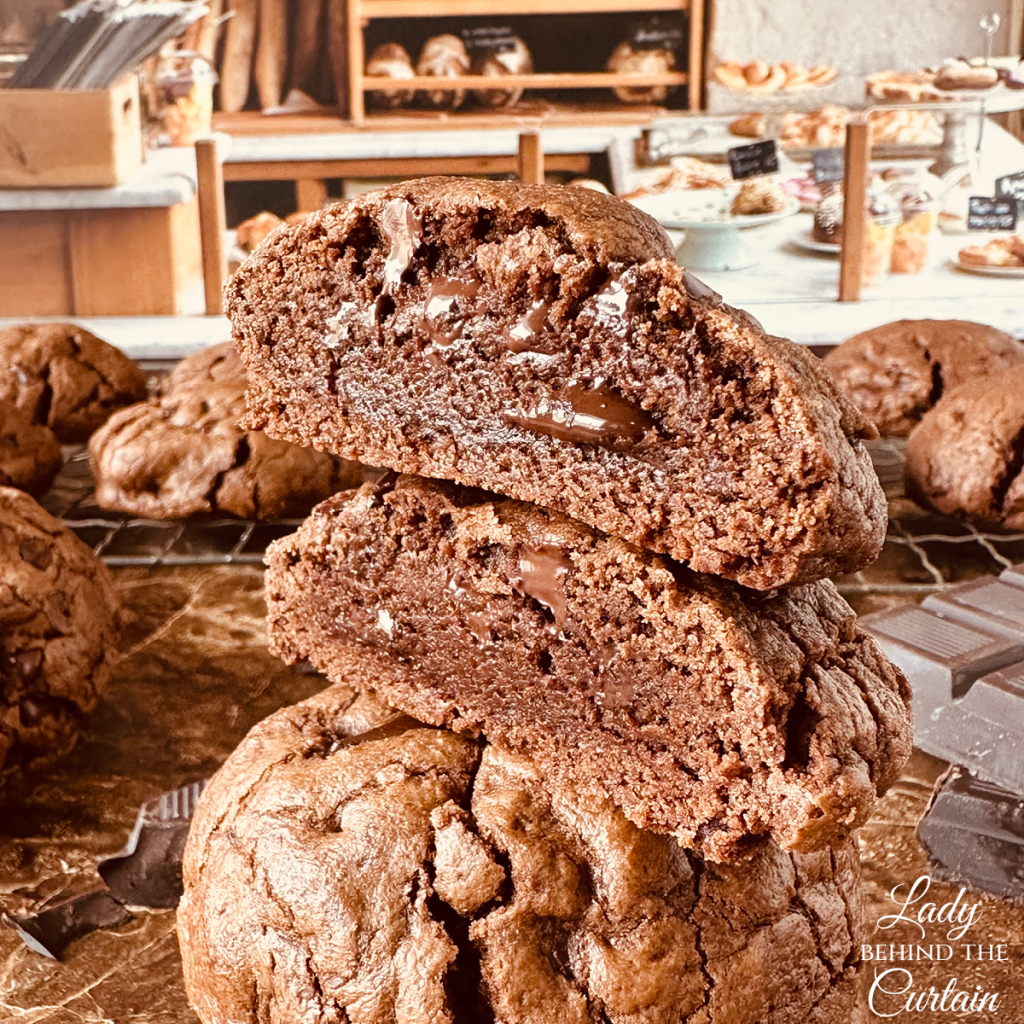
One tricky thing about baking chocolate cookies is that you lose one of the easiest signs that a cookie is getting done. You can’t rely on those pretty golden brown edges the way you can with a traditional chocolate chip cookie.
The dark cocoa dough hides most of that color change.
Instead, watch how the cookie looks and feels overall. The outside should have structure, but don’t expect the center of a giant cookie to look completely firm while it’s still piping hot. That center continues to set as the cookie cools.
This is where it’s easy to go too far. If you keep baking because you’re waiting for the middle to look completely done, you may discover that your perfectly chewy cookie isn’t nearly as chewy once it cools.
Give the cookie a chance to finish the job outside the oven.
Get Those Cookies Off the Hot Pan
This is one of my favorite cookie-baking habits, especially when I’m trying to protect a soft center.
I bake the cookies on parchment paper, and when they come out of the oven, I slide the parchment with the cookies still on it right onto the counter.
Why? Because that baking sheet is still hot.
Even though you’ve taken the cookies out of the oven, leaving them on a hot metal pan means they’re still receiving heat from underneath. The bottoms continue baking while the cookies sit there. With a cookie this large, I would rather take control of when the baking stops.
Don’t try to pick up the individual cookies while they’re hot. They’re big, they’re soft, and they need time to settle. Just slide the parchment off and leave them alone.
As they cool, the centers set and the melted chocolate begins to firm again. Waiting may be the hardest part of this entire recipe.
A Note About Your Oven
These cookies were baked in a convection oven at 350°F, so if you’re baking them in a conventional electric or gas oven, keep in mind that your timing may be a little different.
A convection oven moves hot air around with a fan, while a conventional oven doesn’t have that same constant air circulation. Add in the fact that home ovens can run hotter or cooler than the temperature shown on the display, and you can see why baking times aren’t always one-size-fits-all.
An inexpensive oven thermometer is one of those boring little kitchen tools that can solve a lot of baking mysteries. If your cookies always seem to bake faster than a recipe says they should, or cakes routinely need an extra ten minutes, your oven temperature may be part of the reason.
Behind the Curtain Tip: The first time you bake these, make a note of how long they take in your oven. Once you find your sweet spot, write it right on the recipe. The next batch just got easier.
Take This Chocolate Cookie in a New Direction
I love this cookie exactly as it is, especially because the chocolate flavor is so good on its own. But once you have a dependable bakery-size chocolate cookie base, you also have a great starting point for creating something new.
The trick is not throwing everything into the bowl at once. Pick one flavor and let it have a reason for being there.
| If You’re Craving… | Try Adding… | Where It Takes the Cookie |
| Chocolate Peppermint | Peppermint pieces | Straight to the Christmas cookie tray |
| Chocolate Peanut Butter | Peanut butter chips | Classic chocolate and peanut butter |
| Triple Chocolate | White chocolate pieces | Sweet contrast against the dark dough |
| Mocha | A little espresso powder | Deeper chocolate with a coffee edge |
| Chocolate Caramel | Caramel pieces | Candy-bar territory |
| Dark Chocolate | Bittersweet chunks | A richer cookie with less sweetness |
You can also change the chocolate without adding another flavor at all. Milk chocolate will make the cookie sweeter, while bittersweet chocolate will push it darker and richer.
Still, make the original first. There’s something to be said for a cookie that knows exactly what it is, and this one doesn’t need much help.
From Mixing Bowl to Bakery Box
These cookies take a little planning, but most of that time is hands-off. Once the dough is portioned and tucked into the refrigerator, you can walk away and let the cold do the work.
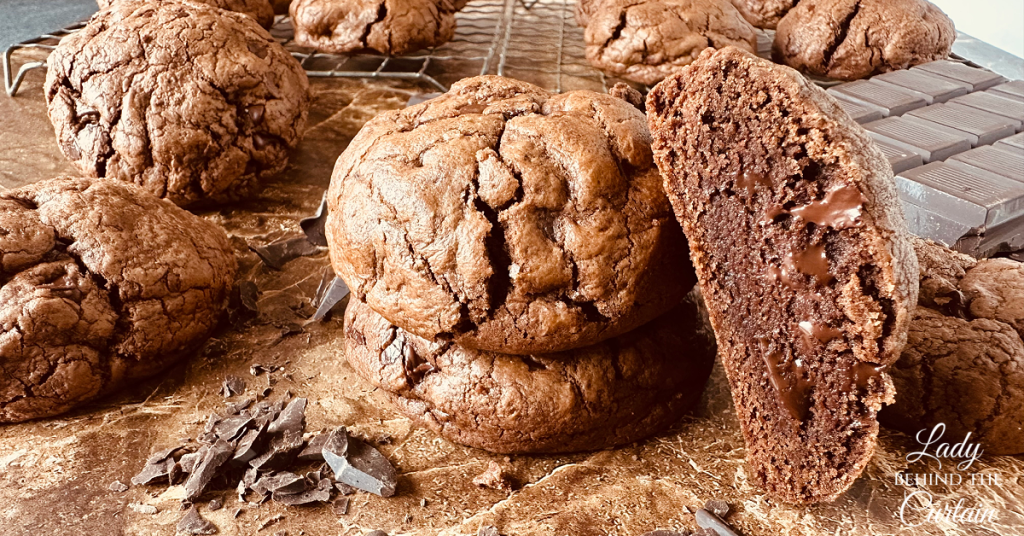
If you’re making them for a party, bake sale, dessert table, or gift, work backward from when you need them. Don’t forget to allow plenty of cooling time. Four-ounce cookies stay warm much longer than little cookies, and those larger pieces of chopped chocolate need time to firm before you package anything.
An Easy Baking Timeline
| When | What to Do |
| Earlier in the day | Mix, weigh, and shape the dough |
| 2½ hours before baking | Let the portions chill |
| Baking time | Bake the cookies while they’re cold |
| Right out of the oven | Slide the parchment onto the counter |
| Before storing | Let the cookies cool completely |
| Before gifting | Package only after the chocolate has set |
For a dessert table, these cookies really don’t need much decorating. Put them on a pedestal or stack them in a parchment-lined basket and let their size and all that visible chocolate do the work.
They also make wonderful individual gifts. One giant cookie in a clear bakery bag tied with ribbon feels like a treat all by itself. Add several to a bakery box, and you’ve got a chocolate lover’s dream.
Save Some Chocolate for Later
If you happen to have cookies left, make sure they’re completely cool before putting them into an airtight container. Warm cookies release steam, and trapping that steam can leave the surface sticky.
For longer storage, freeze the baked cookies in a well-sealed container with parchment between the layers. Keeping as much air out as possible helps protect both the texture and flavor.
You can freeze the portioned dough, too. Just remember that these are very large dough balls. I prefer letting frozen cookie dough thaw gradually in the refrigerator rather than trying to rush it on the counter. Once thawed and cold, it’s ready for baking.
And if you’re making these for gifts, package them as close to gifting day as you can. A cookie this good deserves to arrive tasting fresh.
Why This Version Is Worth Making
The best bakery-size cookie recipes aren’t just regular cookie recipes made bigger. The dough, portion size, chilling time, chocolate selection, and cooling method all have to work together.
That’s what makes The Ultimate Bakery-Size Double Chocolate Chip Cookies worth adding to your collection. The cookie starts with a rich dough designed to handle an oversized portion. Dutch cocoa adds chocolate to every bite, while semisweet chocolate chips and chopped chocolate give you everything from little chocolate pockets to wonderful, larger melted chunks.
Then there’s the surprise I wasn’t expecting. The finished cookie has the deep chocolate flavor of a brownie, but the texture stays firmly in cookie territory. It’s thick and chewy with a softer, lighter bite instead of the dense texture of a brownie. You get all that brownie-like chocolate richness without losing the bakery-size cookie you came here to make.
At 4 ounces each, these cookies have the substantial size you expect from a bakery case, and they don’t need an endless list of extras to make them memorable. This cookie knows exactly what it wants to be: big, chewy, chocolatey, and loaded with even more chocolate.
Sometimes that’s all a cookie needs.
The Ultimate Bakery-Size Cookie Collection
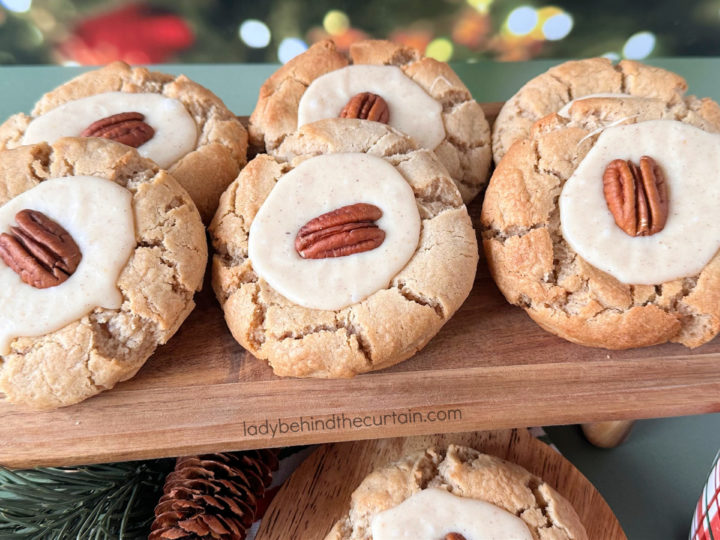
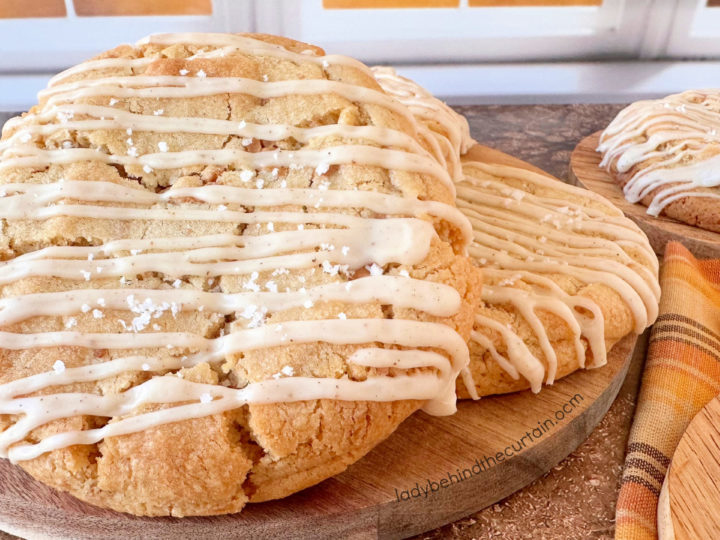
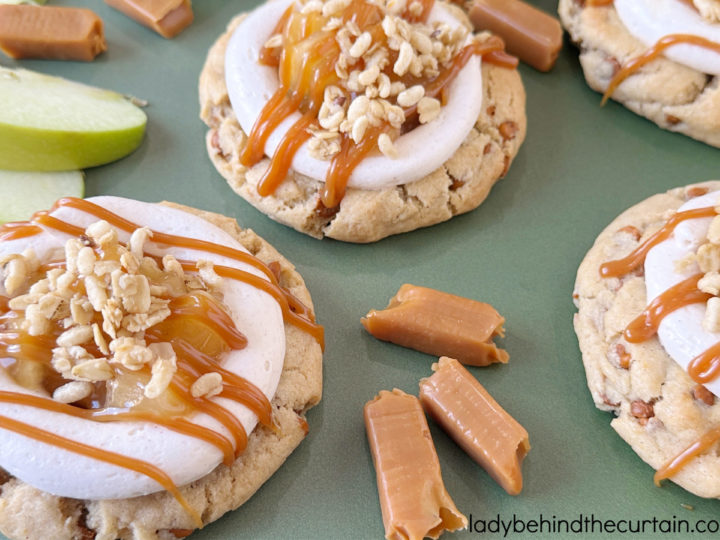
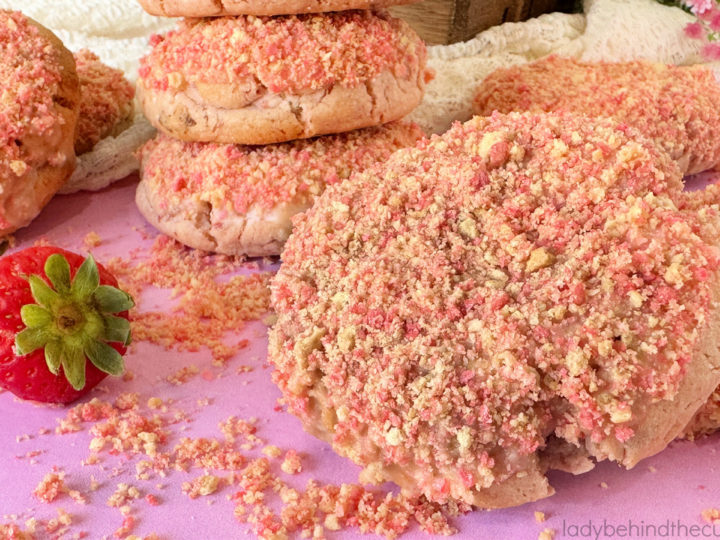
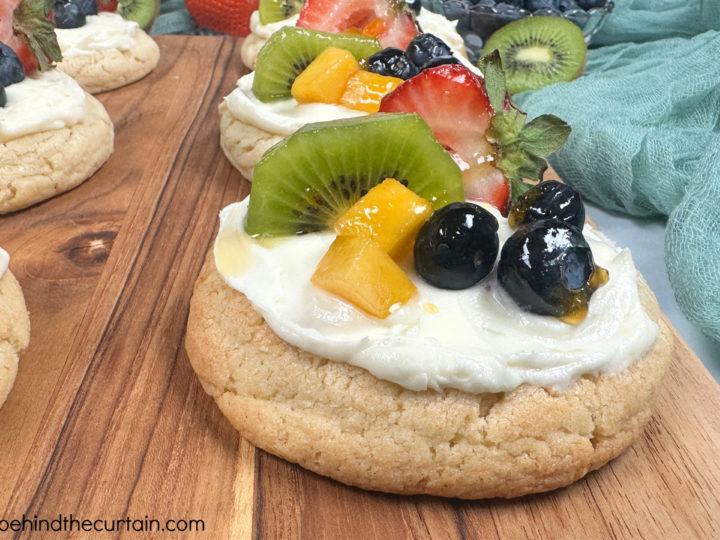
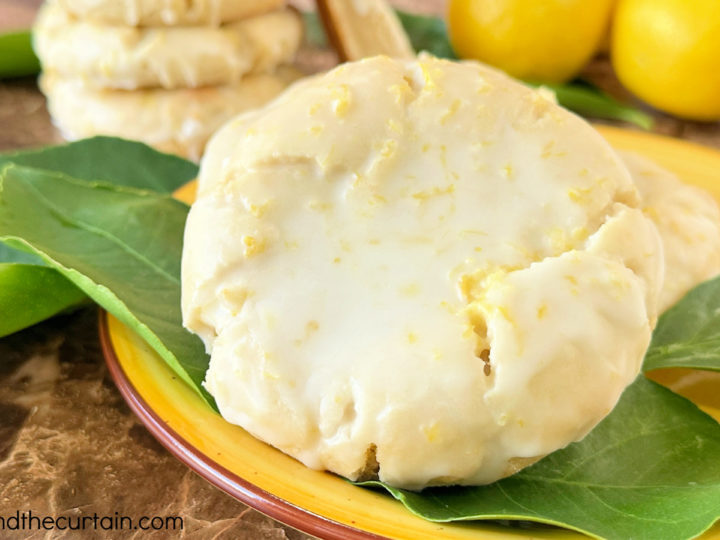
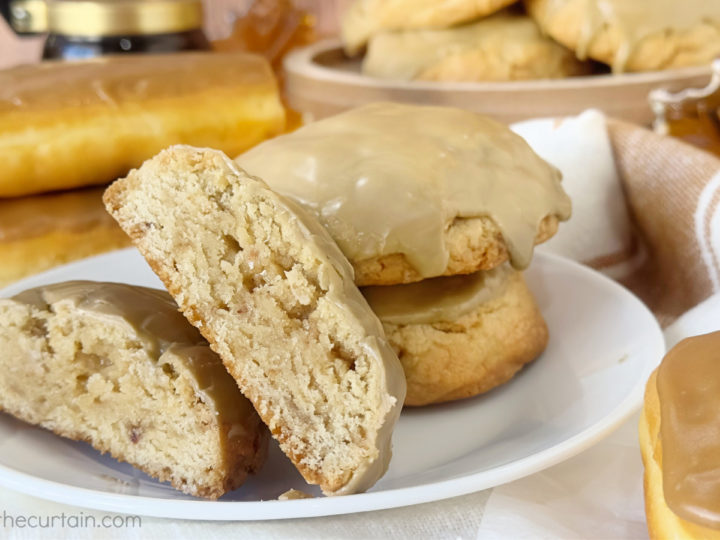
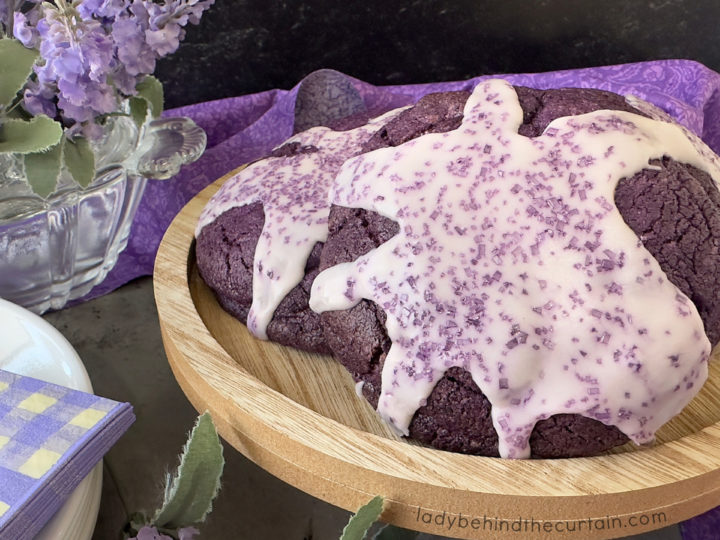
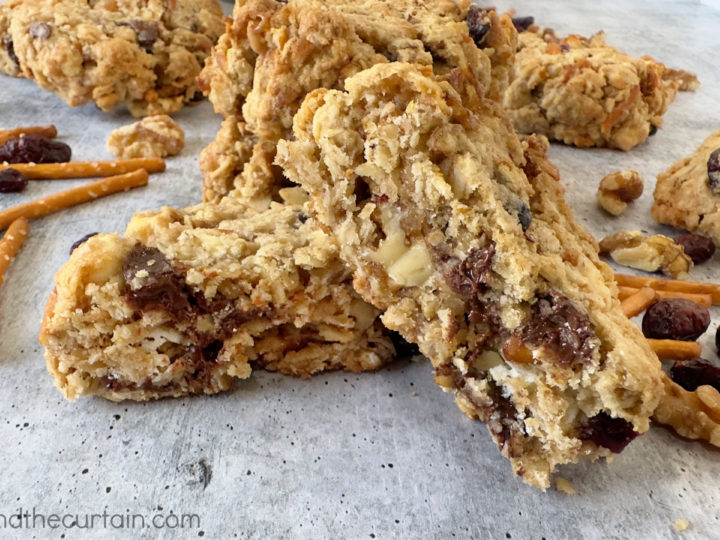
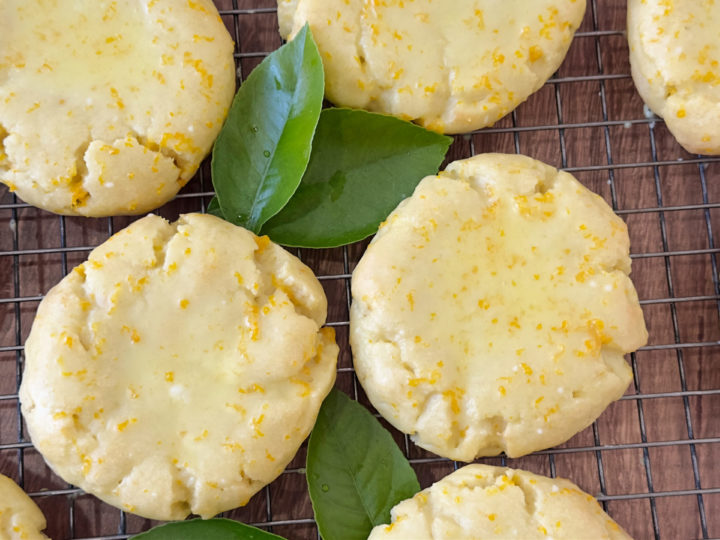
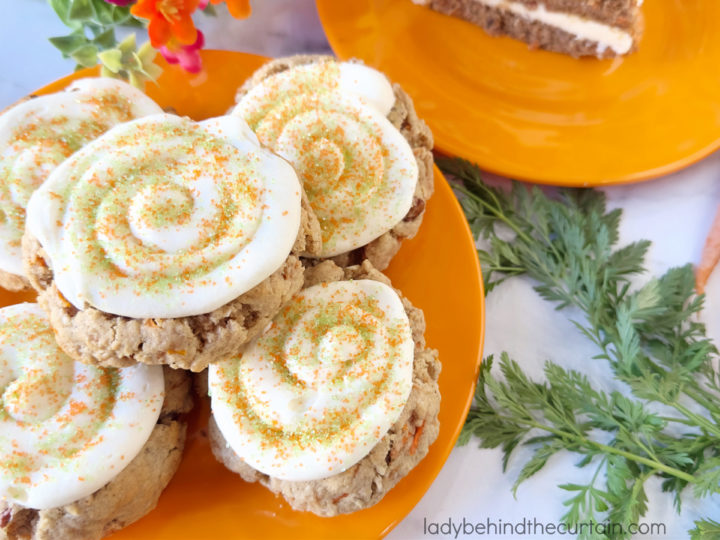
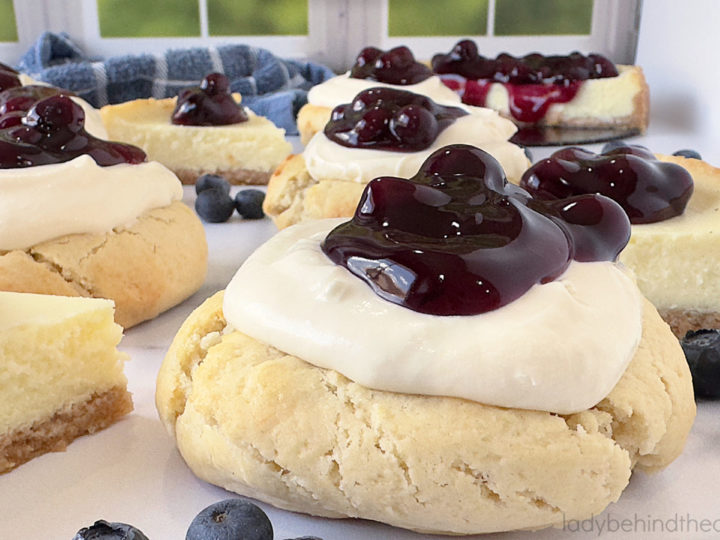
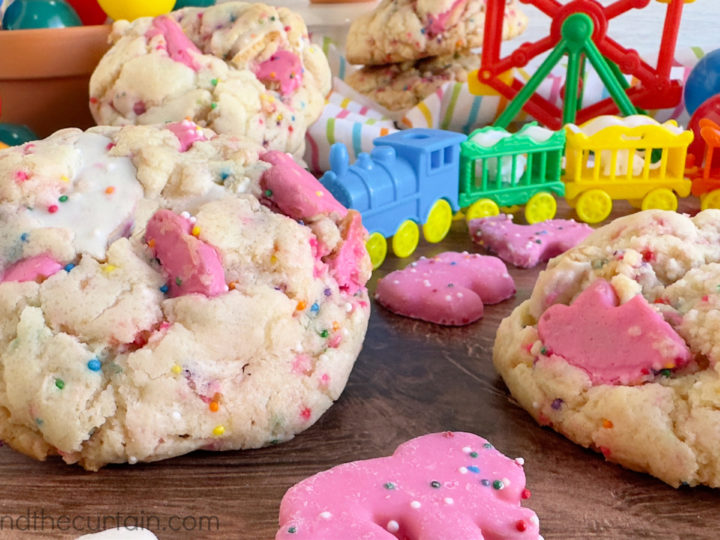
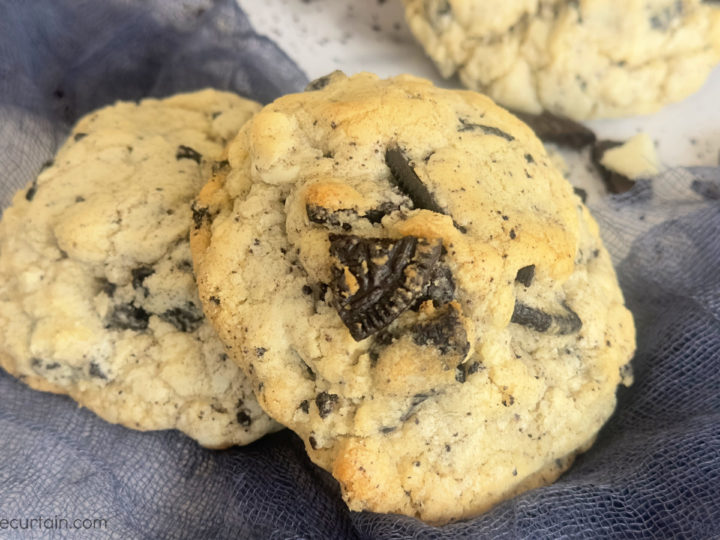
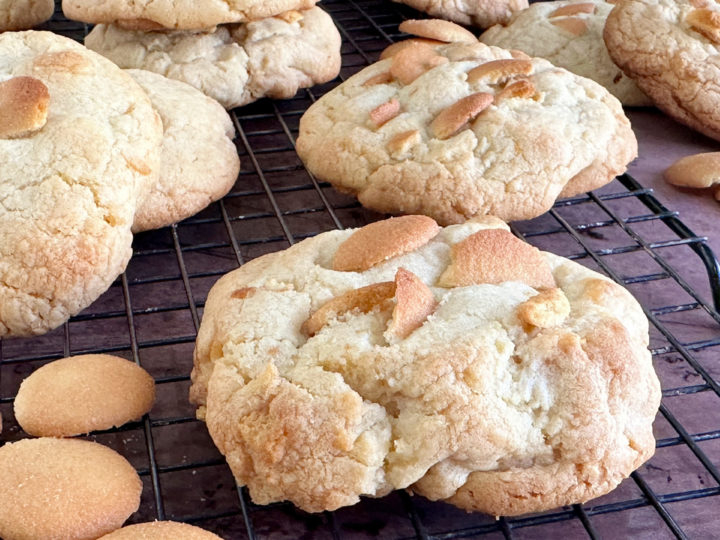
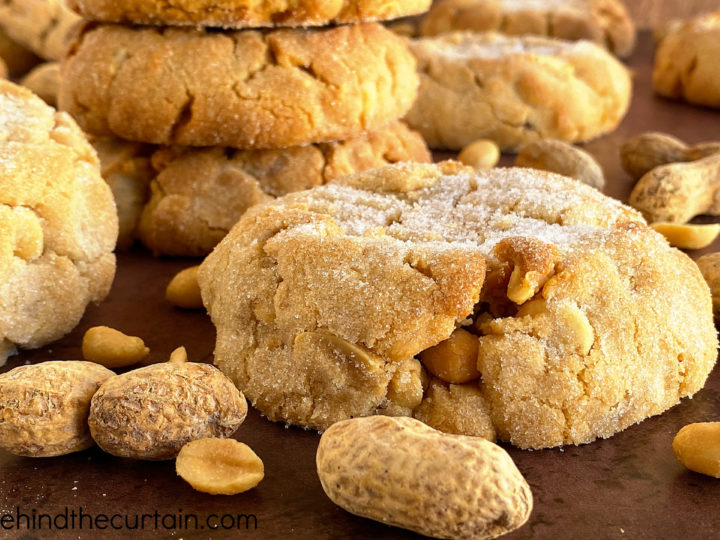
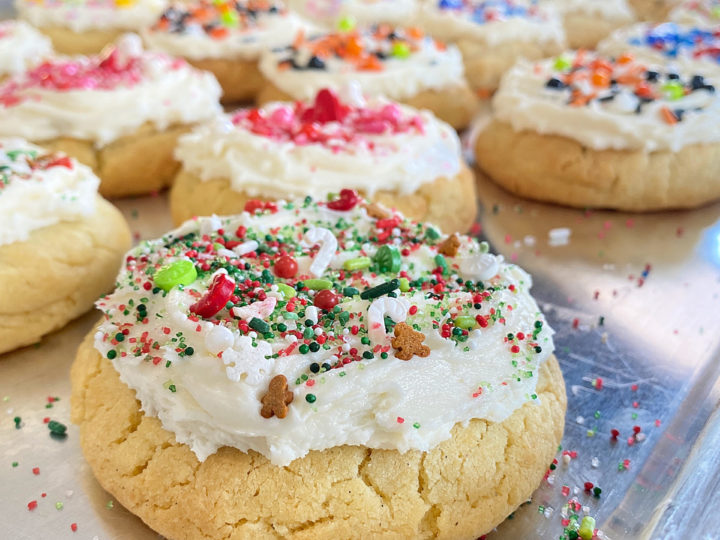
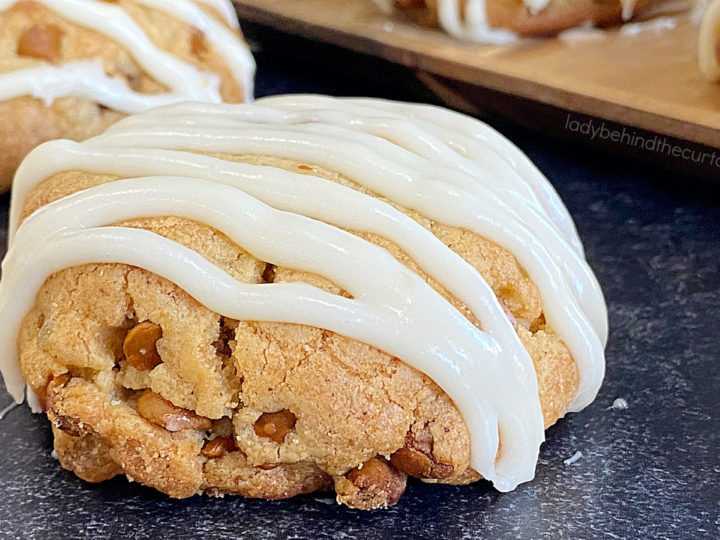
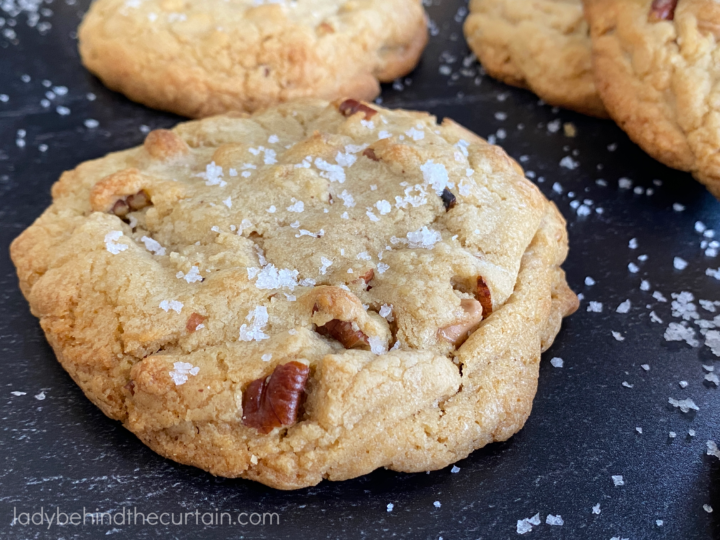
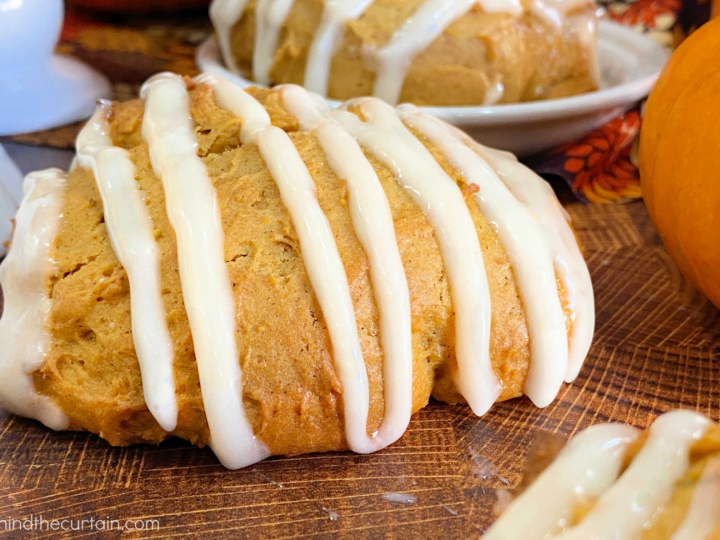
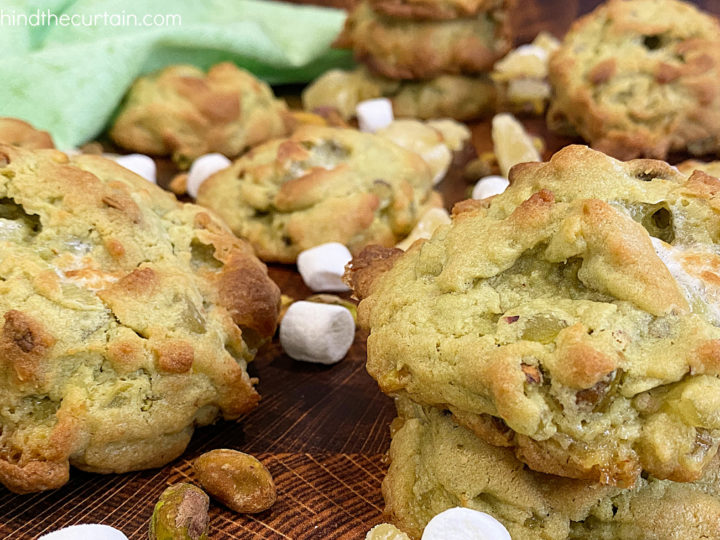
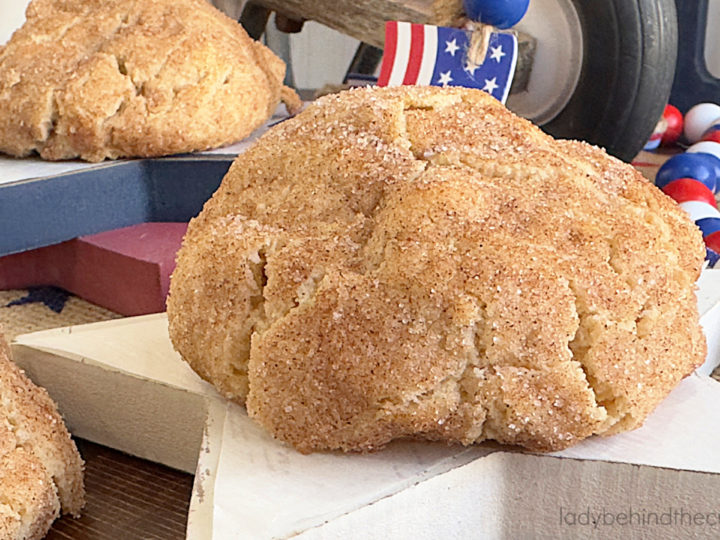
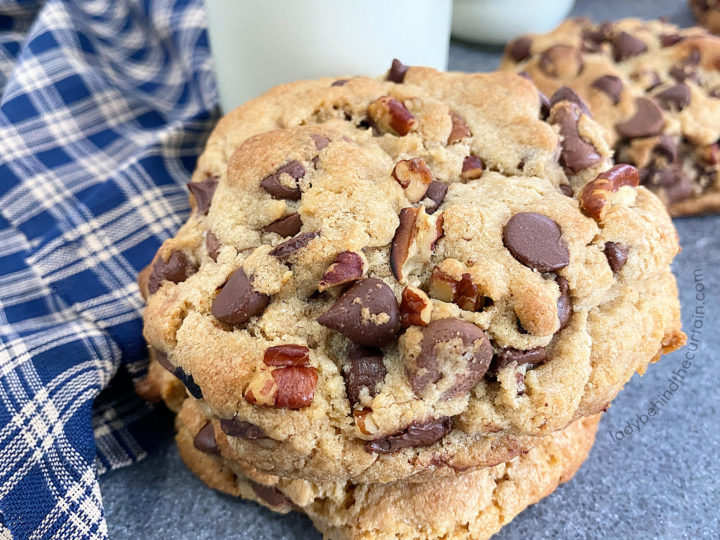
A collection of my biggest, thickest, most indulgent bakery-size cookies, all in one delicious place. These oversized cookies are packed with bold flavors, irresistible fillings, and plenty of bakery-style personality. From rich chocolate favorites to fruity, seasonal, and over-the-top creations, there’s a big cookie here for every craving.
A Letter from Sheryl
There is something especially fun about pulling a tray of giant cookies from the oven. Before you add a ribbon, bakery bag, scoop of ice cream, or anything else, they already feel like a special treat.
When I finally tasted one of these cookies, I was surprised by how much the chocolate flavor reminded me of a brownie. Not the texture, though. These are definitely cookies. They’re thick and chewy with a softer, lighter bite rather than the dense texture of a brownie. But that deep, rich brownie-like chocolate flavor is there, and it made me love this cookie even more.
I hope The Ultimate Bakery-Size Double Chocolate Chip Cookies become one of those recipes you reach for whenever only a serious chocolate cookie will do. Enjoy them with your family, tuck one into a bakery box for someone special, or add a stack to a dessert table and let their impressive size do all the decorating for you.
Most of all, enjoy making them and sharing them. Bake a batch, pour something cold to drink, and pass a cookie to someone you love. Sometimes a really good cookie and a little time around the table are all you need to make an ordinary day feel special.
Enjoy!
Sheryl
Lady Behind the Curtain
LATEST POSTS
The Ultimate Bakery-Size Double Chocolate Chip Cookies
Ingredients
- ½ cup vegetable shortening
- ½ cup unsalted butter, softened
- 3 ounces cream cheese, softened
- 2 cups granulated sugar
- 2 large eggs
- 1 tablespoon vanilla extract or vanilla paste ( I used vanilla paste)
- 3 cups all-purpose flour
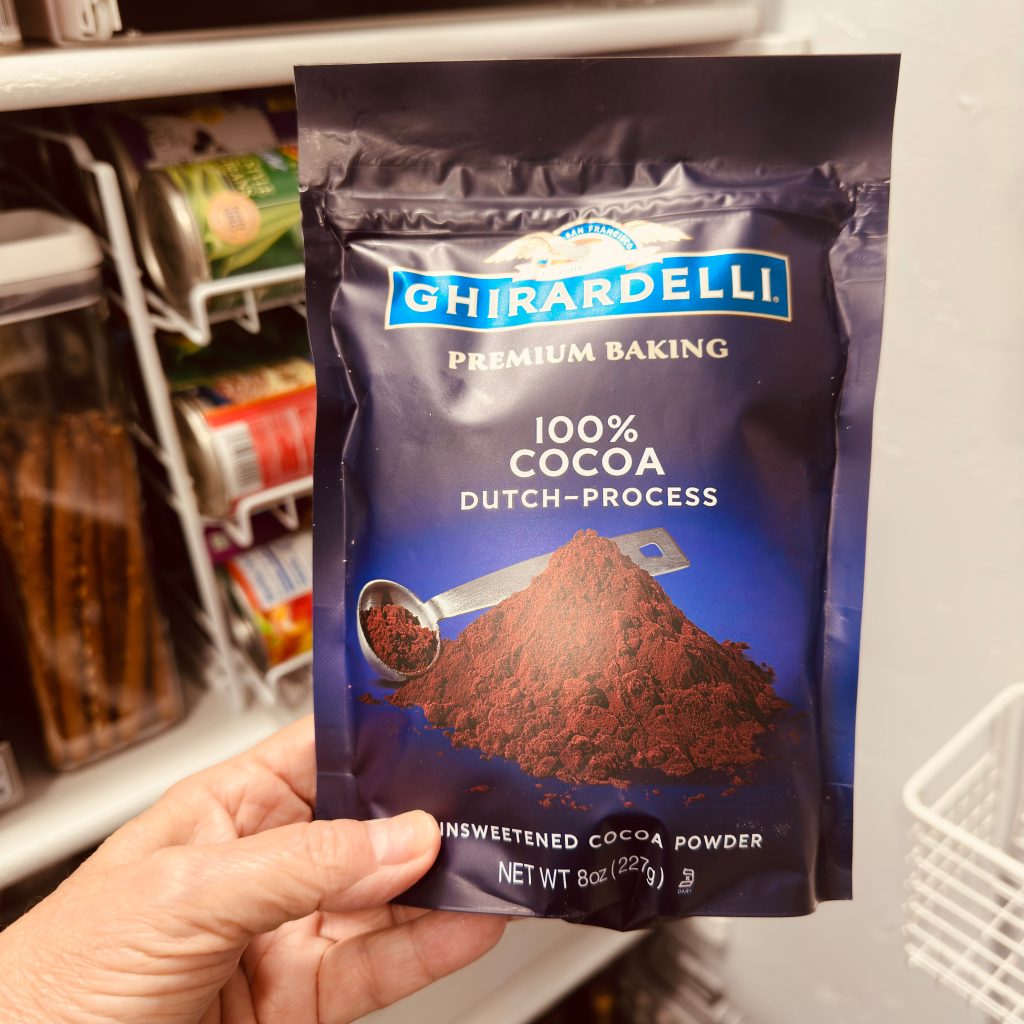
- ¾ cup unsweetened Dutch cocoa powder
- ½ teaspoon salt
- 1½ teaspoons baking powder
- 1 cup semi-sweet chocolate chips
- 1 (4-ounce) bar semi-sweet chocolate, chopped into chunks
Instructions
- Line 2 cookie sheets with parchment paper and set aside.
- Add the shortening, butter, cream cheese, sugar, eggs, and vanilla extract to a large mixing bowl. Mix until light and fluffy.
- Whisk together the flour, cocoa, salt, and baking powder in a medium bowl.
- Add the dry ingredients and chocolate chips to the wet ingredients, and blend until combined.
- Divide the dough into 14 (4-ounce) balls.
- Place (7 balls per cookie sheet) on prepared cookie sheets; refrigerate for 2½ hours.
- Preheat the oven to 350°F. NOTE THAT THESE COOKIES WERE BAKED IN A CONVECTION OVEN. YOU MAY NEED TO ADJUST THE BAKING TIME FOR AN ELECTRIC OR GAS OVEN. Bake for 18 minutes. Slide the cookies, still on the parchment paper, onto the counter to cool completely.

A Few More Chocolate Cookie Secrets
By now you know how these cookies get their bakery-size shape, why I use two kinds of chocolate, and why that refrigerator time matters. But there are always a few extra things worth knowing, especially if you start changing chocolates or turning these cookies into other desserts.
- Can I mix semisweet and bittersweet chocolate? Absolutely. It’s actually a nice way to add more depth without introducing another flavor. Bittersweet chocolate contains less sugar, so replacing some of the semisweet chocolate with bittersweet will give you darker chocolate pockets and tone down the overall sweetness.
- Does the brand of Dutch cocoa really matter? More than you might think. Different cocoa powders can vary in color, intensity, and richness. If you make these with another brand and notice that the cookies aren’t quite the same color or the chocolate flavor seems different, you probably didn’t do anything wrong. Your cocoa may simply have a different personality.
- Can I use chocolate wafers instead of a chopped chocolate bar? Yes. Wafers will give you larger, more uniform areas of melted chocolate. I still love the randomness of hand-chopped chocolate because you get all those different-size pieces, but wafers are a perfectly good option.
- Can I press extra chocolate onto the tops? Yes, especially if you’re making the cookies for a dessert table or want that bakery-case look. A few visible pieces of chocolate on top tell everyone exactly what’s waiting inside. Just don’t cover the whole surface. The cookie should still be the star.
- Can these become ice cream sandwiches? Oh yes, but remember what you’re working with. Two 4-ounce cookies plus ice cream makes one enormous dessert. You can make them that way for fun, but cutting the finished sandwich into halves or quarters makes it much easier to serve.
- Can I turn one into a plated dessert? Absolutely. Warm a cookie just enough to soften the chocolate, add a scoop of vanilla ice cream, and you’ve got an easy dessert that feels much more special than the amount of work involved. One cookie can easily be cut into wedges and shared.
- Should I add nuts? You can, but I purposely like this version without them. Keeping the original focused entirely on chocolate gives you a classic base that can go in all kinds of directions later. If you do decide to add nuts, toasted pecans or walnuts would be my first choices.
- Why does the chocolate flavor seem even better once the cookie has cooled? Warm chocolate can be wonderful, but heat also changes how we perceive flavor and sweetness. Once the cookie cools and everything settles, the cocoa and semisweet chocolate flavors become easier to notice as a whole. Don’t be surprised if you taste one later and discover something you didn’t notice when it was warm. And in the case of this cookie, that “something” might just remind you of a brownie.
Comments
The Ultimate Bakery-Size Double Chocolate Chip Cookies — No Comments
HTML tags allowed in your comment: <a href="" title=""> <abbr title=""> <acronym title=""> <b> <blockquote cite=""> <cite> <code> <del datetime=""> <em> <i> <q cite=""> <s> <strike> <strong>