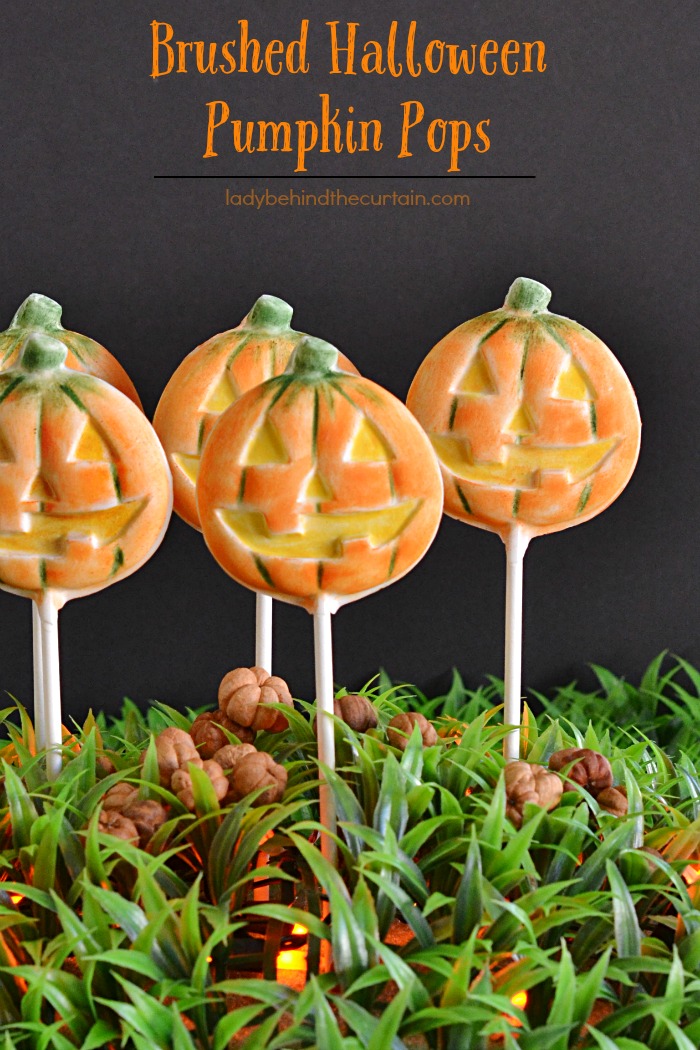
Brushed Halloween Pumpkin Pops
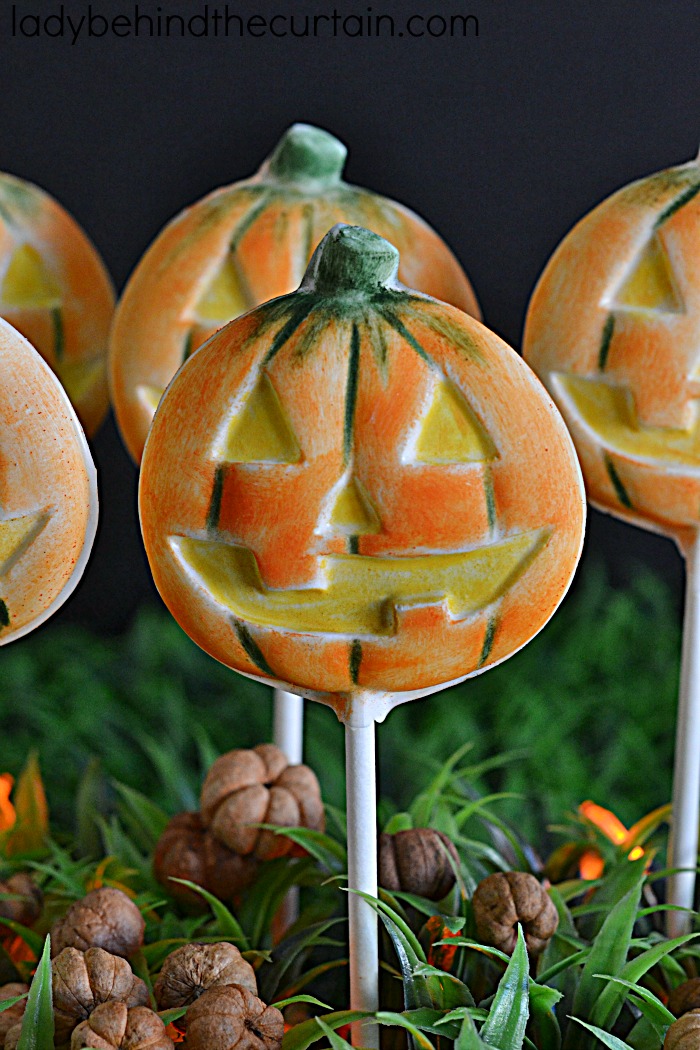
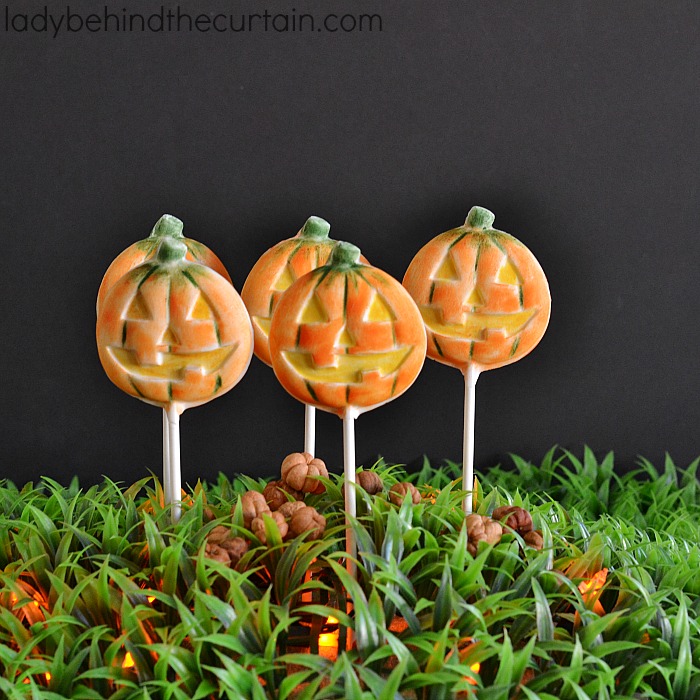
Brushed Halloween Pumpkin Pops | These super easy Halloween party favorites look like a professional made them. You won’t believe how easy they are to make. Once you learn my secret you will be able make brushed chocolate pops for any occasion!
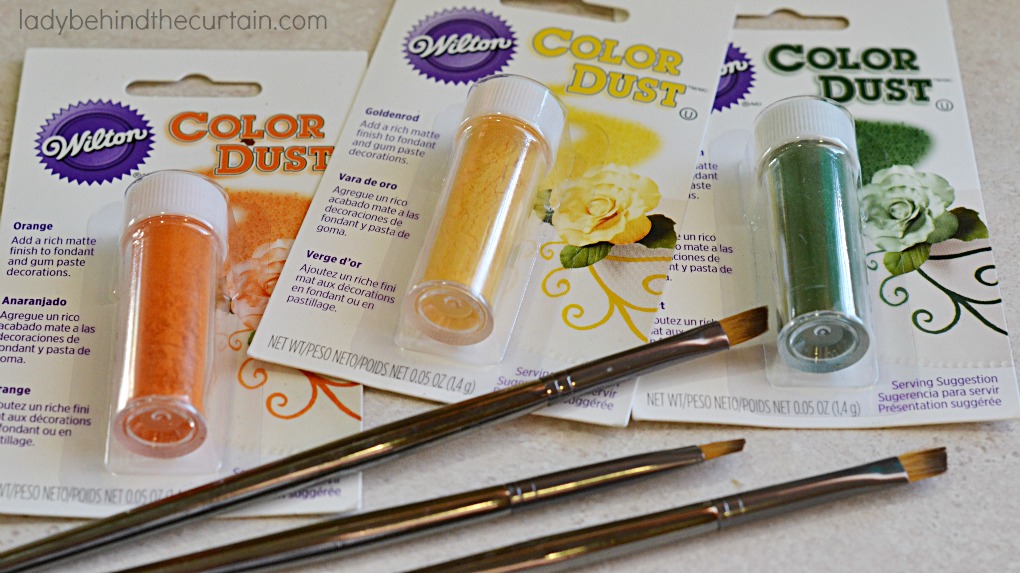
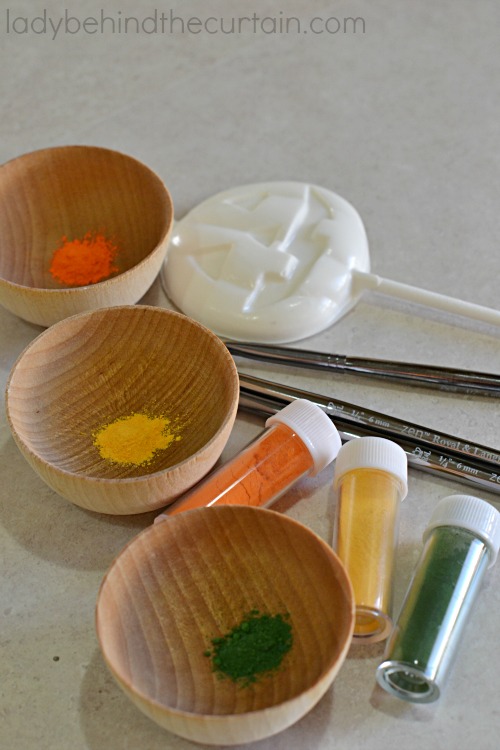
SUPPLIES: color dust (I found mine at Michaels) and angle paint brushes (make sure you have a brush for each color)
Collect the colors that suit your chocolate mold (this is done after the molds are made and hardened *see below for those instructions)
Add small amounts of each color to a small container (it doesn’t take much)
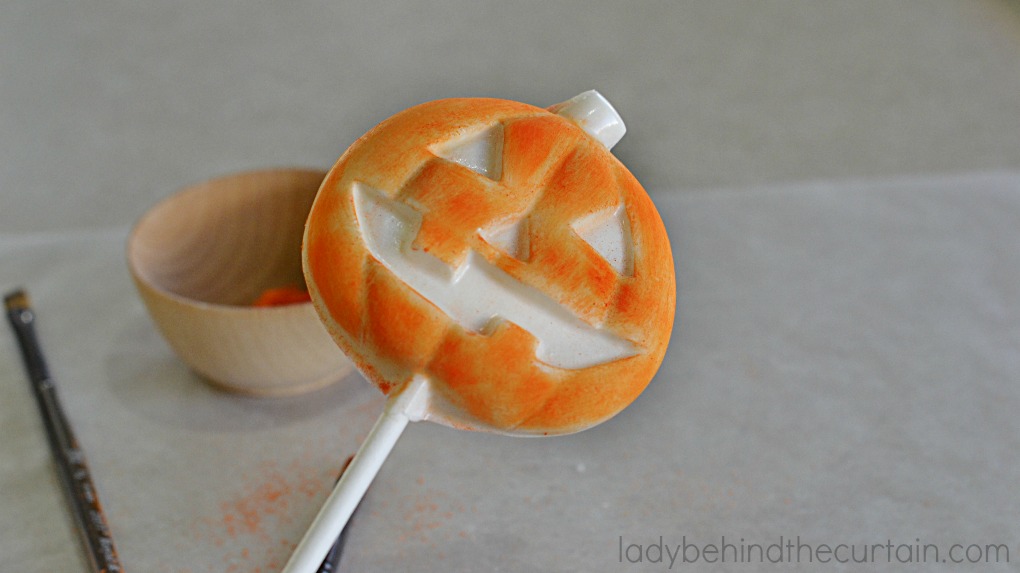
First, orange
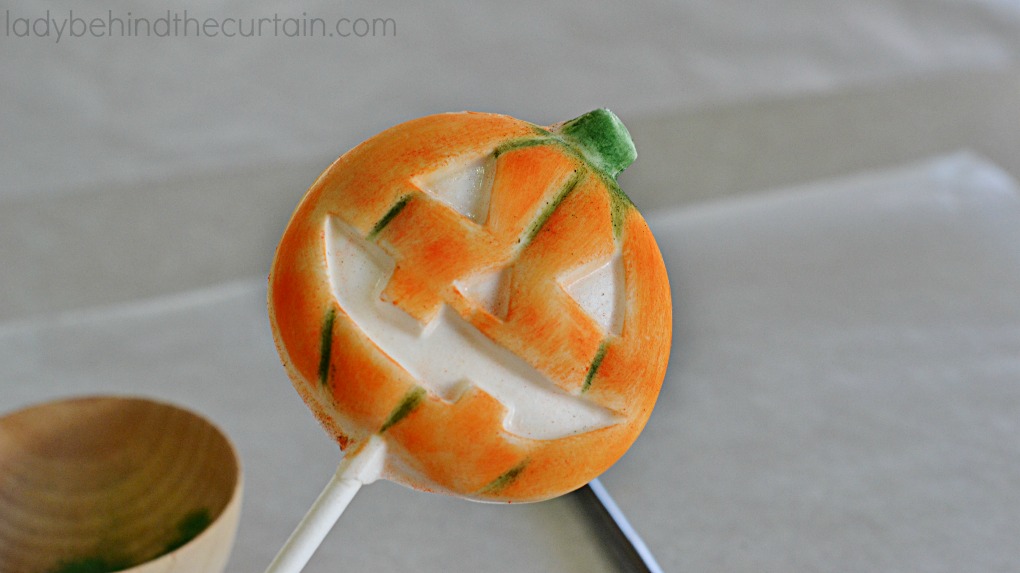
Then the green
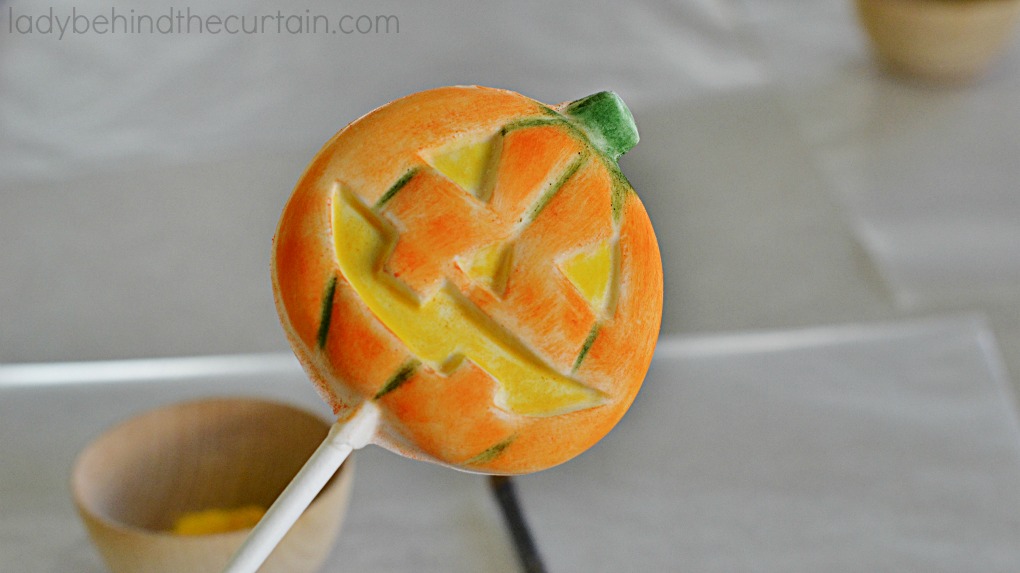
Lastly the yellow.
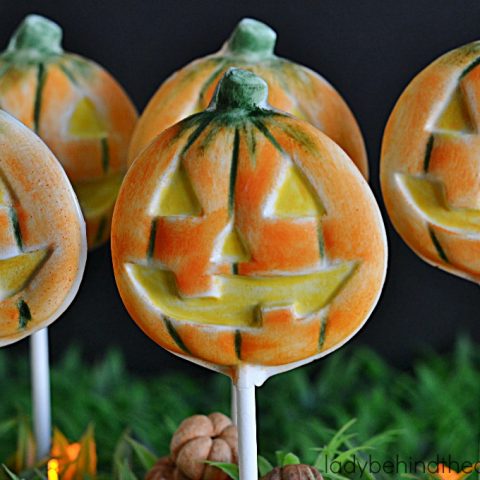
Brushed Halloween Pumpkin Pops
Ingredients
- candy mold
- lollipop sticks
- bright white candy melts (found at Michaels)
- optional shortening
- color dust (your choice of colors, also found at Michaels)
- angle brushes
Instructions
- Pour candy melts into a microwave safe bowl.
- Heat for 1 minutes; stir and heat an additional 30 seconds.
- NOTE: Time will vary from microwave to microwave. If you're not sure start with only 30 second increments.
- Once the candy is melted if it is too thick you may add some shortening to loosen it up enough to fill your candy molds.
- Fill candy molds; place a lollipop stick in the center, push down into the melted candy ( you may have to add a drizzle of the melted candy on top to cover the lollipop stick).
- Place in the refrigerator until the candy has hardened (about 30 minutes depending on the size of your mold).
- Once the candy has hardened; take out of the refrigerator and release candy from the mold onto a cookie sheet lined with parchment paper or wax paper.
- Tap a little of each color dust into their own small container; brush on one color at a time.
MORE HALLOWEEN TREATS



Wow – so cool! This would be such a fun activity with kids….even though I’m sure they wouldn’t end up looking quite as nice as yours 😉