





Old-Fashioned Chocolate Cream Pie
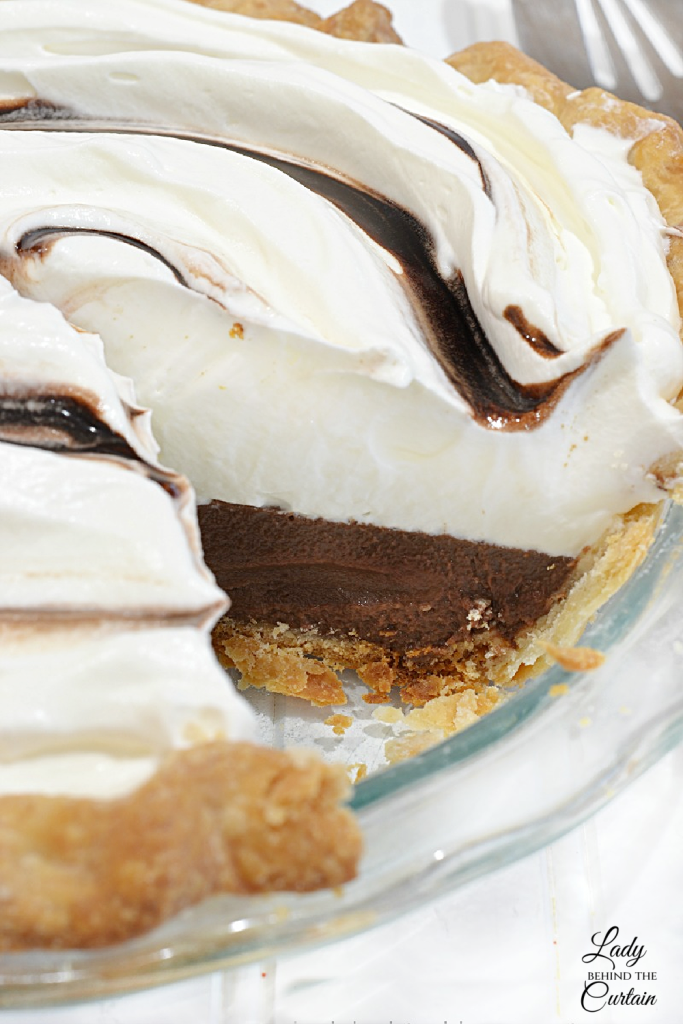
There is something so comforting about an old-fashioned chocolate cream pie. With its flaky pie crust, rich chocolate filling, fluffy whipped cream, and swirls of chocolate fudge topping, this classic dessert has been a family favorite for generations. I love serving this pie for holidays, Sunday dinners, and special occasions because it combines simple ingredients with incredible flavor.
What Makes This Recipe Special
I am always excited to share recipes that bring back memories of old-fashioned desserts, and this chocolate cream pie definitely belongs in that category. It has all the flavors and textures that make classic pies so memorable.
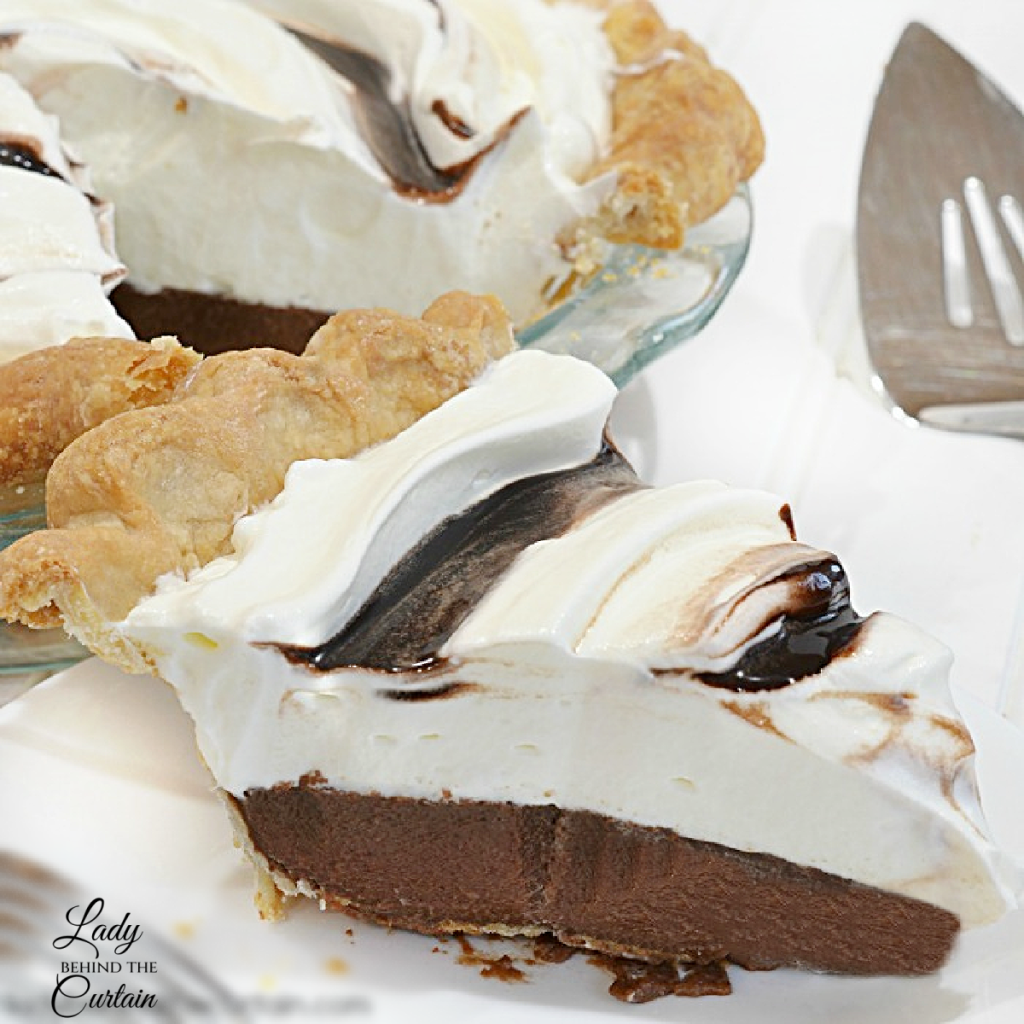
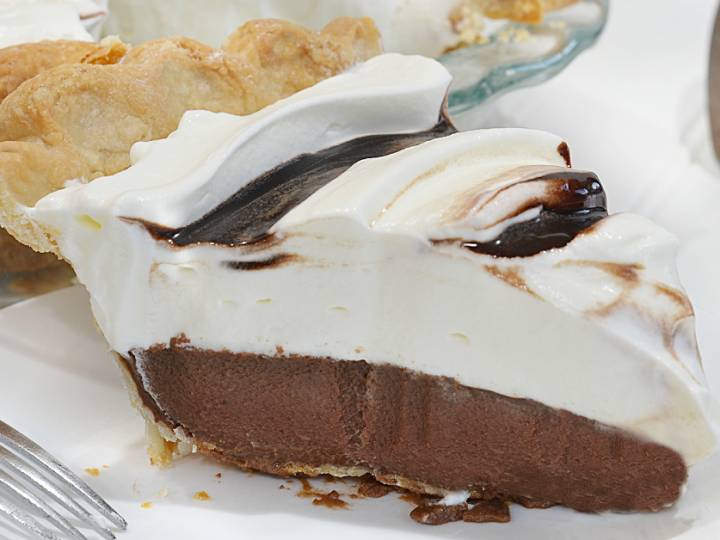
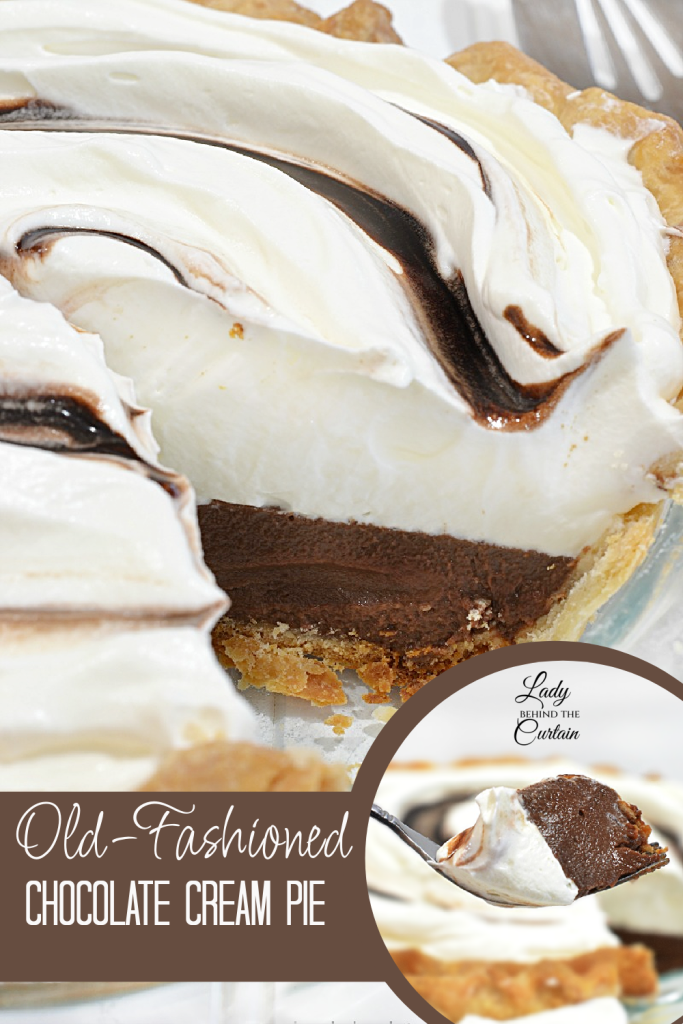
The homemade flaky pie crust provides the perfect foundation for the creamy chocolate filling. The filling is smooth, rich, and packed with deep chocolate flavor. Topped with homemade whipped cream and chocolate fudge swirls, every slice looks as beautiful as it tastes.
Another reason I love this recipe is that it offers two options. Along with the from-scratch version, the recipe card also includes a semi-homemade variation using store-bought pie dough, instant pudding, frozen whipped topping, and ice cream fudge topping. It is a wonderful option for holidays, parties, or busy weeknights when you want a delicious dessert without spending hours in the kitchen.
Why You’ll Love This Old Fashioned Chocolate Cream Pie
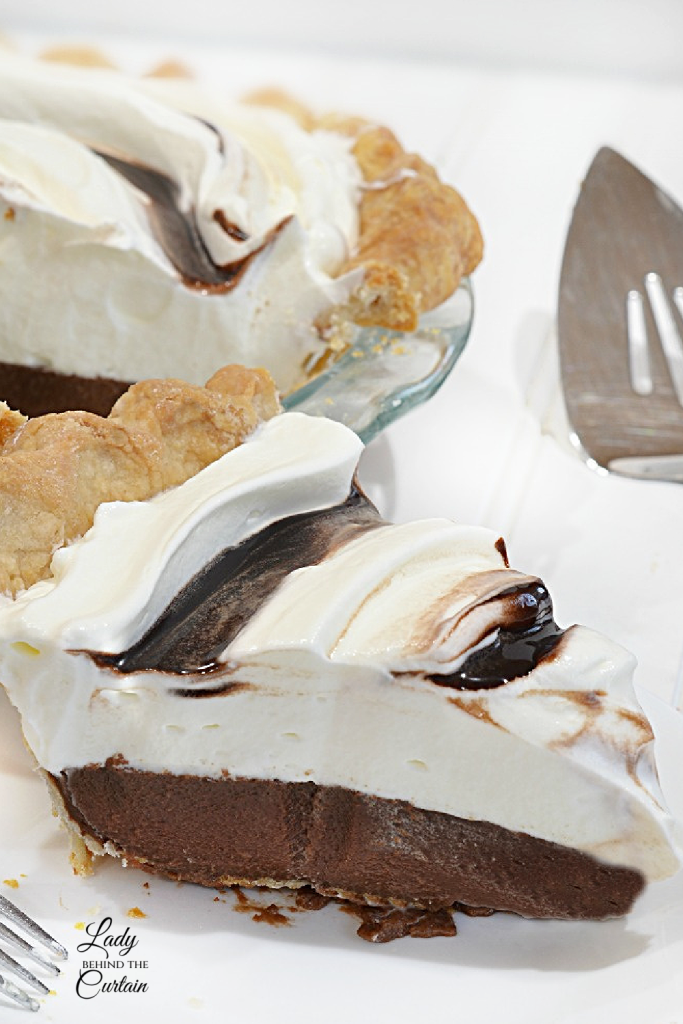
This pie delivers everything you want in a classic dessert. It has a creamy texture, rich chocolate flavor, and an elegant presentation that makes it worthy of any celebration.
Some of my favorite reasons to make this pie include:
- Rich and creamy homemade chocolate filling.
- Flaky blind baked pie crust.
- Light and fluffy homemade whipped cream.
- Beautiful chocolate fudge swirls for a bakery-style appearance.
- Perfect make-ahead dessert.
- Great for holidays and family gatherings.
- Includes a convenient semi-homemade option.
- A timeless dessert everyone recognizes and loves.
Blind Baking the Pie Crust
Blind baking the pie crust is one of the keys to making the best chocolate cream pie. Since the filling is cooked separately and chilled before serving, the crust needs to be fully baked before assembling the pie.
Blind baking helps create a crisp and flaky shell that holds up beautifully under the creamy filling. Taking the time to bake the crust properly prevents sogginess and gives the pie that traditional texture people expect from an old-fashioned chocolate cream pie.
Whether you make your own crust or use the semi-homemade option included in the recipe card, this step makes a huge difference in the finished dessert.
The Creamy Chocolate Filling
The star of this pie is the rich and silky chocolate filling. It is smooth, luscious, and packed with old-fashioned chocolate flavor, like something Grandma used to make.
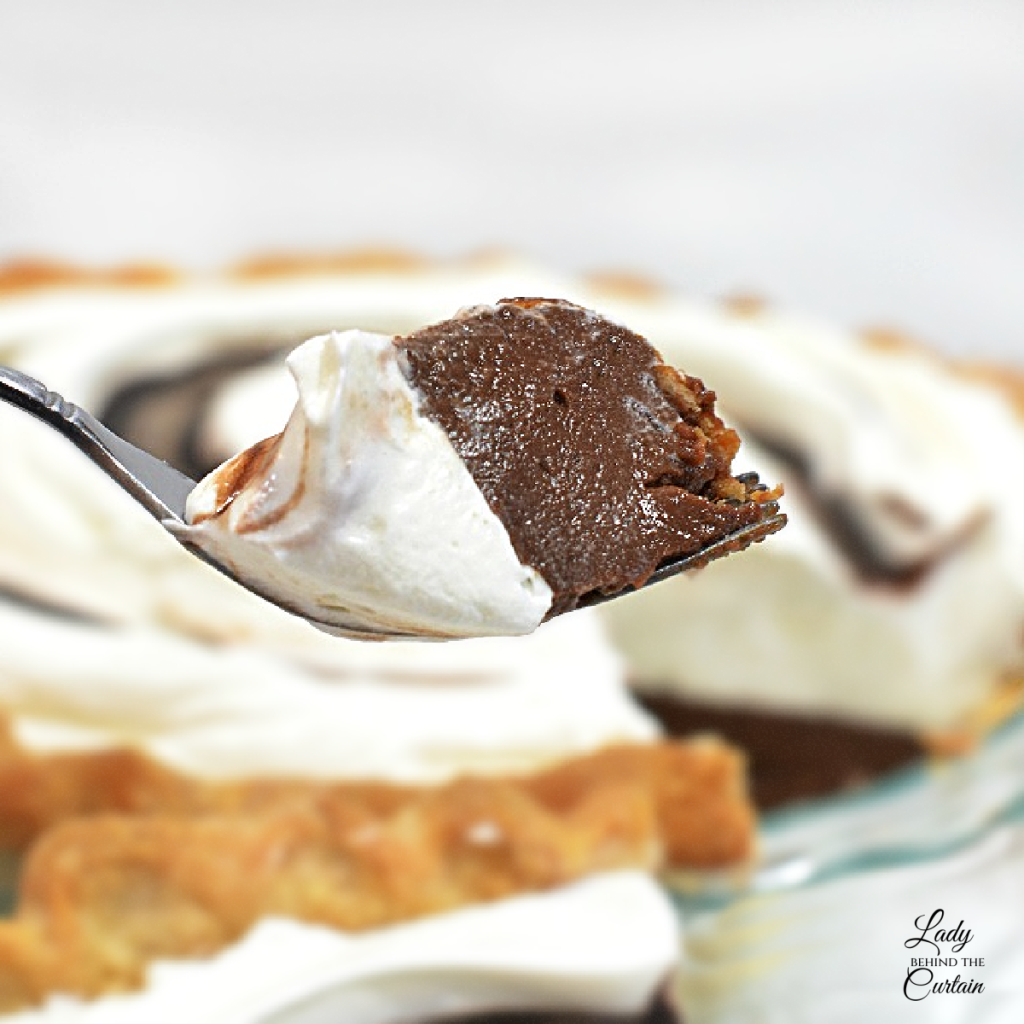
The filling pairs wonderfully with the light whipped cream and chocolate fudge swirls, creating a dessert that is both rich and balanced.
The Beautiful Whipped Cream and Chocolate Fudge Swirls
One of my favorite things about this pie is the topping. Homemade whipped cream adds lightness and freshness that complements the rich chocolate filling perfectly.
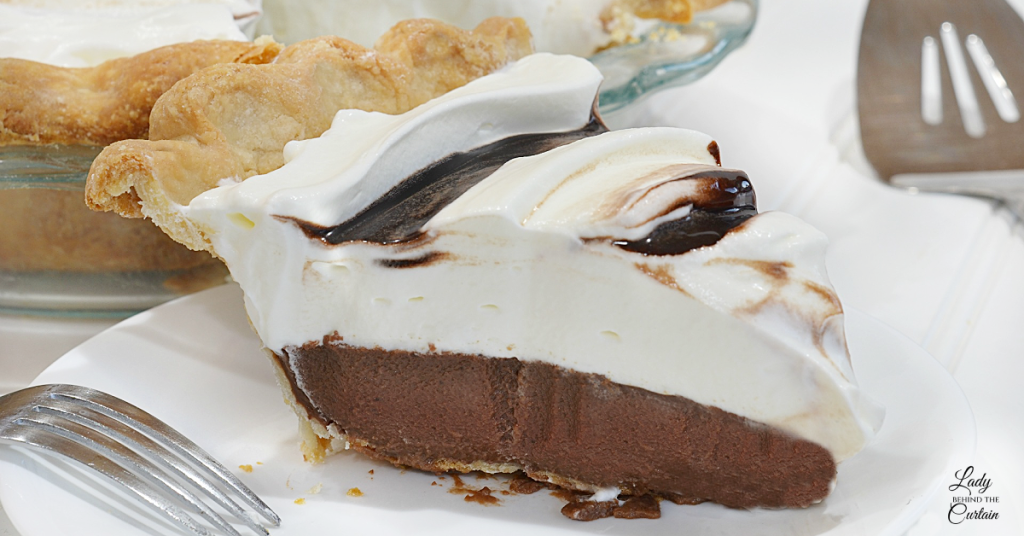
After spreading the whipped cream over the pie, I add small dollops of chocolate fudge topping across the surface. Using a spoon, I gently swirl the chocolate into the whipped cream. The swirls create a gorgeous marbled effect that gives the pie a bakery-quality presentation without requiring any decorating skills.
The combination of fluffy whipped cream and ribbons of chocolate fudge makes every slice absolutely stunning. It is one of those finishing touches that turns a simple pie into a showstopper.
Tips and Tricks for Success
Making an old-fashioned chocolate cream pie from scratch is easier than you might think, but a few simple tips can help guarantee the best results. From creating a crisp, flaky crust to achieving a silky-smooth filling and beautiful chocolate swirls on top, these helpful tips will ensure your pie turns out delicious every time. With a little preparation and patience, you’ll have a classic dessert that looks just as impressive as it tastes.
- Allow the Crust to Cool Completely: A warm crust can affect the filling, making clean slices harder to achieve. Allowing the crust to cool completely helps maintain the proper texture.
- Chill the Filling Thoroughly: Patience is important when making cream pies. Giving the filling plenty of time to chill allows it to firm up, making slicing much easier.
- Use Homemade Whipped Cream: Fresh whipped cream adds incredible flavor and texture. It tastes lighter and fresher than store-bought alternatives.
- Swirl Gently: Less is more when creating the chocolate fudge swirls. Overmixing can muddy the colors and reduce the beautiful marbled appearance.
- Make It Ahead: Chocolate cream pie is an excellent make-ahead dessert. Preparing it several hours in advance allows all the flavors to come together while reducing stress on the day you plan to serve it.
Recipe Variations
What makes this old-fashioned chocolate cream pie so special is how easy it is to customize. While the classic version with a homemade flaky pie crust, creamy chocolate filling, whipped cream, and swirls of chocolate fudge topping is always a favorite, there are plenty of ways to make this dessert your own. Whether you’re looking for a quicker semi-homemade option or want to experiment with different flavor combinations, these delicious variations offer something for every chocolate lover.
Semi-Homemade Chocolate Cream Pie: For a quicker version, the recipe card includes a shortcut using store-bought pie dough, instant pudding, frozen whipped topping, and ice cream fudge topping. This version is perfect for busy schedules and still delivers delicious results.
Double Chocolate Version: Chocolate lovers can add extra chocolate flavor with chocolate cookie crumbs, chocolate curls, or mini chocolate chips.
Peanut Butter Chocolate Cream Pie: Peanut butter and chocolate are always a winning combination. Adding peanut butter elements creates a rich and decadent dessert.
Mocha Chocolate Cream Pie: Coffee and chocolate complement each other beautifully. A touch of espresso flavor creates a sophisticated twist.
Mint Chocolate Cream Pie: Refreshing mint pairs perfectly with creamy chocolate. This variation is especially popular during the holidays.
Chocolate Raspberry Cream Pie: Fresh raspberries add color and brightness while balancing the filling’s richness.
Caramel Chocolate Cream Pie: Caramel drizzle and chocolate create an indulgent dessert worthy of special occasions.
Storage
Chocolate cream pie stores beautifully, making it an excellent make-ahead dessert. Proper storage helps preserve the texture and flavor.
Room Temperature: Because this pie contains a cream filling and whipped cream topping, it should not be left at room temperature for extended periods. I recommend limiting room-temperature exposure to no more than 2 hours.
Refrigerator: Store the pie, covered, in the refrigerator for up to 4 days. The chilled filling and whipped cream maintain their texture best when kept cold.
Freezer: Chocolate cream pie can be frozen for longer storage. Wrap it well to protect it from freezer odors and moisture loss. Properly stored, it can be frozen for up to two months.
Defrosting: Transfer the pie from the freezer to the refrigerator and allow it to thaw overnight. Slow thawing helps preserve the creamy texture.
More No Bake Desserts
If you’re a fan of easy desserts, you’ll definitely want to explore some of my favorite no-bake pie recipes. My refreshing Lemonade Ice Box Pie is packed with bright citrus flavor and is perfect for hot summer days, while the Orange Icebox Pie delivers a sweet and creamy twist with plenty of fresh orange flavor. For a fun individual dessert, my No-Bake Strawberry Cheesecake in a Jar features layers of creamy cheesecake filling and is topped with a homemade graham cracker for an extra-special touch. And if you enjoy old-fashioned desserts, Grandma’s Homemade Coconut Cream Pie is a timeless family favorite with its creamy coconut filling and fluffy topping. These delicious no-bake desserts are perfect for summer entertaining, holiday celebrations, or any time you need a simple dessert without turning on the oven.
A Classic Dessert Worth Sharing
I hope you’ll love this old fashioned chocolate cream pie as much as I do. There is something so special about serving a dessert that combines flaky pie crust, rich chocolate filling, fluffy whipped cream, and beautiful chocolate fudge swirls. Whether you make the completely homemade version or choose the semi homemade option included in the recipe card, this pie is guaranteed to become a family favorite. It is a timeless dessert that brings comfort, nostalgia, and plenty of smiles to the table.
Old-Fashioned Chocolate Cream Pie
Ingredients
- OLD-FASHIONED HOMEMADE VERSION
For the Pie Crust:
- 1 cup all-purpose flour
- ½ teaspoon salt
- ⅓ cup vegetable shortening
- 4 to 5 tablespoons cold water
- 1 sheet of store-bought pie dough
For the Chocolate Filling:
- ½ cup granulated sugar
- 3 tablespoons cornstarch
- ⅛ teaspoon salt
- 2½ cups whole milk
- 5 large egg yolks
- 4 tablespoons unsalted butter
- 1 (4 ounce) bar semi sweet chocolate, chopped
- 1 (1 ounce) square unsweetened baking chocolate , chopped
- 2 teaspoons vanilla extract
- 2 (3.4 ounce) boxes of chocolate pudding mix
- 3 to 3½ cups milk
For the Whipped Cream Topping:
- 2 cups heavy whipping cream
- ⅓ cup granulated sugar
- 1 ( 8 ounce) tub frozen whipped topping, thawed
For the Topping
- chocolate fudge ice cream topping
- SEMI-HOMEMADE VERSION
For the Topping:
- chocolate fudge ice cream topping
Instructions
For the Pie Crust:
- Preheat the oven to 425℉.
- Add the flour and salt to a medium bowl; stir to combine.
- Using a pastry cutter or a fork and knife, cut in the shortening until the pieces are the size of small peas.
- Sprinkle water over flour mixture; start with 5 tablespoons. Work the water into the dough.
- Add more water a tablespoon at a time until the dough is moist.
- On a lightly floured surface, roll the dough into a 12-inch circle.
- Transfer to a 9-inch pie dish, pressing into the bottom and up the sides. Crimp edges.
- Place a piece of parchment paper on top of the dough larger than the pie. Add pie weights or beans.
- Bake until golden brown (about 25 minutes). Cool before adding the filling.
For the Chocolate Pie Filling:
- In a medium saucepan, whisk together the sugar, cornstarch, and salt. Add the milk and egg yolks, and whisk to combine.
- Bring to a boil over medium heat, stirring constantly. Cook until thickened and bubbly (about 2 minutes.
- Reduce to low and stir in the butter 1 tablespoon at a time until combined.
- Add the chocolate, stirring until melted. Remove from the heat, stir in the vanilla.
- Spoon the filling into the cooled prepared pie crust. Let cool 10 minutes. Place a pie plastic wrap directly on the surface of the filling. Refrigerate until the filling is firm (about 3 hours).
For the Whipped Cream Topping
- In a cold mixing bowl, use the whisk attachment to beat cream and sugar at high speed until stiff peaks form. Top the pie with the whipped cream. TIP: Before making whipped cream, I place my mixing bowl and whisk attachment in the freezer for a few minutes.
For the Fudge Topping:
- Drop teaspoonfuls of the chocolate fudge over the whipped cream. Using the back of a spoon, swirl into whipped cream
SEMI-HOMEMADE VERSION
For the Pie Dough:
- Preheat the oven to 425℉.
- On a lightly floured surface, roll the (one piece) of the dough into a 12-inch circle.
- Transfer to a 9-inch pie dish, pressing into the bottom and up the sides. Crimp edges.
- Place a piece of parchment paper on top of the dough larger than the pie. Add pie weights or beans.
- Bake until golden brown (about 25 minutes). Cool before adding the filling.
For the Chocolate Pie Filling:
- In a large bowl, whisk together the 2 boxes of chocolate pudding mix with 2 cups of milk until combined. Gradually add more milk (¼ cup at a time), whisking between each addition until the filling reaches a thick chocolate consistency. NOTE: The pudding will thicken as the powder absorbs the milk.
- Spoon chocolate pudding into the cooled pie shell. Use a spoon or offset spatula to even out the filling.
- Spoon the whipped topping over the chocolate pudding.
- Drop teaspoonfuls of the chocolate fudge sauce over the whipped cream. Using the back of a spoon, swirl into whipped cream.

Frequently Asked Questions-OLD-FASHIONED CHOCOLATE CREAM PIE
If you’re making this old-fashioned chocolate cream pie for the first time, you may have a few questions before getting started. From making the pie ahead of time to storing leftovers and creating those beautiful chocolate swirls on top, I’ve gathered some of the most common questions I receive about this classic dessert. Hopefully, these answers will help you feel confident and ensure your pie turns out perfectly every time.
- Why is it called old-fashioned chocolate cream pie? This dessert has been a beloved classic for generations. Traditional recipes feature a baked pie crust filled with homemade chocolate custard and topped with whipped cream.
- Can I make chocolate cream pie ahead of time? Yes. In fact, making it ahead allows the filling to chill completely and improves slicing.
- Do I have to make homemade pie crust? No. The recipe card includes a semi-homemade version using store-bought pie dough for convenience.
- Can I use frozen whipped topping? Absolutely. The shortcut recipe on the recipe card uses frozen whipped topping as an easy alternative.
- Why is my filling too soft? Insufficient chilling time is usually the cause. Allowing the pie to chill thoroughly helps create clean slices.
- Can I freeze chocolate cream pie? Yes. Properly wrapped, it freezes very well for up to two months.
- What makes the chocolate swirls on top? Chocolate fudge topping is added in small dollops over the whipped cream and then gently swirled to create a beautiful marbled appearance.
Comments
Old-Fashioned Chocolate Cream Pie — No Comments
HTML tags allowed in your comment: <a href="" title=""> <abbr title=""> <acronym title=""> <b> <blockquote cite=""> <cite> <code> <del datetime=""> <em> <i> <q cite=""> <s> <strike> <strong>