

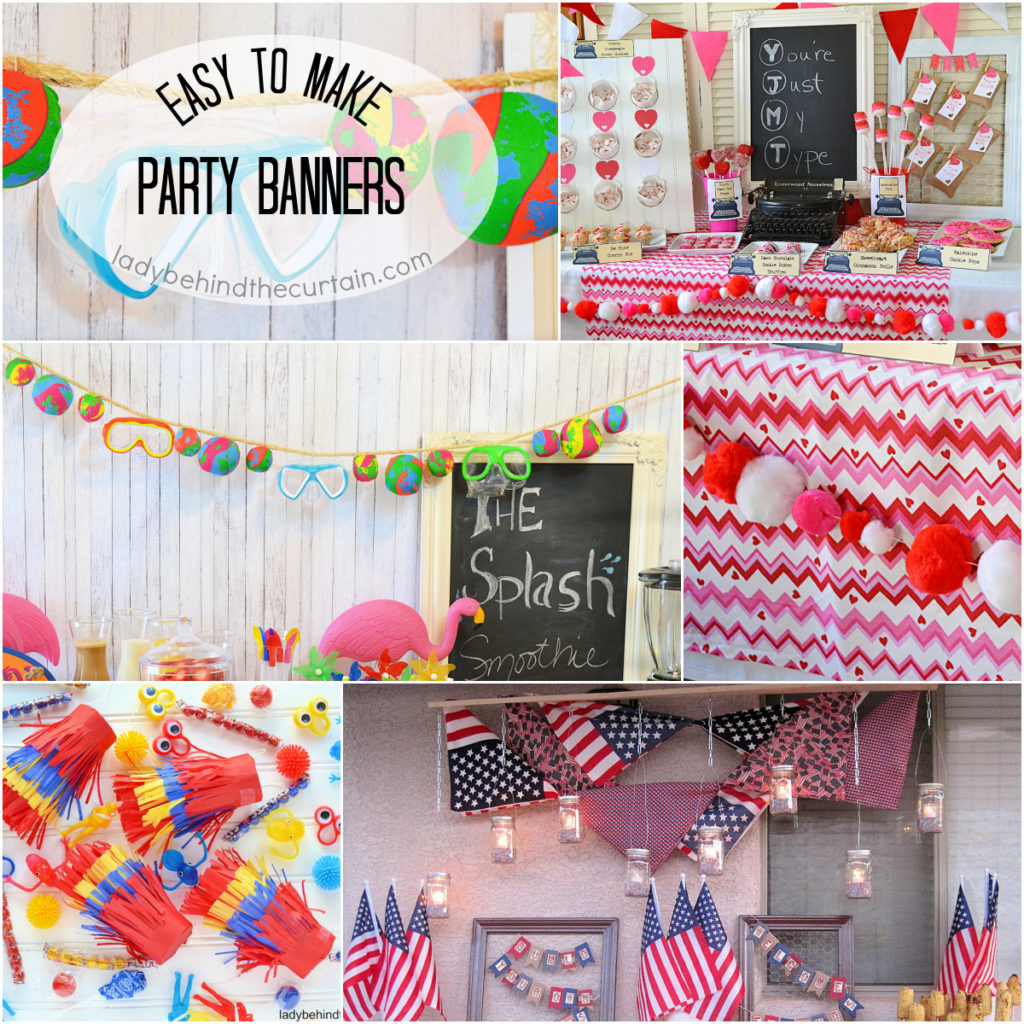
Easy to Make Party Banners
Easy to Make Party Banners: Attention all party planners and DIY enthusiasts! Are you tired of spending a fortune on generic party decor that just doesn’t quite add that personal touch? Look no further! In this post, you’ll learn how it is to make party banners, the go-to decoration that will elevate any occasion. Imagine being able to create a unique and personalized banner that will impress your guests without breaking the bank. Whether you’re planning a birthday bash, a baby shower, or a graduation celebration, we’ve got you covered. From materials needed to step-by-step instructions, get ready to become a banner-making pro. So let’s dive in and learn how to transform your next party into an unforgettable event with these simple yet creative banner ideas.
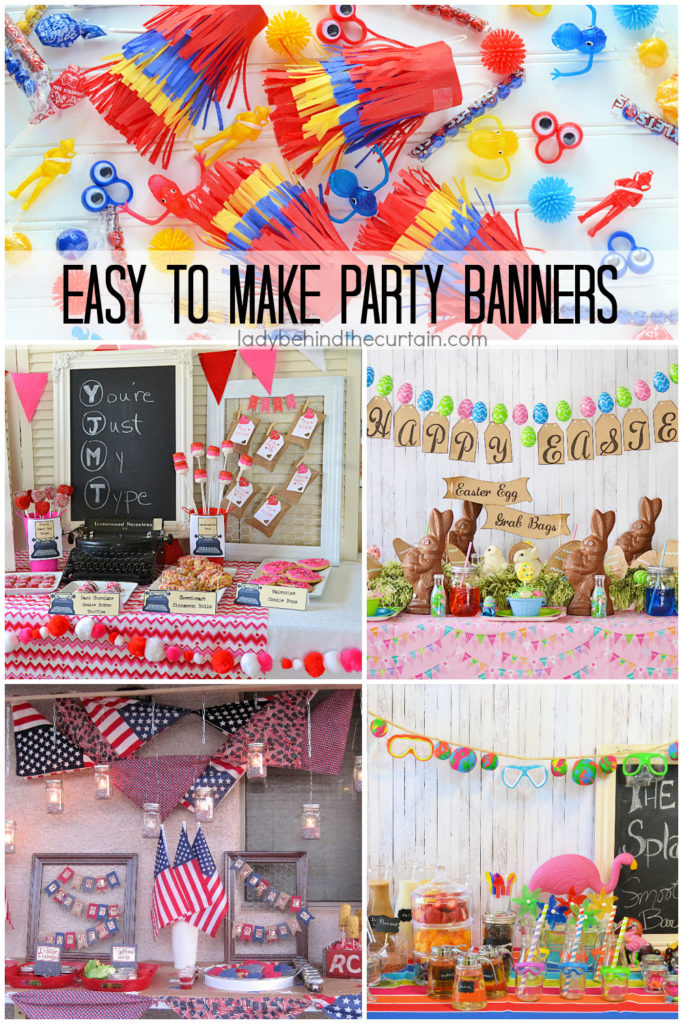
Decorating with your own custom party banners really adds to a parties atmosphere. But buying store bought banners can get expensive and finding one to match your color scheme is sometimes impossible.
Keep in mind….just because a banner you see here is a certain color doesn’t mean it can only be made in that color. The skies the limit. You can also take an idea and transform it into your own birthday banner. ENJOY AND CREATE♥
Flip Flop Aloha Banner
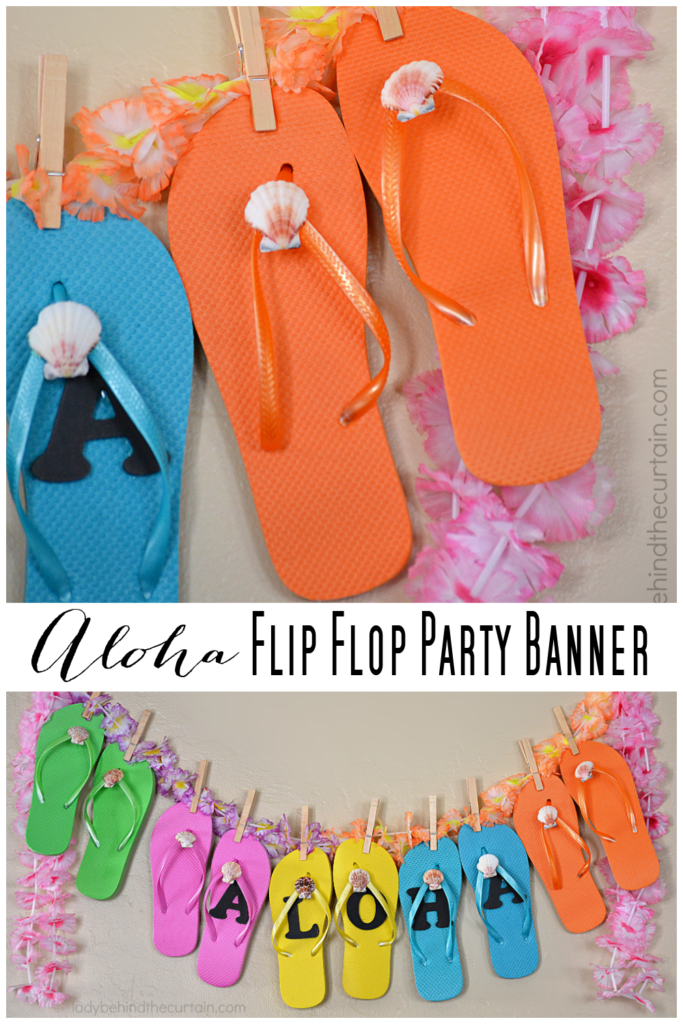
Aloha! Splash! Sand! You can make this cute banner to fit any kind of party. Whether that is a Luau, Pool Party or Beach Party! Have fun and place flip flops with vibrant colors everywhere! Glue individual letters to and make a custom message. For only a dollar a pair you can afford to do it! Let the guests take a pair home! CLICK HERE FOR ALL THE DETAILS→FLIP FLOP ALOHA BANNER
Mini Piñata Party Favor Garland
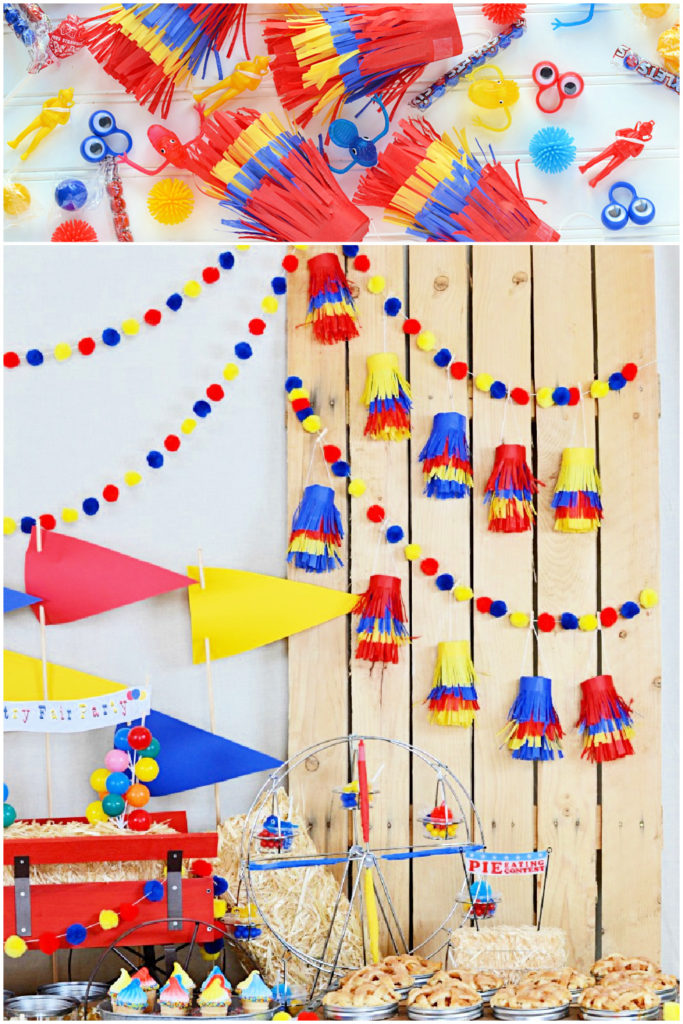
It’s a party decoration, party game and party favor all in one! These fun Mini Piñata Party Favors are easy to make and can be filled with candy, tiny toys or both! You can also customize them to match any party color decor. These little cuties made their appearance at my Country Fair Birthday Party. I love the fact that they look like a decoration. When game time rolls around it’s a nice surprise for the kids. They love getting instant prizes! CLICK HERE TO FIND OUT HOW EASY IT IS TO MAKE →MINI PINATAS
Easy to Make Pom Pom Garland
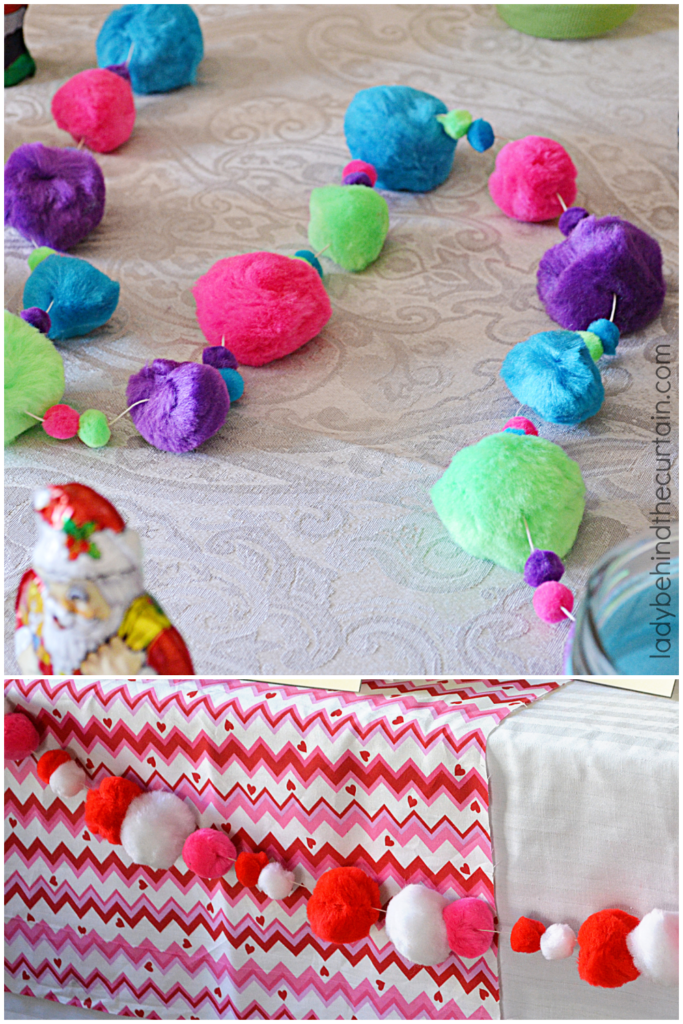
Using different colors and sizes of poms poms add texture and interest to a party table. I’ll show you how easy it is to make a pom pom garland.
To add a touch of color to a table, simply lay the garland in a swirl position around the centerpiece or desserts. CLICK HERE TO FIND OUT HOW→POM POM GARLAND
Easy to Make Felt Party Banner
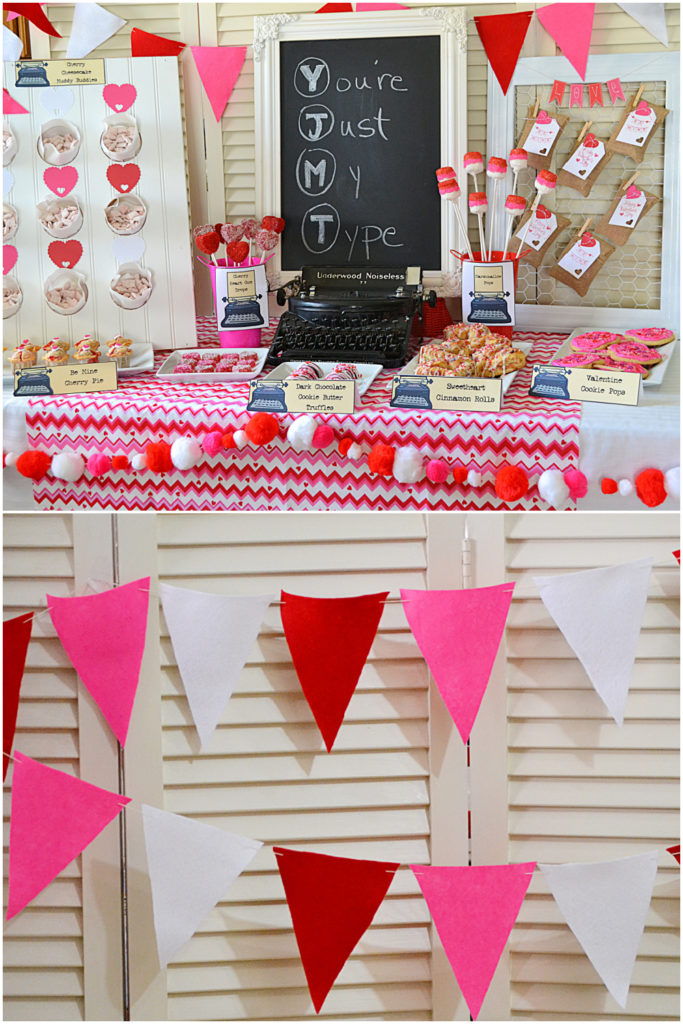
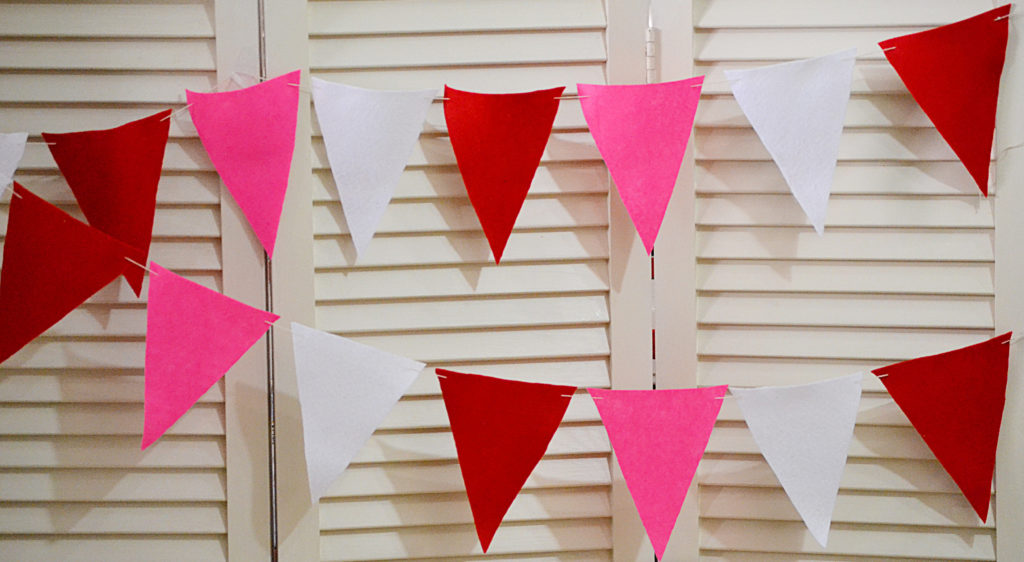
Celebration banners are amazing making custom birthday banners? PERFECTION!
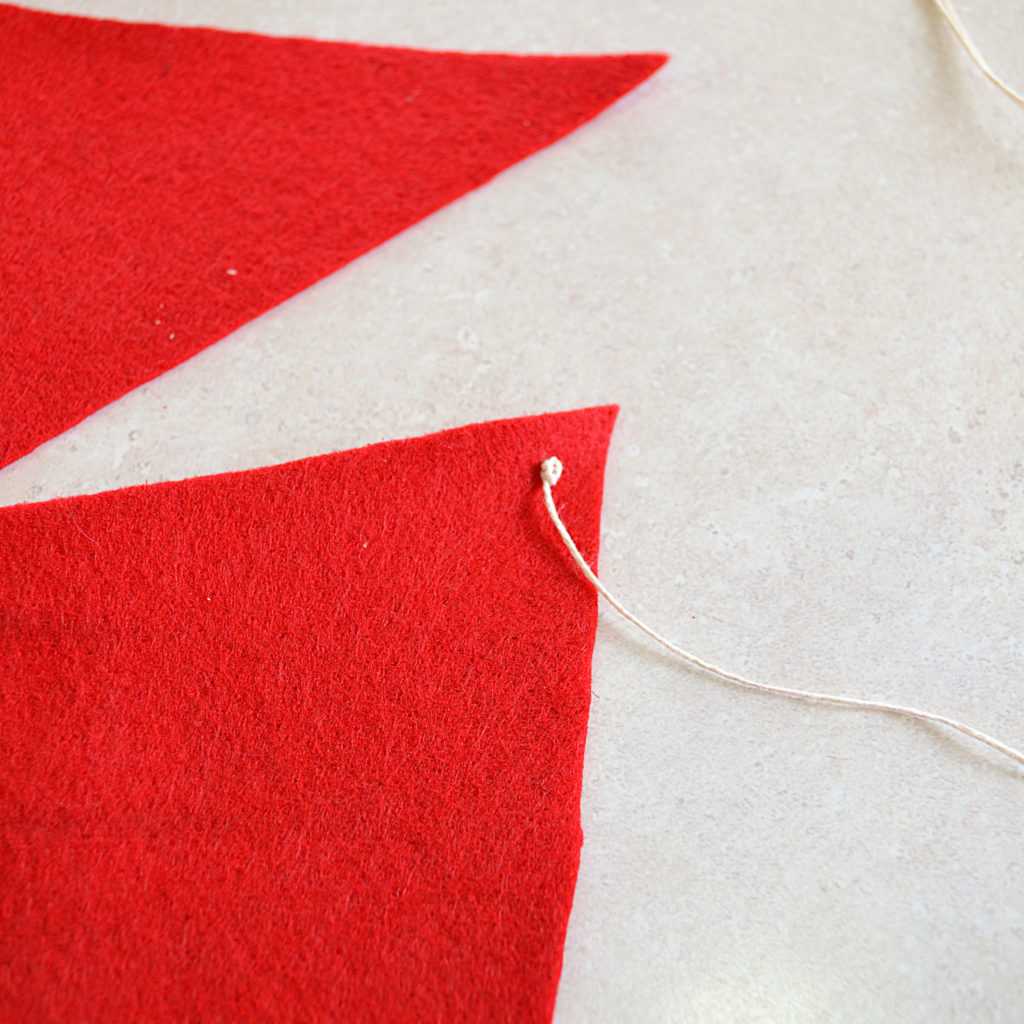
HOW TO MAKE A FELT PENNANT DIY BANNER SUPPLIES-full printable tutorial in the below how to card
- felt squares to match your color scheme (3 banner per square)
- a piece of cardboard (I used the back of a used up tablet) or card stock
- crochet thread
- needle with a large eye
- FELT BANNER DIRECTIONS
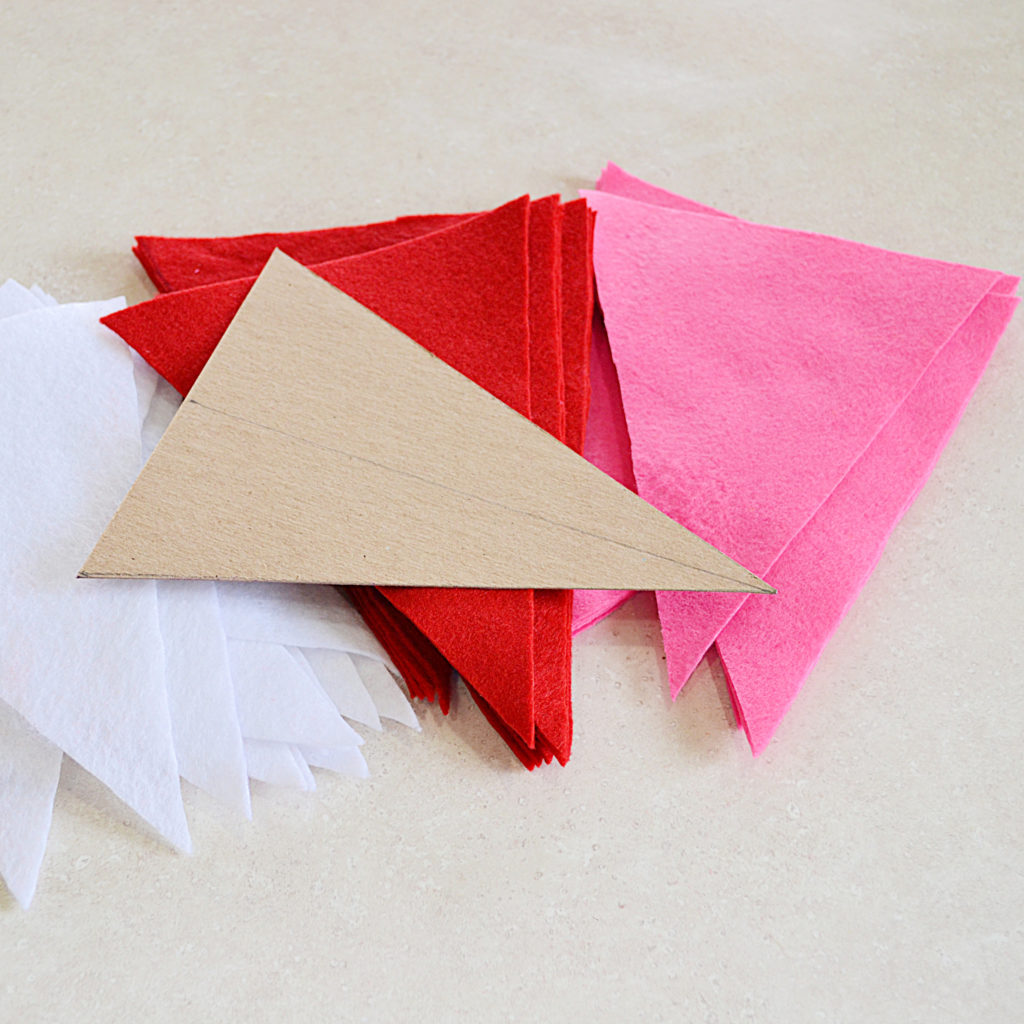
- Determine how large you want each banner to be. Mine was 5-inches across the top and from top to the tip measured 6 1/2-inches.
- Cut your banner from the cardboard piece. With a pen trace the banner onto a felt square. I was able to get THREE on each square.
- TIP: I ONLY TRACED ON ONE SQUARE, LAID THREE UNDER THE TRACED PIECE AND CUT ALL FOUR AT ONCE. THIS REALLY SAVED ON TIME.
- Once all the banner pieces have been cut decide in which order the colors should go.
- Use the crochet thread as a tape measure and cut off the length you would like your banner to be. REMEMBER-you can make different lengths for over lapping or swaging banners.
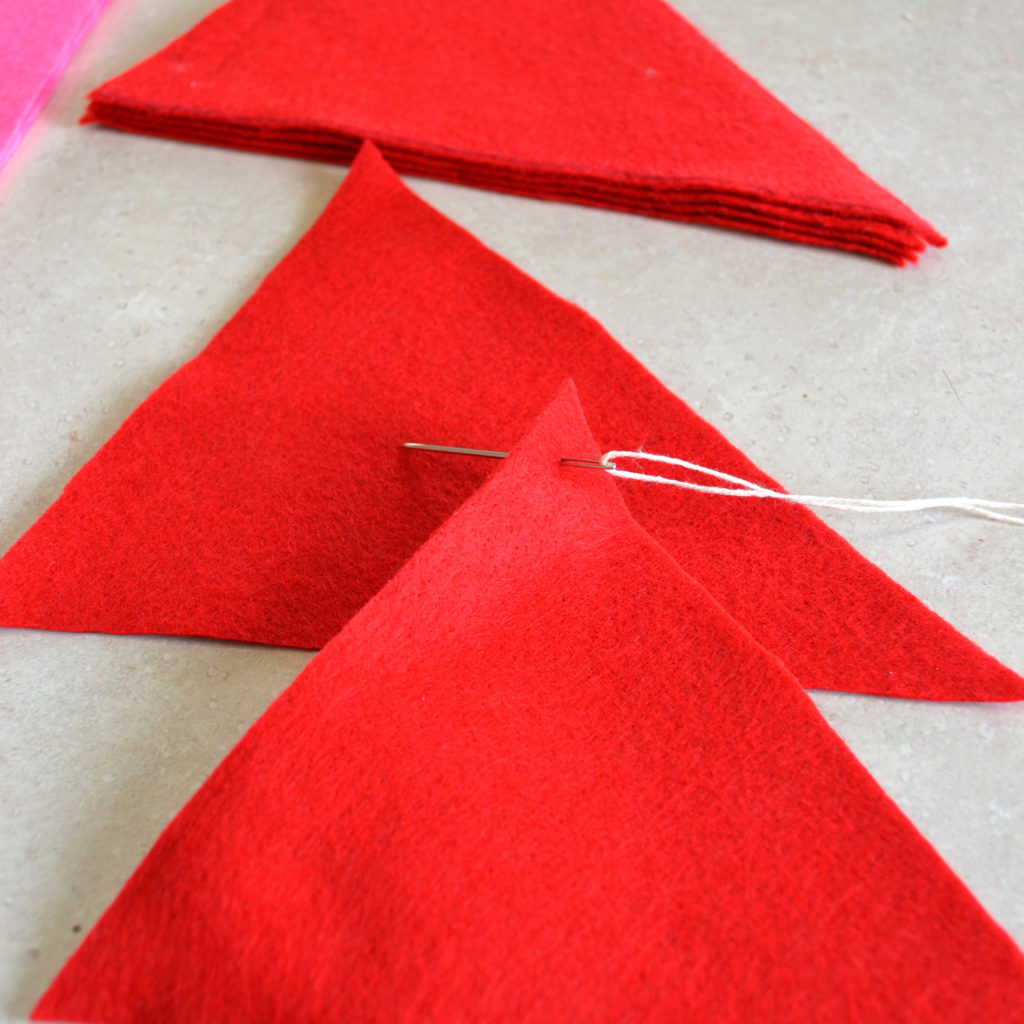
- Once the string is measured, make a big knot at one end making sure to leave some thread for either taping or tying.
- I like the thread to go behind the banner so I start from the front right corner and come up through the left corner.
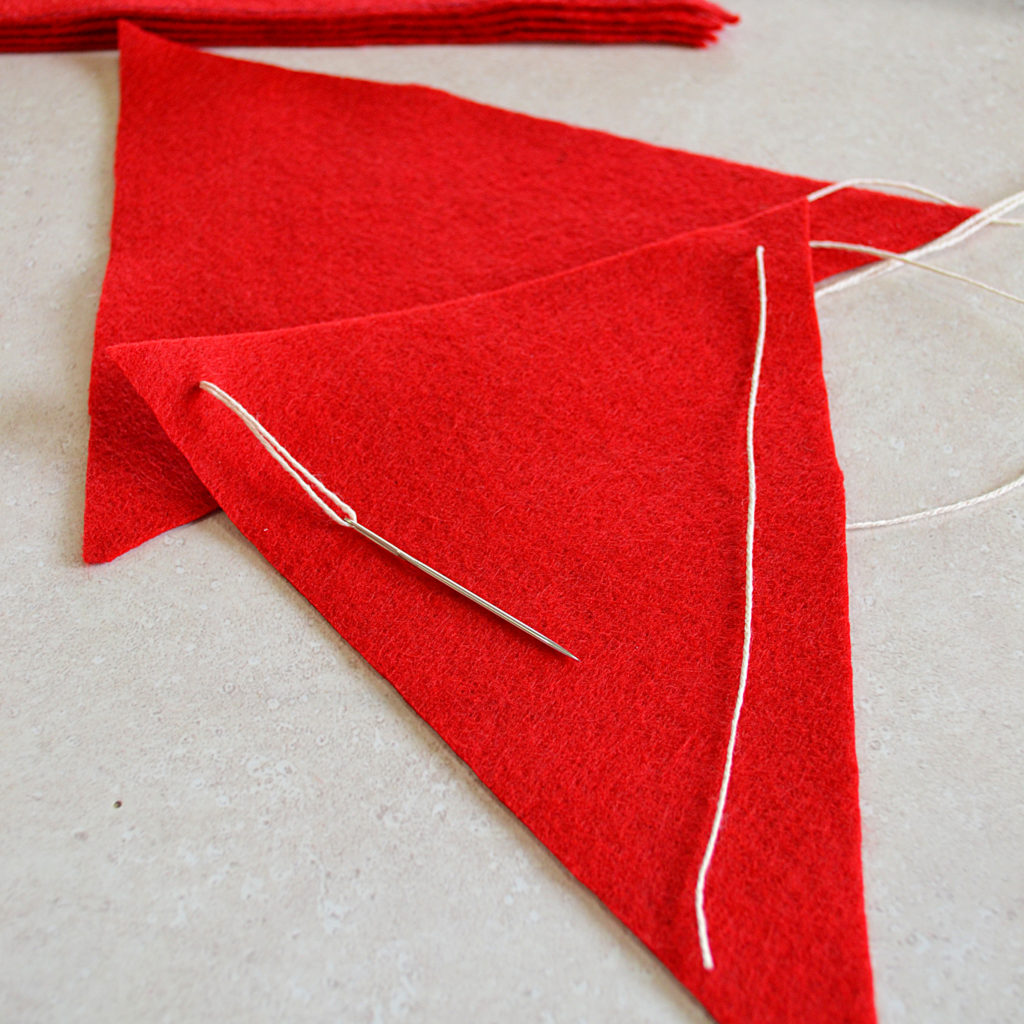
- Continue until you are almost to the end. Tie a knot at the end the same as the other end leaving some thread for either taping or tying.
- NOTE: IF USING CARD STOCK YOU MAY FIND IT EASIER TO PUNCH HOLES IN THE CORNERS BEFORE THREADING. NO NEEDLE NEEDED IF THIS WAY IS CHOSEN.
- Once you have your banner made you can add letters to spell out the them of the party or anything you like.
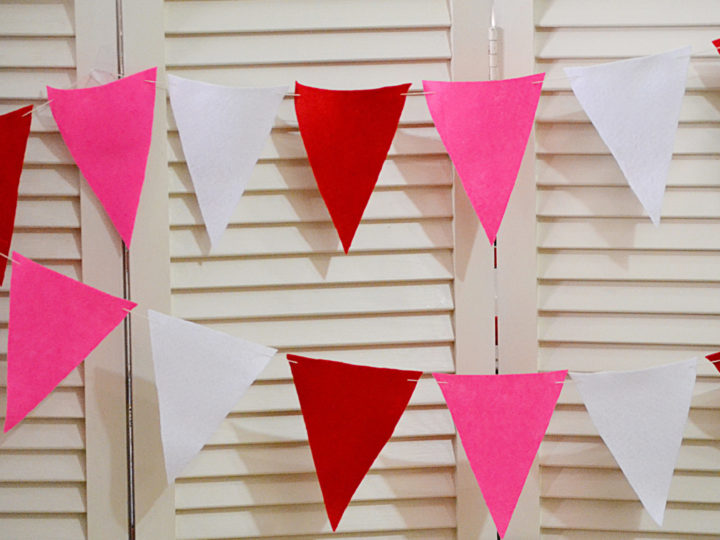
Easy to Make Felt Banner
Customize this banner to fit any party theme. Can be used over and over again.
Materials
- felt squares to match your color scheme (3 flags per square)
- a piece of cardboard ( I used the back of a used up tablet) or card stock as a template
- crochet thread
Tools
- good scissors
- needle with a large eye
- template
Instructions
- Determine how large you want each banner to be. Mine was 5-inches across the top and from top to the tip measured 6 1/2-inches.
- Cut your banner from the cardboard piece. With a pen trace the banner onto a felt square. I was able to get THREE on each square.
- TIP: I ONLY TRACED ON ONE SQUARE, LAID THREE UNDER THE TRACED PIECE AND CUT ALL FOUR AT ONCE. THIS REALLY SAVED ON TIME.
- Once all the banner pieces have been cut decide in which order the colors should go.
- Use the crochet thread as a tape measure and cut off the length you would like your banner to be. REMEMBER– to can make different lengths for over lapping.
- Once the string is measured, make a big knot at one end making sure to leave some thread for either taping or tying.
- I like the thread to go behind the banner so I start from the front right corner and come up through the left corner.
- Continue until you are almost to the end. Tie a knot at the end the same as the other end leaving some thread for either taping or tying.
- NOTE: IF USING CARD STOCK YOU MAY FIND IT EASIER TO PUNCH HOLES IN THE CORNERS BEFORE THREADING. NO NEEDLE NEEDED IF THIS WAY IS CHOSEN.
- Once you have your banner made you can add letters to spell out the them of the party or anything you like.
DIY Ribbon Garland

Create your own pretty accent for your next party. This super easy garland can be customized to match any event color scheme. You can also change it out by adding different colored ribbon. CLICK HERE TO FIND OUT HOW EASY IT IS TO MAKE THIS BEAUTIFUL GARLAND→RIBBON GARLAND
Easter Egg Garland
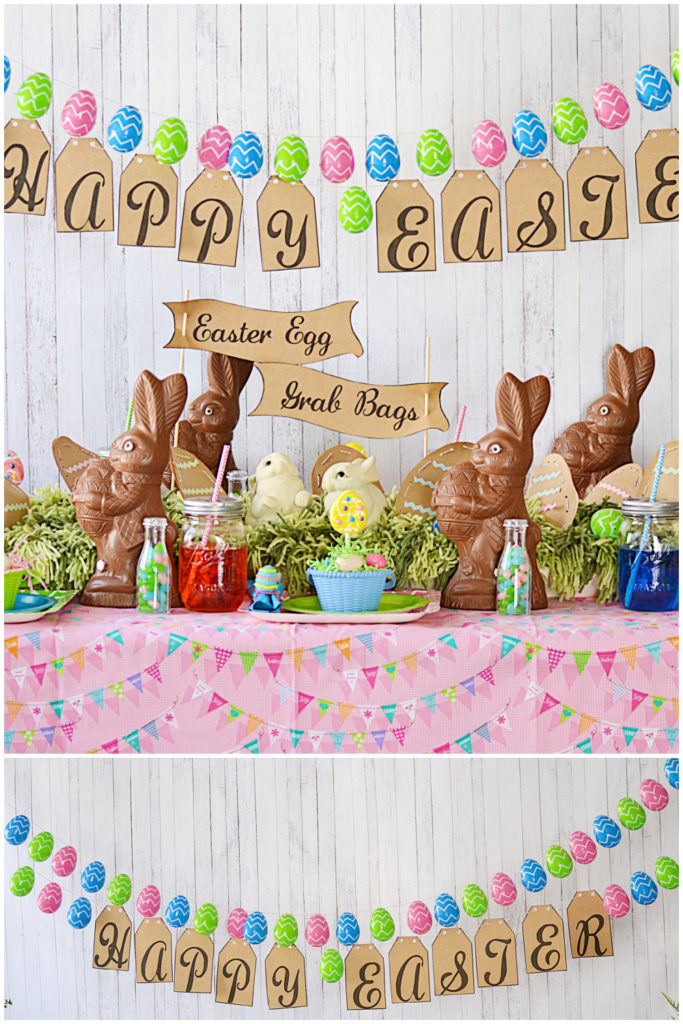
Instead of the traditional eggs in a basket, string them up to make a cute Easter Egg Hunt Garland! CLICK HERE FOR MORE INFORMATION→PLASTIC EASTER EGG BANNER
Paper Plate Banner
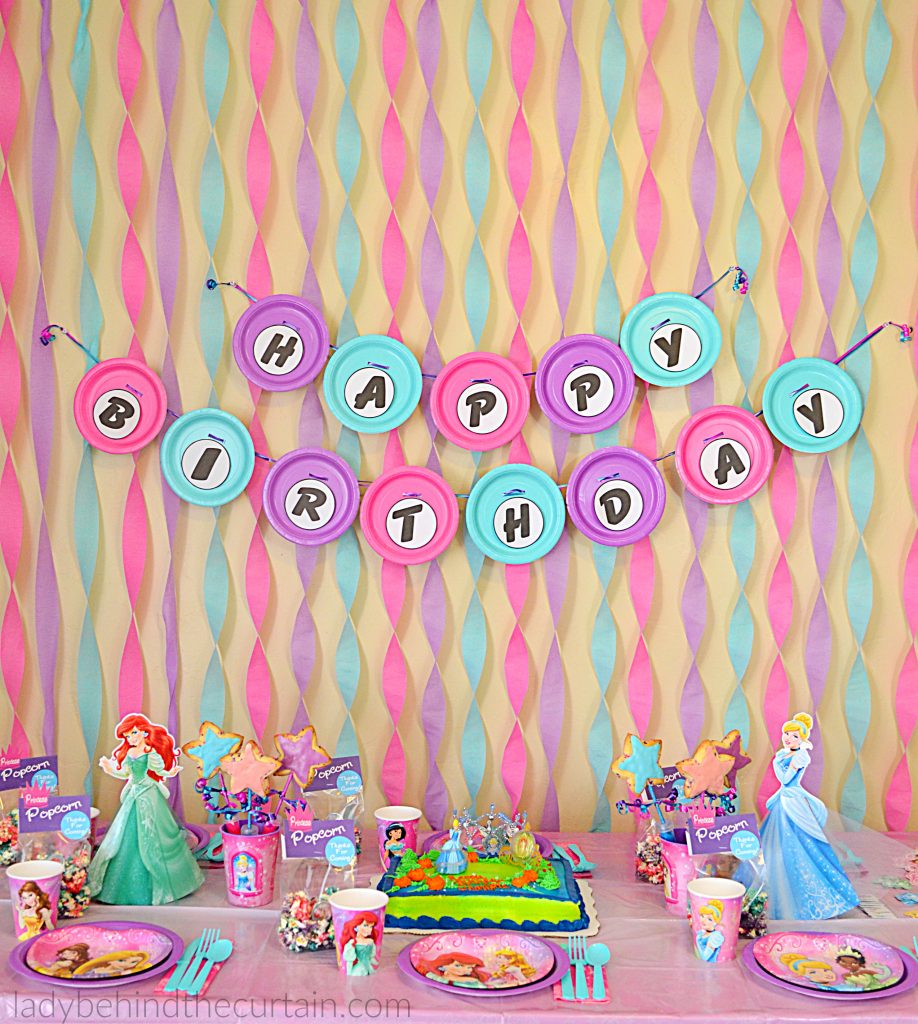
HOW TO MAKE A PAPER PLATE BANNER: Punch two holes on the top of each dessert size plate. I used 3 colors or curling ribbon. TIP: To make the threading of the ribbon easy, tape the end. Punch two holes on the top of each plate. String all the plates together {I made two rows}. Tape or use a thumb tack to attach to the wall. CLICK HERE FOR ALL THE PARTY DETAILS→HOW TO CREATE A PRINCESS BIRTHDAY PARTY WITH STORE BOUGHT PRODUCTS
Bandana Banner
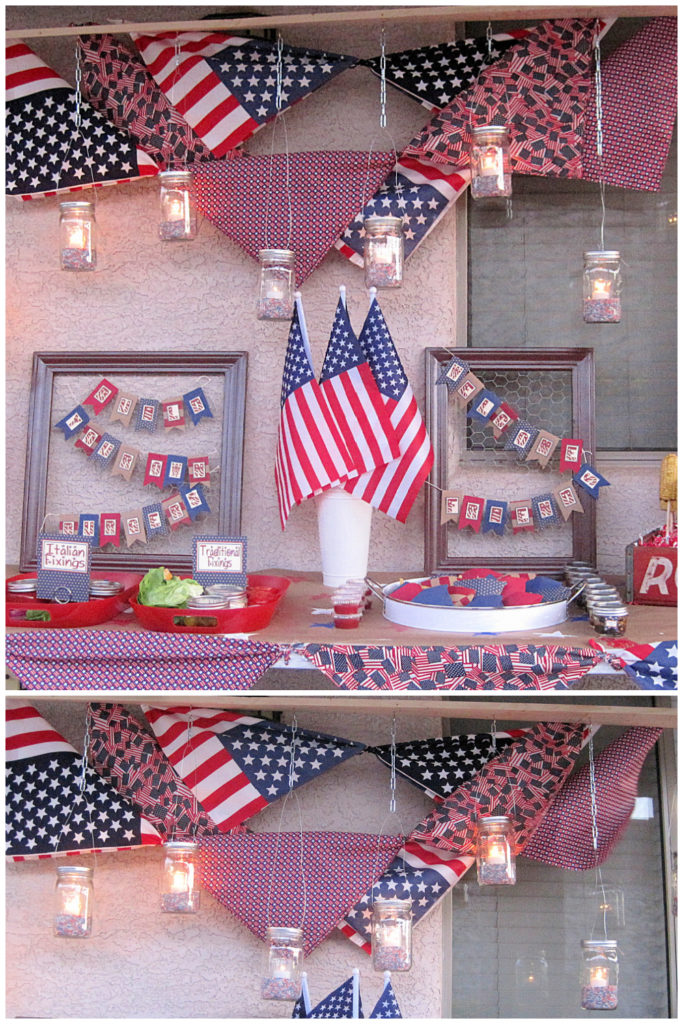
Tie bandanas together, hang as a banner to add color to any party area. HOW TO TIE BANDANAS: Bring two corners together (side by side) and make a knot. CLICK HERE TO SEE THE WHOLE PARTY→RED, WHITE, AND BLUE CELEBRATION TABLES
How to make a Water Bomb and Goggle Swag
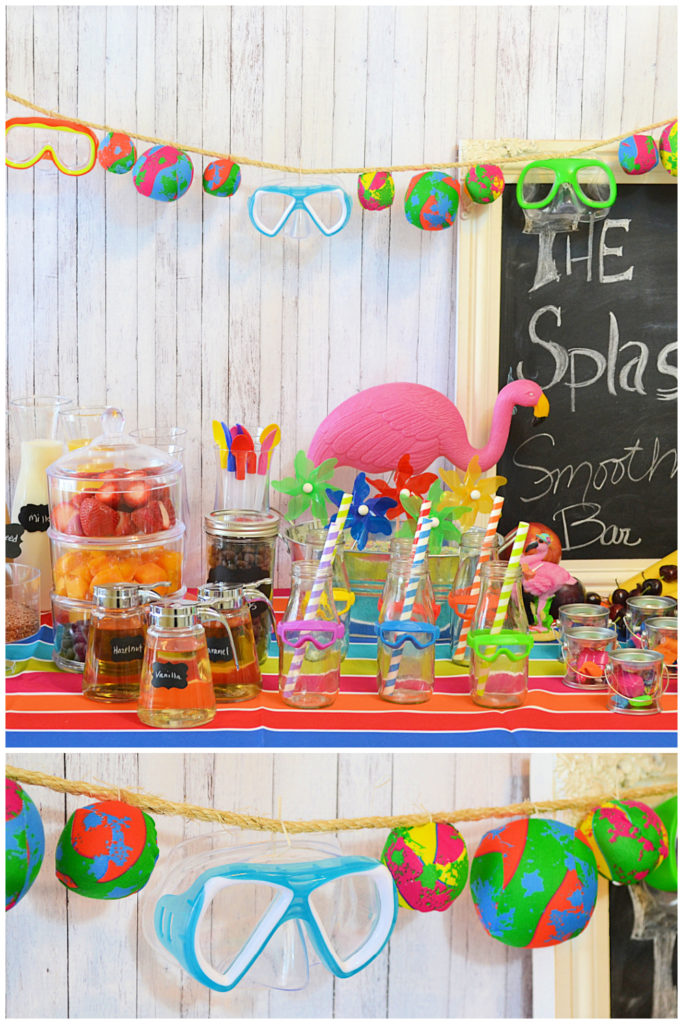
FUN IDEA FOR A POOL THEMED BIRTHDAY PARTY: Gather goggles and water bomb balls (I found mine at Dollar Tree) Use a rope or strong string for the base of the garland. FOR THE WATER BALLS: Using a long needle and string, push a hole in the front top through to the back, tie a knot to make a loop. FOR THE GOGGLES: Using the same needle and thread, poke a hole in the soft rubber on the top of the goggles, making a loop, tie a knot. String the balls and goggles onto the rope or heavy string. The perfect decoration for a photo booth at a pool party.
BIRTHDAY PARTY BANNERS FREE PRINTABLE COLLECTION
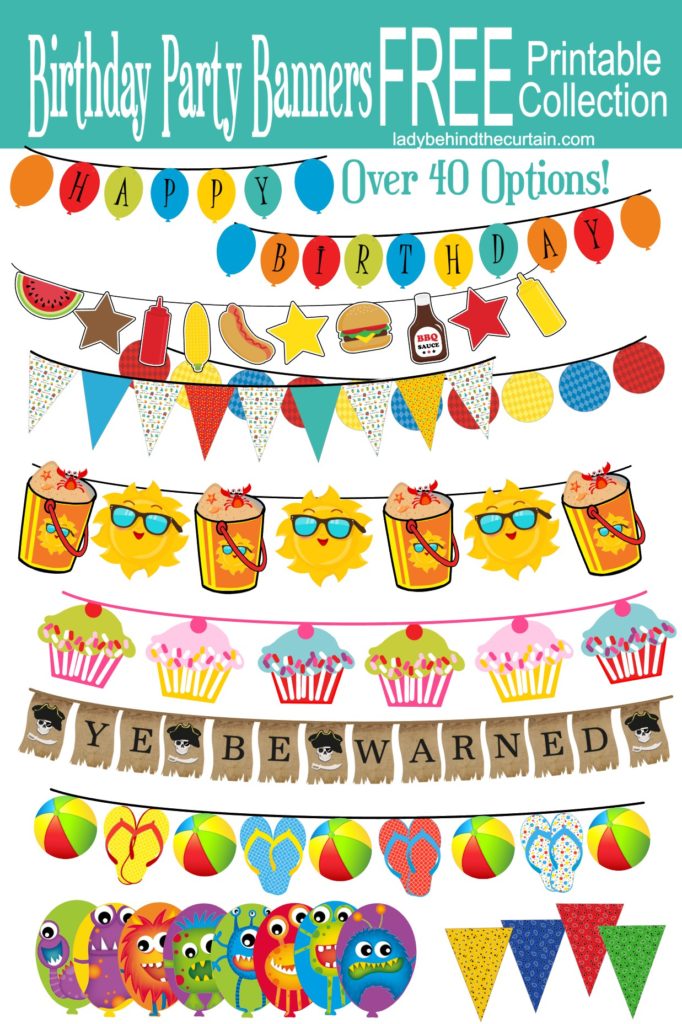
BIRTHDAY PARTY BANNERS FREE PRINTABLE COLLECTION: Banners are an easy way of adding a pop of color to a corner, a backdrop to a photo booth, or decorating behind a dessert table. They bring the party theme together from one side of the room to the other. Here, you find will find all types of banners along with many themes.
HOLIDAY PARTY BANNERS FREE PRINTABLE COLLECTION
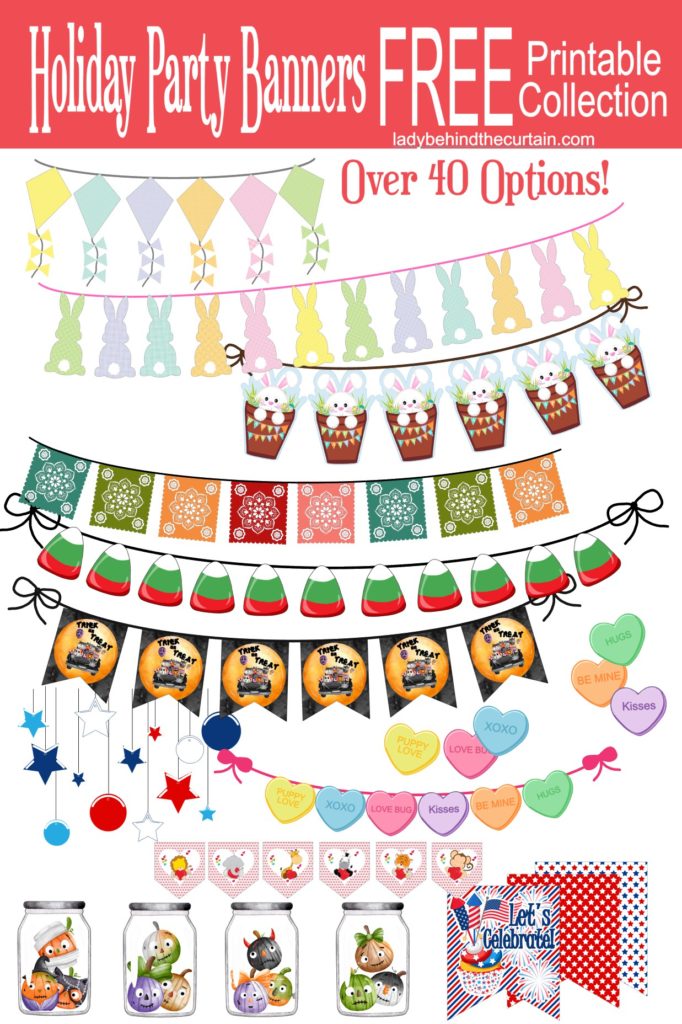
HOLIDAY PARTY BANNERS FREE PRINTABLE COLLECTION: Banners are an easy way of adding a pop of color to a corner, a backdrop to a photo booth, or decorating behind a dessert table. They bring the party theme together from one side of the room to the other. Here, you find will find all types of banners along with many themes
LATEST POSTS
In conclusion, crafting personalized party banners doesn’t have to be a daunting task. By following a few simple guidelines, anyone can create eye-catching and unique banners that will impress their guests. From choosing the right materials to incorporating personal touches, the possibilities for creative expression are endless. So go ahead and unleash your inner artist – the party banner will be your canvas. So let’s keep that spirit alive and continue to add a personal touch to our celebrations. And who knows, your party banners may just become the talk of the town! So go ahead, let your creativity flow and let the party begin! ❤️Sheryl
SIGN UP FOR THE LADY BEHIND THE CURTAIN NEWSLETTER

NEWSLETTER: Receive (twice a month) seasonally themed newsletters full of recipes, tips and tricks. Sometimes even FREE gifts! Click here for the Newsletter→CURTAIN CALL NEWSLETTER
THANKS FOR VISITING♥
Sheryl
I love the idea of bandanas for a banner!
Thank you! My kid’s make fun of me and my banners. I love them! They’re easy to make and add color to a party table.