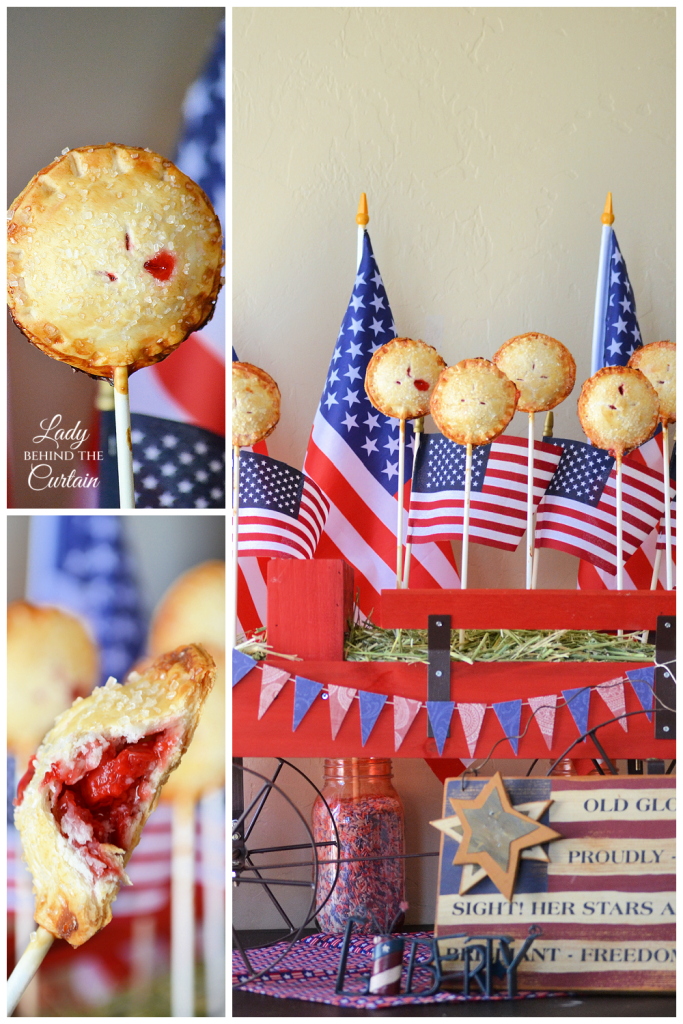
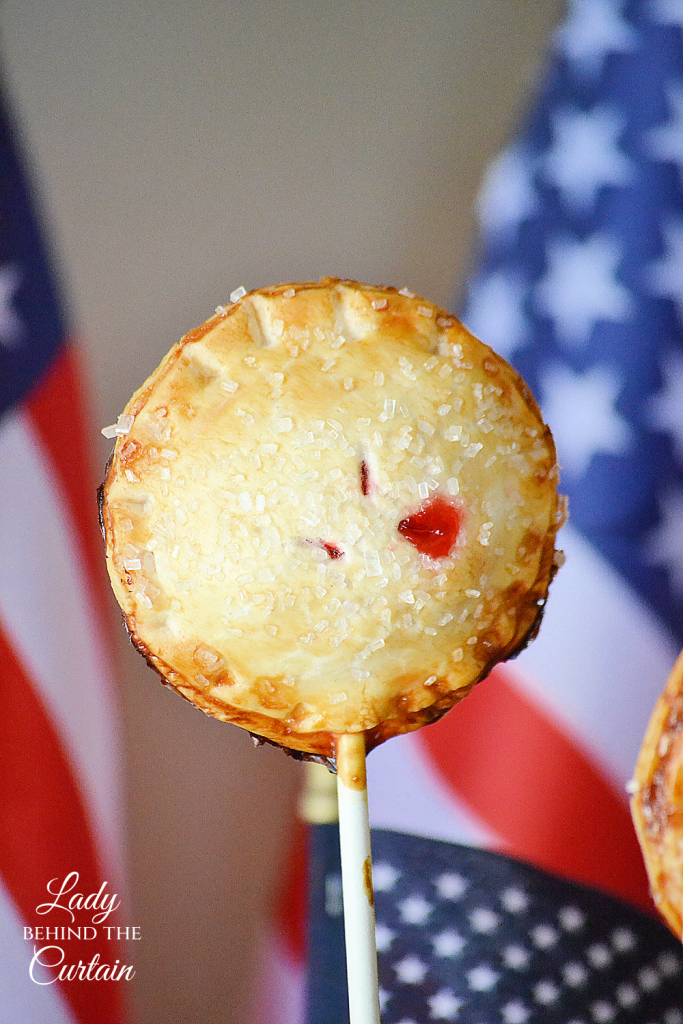
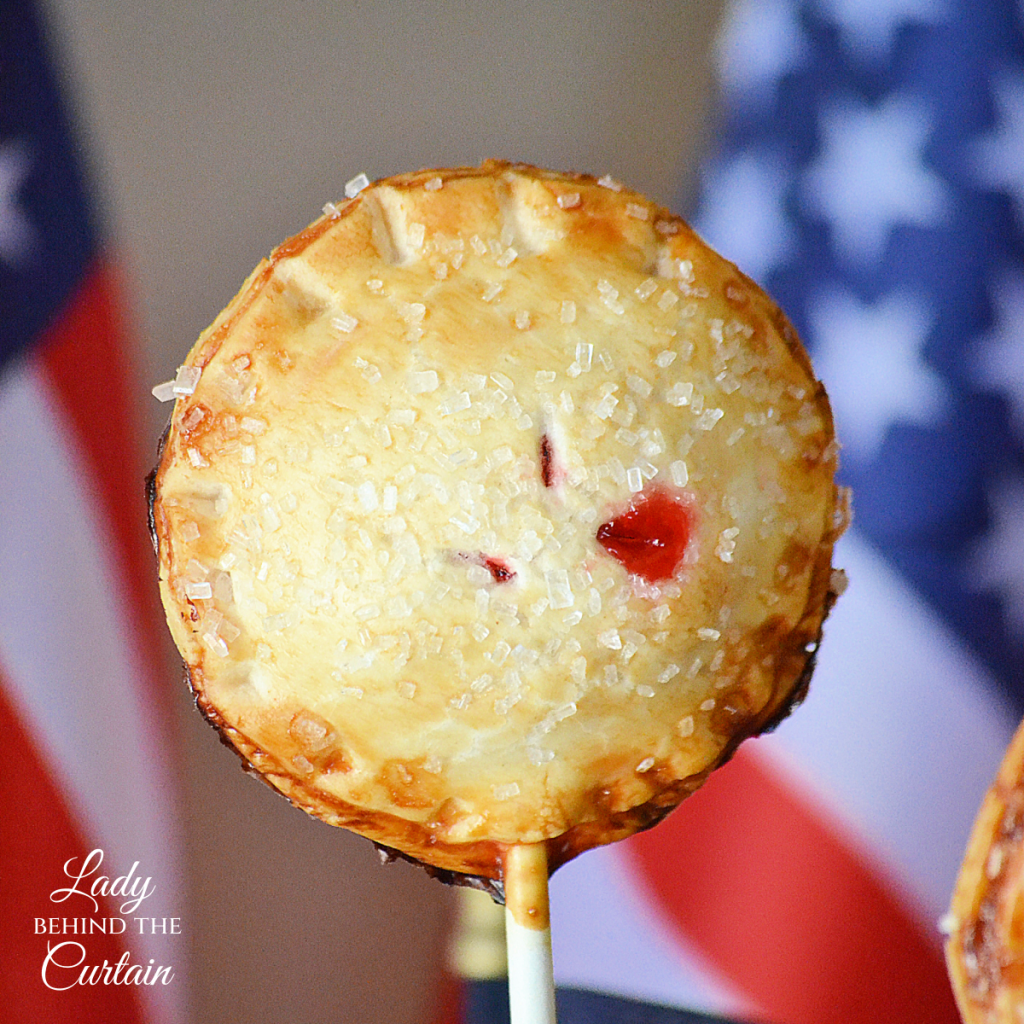
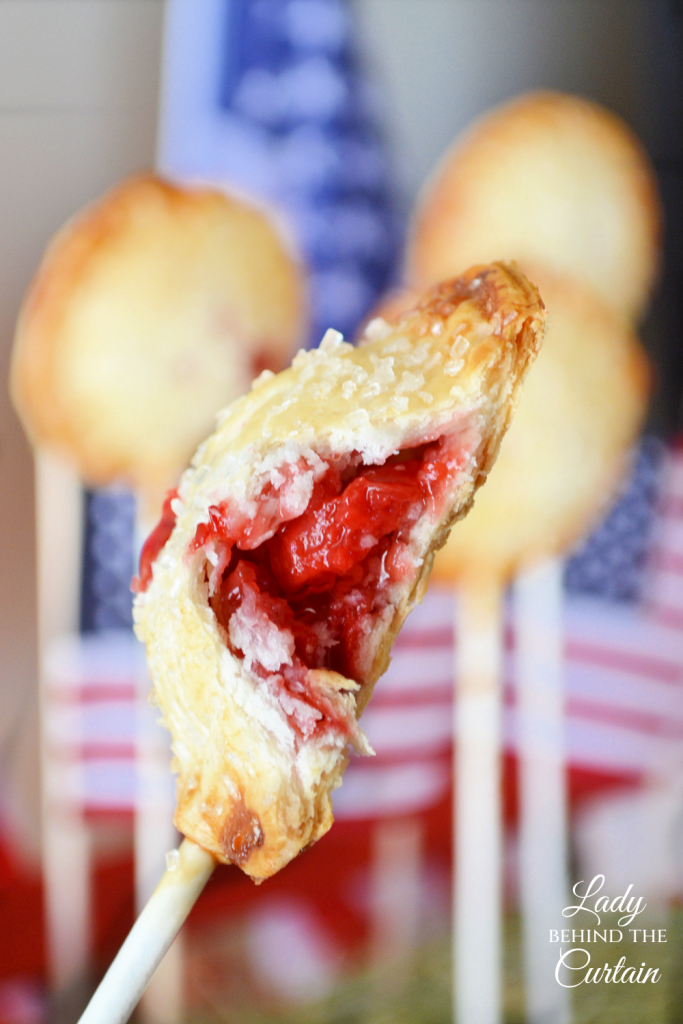
These semi-homemade Cherry Pie Pops are one of those easy treats that look adorable on a dessert table but couldn’t be simpler to make. Made entirely with store-bought ingredients, these handheld mini pies have all the flavors of a classic cherry pie wrapped up in a fun, portable treat. Flaky pie crust, sweet cherry filling, and a sparkling coating of crunchy raw sugar make these pie pops irresistible for parties, holiday dessert tables, baby showers, Valentine’s Day celebrations, and even everyday family gatherings.
One of my favorite things about these pie pops is how impressive they look without requiring much work. Using ready-made pie dough and canned cherry pie filling takes all the stress out of baking, allowing you to create something special with very little effort. Whether you’re serving them at a birthday party or adding them to a festive dessert spread, these Cherry Pie Pops are always a crowd favorite.
What Makes These Pie Pops Special
There is something so nostalgic about cherry pie. The sweet fruit filling tucked inside a flaky crust brings back memories of old-fashioned desserts, but these pie pops give that classic flavor a playful twist. Instead of slicing and serving a traditional pie, everyone gets their own individual treat on a stick.
Completely Semi-Homemade: These pie pops are made entirely from convenient store-bought ingredients. That means you can skip making homemade pie dough or cooking fruit filling from scratch and still enjoy bakery-worthy results.
Perfect Portion Size: Because they’re individually sized, they’re easy to serve and easy to enjoy. Guests can simply grab one and continue mingling without needing forks or plates.
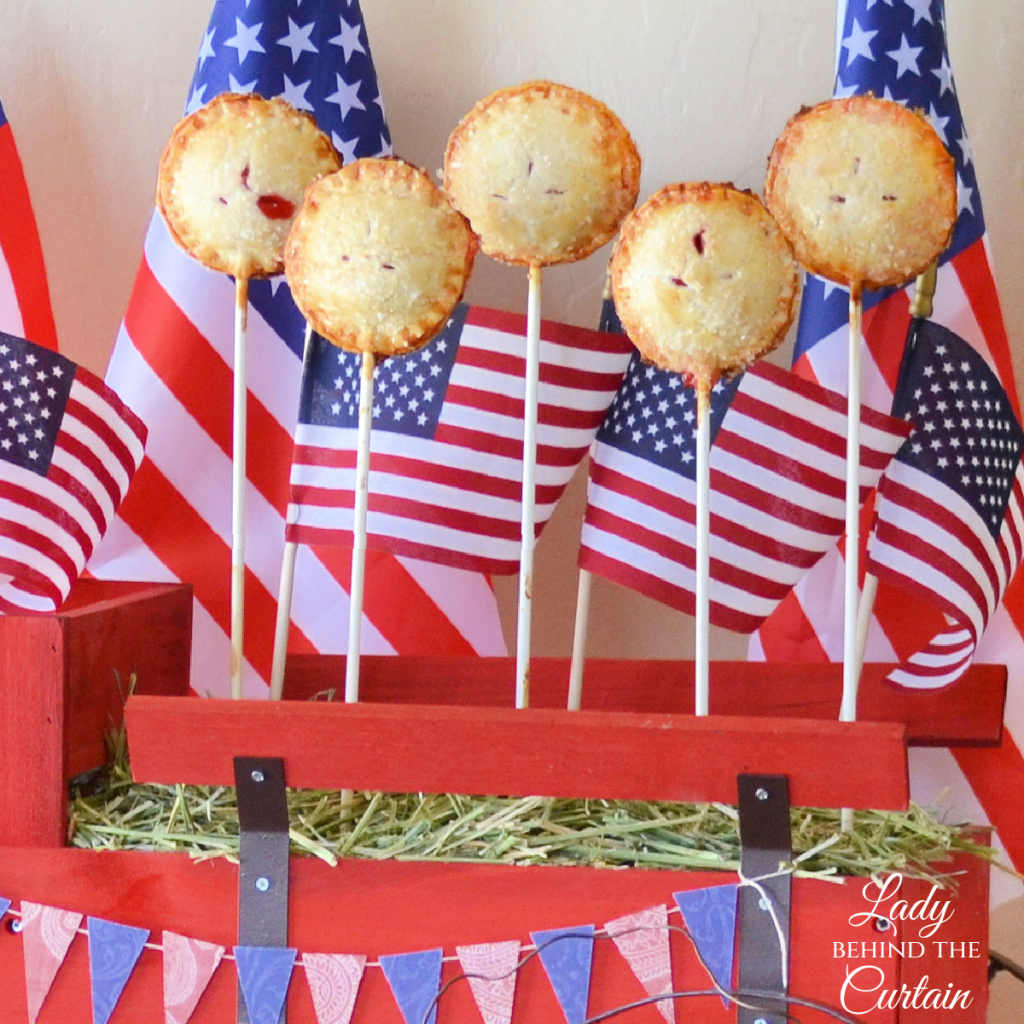
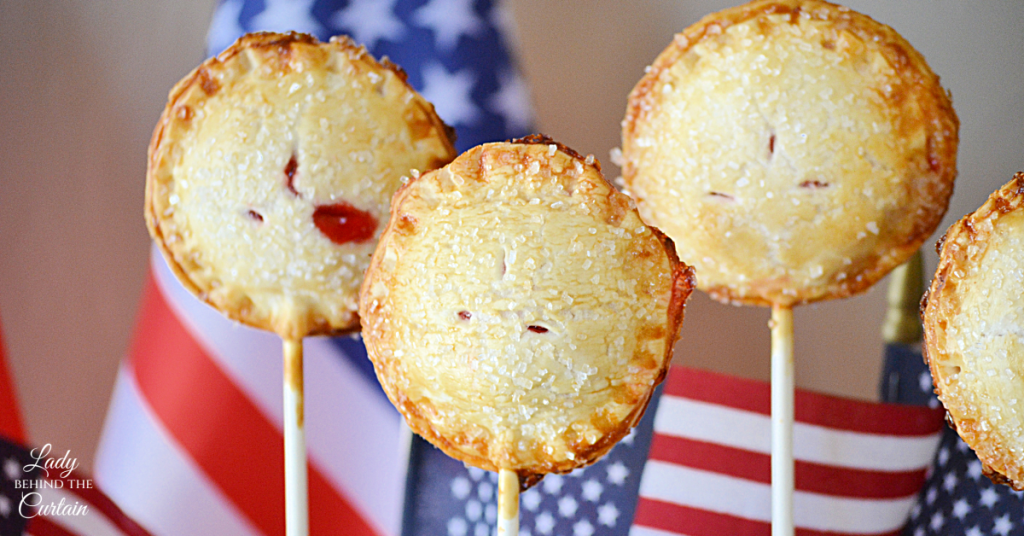
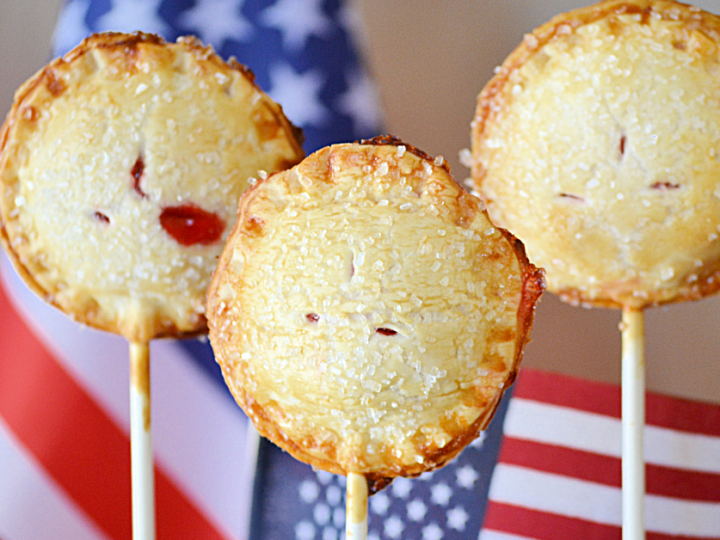
Beautiful Presentation: The sparkling raw sugar on top creates a bakery-style finish while adding a delightful crunch. Once baked, these pie pops turn golden and look beautiful arranged on a platter or standing upright in a decorative display.
Great for Parties:
Birthday parties
Valentine’s Day dessert tables
Baby showers
Bridal showers
Summer picnics
Christmas cookie trays
Fourth of July celebrations
Tea parties
Family reunions
Bake sales
Tips and Tricks for Bakery-Worthy Cherry Pie Pops
These semi-homemade Cherry Pie Pops are wonderfully easy to make, but a few extra tips can help turn a simple dessert into something that looks and tastes like it came from your favorite bakery. These little details make all the difference and will help you create pie pops that are beautiful enough for parties and special occasions.
Work with Chilled Pie Dough: Pie dough is much easier to handle when it is cool. If the dough becomes too soft while you’re working, simply place it back in the refrigerator for a few minutes. Chilled dough helps the pie pops maintain their shape and produces flakier layers after baking.
Don’t Worry About Perfection: One of the charming things about hand pies and pie pops is that they don’t have to look identical. Slight variations in the crimping or shape only add to their homemade appeal. Guests will never notice if one pie pop is slightly different from another.
Line Your Baking Sheet: Using parchment paper makes cleanup incredibly easy and helps prevent any bubbling cherry filling from sticking to the pan. It also allows the bottoms to bake evenly and makes transferring the pie pops much easier after baking.
Allow the Pie Pops to Cool Before Serving: As tempting as it is to bite into one right away, the filling will be extremely hot when it comes out of the oven. Allowing the pie pops to cool for several minutes gives the filling time to set and makes them easier to handle.
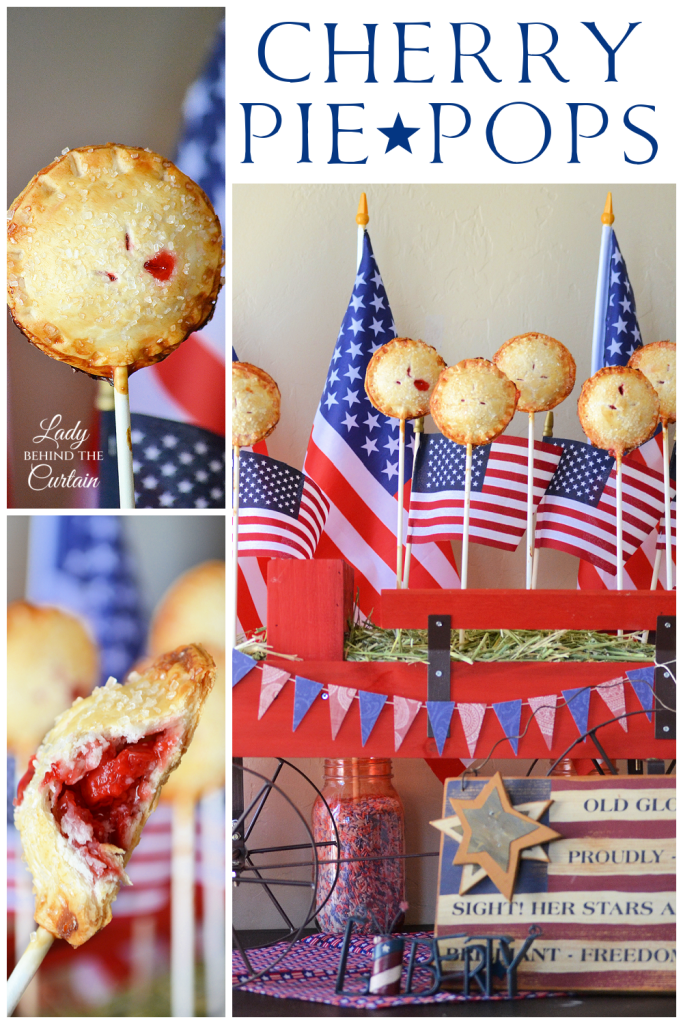
Use Them to Create an Eye-Catching Dessert Display: These pie pops make wonderful centerpieces for dessert tables. Arrange them upright in a decorative container filled with sugar, candy, or floral foam, with the foam hidden beneath shredded paper. The presentation instantly adds height and interest to any party spread.
Mix and Match Flavors: You don’t have to make an entire batch with one filling. Try making several varieties using different canned pie fillings. Guests love having choices, and a variety of colors makes the dessert table even more festive.
Work with Chilled Pie Dough: Pie dough is much easier to handle when it is cool. If the dough becomes too soft while you’re working, simply place it back in the refrigerator for a few minutes. Chilled dough helps the pie pops maintain their shape and produces flakier layers after baking.
Don’t Worry About Perfection: One of the charming things about hand pies and pie pops is that they don’t have to look identical. Slight variations in the crimping or shape only add to their homemade appeal. Guests will never notice if one pie pop is slightly different from another.
Line Your Baking Sheet: Using parchment paper makes cleanup incredibly easy and helps prevent any bubbling cherry filling from sticking to the pan. It also allows the bottoms to bake evenly and makes transferring the pie pops much easier after baking.
Allow the Pie Pops to Cool Before Serving: As tempting as it is to bite into one right away, the filling will be extremely hot when it comes out of the oven. Allowing the pie pops to cool for several minutes gives the filling time to set and makes them easier to handle.
Use Them to Create an Eye-Catching Dessert Display: These pie pops make wonderful centerpieces for dessert tables. Arrange them upright in a decorative container filled with sugar, candy, or floral foam, with the foam hidden beneath shredded paper. The presentation instantly adds height and interest to any party spread.
Mix and Match Flavors: You don’t have to make an entire batch with one filling. Try making several varieties using different canned pie fillings. Guests love having choices, and a variety of colors makes the dessert table even more festive.
How to Assemble Cherry Pie Pops
Don’t let these adorable pie pops fool you into thinking they’re difficult to make. One of the reasons I love this recipe so much is because the assembly process is incredibly simple, making these treats perfect for beginner bakers and experienced bakers alike. By using ready-made pie dough and canned cherry pie filling, all of the hard work has already been done for you. The only thing left is to put the pieces together and add a few special touches that make these pie pops look like they came straight from a bakery. From pressing the lollipop stick into the dough to creating decorative crimped edges and finishing with sparkling raw sugar, each step is easy and fun. In just a few minutes, you’ll have a tray full of charming handheld pies ready for the oven. They’re a wonderful baking project for holidays, birthday parties, baby showers, and dessert tables, and they are so simple that kids can even help with assembling them. The combination of flaky crust, sweet cherry filling, and crunchy sugar creates a beautiful treat that tastes just as wonderful as it looks. Adorable treats with confidence.
Preheat oven to 375℉.
Line 2 cookie sheets with parchment paper and set aside.
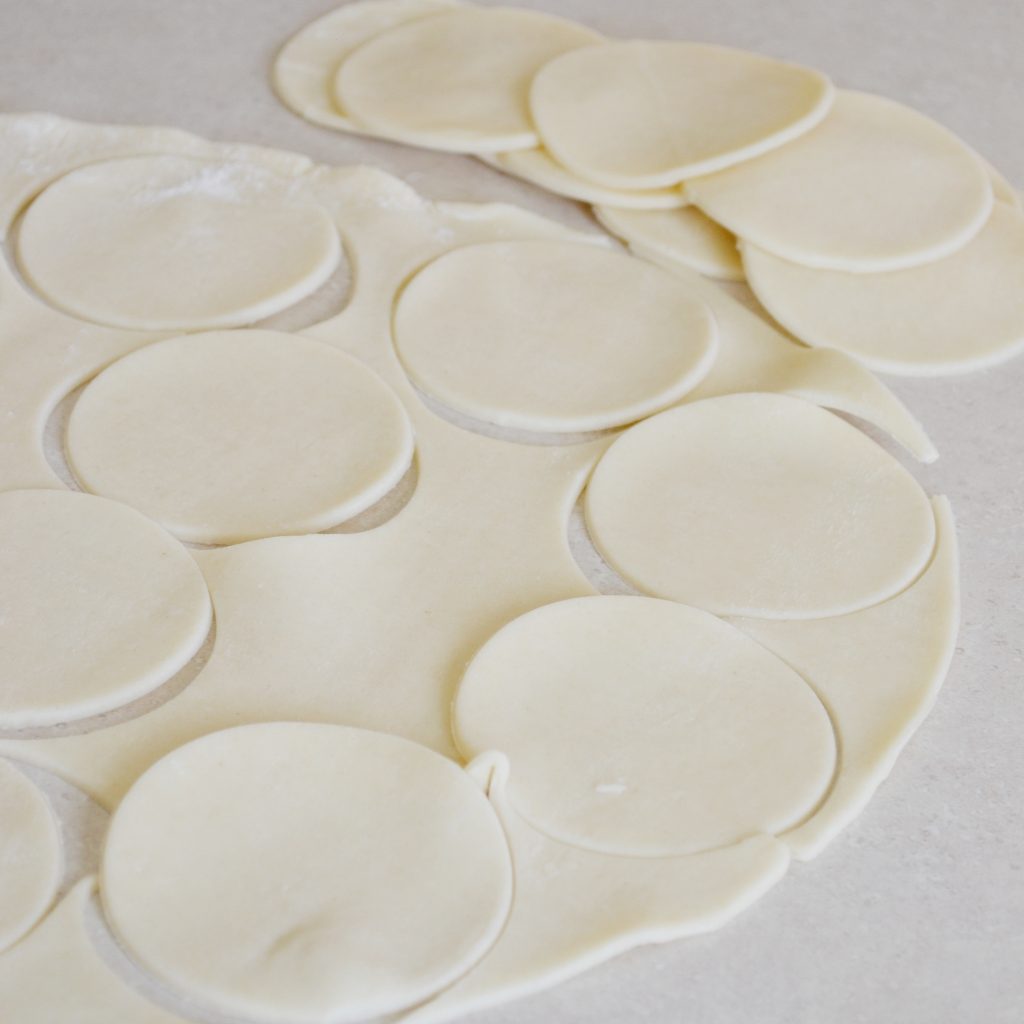
Unroll the dough; use a 3-inch circle cutter to cut out 12 circles per pie crust.
Place 6 circles on prepared cookie sheet.
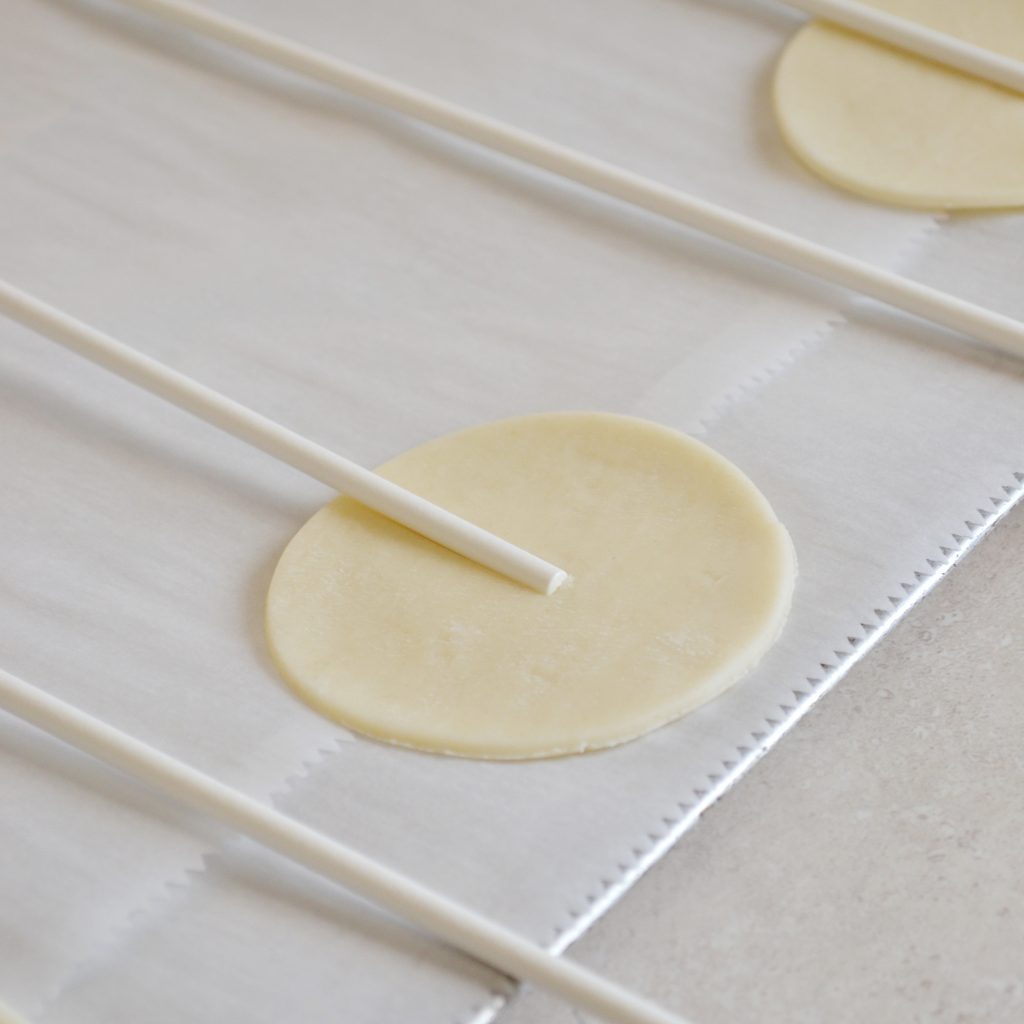
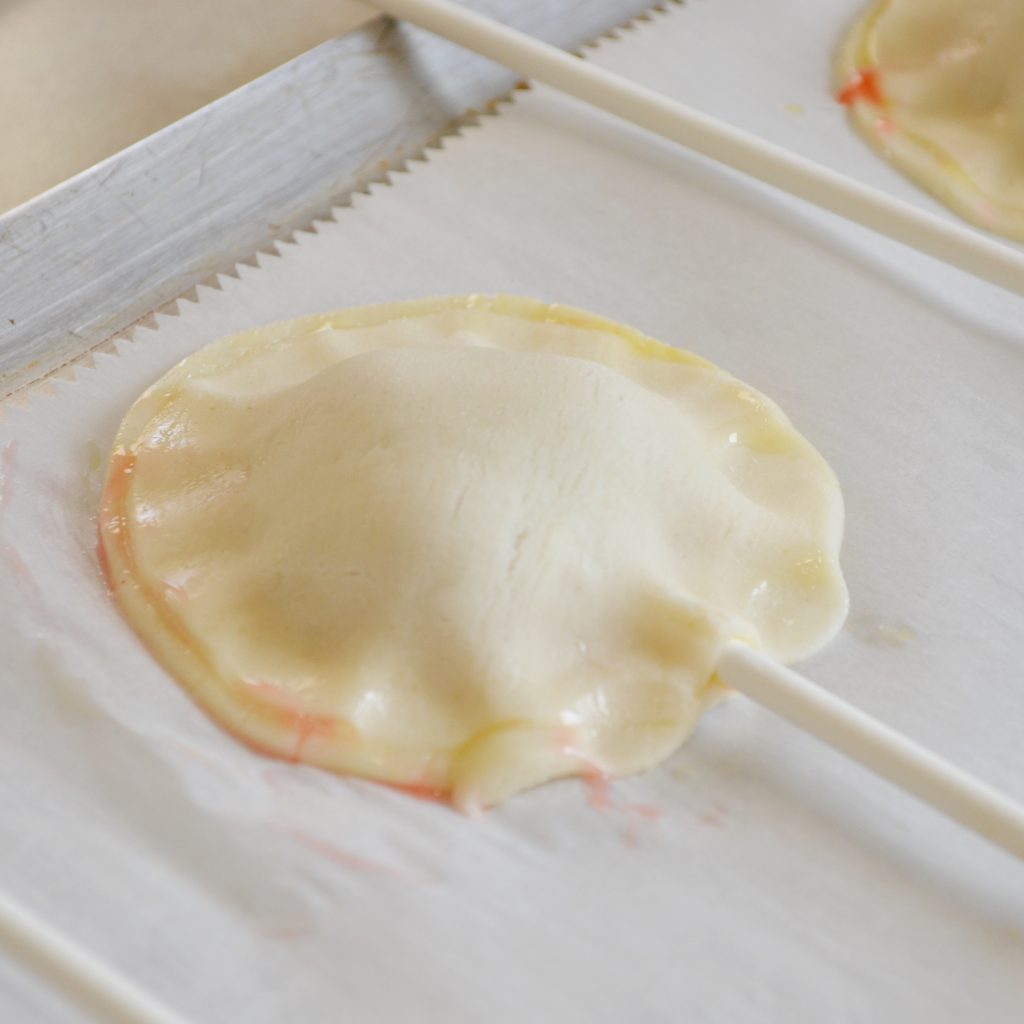
Place a lollipop stick in the center of the circle with the tip in the middle.
Mix together the egg and 1 tablespoon of water.
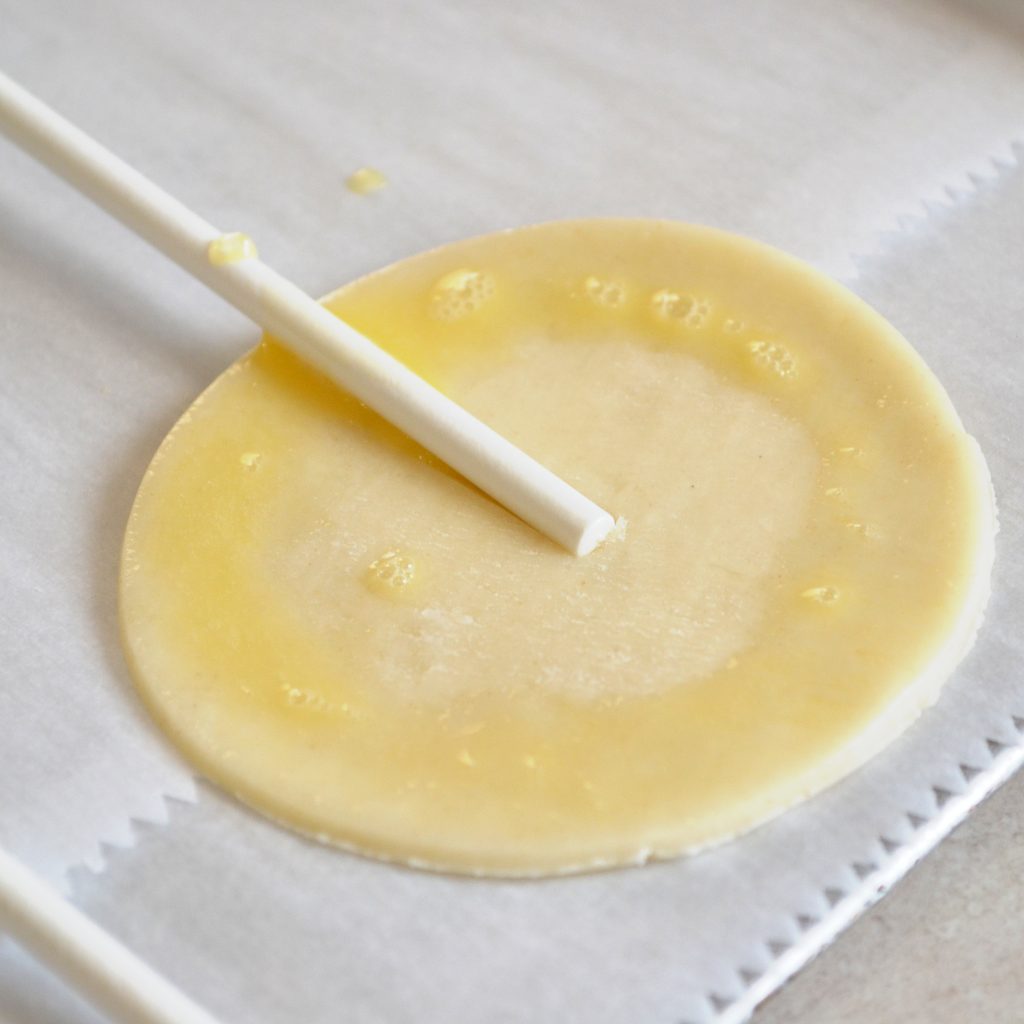
Brush the egg wash around the edges of the pie dough circle.
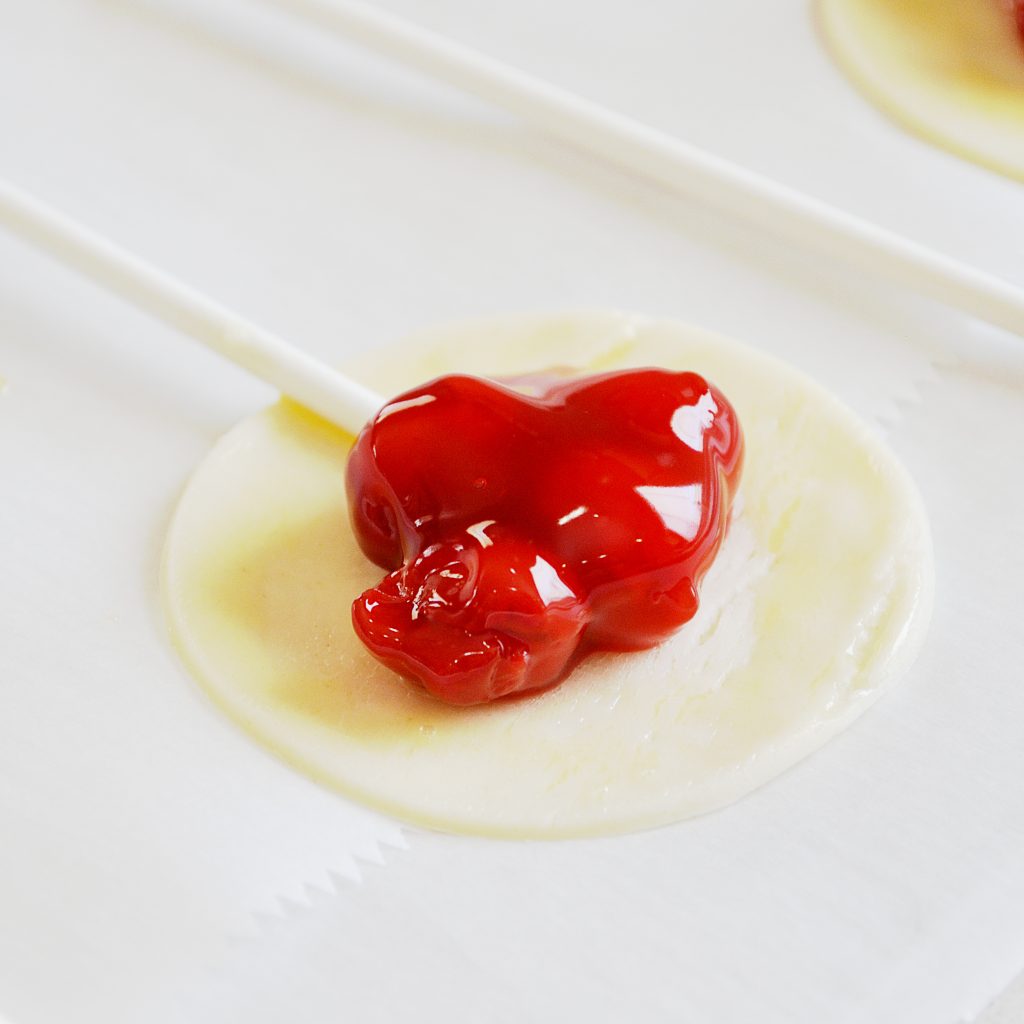
In the center of each circle, place 1 tablespoon or 3 cherries of filling.
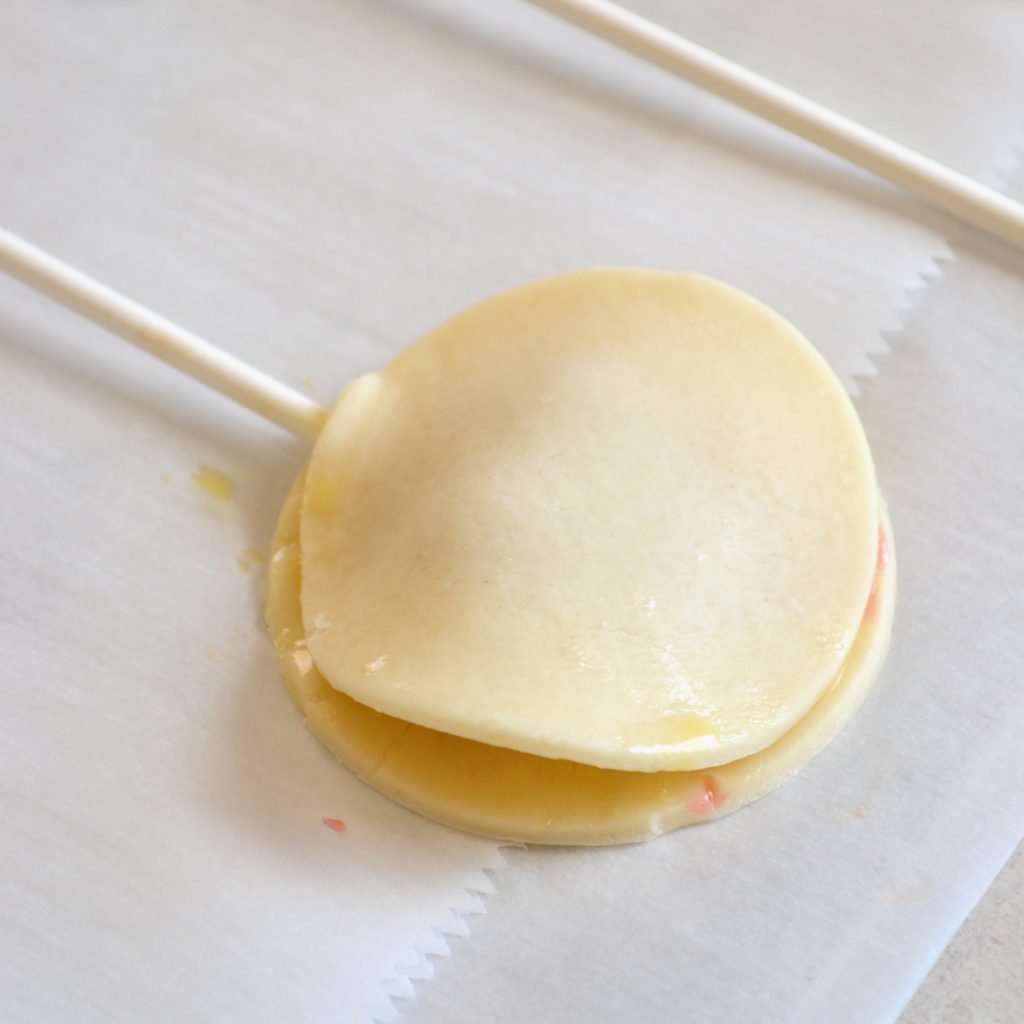
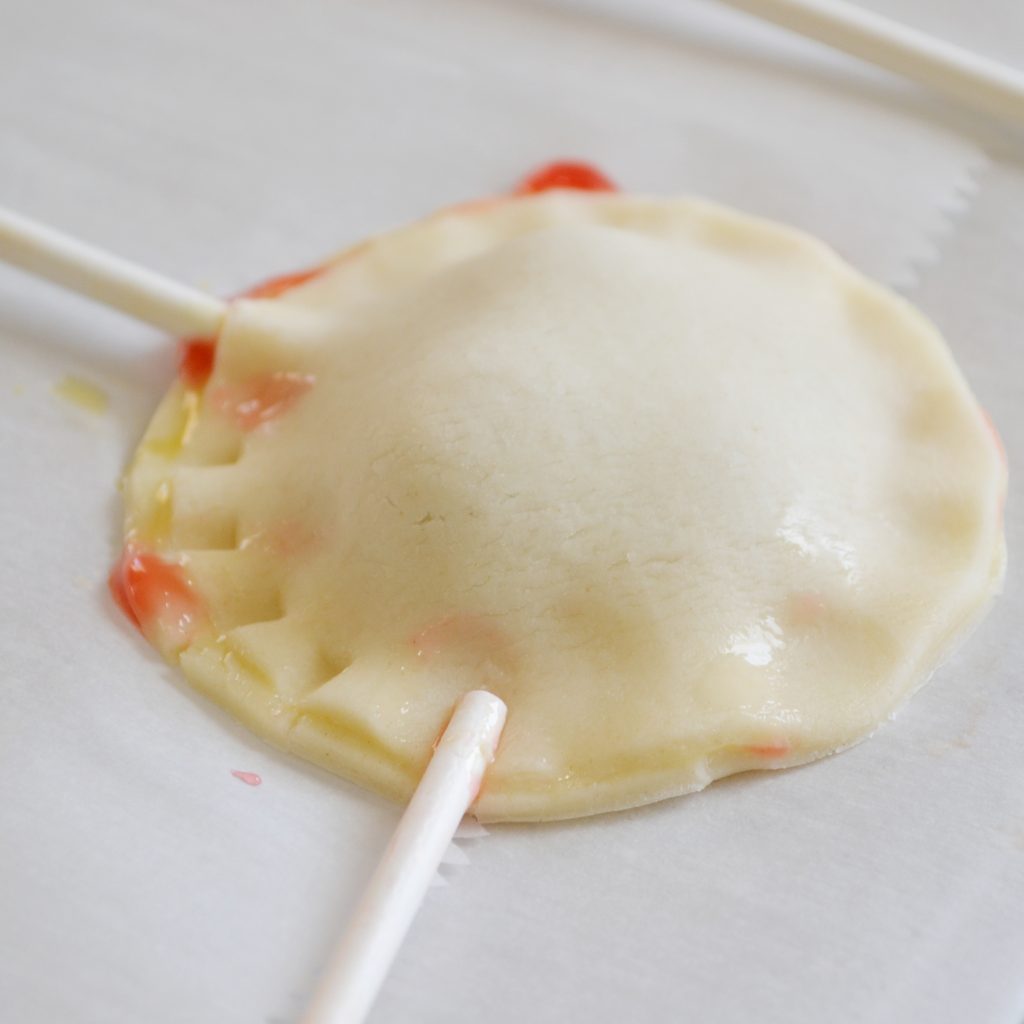
Place another circle on top and press closed.
Using another lollipop stick, press down the edges.
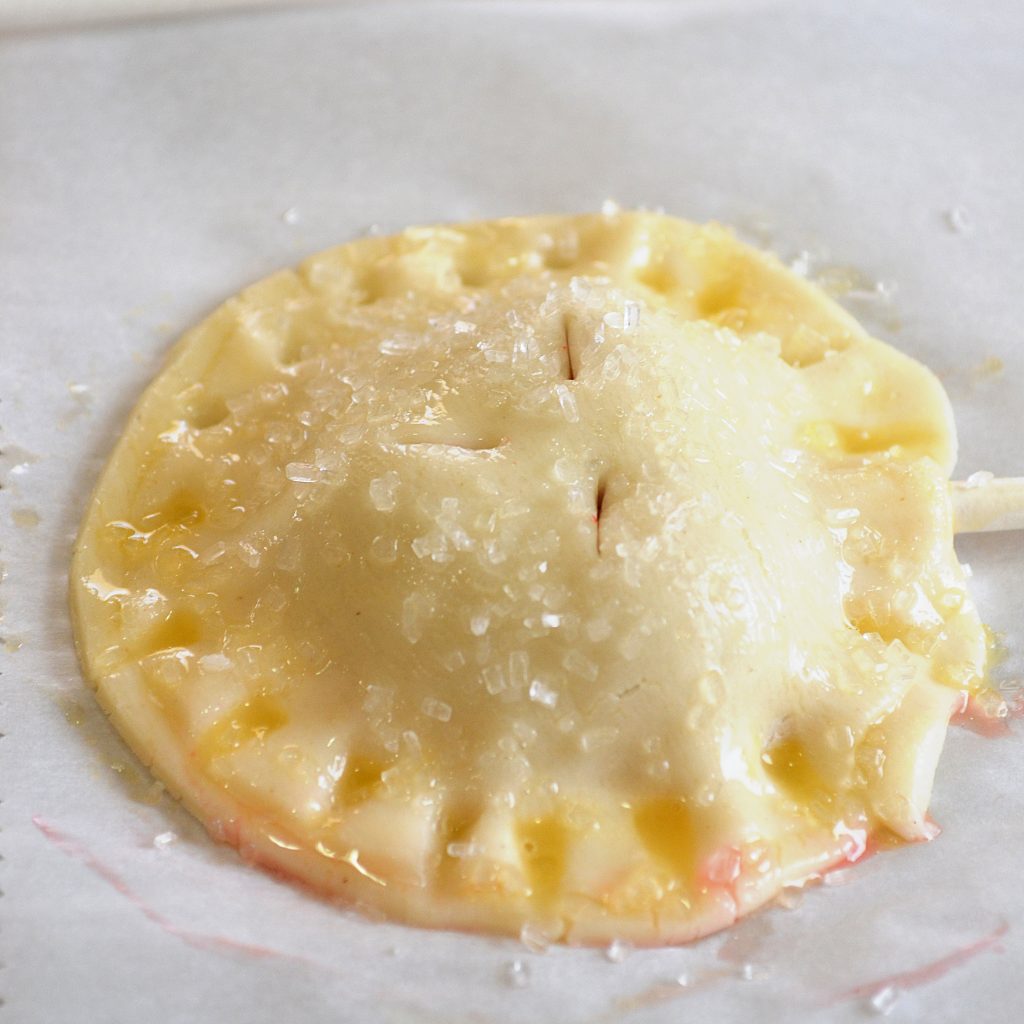
With a pastry brush. Brush the egg wash on the top of the cherry pie, and sprinkle with coarse sugar.
Using a sharp knife, cut air vents. Bake for 23 minutes.
Delicious Ways to Customize Your Pie Pops
One of the things I love most about these semi-homemade pie pops is how easy they are to customize. Once you master the basic technique, you can create a variety of flavors for every season, holiday, and special occasion. Simply swap the filling or add a few extra ingredients to create an entirely new dessert. These mini pies are perfect for themed dessert tables because you can make several flavors and arrange them together for a colorful display.
Apple Pie Pops: Transform these pie pops into a cozy fall dessert by replacing the cherry filling with canned apple pie filling. The warm, cinnamon-spiced apples taste just like a slice of homemade apple pie, in a fun, handheld form. Serve them during Thanksgiving, fall festivals, or alongside a scoop of vanilla ice cream for a comforting treat everyone will love.
Blueberry Pie Pops: Blueberry pie filling creates a bright, fruity filling that is perfect for summer gatherings. The sweet blueberries tucked inside the flaky crust pair beautifully with the crunchy raw sugar topping. These pie pops make a wonderful addition to Fourth of July dessert tables or backyard barbecues.
Strawberry Pie Pops: For a sweet treat that feels perfect for spring and Valentine’s Day, try filling them with strawberry pie filling. The vibrant red filling and sparkling sugar topping make these pie pops especially pretty. They are wonderful for bridal showers, baby showers, tea parties, and romantic holiday celebrations.
Peach Pie Pops: Peach pie filling creates a Southern-inspired dessert that tastes like summer. The sweet peaches become warm and juicy as they bake, creating a flavor reminiscent of homemade peach cobbler. These pie pops are perfect for summer picnics, church potlucks, and family reunions.
Mixed Berry Pie Pops: If you can’t decide on just one fruit, mixed berry pie filling offers the best of several flavors in one delicious bite. Filled with strawberries, raspberries, blueberries, and blackberries, these pie pops deliver a burst of sweet berry flavor. Their colorful filling makes them a beautiful addition to spring and summer dessert tables.
Cherry Almond Pie Pops: Cherry and almond are a classic flavor combination. Add a small amount of almond extract to the cherry filling before assembling the pie pops for a bakery-style flavor. The subtle almond flavor enhances the cherries’ sweetness and makes these pie pops taste extra special. They’re elegant enough for holiday parties and dessert buffets.
Black Forest Pie Pops: Chocolate lovers will adore this variation. Add a few mini chocolate chips to the cherry filling before sealing the pie pops. As they bake, the chocolate melts into the sweet cherries, creating flavors inspired by classic Black Forest cake. Drizzle the cooled pie pops with melted chocolate for an even more decadent presentation.
Cream Cheese Cherry Pie Pops: For a rich and creamy surprise, add a small spoonful of sweetened cream cheese beneath the cherry filling. The tangy cream cheese complements the sweet cherries beautifully, creating a filling reminiscent of cherry cheesecake. These pie pops are especially delicious for holidays and special occasions.
Lemon Cherry Pie Pops: Brighten up the cherry filling with a little fresh lemon zest. The citrus flavor balances the sweetness and adds a refreshing twist that tastes wonderful during the spring and summer months. These pie pops are perfect for Mother’s Day brunches and garden parties.
Mini Holiday Pie Pops: Create festive pie pops year-round by changing the filling to match the season. Use cherry for Christmas and Valentine’s Day, apple for Thanksgiving, blueberry for patriotic holidays, and peach for summer celebrations. Arrange several flavors together on a dessert table to create a colorful assortment that guests can choose from.
Storage Instructions
These Cherry Pie Pops are wonderful because they store beautifully. You can easily make them ahead of time for parties and special occasions.
Room-Temperature Storage: Store the baked pie pops in an airtight container for up to 2 days.
Refrigerator Storage: For longer storage, refrigerate them for up to five days. Allow them to come to room temperature or warm slightly before serving.
Freezer Storage: Place cooled pie pops in a freezer-safe container and freeze for up to three months.
How to Defrost: Transfer the frozen pie pops to the refrigerator overnight, or let them thaw at room temperature.
How to Reheat (optional): Warm them in a 300-degree oven for several minutes to restore the flaky crust. Avoid microwaving, as it can soften the crust.
I hope you’ll love these Semi-Homemade Cherry Pie Pops as much as I do. They’re proof that you don’t need complicated recipes to create something beautiful and delicious. Using convenient store-bought ingredients makes them easy enough for everyday baking while still giving them that special homemade touch.
Whether you’re putting together a holiday dessert table, planning a birthday party, or simply looking for a fun treat to share with family and friends, these adorable pie pops are guaranteed to bring smiles. Sometimes the simplest recipes become the ones everyone remembers, and I have a feeling these sweet little cherry pies will quickly become a family favorite. Sheryl
Line 2 cookie sheets with parchment paper and set aside.
Unroll the dough; use a 3-inch circle cutter to cut out 12 circles per pie crust.
Place 6 circles on prepared cookie sheet.
Place a lollipop stick in the center of the circle with the tip in the middle.
Mix together the egg and 1 tablespoon of water.
Brush the egg wash around the edges of the pie dough circle.
In the center of each circle, place 1 tablespoon or 3 cherries of filling.
Place another circle on top and press closed.
Using another lollipop stick, press down the edges.
With a pastry brush. Brush the egg wash on the top of the cherry pie, and sprinkle with coarse sugar.
Using a sharp knife, cut air vents. Bake for 23 minutes.
Did you make this recipe?
Please leave a comment and rate the recipe card so others can enjoy the recipe too!♥
Frequently Asked Questions-SEMI-HOMEMADE CHERRY PIE POPS
If you’re making these semi-homemade Cherry Pie Pops for the first time, you may have a few questions before getting started. From storing leftovers to changing the filling flavors, there are several ways to customize these adorable handheld treats to fit your needs. Below are answers to some of the most common questions readers have about making, serving, and storing pie pops. Hopefully, these helpful tips will give you the confidence to create a batch that turns out perfectly every time.
Can I use homemade pie crust? Absolutely. Homemade pie dough works beautifully, although store-bought dough makes these treats incredibly easy.
Can I use other pie fillings? Yes. Apple, blueberry, peach, strawberry, and mixed berry fillings all work wonderfully.
Do I have to use lollipop sticks? No. You can simply make mini hand pies without sticks if you prefer.
Why do I need air vents? The vents allow steam to escape during baking and help prevent the pie pops from bursting.
Can I make these ahead of time? Yes. They’re perfect for making a day or two before a party.
Can I freeze baked pie pops? Yes. Once completely cooled, they freeze very well for up to three months.
Why is raw sugar used on top? Raw sugar adds a beautiful sparkle and a crunchy texture that make these pie pops taste as if they came from a bakery.
Can children help make these? Definitely. Kids love cutting the dough circles, adding the filling, and sprinkling on the sugar.
Comments
Semi-Homemade Cherry Pie Pops — 3 Comments
Great idea! I love/live for cherry pie! This awesome idea is quick and easy. Love your blog!







Great idea! I love/live for cherry pie! This awesome idea is quick and easy. Love your blog!
Thanks Jennifer, you’re so sweet. 🙂
I love, love, love this idea! So fun for summer!