





Dark Chocolate Christmas Decorated Pretzels

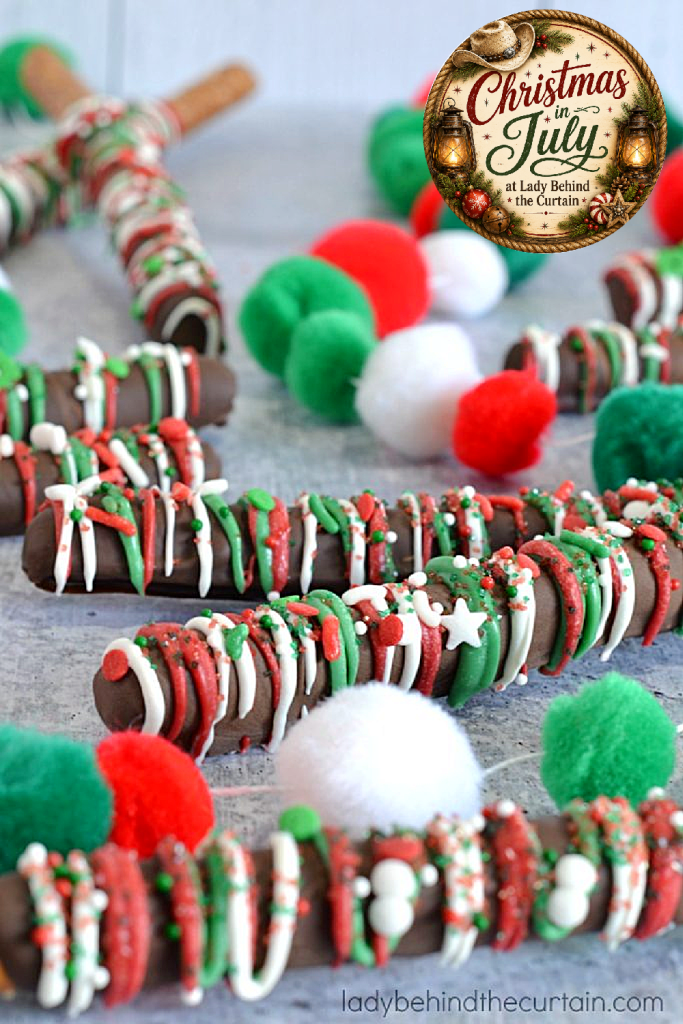
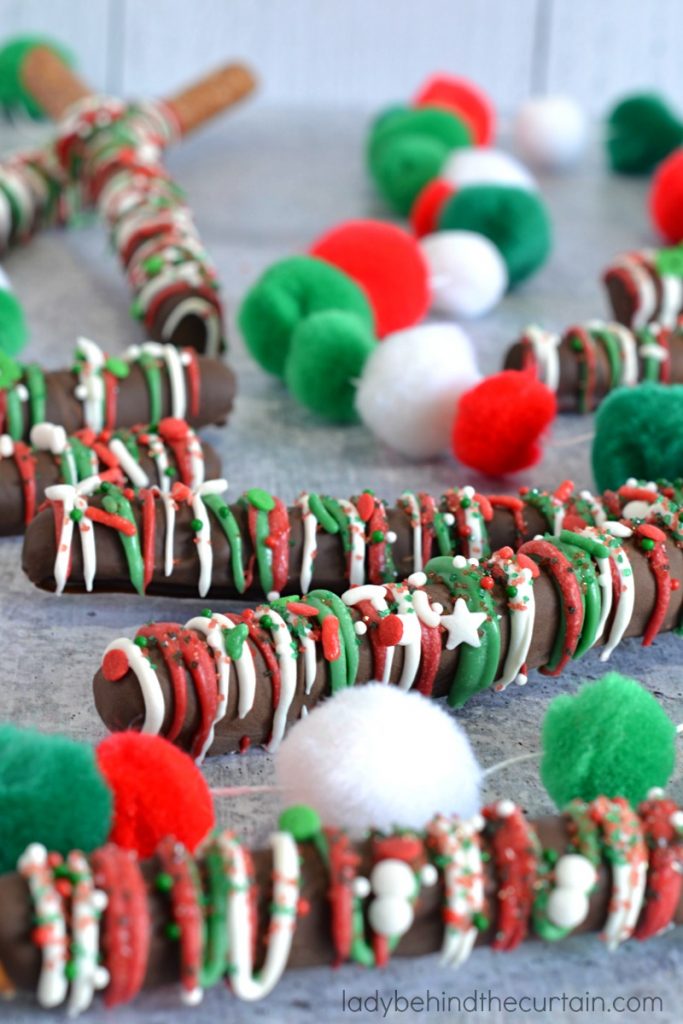
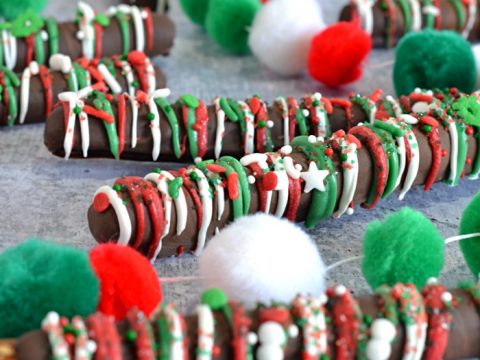
One look at a tray of dark chocolate Christmas-decorated pretzel rods, and it’s easy to see why they’re a holiday favorite. The rich dark chocolate, colorful candy drizzles, and festive sprinkles transform an ordinary pretzel rod into a beautiful homemade treat that’s perfect for gift-giving, cookie exchanges, dessert tables, and holiday parties.
Welcome to Recipe #8 in my Christmas in July series! Throughout this series, I’ve been sharing easy, festive desserts that help you get a head start on holiday entertaining, and these decorated pretzel rods are the perfect addition to the collection. They’re quick to make, fun to decorate, and bring just the right combination of sweet, salty, and crunchy to any Christmas dessert tray.
Why Does Dark Chocolate Make Such a Difference?
Many decorated pretzel recipes use milk chocolate, but dark chocolate creates a richer flavor that perfectly balances the pretzel’s saltiness. Instead of tasting overly sweet, every bite has layers of flavor. Dark chocolate also provides the perfect backdrop for bright red, green, and white candy drizzles. The darker base makes the holiday colors pop, giving the pretzels a bakery-quality appearance with very little effort. Another advantage is texture. Dark chocolate firms up beautifully, creating a crisp shell that contrasts with the crunchy pretzel inside.
Behind the Curtain Tip: I like using Ghirardelli dark chocolate melting wafers because they melt smoothly and produce a beautiful glossy finish without extra ingredients.
Decorating Supplies That Make the Job Easier
| Item | Why It’s Helpful |
|---|---|
| Pretzel rods | Thick enough for dipping and decorating |
| Dark chocolate melting wafers | Smooth coating with rich flavor |
| Candy melts | Bright holiday colors for easy drizzling |
| Small piping bags or zip-top bags | Gives you much better drizzle control |
| Rubber bands | Keeps melted candy from leaking out of the bag |
| Parchment paper | Easy cleanup and effortless release |
| Baking sheet | Makes moving pretzels to and from the refrigerator simple |
Having everything ready before melting the chocolate makes decorating much more enjoyable since you won’t be rushing while the candy begins to harden.
How to make Dark Chocolate Christmas Decorated Pretzels
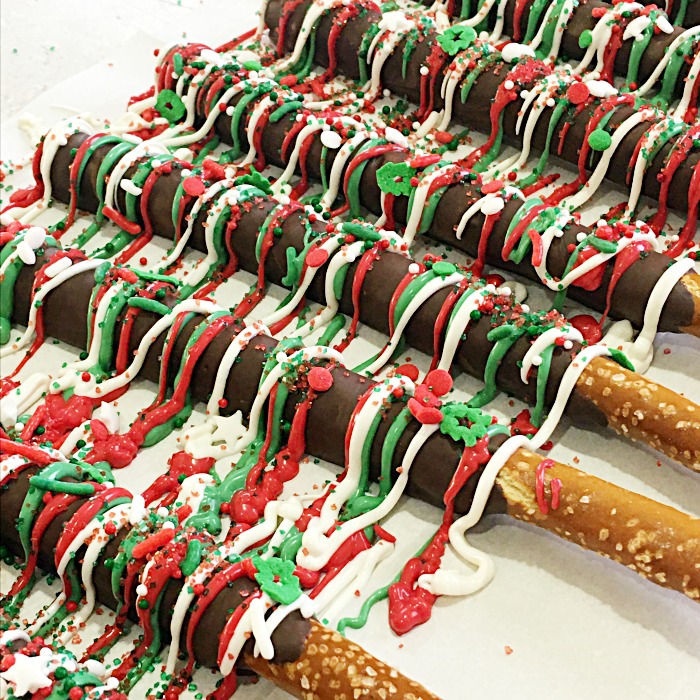
- Pour 1 (10 ounce) bag of dark chocolate melting chips (I used Ghirardelli) into a medium microwave-safe bowl. Heat in 30-second increments (about a total of 1½ minutes), stirring between each time.
- Spoon warm dark chocolate over a pretzel rod; tap the edge of the bowl to release any extra chocolate.
- Place coated pretzel rod on a cookie sheet lined with parchment paper.
- Continue with the remaining pretzel rods (this recipe makes 20 decorated pretzels).
- To speed up the cooling process, place pretzel rods (on the cookie sheet) in the refrigerator to harden (about 10 minutes).
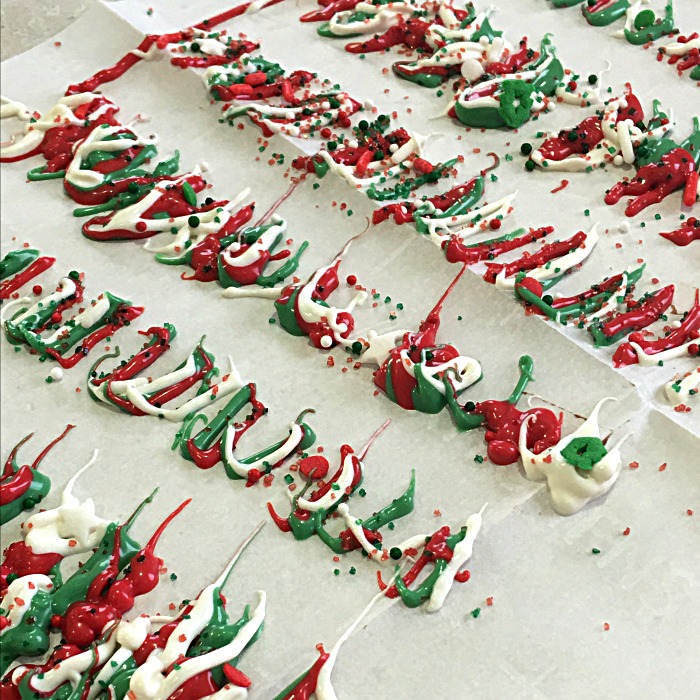
- While the chocolate coating is hardening, heat the remaining candy (red, green, and white)
- Pour ONE cup of each color into its own microwave-safe bowl.
- Heat one color at a time (the same as you did with the dark chocolate).
- Pour melted candy into a small piping bag or zip-top bag, set aside, and continue with the remaining two colors. SEE MY TIP BELOW ABOUT MY FAVORITE TOOL FOR THIS JOB AND WHY I LOVE IT.
- Take the pretzels out of the refrigerator
- Snip the end of each bag with the colored candy.
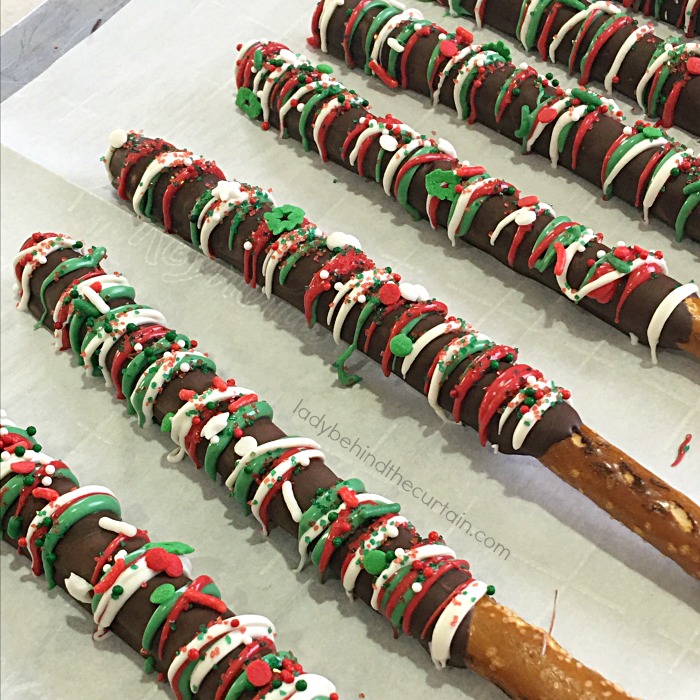
- In a sweeping back-and-forth motion, add a drizzle of each color separately. TIP: For the best effect, start with the darkest color and end with the lightest.
- Add red, green, and white sprinkles
- Move the pretzel rods from the messy piece of parchment to a clean piece to harden. Place in the refrigerator to harden (about 10 minutes).
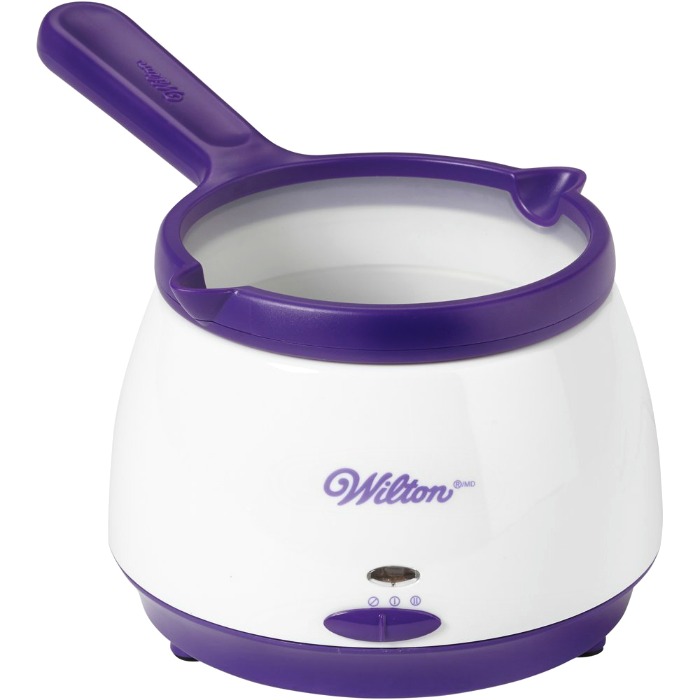
My favorite tool for keeping multiple colors of candy melted at one time is…THE MELTING POT from Wilton
What Makes Bakery-Style Pretzel Rods Look So Professional?
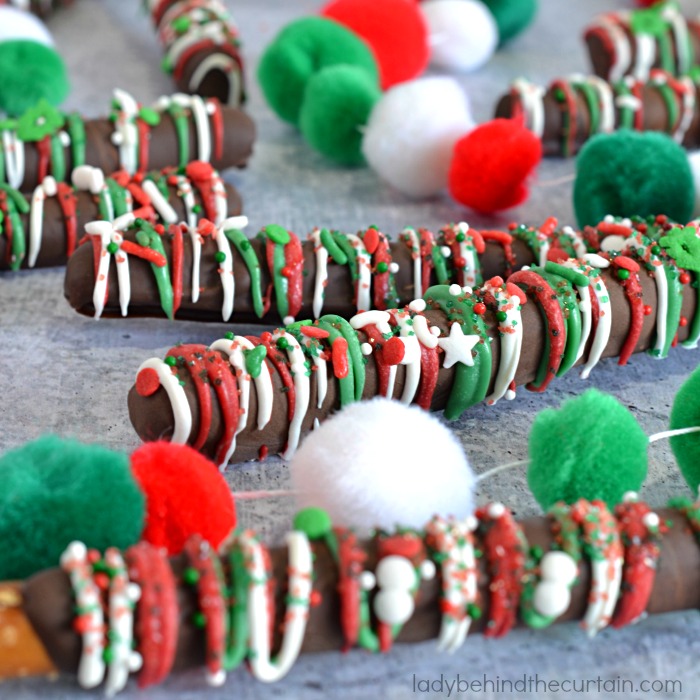
The secret isn’t expensive tools or years of experience; it’s decorating in layers. Instead of trying to finish each pretzel from start to finish, coat every pretzel in dark chocolate first. Once the chocolate has hardened, add the colored drizzles one color at a time across the entire batch before moving to the next color. This simple assembly-line method keeps each candy melt warm while creating more consistent drizzles.
Don’t worry about making perfectly straight lines. Gentle back-and-forth sweeping motions create movement and make each pretzel look professionally decorated. Once all three colors have been added, finish with sprinkles while the candy is still wet so everything sticks securely.
HOW TO DISPLAY YOUR DARK CHOCOLATE CHRISTMAS DECORATED PRETZELS
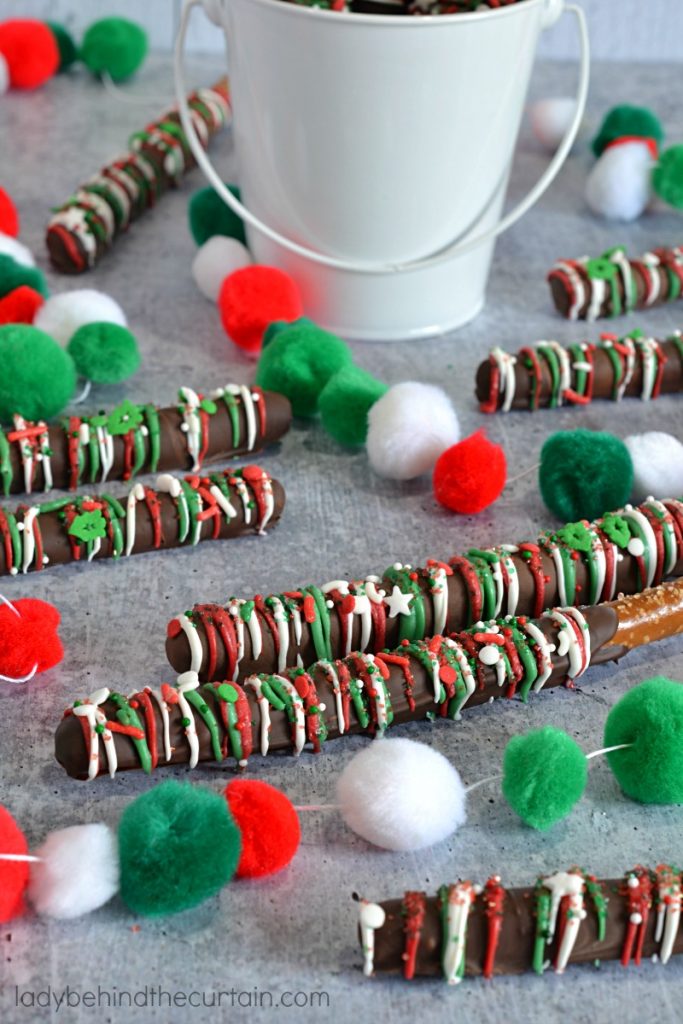
One of the reasons I make these every Christmas is because they package so beautifully. For teacher gifts, slide each pretzel into a clear treat bag and tie it with festive ribbon. For cookie exchanges, arrange several pretzels inside a bakery box lined with festive tissue paper. Hosting a holiday party? Stand several pretzels upright inside a decorative bucket, Christmas mug, or holiday tin to create an edible centerpiece that guests can grab throughout the evening. They also make wonderful stocking stuffers, office gifts, hostess gifts, and party favors.
Why Does the Order of the Drizzles Matter?
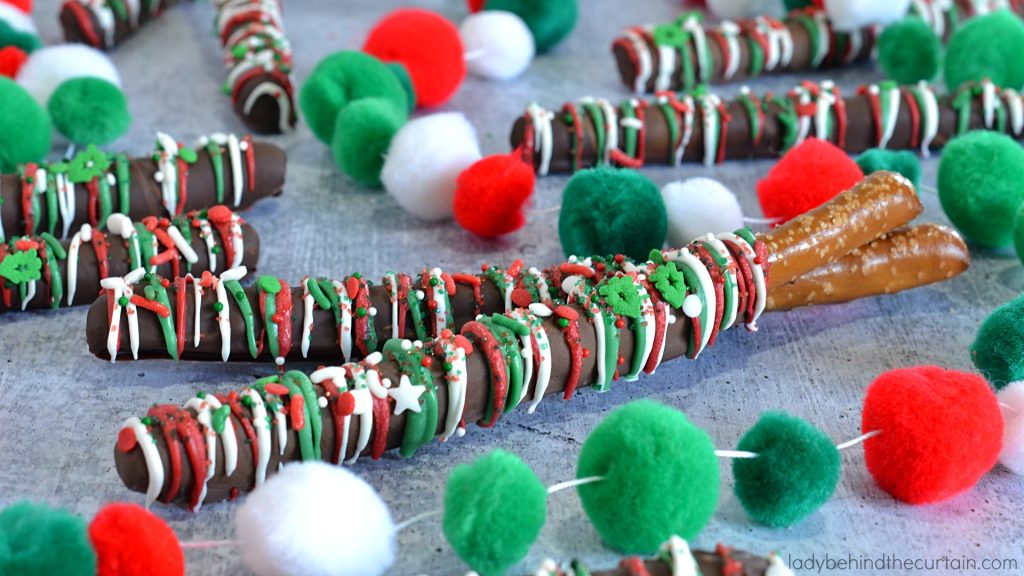
This is one of those little decorating tricks that makes a surprising difference. Start with the darkest accent color and gradually work toward the lightest. Darker colors naturally stand out more, while white becomes a bright finishing highlight instead of disappearing underneath darker drizzles. By layering the colors this way, each drizzle remains visible instead of blending together. It’s a small detail, but it’s one that professional candy makers use to create depth and contrast.
Behind the Curtain Tip: After years of decorating treats, I’ve learned that less is often more. A few graceful drizzles look much prettier than completely covering the chocolate underneath.
CANDY COATING VS CHOCOLATE BARS
Why This Recipe Belongs on Your Holiday Baking List
Some Christmas treats require hours of baking, decorating, and cooling. These decorated pretzel rods deliver the same “wow” factor with much less effort. The rich dark chocolate balances the salty pretzel perfectly, while the colorful candy drizzle creates a festive presentation that always catches people’s attention.
They’re easy enough for beginners, fun enough to make with kids or grandchildren, and elegant enough for holiday dessert tables and homemade gifts. Whether you’re filling cookie trays, wrapping teacher gifts, or simply looking for a relaxing afternoon project, these pretzels check every box.
DIFFERENT CANDY COATING CHOICES
- Wilton Candy Melts—Comes in a variety of colors (most of them are a vanilla candy, NOT CHOCOLATE) and some flavor choices. For the most part, they melt well. I have a hard time with some of the colors.
- Chocoley—The BEST melting chocolate. All the wafers are actually made with chocolate. A little on the pricey side, and you can only order them. But if you have a special event, this product is totally worth the cost. The chips melt beautifully and taste amazing.
- Ghirardelli Melting Wafers. These wafers are also made with chocolate but do not come in colors. Special water-free colors can be purchased to color the wafers. This is my second choice of a good-tasting melting wafer.
- You can also find vanilla- and chocolate-flavored coating (at most grocery stores) that comes in a microwavable tray. This coating is great for muddy buddies, puppy chow, and bark.
Make It Your Own
One of my favorite things about decorated pretzel rods is how easy they are to customize. Switch the sprinkle mix to match any holiday or celebration. Red, pink, and white create beautiful Valentine’s Day treats. Pastel colors are perfect for Easter, while orange, black, and purple instantly transform them for Halloween. You can also experiment with different drizzle patterns. Try thin zigzags, wide sweeping lines, or even tiny dots for completely different looks using the exact same decorating method. If you’re creating dessert trays, pair these pretzels with chocolate-covered Oreos, decorated marshmallows, popcorn, caramel candies, or Christmas cookies for an impressive assortment that looks like it came from a specialty candy shop.
Adding color to your melted candy
How Far Ahead Can You Make Them?
Decorated pretzel rods are an excellent make-ahead treat because they stay fresh for several weeks when stored properly. Keep them in an airtight container in a cool, dry place away from direct sunlight or heat. There’s no need to refrigerate them after they’ve completely hardened unless your kitchen is especially warm. If you’re making holiday gift baskets or preparing for a cookie exchange, you can easily make these a week or two ahead of time. That means one less thing to worry about during the busiest part of the holiday season. Avoid storing them in humid environments since moisture can soften the pretzels over time.
MORE DECORATED PRETZEL IDEAS
One of my favorite things about Christmas baking is that it doesn’t always have to involve turning on the oven. Sometimes the simplest treats become the ones everyone remembers. These decorated pretzel rods are proof that a handful of ingredients and a little creativity can turn an ordinary afternoon into a fun holiday tradition.
I hope these pretzels inspire you to gather your family around the kitchen table, turn on your favorite Christmas music, and enjoy the decorating process as much as the finished treats. Whether you’re wrapping them as gifts, adding them to a cookie tray, or sharing them with neighbors, every pretzel carries a little bit of homemade holiday cheer.
Thank you for spending time with me here at Lady Behind the Curtain. I can’t wait to share another sweet creation with you soon!
Happy baking,
Sheryl
LATEST POSTS
This is Recipe #8 in my Christmas in July series! If you’ve been following along, I hope you’re enjoying building your holiday recipe collection one festive treat at a time. If this is your first stop, be sure to check out the other Christmas in July recipes for even more desserts, candies, and party ideas to make your holiday season a little sweeter.
- RECIPE #1 LAYERED LEMON CREAM SHORTCAKE
- RECIPE #2 SAMOAS COOKIES WITH KEEBLER FUDGE STRIPES
- RECIPE #3 CARAMEL PECAN PIE PARFAITS
- RECIPE #4 CHOCOLATE DIPPED SHORTBREAD COOKIES
- RECIPE #5 MINI CRANBERRY BLISS NO-BAKE CHEESECAKES
- RECIPE #6 CANDIED CINNAMON SUGAR PECANS
- RECIPE #7 MAPLE CARAMEL POPCORN CRUNCH
Dark Chocolate Christmas Decorated Pretzels
An easy Christmas treat that offers the perfect balance of sweet and salty.
Ingredients
- 20 pretzel rods
- 1 (10 ounce) dark chocolate melting chips ( I used Ghiradelli)
- 1 cup red candy melts
- 1 cup green candy melts
- 1 cup white candy melts
- red, green and white Christmas sprinkles
Instructions
Pour 1 (10 ounce) bag of dark chocolate melting chips (I used Ghirardelli) into a medium microwave-safe bowl. Heat in 30-second increments (about 1½ minutes total), stirring between each time, until the candy is creamy and melted.
Spoon warm dark chocolate over a pretzel rod, tap the edge of the bowl to release any extra chocolate. Place coated pretzel rod on a cookie sheet lined with parchment paper. Continue with the remaining pretzel rods (this recipe makes 20 decorated pretzels).
To speed up the cooling process—place pretzel rods (on the cookie sheet) in the refrigerator to harden (about 10 minutes).
While the chocolate coating is hardening, heat the remaining candy (red, green, and white)
Pour ONE cup of each color into its own microwave-safe bowl. Heat one color at a time (the same as you did with the dark chocolate). Pour melted candy into a small piping bag or zip-top bag—seal the top with a rubber band, set aside, and continue with the remaining two colors. SEE MY TIP IN THIS POST ABOUT MY FAVORITE TOOL FOR THIS JOB AND WHY I LOVE IT.
Take the pretzels out of the refrigerator. Snip the end of each bag with the colored candy.
In a sweeping motion back and forth, add a drizzle of each color separately. TIP: For the best effect, start with the darkest color and end with the lightest. Add red, green, and white sprinkles
Move the pretzel rods from the messy piece of parchment to a clean piece to harden. Place in the refrigerator to harden (about 10 minutes).

Frequently Asked Questions-DARK CHOCOLATE CHRISTMAS DECORATED PRETZELS
- Can I use regular chocolate chips instead of melting wafers? Regular chocolate chips can be used, but they’re formulated to hold their shape while baking, so they don’t melt as smoothly. Melting wafers produce a shinier, more even coating.
- Why is my chocolate too thick for dipping? Chocolate that overheats or comes into contact with even a tiny amount of water can become thick or grainy. Heat gently in short intervals, stirring well between each one.
- Can I use mini pretzel twists instead of pretzel rods? Absolutely! The decorating method works just as well on pretzel twists, although you’ll need to dip them rather than spoon chocolate over the top.
- Why are my candy drizzles breaking? Very thick drizzles are more likely to crack. Thin, flowing lines create a prettier finish and are less likely to break when handled.
- Can I make several batches for holiday gifts? Yes. This recipe scales beautifully, making it an excellent choice when preparing treats for neighbors, coworkers, teachers, or holiday markets.
- What’s the easiest way to transport them? Arrange the pretzels in a single layer whenever possible. If stacking is necessary, separate the layers with parchment paper to protect the decorations.
Comments
Dark Chocolate Christmas Decorated Pretzels — No Comments
HTML tags allowed in your comment: <a href="" title=""> <abbr title=""> <acronym title=""> <b> <blockquote cite=""> <cite> <code> <del datetime=""> <em> <i> <q cite=""> <s> <strike> <strong>