





Semi Homemade Mini Lemon Glazed Cheesecakes
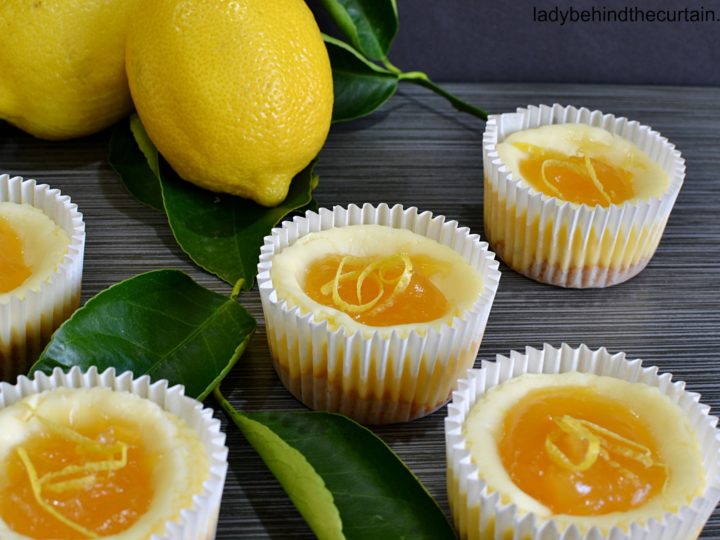
These semi-homemade lemon-glazed mini cheesecakes are the perfect blend of simplicity and indulgence. Made with a rich, creamy cheesecake base and infused with bright, tangy store-bought lemon curd, each cupcake-sized treat is bursting with flavor. The lemon curd adds just the right amount of citrusy zing, making every bite refreshing and irresistible.
Topped with tangy lemon curd and nestled in cupcake liners, these mini cheesecakes are not only adorable but also incredibly convenient for entertaining. Whether you’re hosting a baby shower, spring brunch, or summer celebration, they’re just the right size- no slicing needed; just grab and go!
Best of all? With a little help from the store, these cheesecakes come together in no time, giving you more moments to enjoy with your guests and fewer spent in the kitchen.
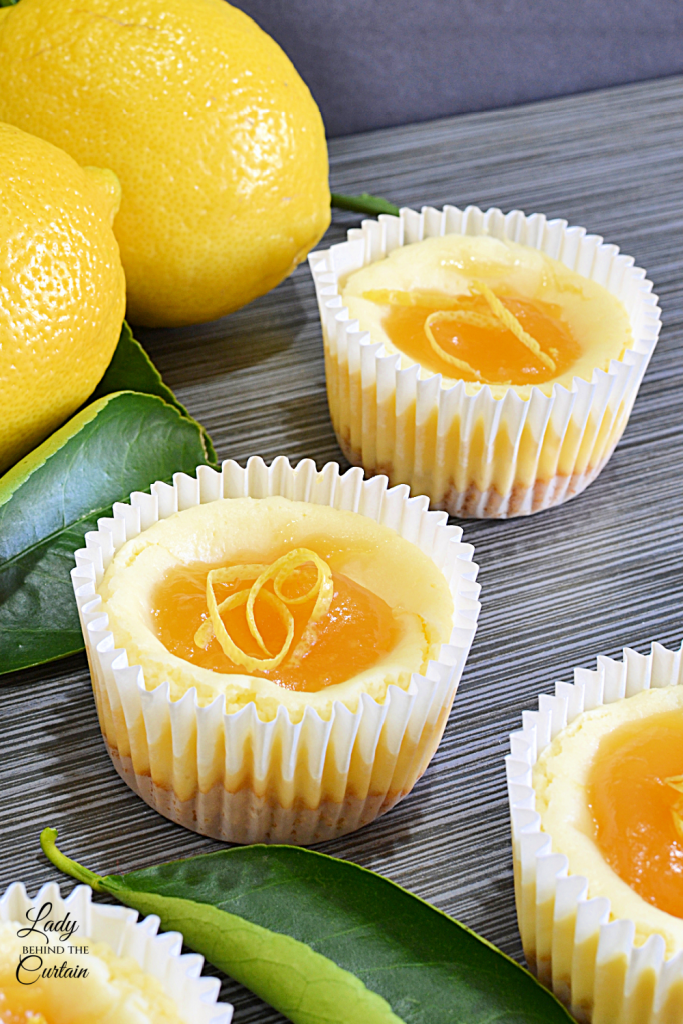
How to Make Mini Lemon Cheesecakes

MINI LEMON CHEESECAKE INGREDIENTS LIST– full printable recipe below in recipe card
- 1½ cups graham cracker crumbs
- ¼ cup granulated sugar
- 6 tablespoons unsalted butter, melted
- 3 (8-ounce) packages of cream cheese, softened
- 1¼ cups granulated sugar
- 3 large eggs
- 3 tablespoons fresh lemon juice
- 1 tablespoon grated lemon peel
- 1 teaspoon vanilla extract
- 3 (10-ounce) jars of lemon curd
- optional lemon zest
MINI LEMON CURD CHEESECAKES INSTRUCTIONS
FOR THE CRUST: Line cupcake pans with about 24 liners. Preheat oven to 350°. In a medium bowl, mix together the graham cracker crumbs, sugar, and butter. Set aside.
FOR THE CHEESECAKE FILLING: In a large mixing bowl, cream the cream cheese until light and creamy. Add the sugar, eggs, lemon juice, lemon peel, and vanilla. Continue mixing until combined, light and fluffy.
PUTTING IT ALL TOGETHER: Add a tablespoon of crust into the bottom of each cupcake liner, and lightly press. Using a levered ice cream scoop, pour batter into each liner. Bake 17 to 20 minutes or until the center is almost set. Cool on a wire rack for 10 minutes, then carefully lift the cheesecakes out of the pan to cool completely. Add a dollop of lemon curd to the top of each cooled cheesecake, and if desired, a sprinkle of lemon zest.
How to Store Lemon Curd Mini Cheesecakes

To keep your lemon curd mini cheesecakes fresh and delicious, follow these simple storage tips:
REFRIGERATOR STORAGE
- Cool completely first: Let the cheesecakes cool to room temperature after baking and topping with lemon curd or glaze.
- Use an airtight container: Place them in a single layer in an airtight container or cover tightly with plastic wrap.
- Chill: Store in the refrigerator for up to 5 days. The texture actually improves as they chill!
FREEZER STORAGE
- Freeze before topping: For best results, freeze the cheesecakes without the lemon curd or glaze.
- Wrap individually: Wrap each cheesecake tightly in plastic wrap, then place in a freezer-safe bag or container.
- Label and freeze: Freeze for up to 2 months.
- Thaw and top: Thaw overnight in the refrigerator, then add the lemon curd or glaze just before serving for a fresh finish.
These mini cheesecakes are make-ahead friendly, making them ideal for parties, holidays, or any time you need a bright, crowd-pleasing dessert!
How to Make Homemade Lemon Curd

Here’s a simple, classic recipe for homemade lemon curd that’s silky, tart, and perfect for topping mini cheesecakes, filling cakes, spreading on scones, or eating by the spoonful!
LEMON CURD INGREDIENTS LIST
- ⅔ cup granulated sugar
- 1 tablespoon cornstarch
- 2 teaspoons finely shredded lemon peel
- ½ cup fresh lemon juice
- ¼ cup water
- 2 tablespoons unsalted butter
- 3 large egg yolks, lightly beaten
LEMON CURD INSTRUCTIONS
- In a medium saucepan, stir together the sugar, cornstarch, lemon peel, lemon juice, water, and the butter.
- Cook, stirring over medium heat, until thickened and bubbly.
- Gradually stir about half of the hot lemon mixture into the egg yolks while whisking.
- Return egg yolk mixture to the saucepan.
- Bring to a gentle boil; reduce heat.
- Cook and stir for 2 minutes.
- Transfer to a small bowl.
- Cover surface with plastic wrap; chill until needed.
STORAGE:
- Keeps in the refrigerator for up to 2 weeks
- Freeze for up to 3 months (leave a little room in the jar for expansion)
How to Make Mini Cheesecakes Without Using Liners
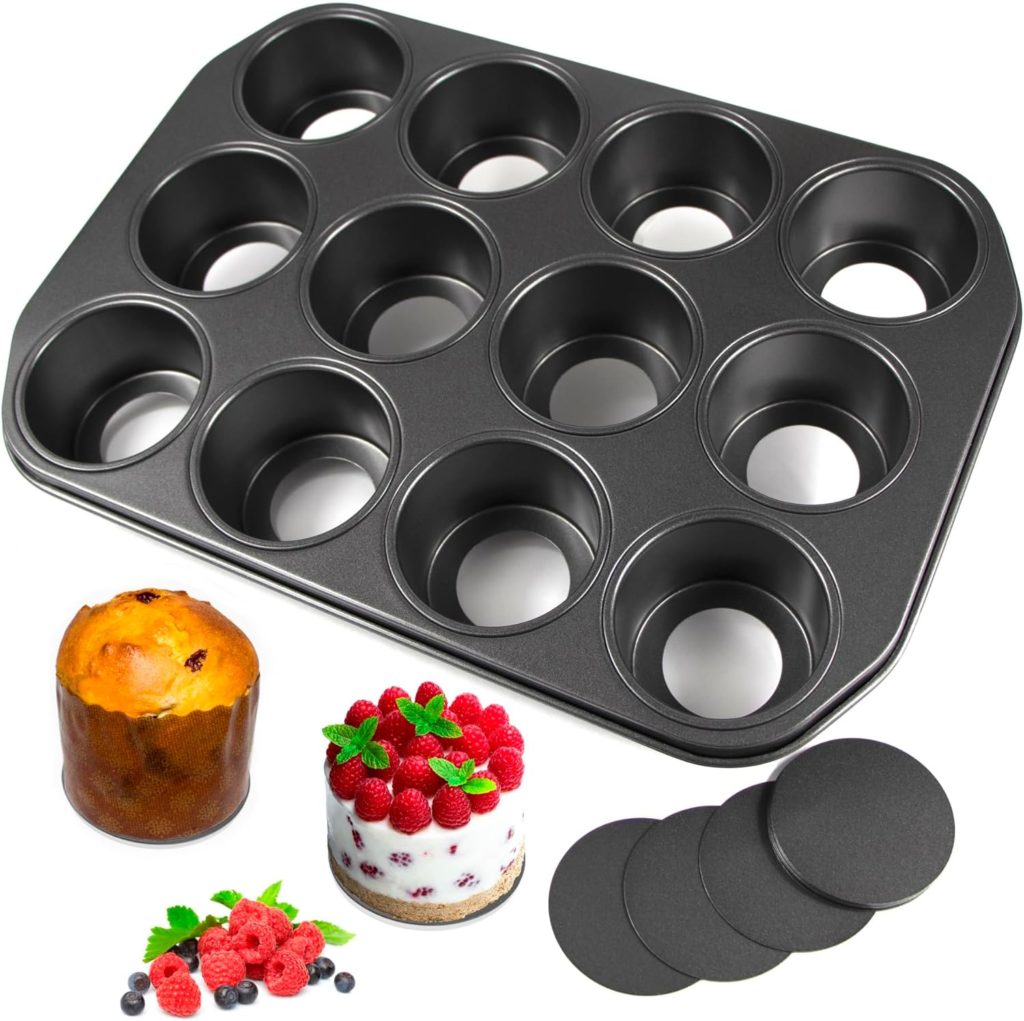
The loose base of this 12-hole mini cheesecake tin allows for easy release. Hassle-free baking at its best. Made of heavy-gauge, commercial-grade steel, the deep, loose-bottom pan is perfect for releasing cheesecakes. At almost $50.00, the pan is a little pricey, but worth it if you’re planning to make mini desserts. The pan is great for all kinds of mini treats, not just cheesecake. If spending an extra $50 is not in the budget, USE CUPCAKE TINS instead. Make sure you line the cupcake tin with cupcake liners before assembling the cheesecake. While the presentation isn’t the same, the flavor is still incredible. CLICK HERE FOR THE PAN→MINI CHEESECAKE PAN REMOVABLE BOTTOM (not an affiliate link) I JUST LOVE IT!

MORE MINI CHEESECAKE RECIPES
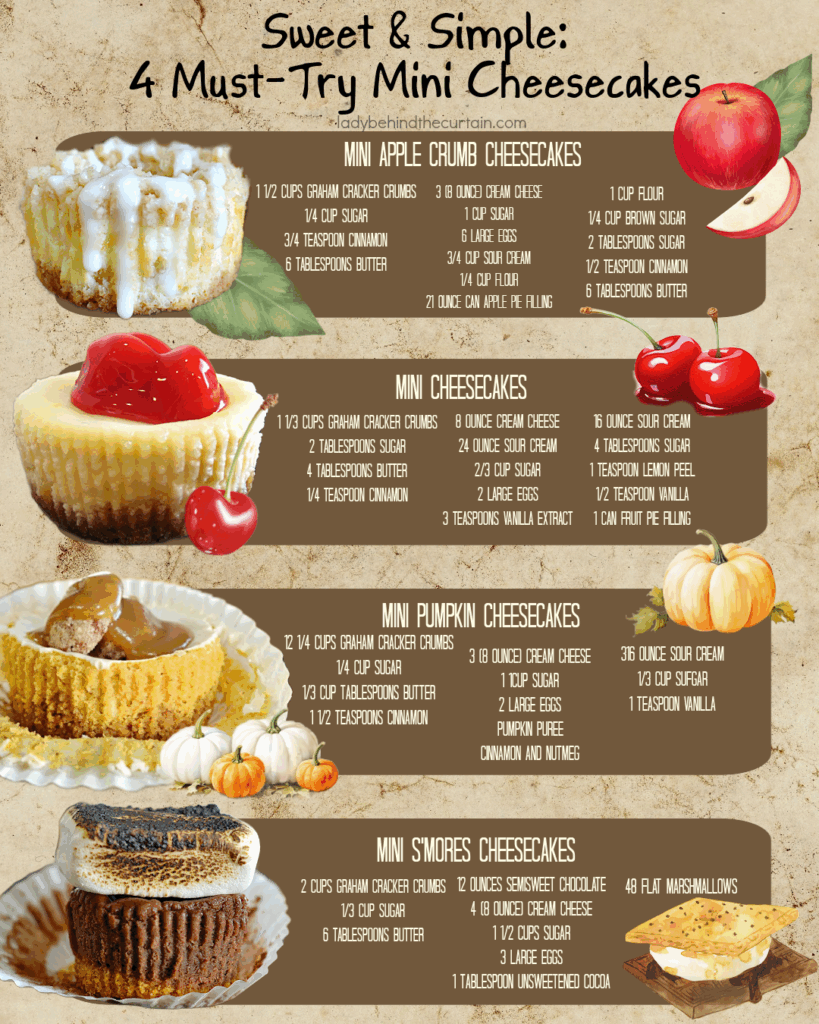
If you loved the lemon curd mini cheesecakes, you’re in for a treat! Mini cheesecakes are the perfect party dessert—easy to serve, no slicing required, and always a crowd-pleaser. Here are a few more delicious mini cheesecake ideas to try next:
LATEST POSTS
- Homemade Vanilla Sugar: Two Simple Ingredients, Endless Ways to Use It
- Protected: Orange Cheesecake Puppy Chow
- Large Gourmet Blueberry Muffin Cookies
- The Ultimate Guide to Crunchy Dessert Toppings: 23 Streusel, Cookie Crumble, and Crunch Recipes
- The Ultimate Bakery-Size Double Chocolate Chip Cookies
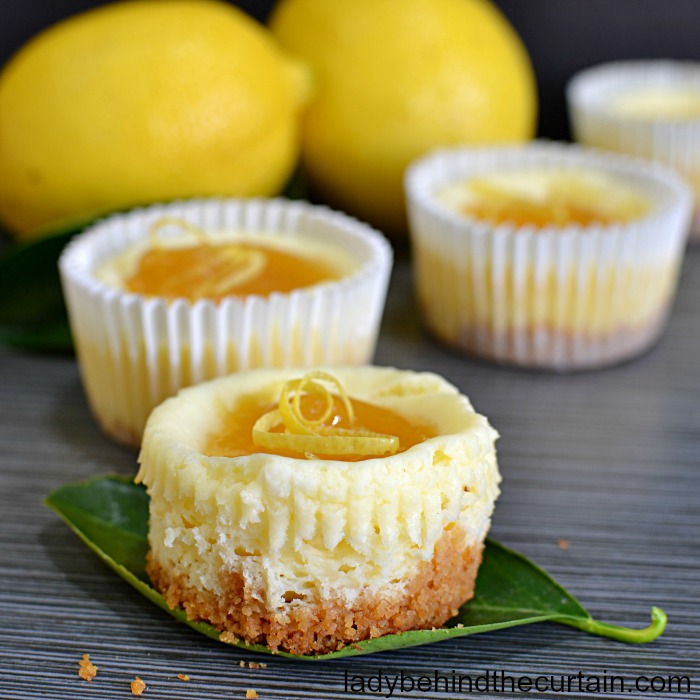
These mini lemon cheesecakes are the perfect bite-sized treat—creamy, tangy, and just sweet enough. With the convenience of store-bought lemon curd and the elegance of a homemade dessert, they strike the ideal balance between easy and impressive. Whether you’re hosting a spring brunch, summer shower, or simply treating yourself, these little cheesecakes are guaranteed to brighten any table and leave everyone wanting just one more bite! Sheryl
Lemon Curd Mini Cheesecakes
Ingredients
For the Crust:
- 1½ cups graham cracker crumbs
- ¼ cup granulated sugar
- 6 tablespoons unsalted butter, melted
For the Lemon Cheesecake Filling:
- 3 (8-ounce) packages cream cheese, softened
- 1¼ cups granulated sugar
- 3 large eggs
- 3 tablespoons fresh lemon juice
- 1 tablespoon grated lemon peel
- 1 teaspoon vanilla extract
For the Glaze:
- 3 (10-ounce) jars store-bought lemon curd
- Optional Topping: lemon zest
Instructions
For the Graham Cracker Crust:
- Line two cupcake pans with 24 liners. Preheat oven to 350°.
- In a medium bowl, mix together the graham cracker crumbs, sugar, and butter. Set aside.
For the Cheesecake Filling:
- In a large mixing bowl, beat the cream cheese until light and fluffy.
- Add the sugar, eggs, lemon juice, lemon peel, and vanilla extract.
- Continue mixing until combined and light and fluffy.
Putting it all Together:
- Add one tablespoon of the crust mixture to the bottom of each cupcake liner, and lightly press.
- Using an ice cream scoop with a lever, pour batter into each liner.
- Bake for 17 to 20 minutes or until the center is almost set.
- Cool on a wire rack for 10 minutes, then carefully lift the cheesecakes out of the pan to cool completely.
- Add a dollop of the lemon curd to the tops of each cooled cheesecake, along with the optional lemon zest. ENJOY!
Notes
How to Store Mini Cheesecakes: To keep your lemon curd mini cheesecakes fresh and delicious, follow these simple storage tips:
Refrigerator Storage
- Cool completely first: Let the cheesecakes cool to room temperature after baking and topping with lemon curd or glaze.
- Use an airtight container: Place them in a single layer in an airtight container or cover tightly with plastic wrap.
- Chill: Store in the refrigerator for up to 5 days. The texture actually improves as they chill!
Freezer Storage (Optional)
- Freeze before topping: For best results, freeze the cheesecakes without the lemon curd or glaze.
- Wrap individually: Wrap each cheesecake tightly in plastic wrap, then place in a freezer-safe bag or container.
- Label and freeze: Freeze for up to 2 months.
- Thaw and top: Thaw overnight in the refrigerator, then add the lemon curd or glaze just before serving for a fresh finish.
- These mini cheesecakes are make-ahead friendly, making them ideal for parties, holidays, or any time you need a bright, crowd-pleasing dessert!

This looks so delicious, I can’t wait to try it! Thank You!
Thanks Mary.