





Homemade Pretzel Hamburger Buns: The Bakery Secret to Better Burgers
Walk into almost any gourmet burger restaurant, and there’s a good chance your burger will arrive on a pretzel bun. That isn’t just because they’re beautiful, although their rich brown color and sprinkle of coarse salt certainly make an impression. Restaurants love pretzel buns because they hold up to juicy burgers, add another layer of flavor, and turn an ordinary meal into something memorable.
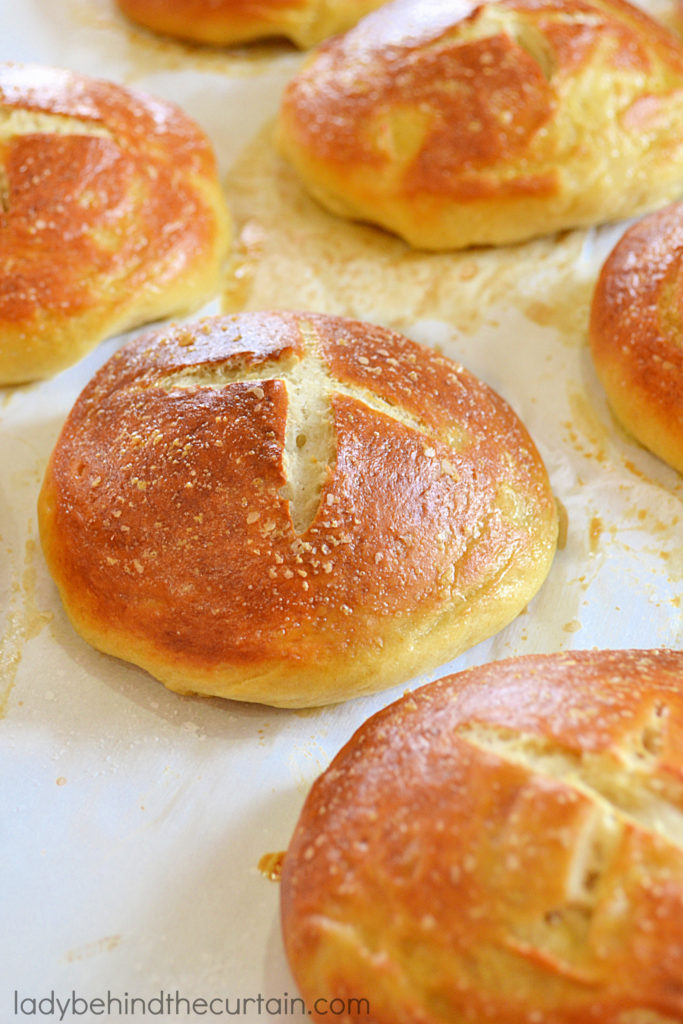
The good news is you don’t have to visit a restaurant to enjoy that same experience. Homemade Pretzel Hamburger Buns bring bakery-quality flavor and texture right to your own kitchen. They have a lightly crisp exterior, a soft, chewy center, and just enough structure to hold everything from a classic cheeseburger to a towering barbecue pulled-pork sandwich. Whether you’re planning a backyard cookout, celebrating Father’s Day, hosting game day, or simply making Friday night burgers for the family, these buns instantly elevate the meal.
If you’ve never baked bread before, don’t let the beautiful finish fool you. Pretzel buns are much more approachable than they look. Once you understand why each step matters, the process becomes surprisingly straightforward. That’s exactly what you’ll learn throughout this guide. My goal isn’t simply to help you bake delicious pretzel buns. It’s to help you understand the techniques behind them so you can become a more confident bread baker with every batch.
What Makes a Pretzel Bun Different from a Regular Hamburger Bun?
At first glance, pretzel buns and traditional hamburger buns appear similar. Both are soft sandwich rolls designed to cradle your favorite burger or sandwich. The difference is in the texture, flavor, and the unique process that creates them.
Traditional hamburger buns are baked immediately after rising. Pretzel buns go through one additional step before entering the oven, and that extra step changes everything.
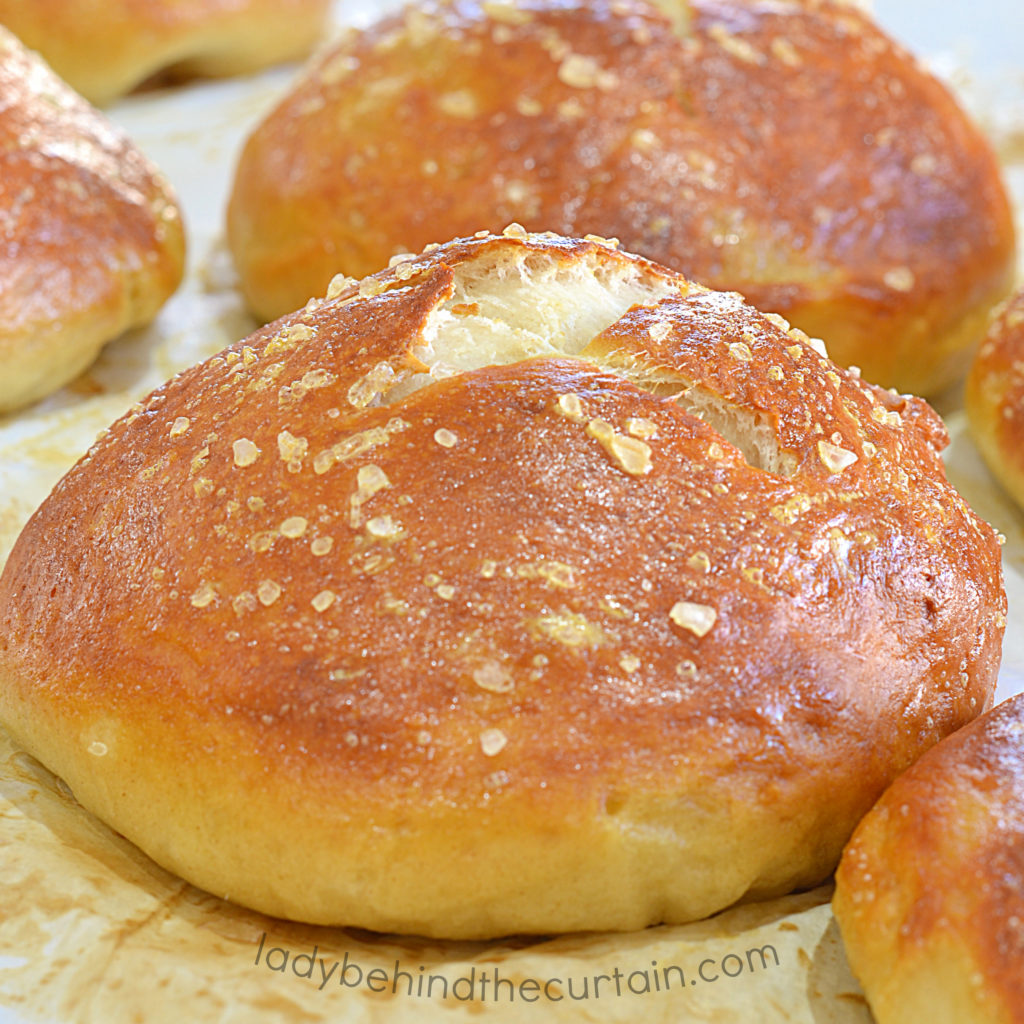
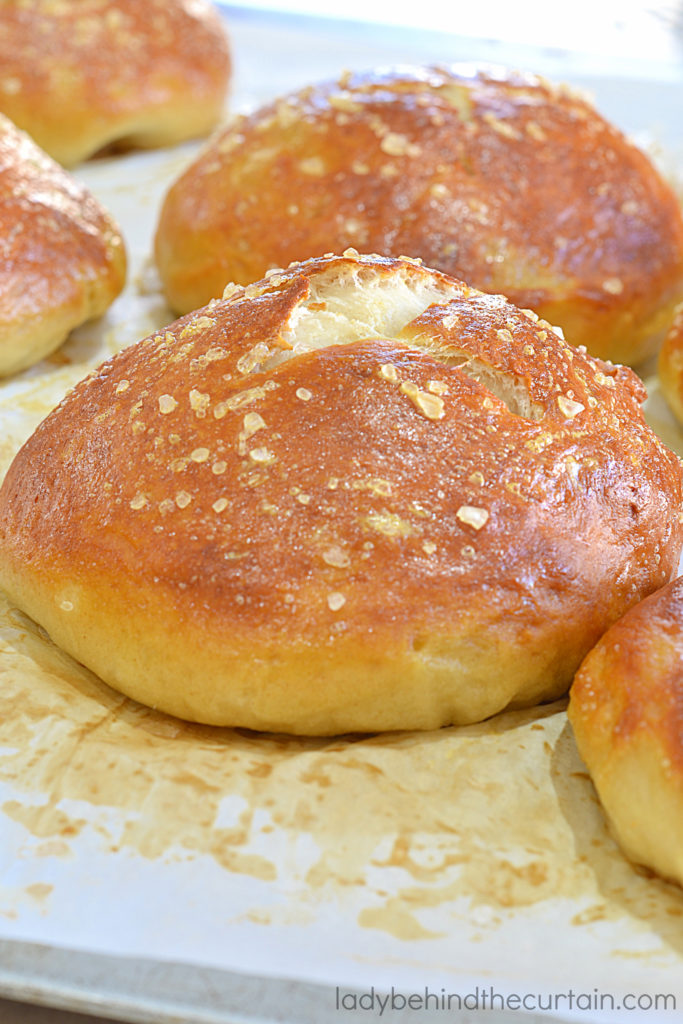
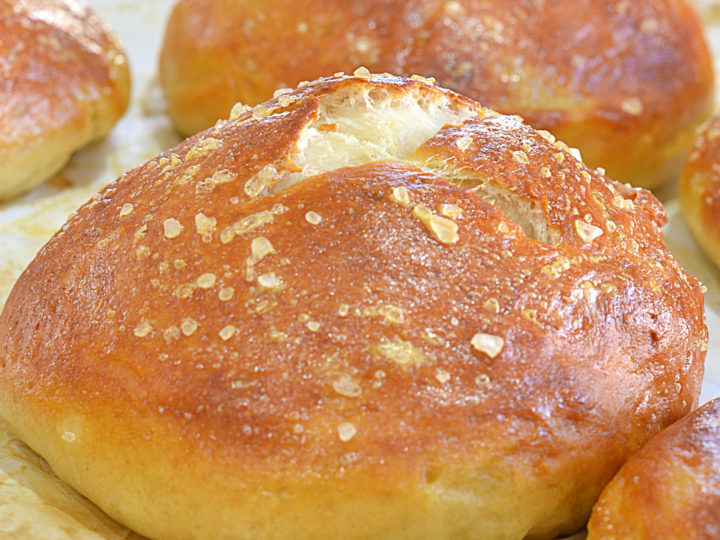
The brief baking soda bath creates the signature pretzel crust, giving the finished buns their deep mahogany color, slightly chewy exterior, and unmistakable flavor. Inside, however, they remain soft, fluffy, and tender.
That combination of textures is one of the biggest reasons pretzel buns have become so popular. They offer enough structure to support thick burgers loaded with toppings without becoming soggy, yet remain soft enough to bite through easily.
If you’ve ever wondered why restaurant burgers seem to stay together better than homemade ones, the bun often has just as much to do with it as the burger itself.
Understanding the Ingredients That Build Better Bread
One of the easiest ways to become a more confident baker is to understand what each ingredient contributes to the finished recipe. Instead of simply measuring and mixing, you’ll know why each ingredient matters.
| Ingredient | Why It’s Important |
|---|---|
| Yeast | Creates the rise and develops flavor as the dough ferments. |
| Flour | Provides structure and determines how chewy the finished bun becomes. |
| Butter | Adds richness while keeping the crumb soft and tender. |
| Sugar | Feeds the yeast and encourages beautiful browning during baking. |
| Salt | Strengthens gluten while enhancing flavor. |
| Baking Soda | Creates the classic pretzel crust and deep brown color. |
Once you begin understanding how ingredients work together, bread baking becomes much less intimidating. You’re no longer following instructions blindly. You’re learning how dough behaves, and that knowledge carries over into countless other yeast recipes.
Why Homemade Pretzel Buns Taste Better Than Store-Bought
There’s nothing wrong with picking up a package of pretzel buns from the grocery store when you’re short on time. But once you’ve tasted them fresh from your own oven, you’ll immediately notice the difference.
Freshly baked pretzel buns have a delicate crust that’s lightly crisp when warm and pleasantly chewy after cooling. The inside stays tender without being overly airy, creating the perfect balance between softness and strength.
Homemade buns also allow you to control the ingredients. There are no preservatives to extend shelf life or unnecessary additives to maintain texture during shipping. Instead, every ingredient serves a purpose, creating a bun with fresh flavor and a texture that’s difficult to duplicate commercially.
Perhaps the biggest difference, though, is freshness. There’s something incredibly satisfying about serving burgers on buns that were baked the same day. It’s one of those little touches guests always notice, even if they can’t quite explain why everything tastes so much better.
Bread Flour or All-Purpose Flour: Which Should You Choose?
One of the most common questions home bakers ask is whether bread flour is really necessary. The answer depends on the texture you’re hoping to achieve.
Bread flour contains more protein than all-purpose flour. As the dough is mixed and kneaded, that extra protein develops additional gluten, creating a stronger structure and a slightly chewier bite. That’s why many artisan bakeries use bread flour for sandwich buns and rustic loaves.
All-purpose flour, on the other hand, produces a bun that’s a little softer while still maintaining enough strength for hamburgers and sandwiches.
Neither option is wrong: If you’re looking for the classic bakery-style chew found in many gourmet burger restaurants, bread flour is an excellent choice. If you prefer a softer bun or simply want to use what you already have in your pantry, all-purpose flour works well.
Quick Reference Guide
| If You Want… | Choose… |
| Soft, tender buns | All-purpose flour |
| Extra chewy bakery texture | Bread flour |
| Slightly stronger structure | Bread flour |
| A softer bite for sandwiches | All-purpose flour |
The Science Behind the Pretzel Crust
One of the most fascinating parts of making pretzel buns happens before they ever reach the oven.
Unlike ordinary bread dough, pretzel dough is briefly bathed in a baking soda solution. While this may seem like an unusual extra step, it’s actually responsible for nearly everything people love about pretzel buns.
The alkaline surface created by the baking soda allows the outside of the dough to brown much more quickly during baking. As heat reaches the surface, proteins and natural sugars react in what’s known as the Maillard reaction. This process creates hundreds of flavor compounds while producing the beautiful, deep-brown crust associated with pretzels.
Without the baking soda bath, your buns would still bake into delicious bread. They simply wouldn’t have the signature pretzel flavor, chewy crust, or rich color that make them so distinctive.
Understanding this simple bit of baking science makes the entire process feel much less mysterious. Instead of wondering why you’re adding an extra step, you know exactly what it’s accomplishing.
Confidence Check
Before shaping your buns, your dough should feel smooth, soft, and slightly tacky without sticking heavily to your hands. If it feels dry or stiff, it may contain too much flour. If it’s extremely sticky and difficult to handle, it may simply need a light dusting of flour on your work surface rather than additional flour mixed into the dough.
Learning to recognize how properly mixed dough should feel is one of the biggest milestones in becoming a confident bread baker. Once you know what to look for, you’ll rely less on the clock and more on the dough itself.
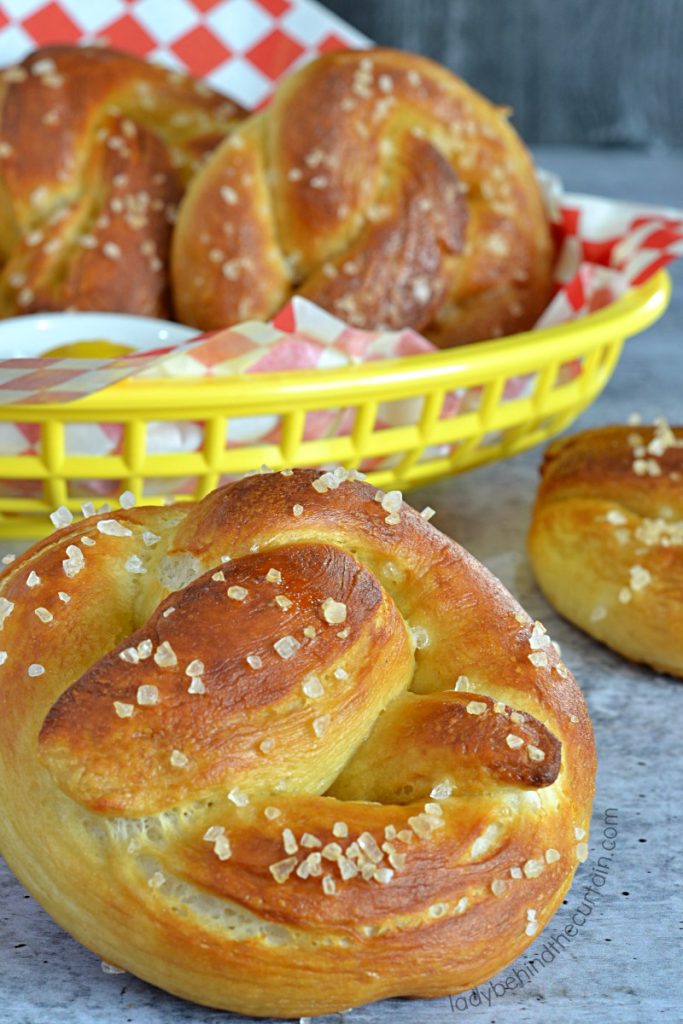
MORE HOMEMADE PRETZEL RECIPES
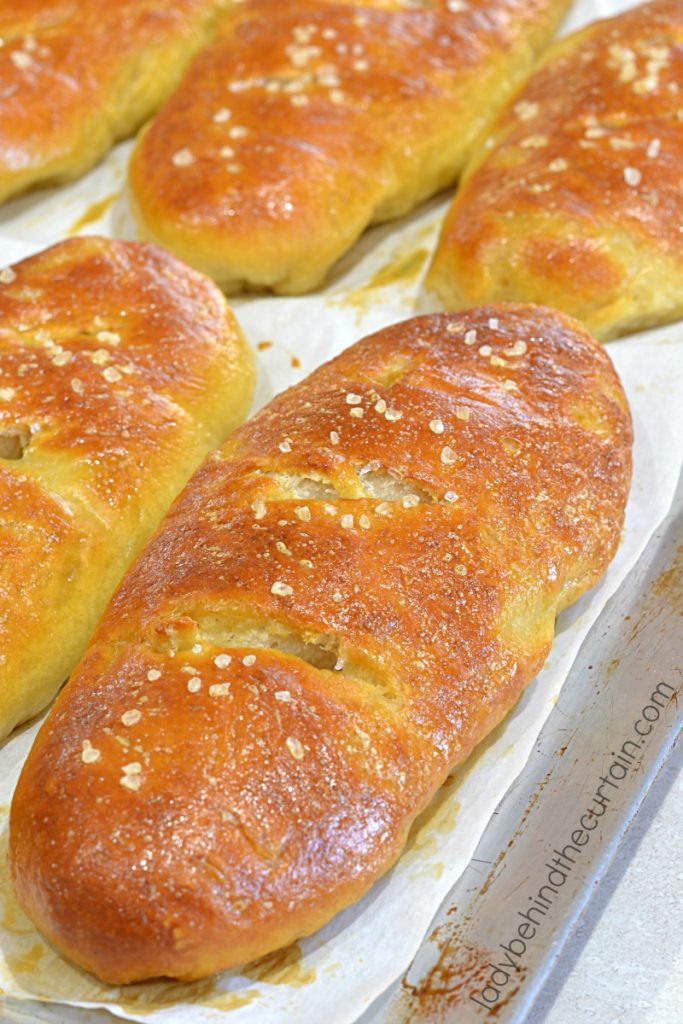
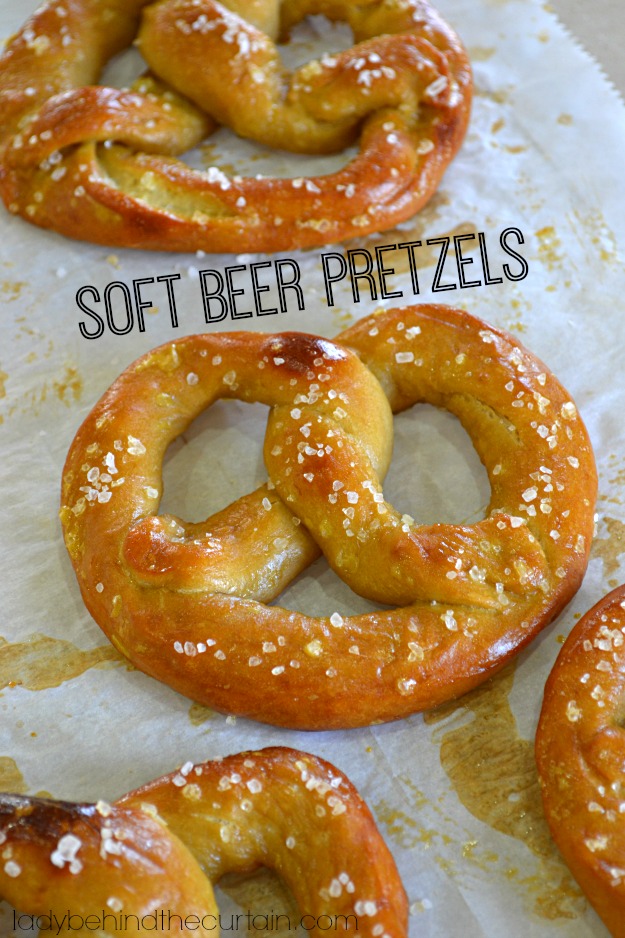
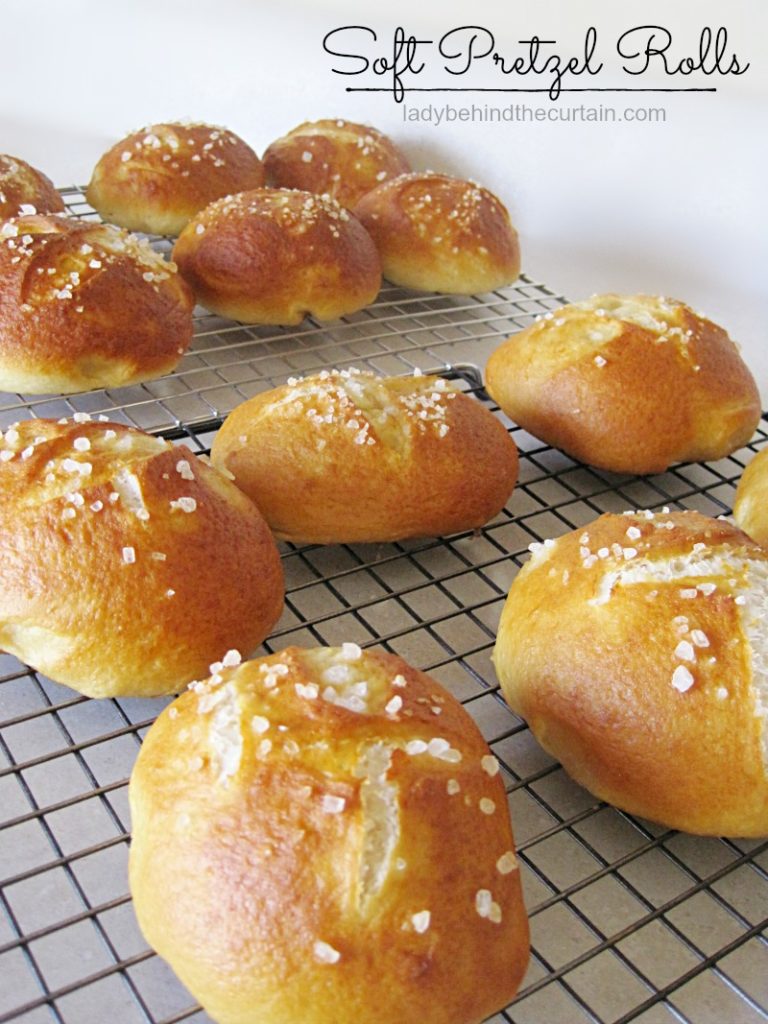
Behind the Curtain Tip
One habit that’s transformed my bread baking over the years is resisting the temptation to add extra flour too quickly. Many home bakers assume sticky dough means something has gone wrong. In reality, slightly tacky dough often bakes into softer, lighter bread. Adding flour too early can create dense buns that don’t rise as beautifully.
Instead of immediately reaching for more flour, give the dough a few extra minutes of mixing. As gluten develops, you’ll often find the dough becomes smoother and easier to handle on its own. Sometimes the best thing you can do for great bread is simply be patient.
How to Tell When Pretzel Bun Dough Has Risen Enough
Rise times are useful guidelines, but they can’t account for your kitchen’s temperature, the weather, or how active your yeast is on a particular day. Learning to recognize properly proofed dough is far more reliable than watching the clock.
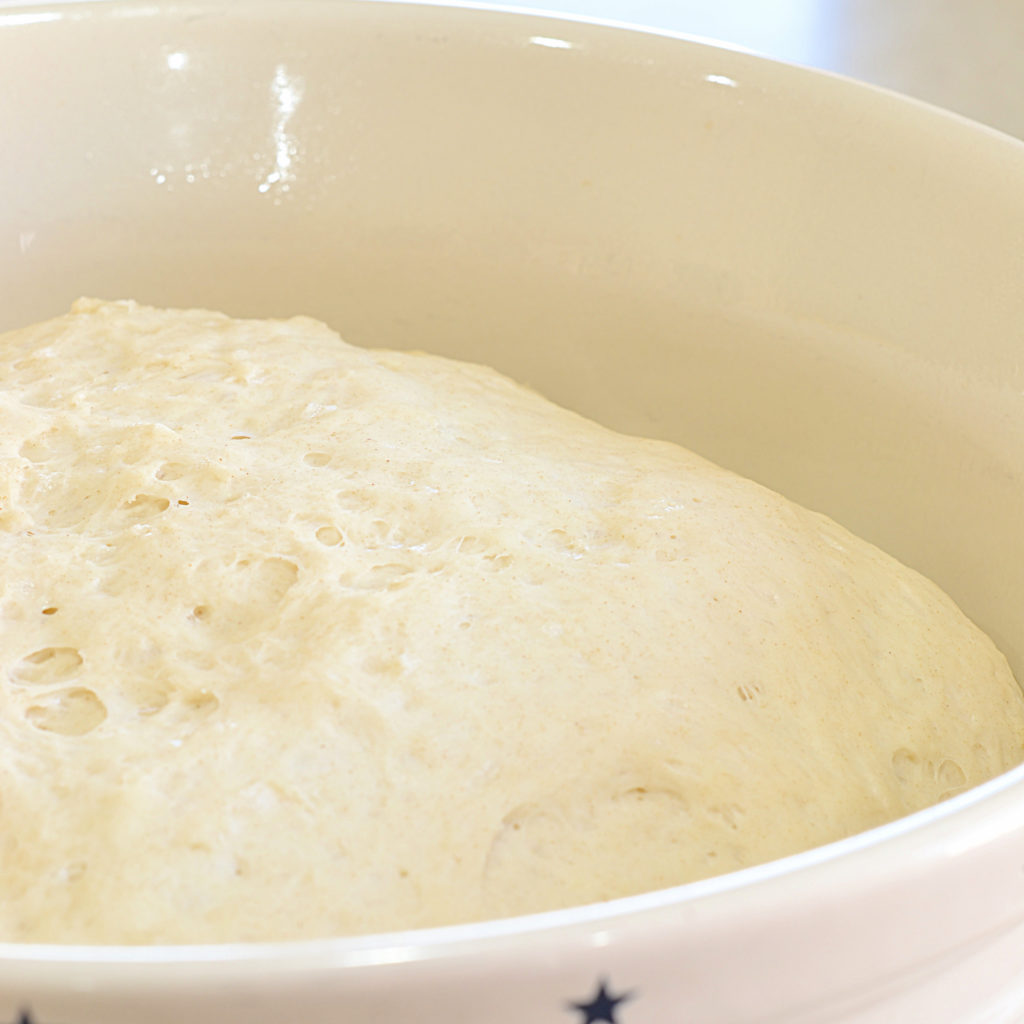
During the first rise, you’re looking for dough that has roughly doubled in size. It should appear noticeably fuller and feel lighter because of the carbon dioxide produced by the yeast.
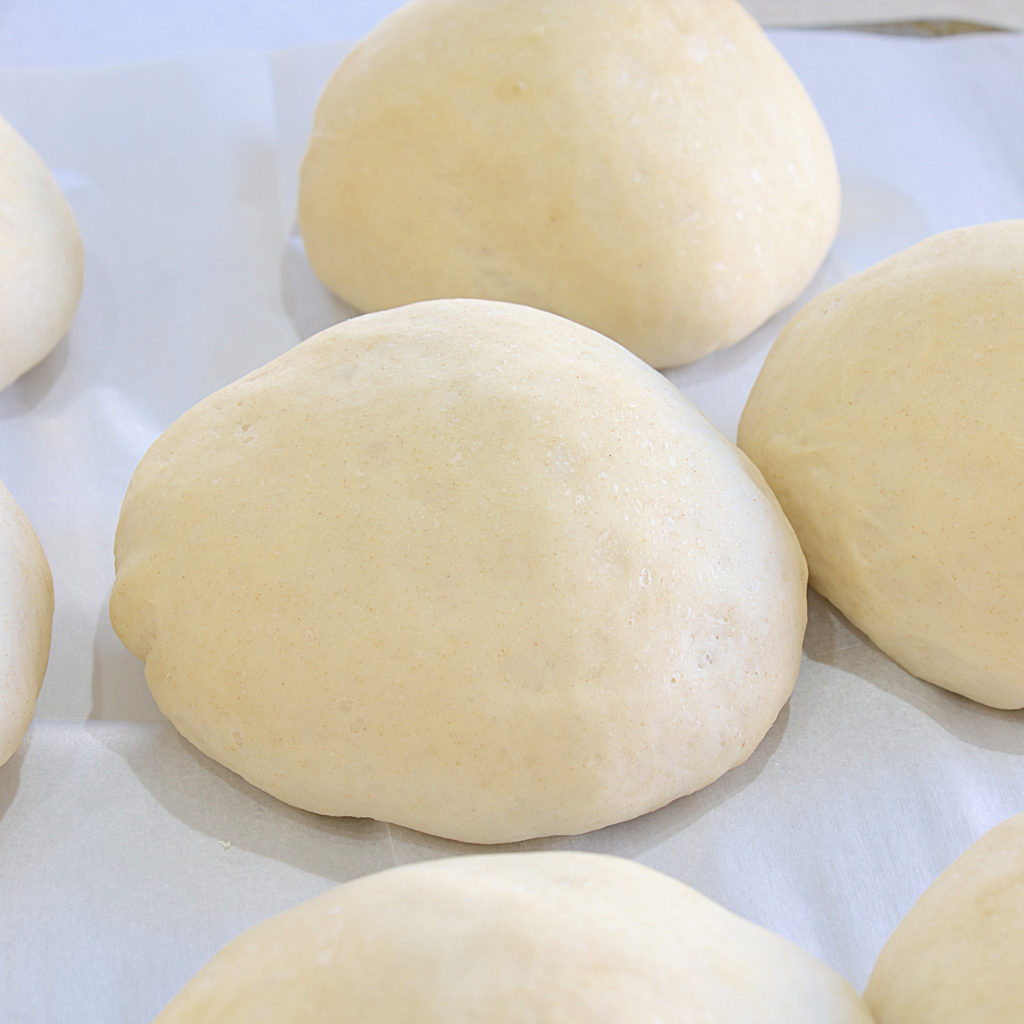
The second rise requires a little more attention. After shaping, the buns should look puffy and have increased noticeably in size. Gently press one with your fingertip. If the indentation slowly springs back, the dough is properly proofed.
If it springs back immediately, the buns likely need more time. If the indentation remains and the dough feels fragile, they may be over-proofed.
| What the Dough Does | What It Means | What to Do Next |
|---|---|---|
| Springs back immediately | Under-proofed | Allow more rising time |
| Slowly springs back | Properly proofed | Move on to the next step |
| Indentation remains | Possibly over-proofed | Handle carefully and continue |
This simple test is a valuable skill to use when making dinner rolls, cinnamon rolls, sandwich bread, and many other yeast-based recipes.
Why Chilling the Buns Makes Them Easier to Handle
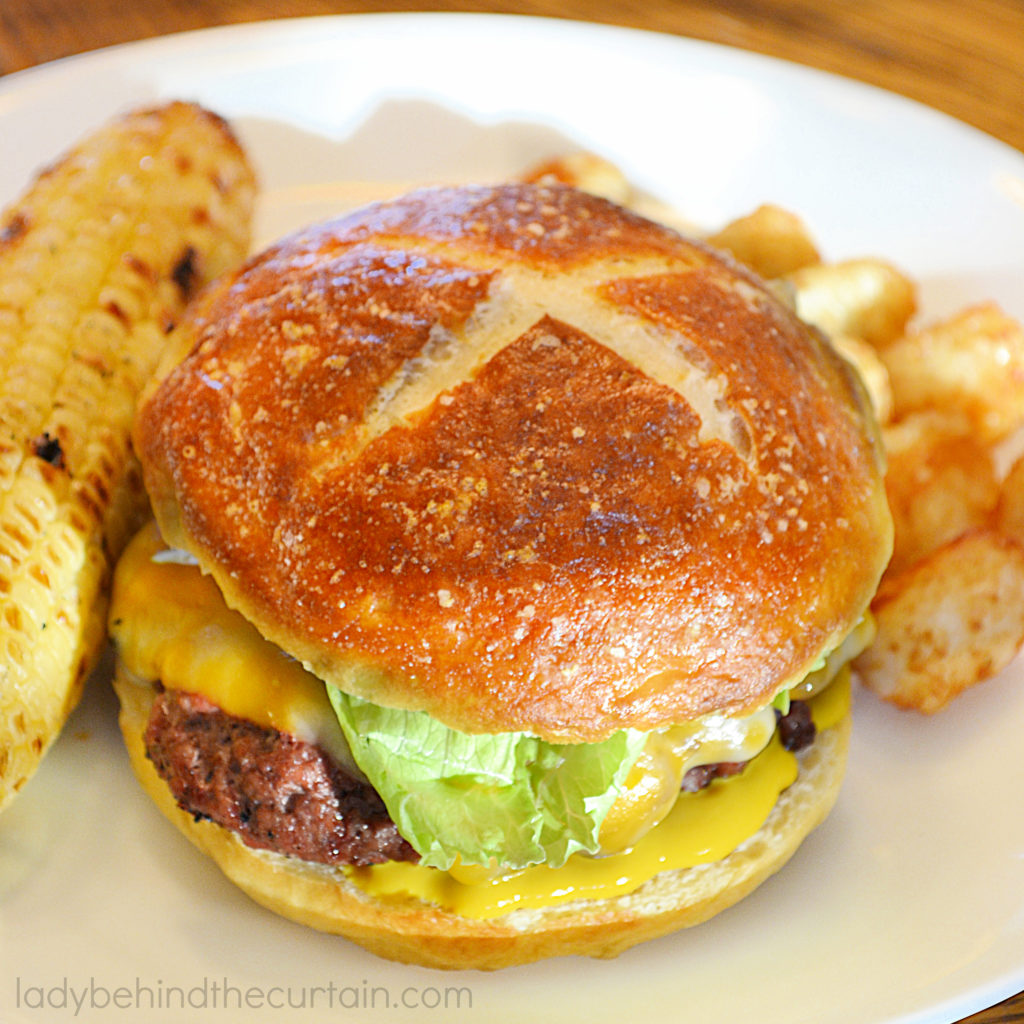
After the second rise, these pretzel buns spend a short amount of time in the refrigerator. It might seem unusual to carefully create a warm environment for the dough to rise and then turn around and chill it, but this step serves an important purpose. Warm, fully risen dough is delicate. Moving it into and out of a baking soda bath can cause the buns to stretch, flatten, or lose their carefully shaped appearance.
A short chill firms the dough’s surface and makes each bun easier to handle. The buns are less likely to become misshapen as they’re transferred, turned, and removed from the water. This is a good example of a recipe step that may seem unnecessary until you understand the problem it’s designed to prevent.
Pull Back the Curtain: Why Shape Matters More Than You Think
Creating a round pretzel bun isn’t simply a matter of rolling dough into a ball. The shaping process creates surface tension. As the dough is pulled and tucked underneath, the outside becomes smooth and slightly taut. That tension helps direct expansion upward as the bun rises and bakes.
Without enough surface tension, dough is more likely to spread outward and produce flatter buns. This same principle applies to many types of bread. Learning how to create a smooth outer surface is a useful skill for making dinner rolls, hamburger buns, artisan loaves, and other shaped yeast breads.
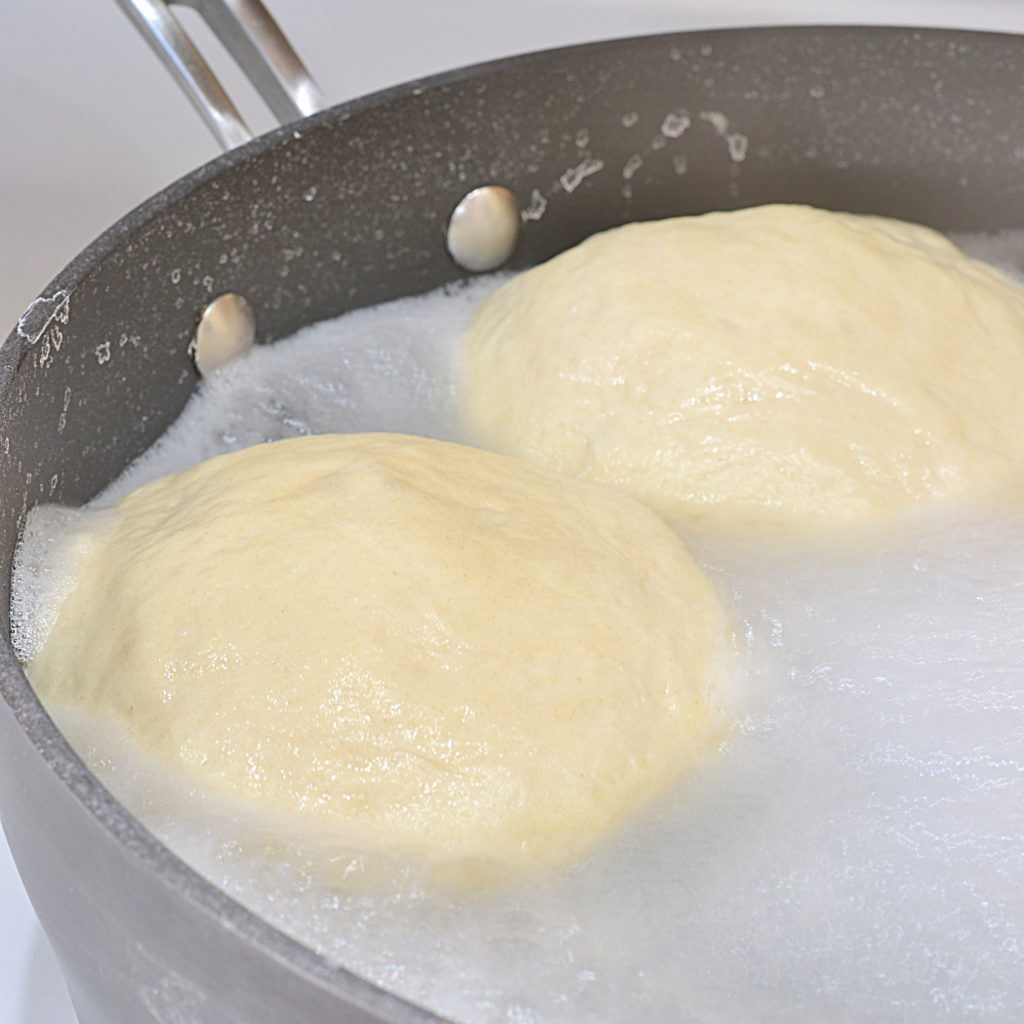
Why Does Baking Soda Foam When Added to Hot Water?
The baking soda bath is often the part of the recipe that makes first-time pretzel bakers the most nervous. When baking soda is added to hot water, the water can foam and bubble rapidly. That’s why it should be added slowly and carefully.
The reaction may look dramatic, but it doesn’t mean anything has gone wrong. Using a large enough saucepan and adding the baking soda gradually helps keep the bubbling under control. Once the bath returns to a steady boil, it’s ready to give the buns the surface treatment that creates their characteristic color and flavor.
Avoid These Problems Before They Reach the Oven
Most pretzel bun problems can be traced back to a few points in the bread-making process. Knowing what causes them makes troubleshooting much easier.
| Problem | Likely Cause | How to Prevent It |
| Dense buns | Too much flour or insufficient rising | Keep the dough soft and watch for visual proofing cues |
| Flat buns | Weak shaping or over-proofing | Create surface tension and monitor the second rise |
| Pale crust | Inadequate surface treatment or oven heat | Follow the baking soda bath carefully and fully preheat the oven |
| Misshapen buns | Dough too soft during handling | Chill the risen buns before the baking soda bath |
| Tough texture | Excess flour | Avoid adding flour simply because the dough feels slightly tacky |
| Buns vary in size | Dough divided unevenly | Use a kitchen scale for uniform portions |
Troubleshooting becomes much easier when you stop looking only at the finished bun and begin thinking backward through the process. A dense bun, for example, isn’t really a baking problem. The cause likely occurred earlier, during mixing or proofing. That’s another important bread-baking skill. The finished product often tells you what happened to the dough along the way.
Should You Toast Pretzel Buns for Hamburgers?
You don’t have to toast homemade pretzel hamburger buns, especially when they’re freshly baked. However, toasting can be helpful depending on what you’re serving. Juicy burgers, pulled pork, barbecue sandwiches, and fillings with generous amounts of sauce benefit from a lightly toasted bun. Toasting the cut surface creates a thin barrier that slows moisture absorption and helps prevent sogginess.
For sandwiches with drier fillings, such as grilled chicken or deli meats, the buns can be served as they are. For the best texture, toast only the cut sides. This allows you to create a sturdy surface for the filling while preserving the soft, chewy exterior that makes pretzel buns so appealing.
Choosing Fillings That Work with Pretzel Flavor
Pretzel buns have more flavor than traditional hamburger buns. Their salty crust and subtle toasted notes pair especially well with rich, smoky, tangy, and savory ingredients.
| Filling | Why It Works |
| Cheeseburgers | The sturdy bun supports meat, cheese, sauces, and toppings |
| Pulled pork | Pretzel flavor balances sweet and smoky barbecue sauce |
| Grilled chicken | Adds flavor and texture to a leaner sandwich |
| Bratwurst or sausage | A natural pairing with mustard and pretzel flavor |
| Roast beef | Works well with sharp cheese and horseradish |
| Breakfast sandwiches | Complements eggs, bacon, sausage, and melted cheese |
For entertaining, these buns are especially useful because one batch can serve as the foundation for several menu ideas. Use full-size buns for a backyard burger bar, or make smaller versions for game-day sliders and party sandwiches.
Making Pretzel Hamburger Buns Ahead of the Party
Fresh bread doesn’t have to mean baking while your guests are arriving.
For next-day entertaining, bake the buns ahead and allow them to cool completely before storing. Cooling is important because sealing warm bread in a container traps condensation, which can soften the crust and make the surface damp.
For longer storage, freezing is the better choice. Once cooled, the buns can be wrapped and frozen so they’re ready for a future cookout, family dinner, or party.
Freezing bread while it’s fresh helps preserve its quality. Thaw the buns before serving and warm them briefly if you want to refresh their texture.
This is one of my favorite strategies for entertaining. Homemade bread feels impressive, but making it ahead keeps the day of the celebration manageable.
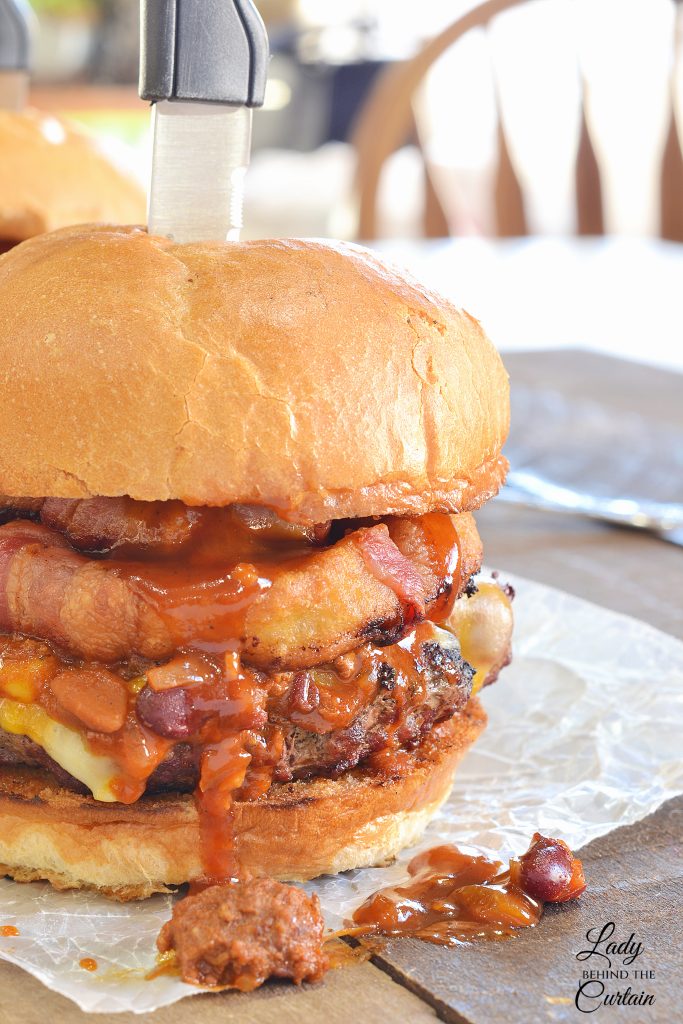
Burger Options from Lady Behind the Curtain
What You Learned Today
Making Homemade Pretzel Hamburger Buns teaches you much more than how to make a great bun. You learned how flour affects texture, why slightly tacky dough can produce softer bread, how to recognize properly proofed dough, why surface tension matters during shaping, and how chilling makes delicate dough easier to handle.
You also learned the science behind the baking soda bath, what creates the signature pretzel crust, how to diagnose common bread problems, and when to toast a bun based on the filling you’re serving. Those skills don’t end with this recipe. They’re techniques you can use whenever you make yeast breads, rolls, and buns.
From My Kitchen to Yours
I hope you’ll give these Homemade Pretzel Hamburger Buns a try for your next cookout, burger night, or family gathering. There’s something so satisfying about pulling a tray of deeply browned pretzel buns from the oven and knowing you made them yourself.
More importantly, I hope the information I’ve shared helps you feel confident working with yeast dough. Homemade bread becomes much easier when you understand what the dough is telling you and why each technique matters.
If you make these pretzel buns, I’d love to hear about it. Leave a comment and tell me what you served on them, or share any questions you have. Helping you create delicious food and special memories for the people you love is what Lady Behind the Curtain is all about.
Happy Baking!
Sheryl
LATEST POSTS
Pretzel Hamburger Buns
Once you try making bread you'll be hooked!
Ingredients
- I ½ cups warm water or milk (110 degrees)
- 2 ¼ teaspoons or ¼ ounce active dry yeast
- 2 teaspoons granulated sugar
- 4¼ cups all-purpose or bread flour (see note below)
- 2 teaspoons salt ( table or kosher)
- 4 tablespoons unsalted butter, melted
- ¼ cup baking soda
- 1 large egg, lightly beaten
- salt for sprinkling (pretzel or kosher)
Instructions
- TURN ON THE OVEN LIGHT, NOT THE OVEN, JUST THE LIGHT. In the bowl of your stand-up mixer fitted with the dough hook, add the water (or milk), yeast, and sugar.
- Stir and let rest for 5-10 minutes, or until foamy.
- Add the flour, salt, and melted butter.
- Mix until well combined and forms a ball.
- Transfer to a medium bowl coated with non-stick cooking spray, cover with plastic wrap, and let it rise in a warm place, like the oven with the light on, for 1 hour, or until doubled in size.
- Line a cookie sheet with parchment paper and set aside.
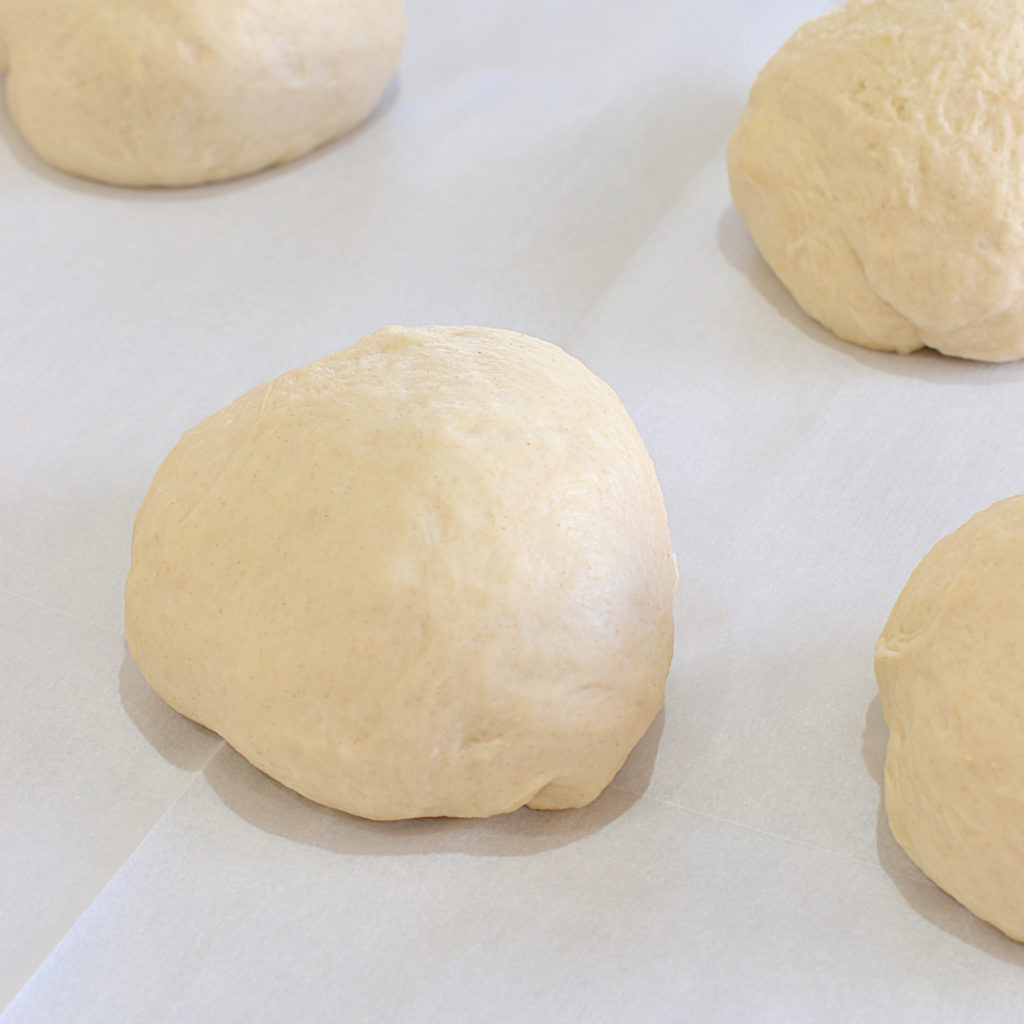
- Pull the dough out of the bowl onto a lightly floured surface, and divide it into 8 equal portions (about 4.2 ounces each).
- Form each portion into a ball by first pinching the top to the bottom and then rolling it in the palm of your hand.
- Place the dough on a prepared cookie sheet, seam-side down, in a staggered position.
- Cover with a towel and allow to rest in a warm place, such as the oven with the light on, for 30 minutes or until they double in size. Place the buns on the cookie sheet in the refrigerator for twenty to thirty minutes (see note below).
- Preheat the oven to 425°F and place the oven rack in the middle position.
- In a large saucepan that fits 2 rolls, bring 2 quarts of water to a low boil.
- Remove from the heat and slowly add the baking soda.
- Return to the heat and continue with a steady boil.
- Place 2 of the rolls at a time in the poaching liquid, seam side down.
- Poach for 20 to 30 seconds, carefully turning the roll over during the bath.
- Remove with a slotted spoon to a cooling rack, and let the pretzels dry.
- Repeat with the remaining rolls.
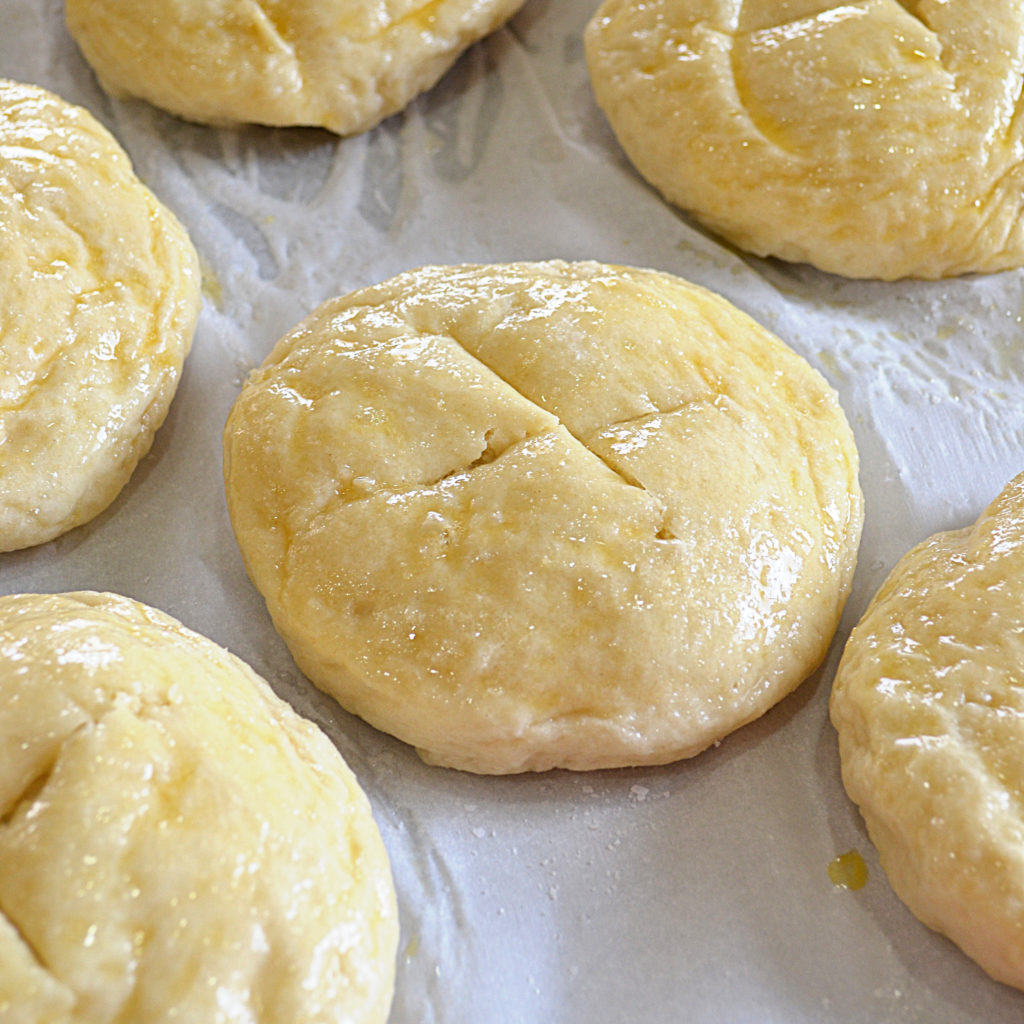
- Using a pastry brush, coat each roll with the beaten egg, ensuring all sides are completely coated, then sprinkle each roll with salt.
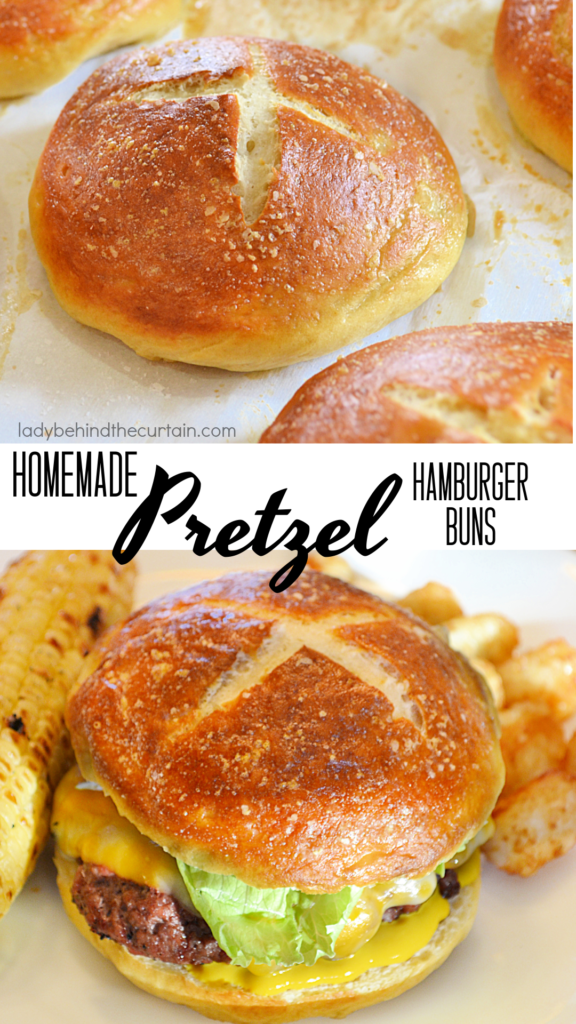
- Using a sharp straight edged knife, cut a "X" shape in the top of each roll.
- Bake for 15 to 20 minutes.
Notes
The difference between bread flour and all-purpose flour:
Neither option is wrong. If you're looking for the classic bakery-style chew found in many gourmet burger restaurants, bread flour is an excellent choice. If you prefer a softer bun or simply want to use what you already have in your pantry, all-purpose flour works well.
Why chill the buns before the baking soda bath? Chilling the risen buns briefly firms the dough, making them easier to handle and helping them maintain their round shape as they're transferred to and from the baking soda bath.

Frequently Asked Questions About Homemade Pretzel Hamburger Buns
Even after understanding the main techniques, you may still have questions about adapting the recipe or knowing what to expect. Here are answers to a few questions that haven’t already been covered.
- Can I make pretzel buns without a stand mixer? Yes. The dough can be mixed and kneaded by hand. The important part is developing enough gluten in the dough to make it smooth and elastic.
- Can I use instant yeast instead of active dry yeast? Yes, although the mixing method may differ. Instant yeast generally doesn’t need to be dissolved in liquid before adding it to the remaining ingredients.
- Can I use milk instead of water? Yes. Milk contributes additional fat and milk solids, which can create a slightly softer, richer crumb. Water produces a more traditional, chewy bread texture.
- Can I make smaller pretzel buns for sliders? Yes. Divide the dough into smaller portions, shape as usual, and start checking them earlier in the baking process, as smaller buns may bake more quickly.
- Can I make pretzel hot dog buns with this dough? Yes. Instead of shaping the dough into round buns, form it into elongated rolls suitable for hot dogs or bratwurst.
- Why do pretzel buns sometimes wrinkle after baking? Wrinkling can happen when buns are over-proofed or when the crust structure isn’t strong enough to support the bread as it cools. Careful proofing and proper baking help create a stronger crust.
- Why did my scored X disappear during baking? The cuts may not have been deep enough, or the dough may have expanded and closed shallow cuts. Use a very sharp straight-edged knife for clean scoring.
- Can I leave off the salt topping? Yes. The buns will still have pretzel flavor without the additional salt. You can also replace it with seeds or another savory topping.
- What kind of salt is best for pretzel buns? Pretzel salt creates the classic appearance and doesn’t dissolve as quickly. Coarse kosher salt is a convenient alternative.
- Can I use whole wheat flour? Replacing all the flour with whole-wheat flour will significantly change the texture and may result in denser buns. If you want to experiment, begin by replacing only part of the flour.
- How do I know when the buns are completely baked? Look for a deep brown crust rather than relying only on the baking time. Because ovens vary, appearance is an important indicator of doneness.
- How long should I wait before slicing the buns? Allow them to cool until the interior structure sets. Slicing bread immediately from the oven can compress the soft crumb, making it seem gummy.
I adore pretzel buns and using them for hamburgers is completely brilliant! Definitely pinning these bad boys 🙂 Thanks so much for hosting!
Pretzel Buns are so fantastic! Great step by step too! Thanks for linking up with What’s Cookin’ Wednesday!
Thank you so much for sharing your awesome recipe with Full Plate Thursday. Hope you have had a great weekend and have a fabulous week.
Come Back Soon!
Miz Helen
Just an FYI – you missed mixing in the baking soda in your directions. the second time i tried though this worked well.
Hi Lizzy,
No, it’s there. #13…. 🙂
oh well i was supremely confused – never mind about my previous comment! 😉
Wow they came out beautiful delicious and I’m pretty sure I will never buy bread again.Great recipe and very thorough instructions.i thought i was gonna mess it up but it came out gorgeous.Thank you I’ve entered a whole new realm.
Hi Leonard, That’s awesome. Most people think making bread is hard but it’s not! 🙂
I did regular buns and these pretzel buns. The pretzel buns were by far the best!
That’s awesome Danny!
Just made these….followed the directions perfectly and they turned out great! Thanks!
That’s awesome to hear Jenny!
I wanted to say thank you for the recipe. I made these this morning and they are beautiful and taste amazing!
Hi Chris, Thanks. I love making pretzels. They look hard but they’re not and tasty too! 🙂
I made these today, and they turned out perfect! Thanks for this recipe.
Thanks Teressa for letting me know. My family loved them too. 🙂
I have made these a few times..I found I had to make a few adjustments, but the end result tasted awesome. Thank you for sharing it!!!
Hi. These look wonderful. Can you freeze the buns once they’re baked/cooled?
Hi Mary, Yes you can freeze them. 🙂
I don’t have a dough hook. How important is it to use one?
Hi Julie, You can also knead with the heels of your hand on a counter. 🙂
I actually used a mixer and than kneaded it and it turned out perfectly. Thanks!!
I made these today. Beautiful!! Plan on serving them tomorrow at a party. What is the best way to store them overnight to ensure freshness tomorrow?
Yay! I would put them in a zip top bag or wrap them in plastic wrap. 🙂
I just took these out of the oven, and am so excited by how they turned out! I’ve already nibbled one and they are absolutely delicious! Thank you so much for this recipe! 🙂
Yay that’s so awesome Jasmine! 🙂
In the oven now… fingers crossed lol. They smell delicious 🙂
You’re going to love them Christy!
I just made the pretzel buns today and they turned out beautifully. Thank you for posting an amazing, no fail and tasty bun
Hi Andrea, My family loved them! I’m glad yours did too! 🙂
Made these today and they were so easy and so good. Thank you for the recipe!
Can’t wait to try these and freeze the leftovers! awesome, thanks
You’re gonna bump up that burger a notch with these buns for sure Jen!
Like the directions and pictures. going to make some up today see how they turn out. Thank You for sharing
That’s Awesome Rose! 🙂
The bottom edges of mine turned a greyish black colour… I made them twice and it happened both times
Any idea why? The top looked great though and they still tasted awesome.
Hi Angela, What kind of salt did you use? In the presence of iodine, starch can turn a purplish-black color.
For the water, is it 1 1/2 cups or just a 1/2 cup. There looks like a big letter I in front.
Hahaha…..Hi Rebecca. I don’t know why it looked weird like that. I changed it to be a one. Yes, the measurement is 1 1/2 cups.
Hi Sheryl, thank you so much for posting, I tried this recipe because I hate how soggy the regular bread rolls get. These were awesome and so easy. They held up to the burger toppings and tasted awesome??????
WooHoo Mary! I’m so glad they worked for you!
These were wonderful my only problem in making them twice was after baking they stuck to parchment paper. Any suggestions why?
Hi Kathy, That’s so strange. Maybe next time you could spray the parchment paper with non stick cooking spray.
These buns were awesome to make. Love them!
Thanks Rosanne, I’m so glad you like the recipe!
Great recipe and the buns came out PERFECT! Better than the recipe I was using. I made 4 HUGE buns and filled them with a 3/4 pound beef patty with bacon and cheddar cheese. Now that’s a burger! The buns are large enough that I can quarter them into “sliders” too. Thanks Sheryl!
That sounds delicious Joseph!
Delicious ! Glad i found this recipe . Thank you
Mine came out too large for a little old lady and need to work on making mini ones . Will perfect them . Will taste great tonite with my black bean veggie burgers i made yesterday ! Yummy
Hi Georgianna, I ‘m so glad you like the recipe. I love these Hamburger Buns!
Any tips for making these at 9000 feet above sea level?
Hi Lisa, Here is a good article about baking at high altitude. HIGH-ALTITUDE BAKING
Thank you so much for posting an amazingly easy and awesome recipe. This was my first try at making pretzel buns and they turned out perfectly. The dough is wonderful. I will be making these often. I’m always so grateful for an excellent recipe. Yours is a winner!
Thank JoGene! I’m so glad you like the recipe.♥
My family loves these and will have nothing else for their burgers. I have them made so many times and they are perfect every time.
That’s wonderful Judy!
Oh my goodness…these are so delicious and so easy to make! Thank you for the recipe!
Hi Dee, I’m so glad you like the recipe!
These are wonderful!! So easy to make.
Thank you Sharon!
What kind of salt do you use in the pretzel dough – the 2 teaspoons?
Hi Erin, I used kosher salt.